
Okay guys. YOU KNOW I love my vinyl. (go here to see all my fun projects) I very rarely use vinyl as a stencil. (because why add a step?) BUT I do have certain circumstances on WHY and WHEN I do! AND since I’m spouting off about why and when ….why not throw in the HOW and cover all my bases!
There are only three reasons I opt for using vinyl as a stencil over just using vinyl.
- I don’t have the color of vinyl or I’m trying to match paint exactly. Using the vinyl as a stencil makes it so you can color match perfectly–even though the there are sooo many awesome color options at expressions vinyl. It usually more of a time crunch and my project is due the next day and I realize I don’t have the color I want!
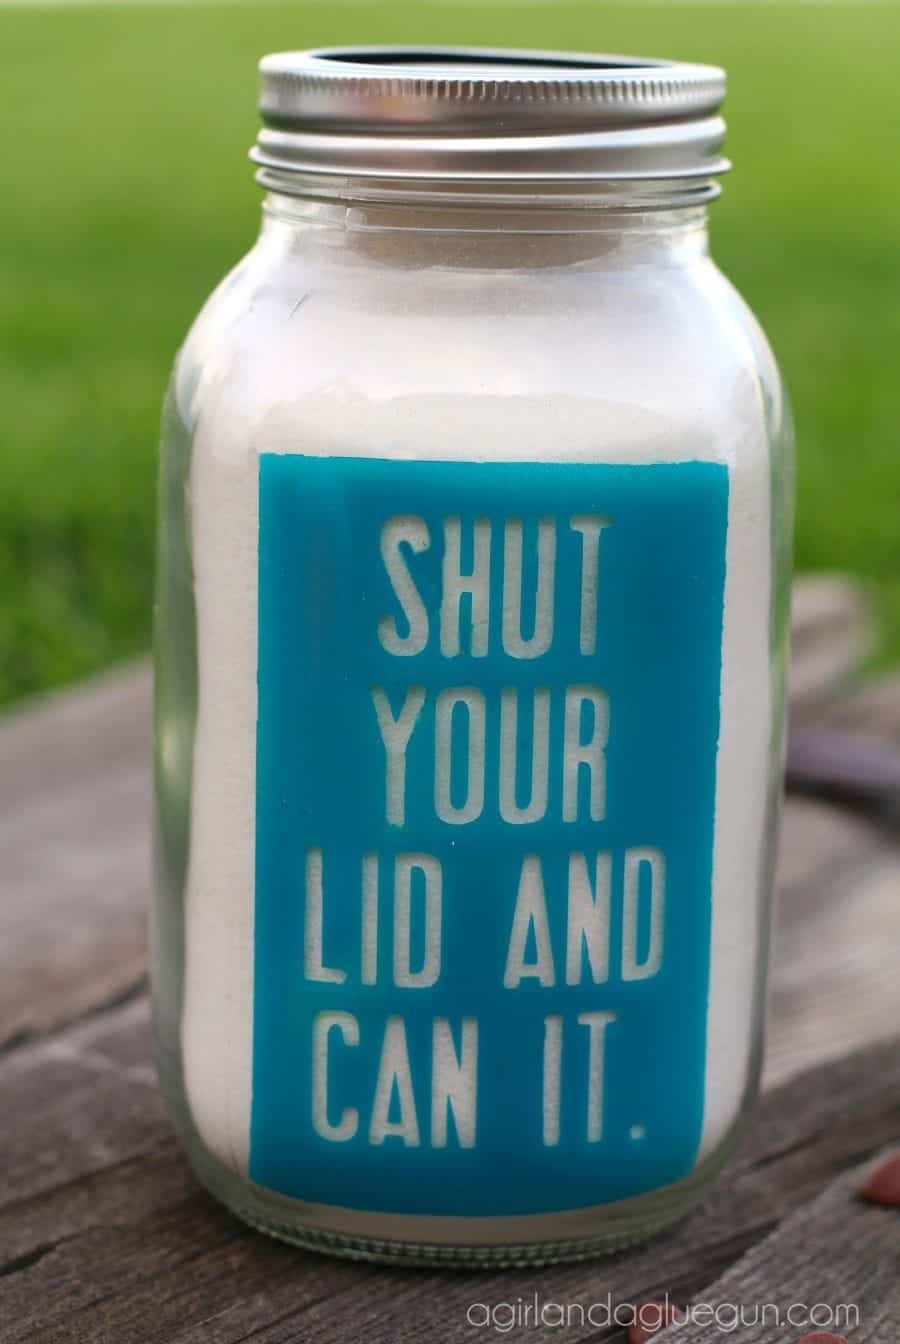
- A rounded surface-
 go here to see the mason jars)
 go
go When it’s a curved surface it can be hard to put on a BIG design (words and stuff are okay!) You can see the big box I was trying to make totally wrinkled up! 
and last:
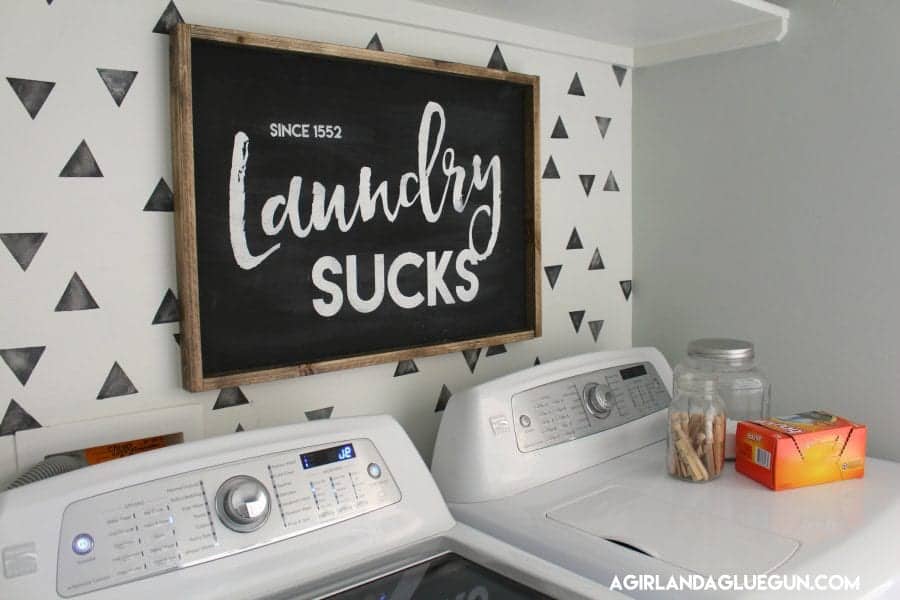
- When I want a distressed look. You can’t really achieve that with vinyl very well. So if I’m going for a weathered look I use it as a stencil so I can can sand it down really well –like my laundry room sucks sign!

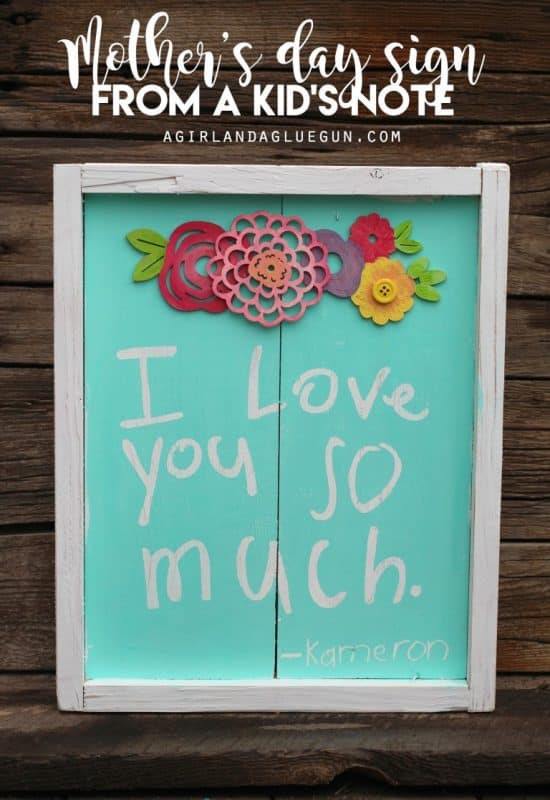
and then this was this sweet sign from my daughter’s note! The reason I did this is so she could paint it and feel like “she” made it!

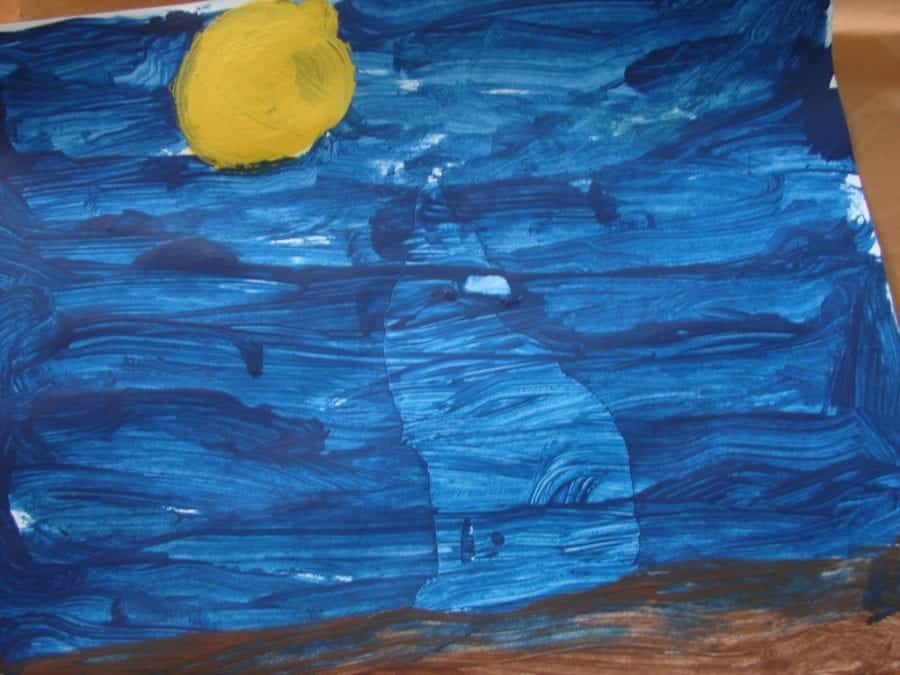
I also used this on paper so my kids could create some fun silhouette art

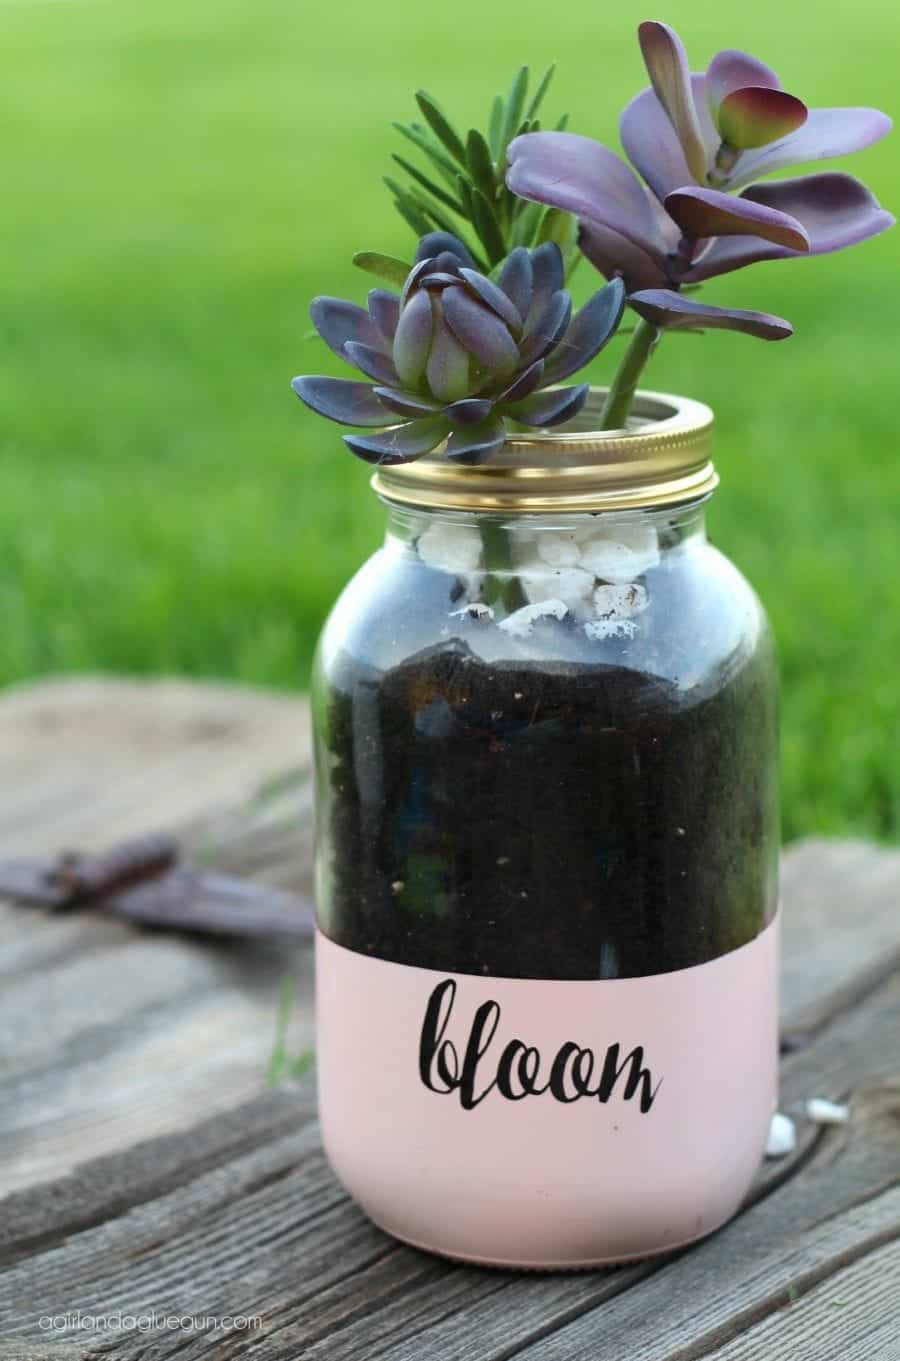
here is another fun mason jars:
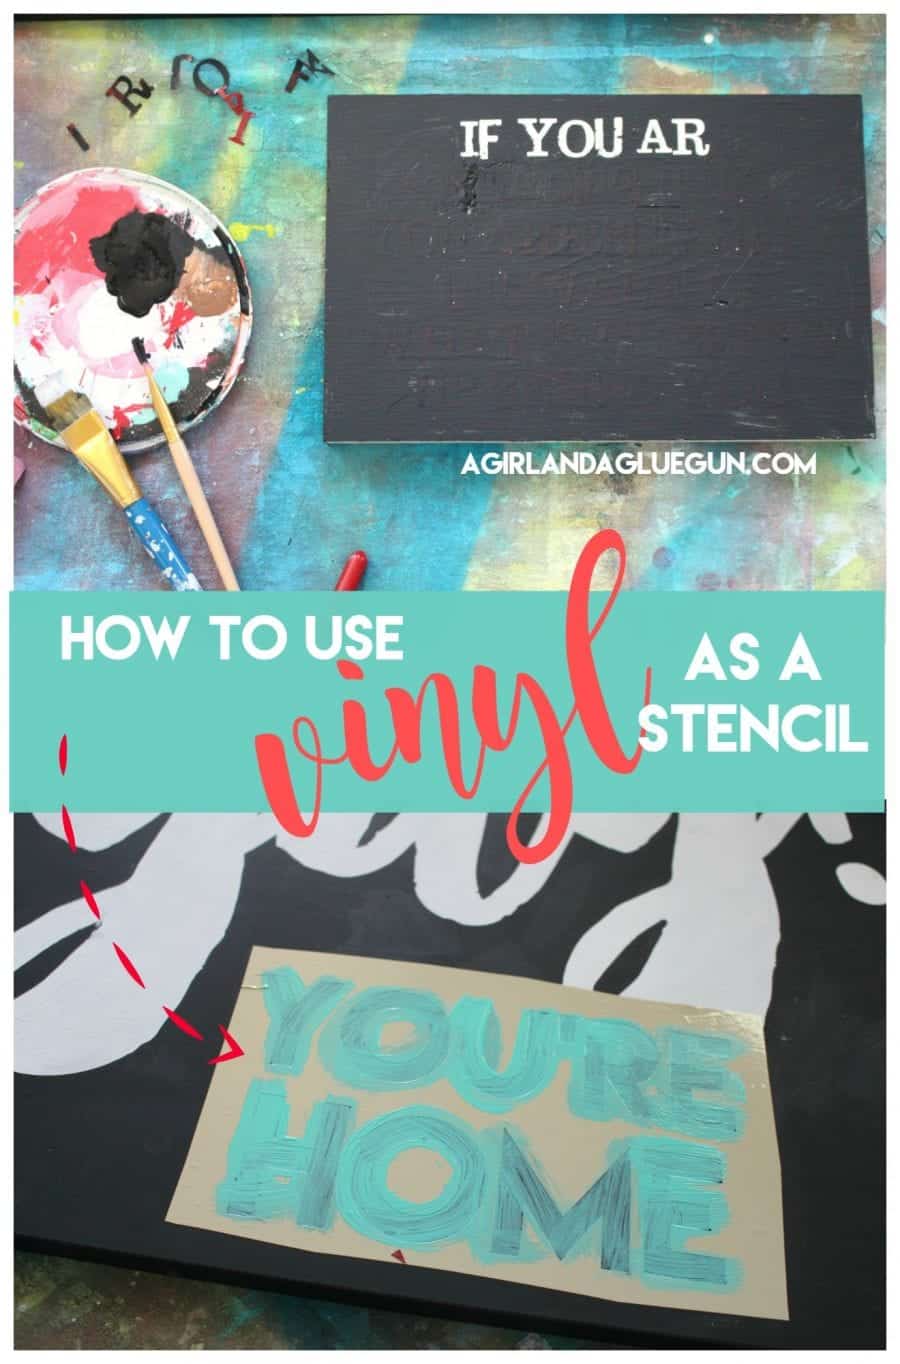
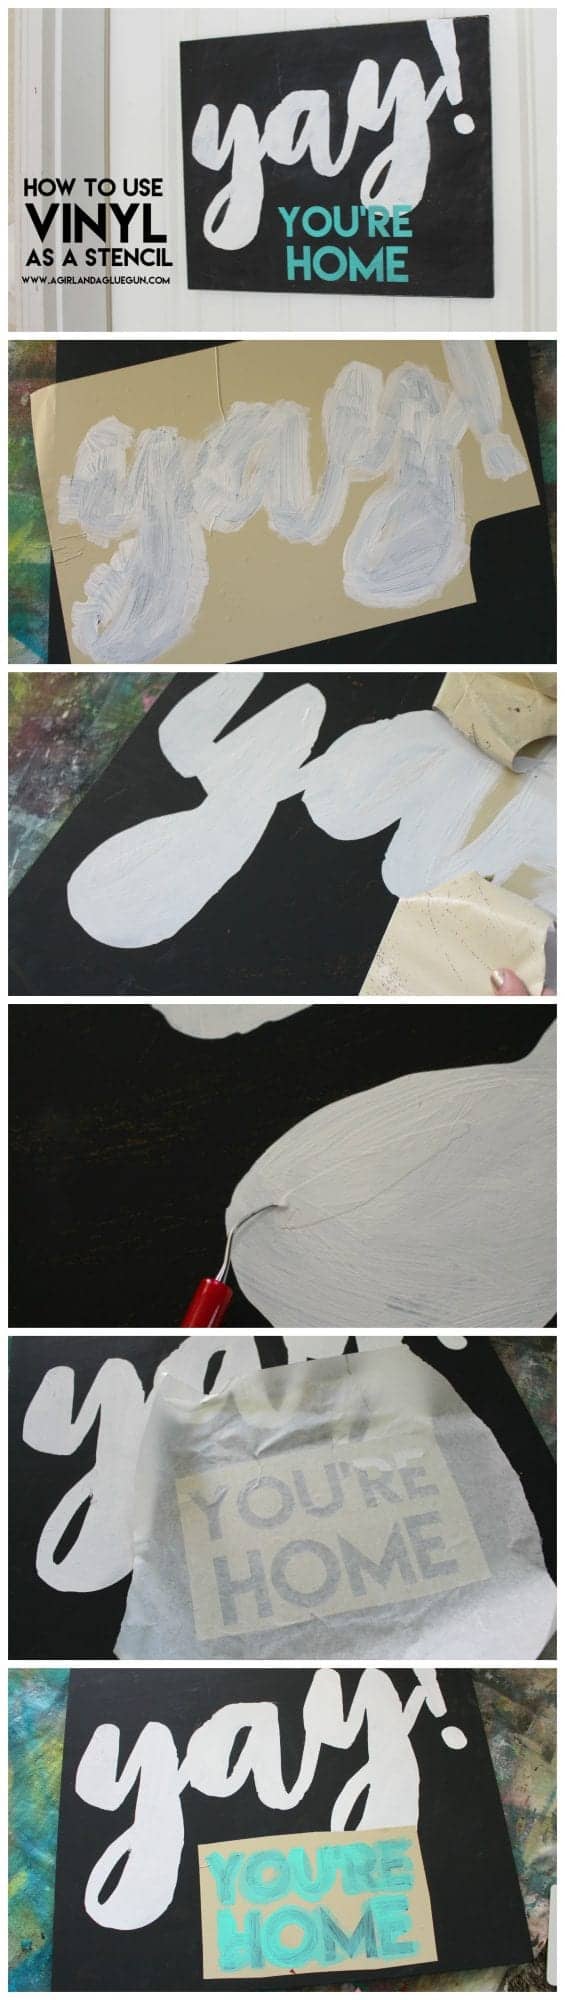
So now let’s get to the HOW to use vinyl as a stencil! If you watch the video above you can see both ways.
But basically you are going to cut your vinyl normal. (I get my adheisve vinyl from Expressions Vinyl) Pick your design or saying and run it through your silhouette cameo or cricut. Your wood or jar or project will need to be prepped beforehand. (if the wood is freshly painted, the vinyl can take off some of the paint.)
YAY SIGN: I peeled out the letters…leaving the background. Then using transfer tape I applied it to my wood. So the board was painted black…and then I went over the words with white! (two coats)
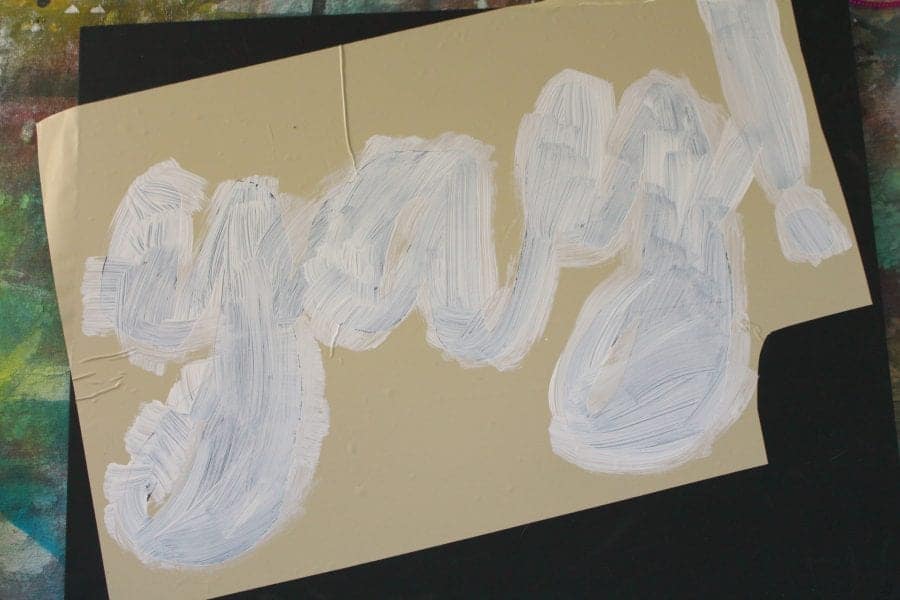 Immediatly after the last coat of paint I peel off the vinyl (if you don’t the paint dries and will peel off paint!)
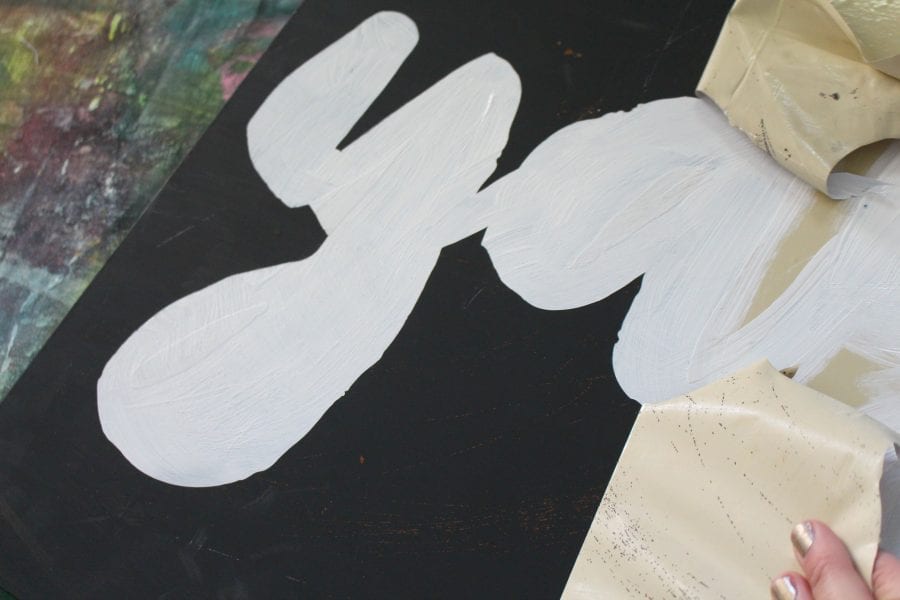
You will need to use a little pointy object (I LOVE this weeding tool) to get the small detail!

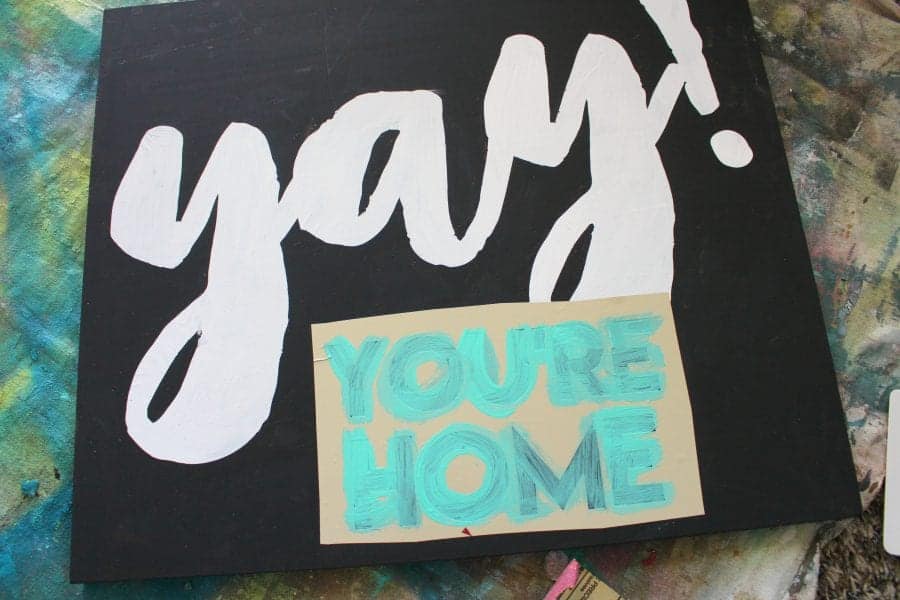
I even did layers on this one…waiting for the paint to completey dry from the yay..and added the blue part!
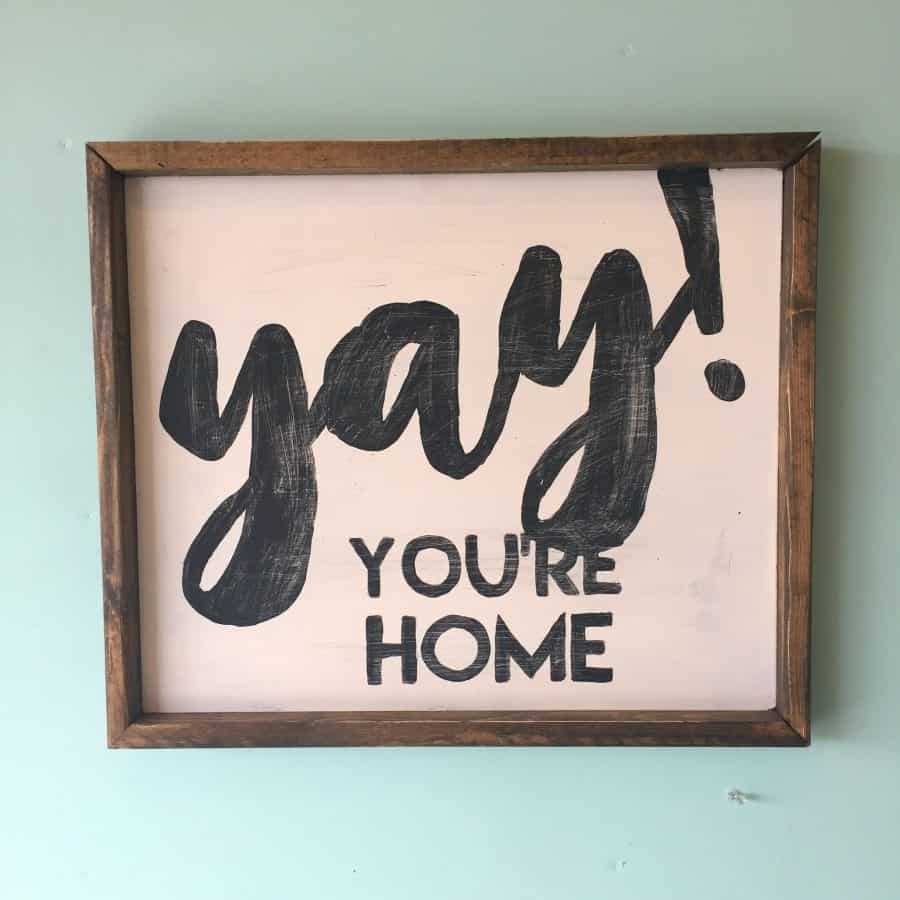
AND here’s the finished product! 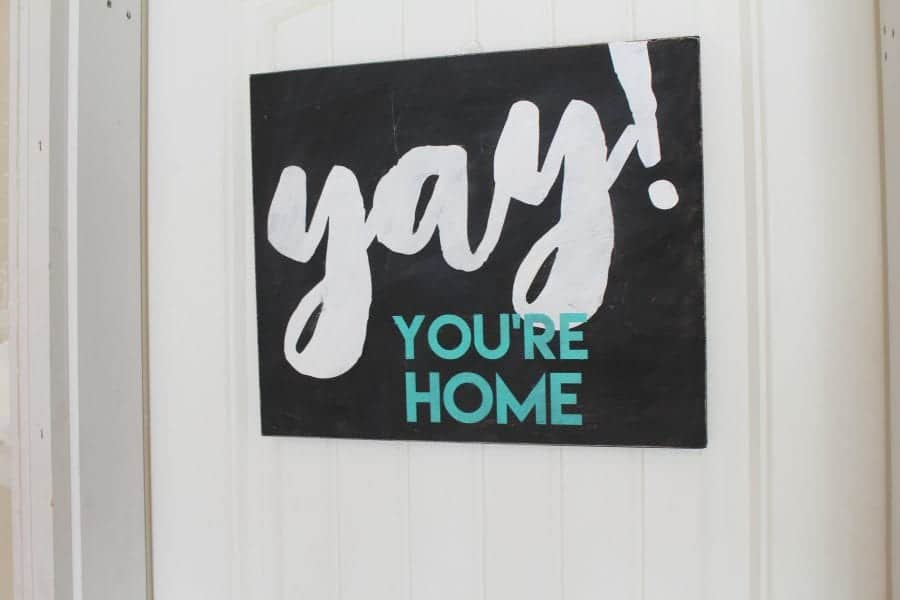
I wanted this for my garage door! 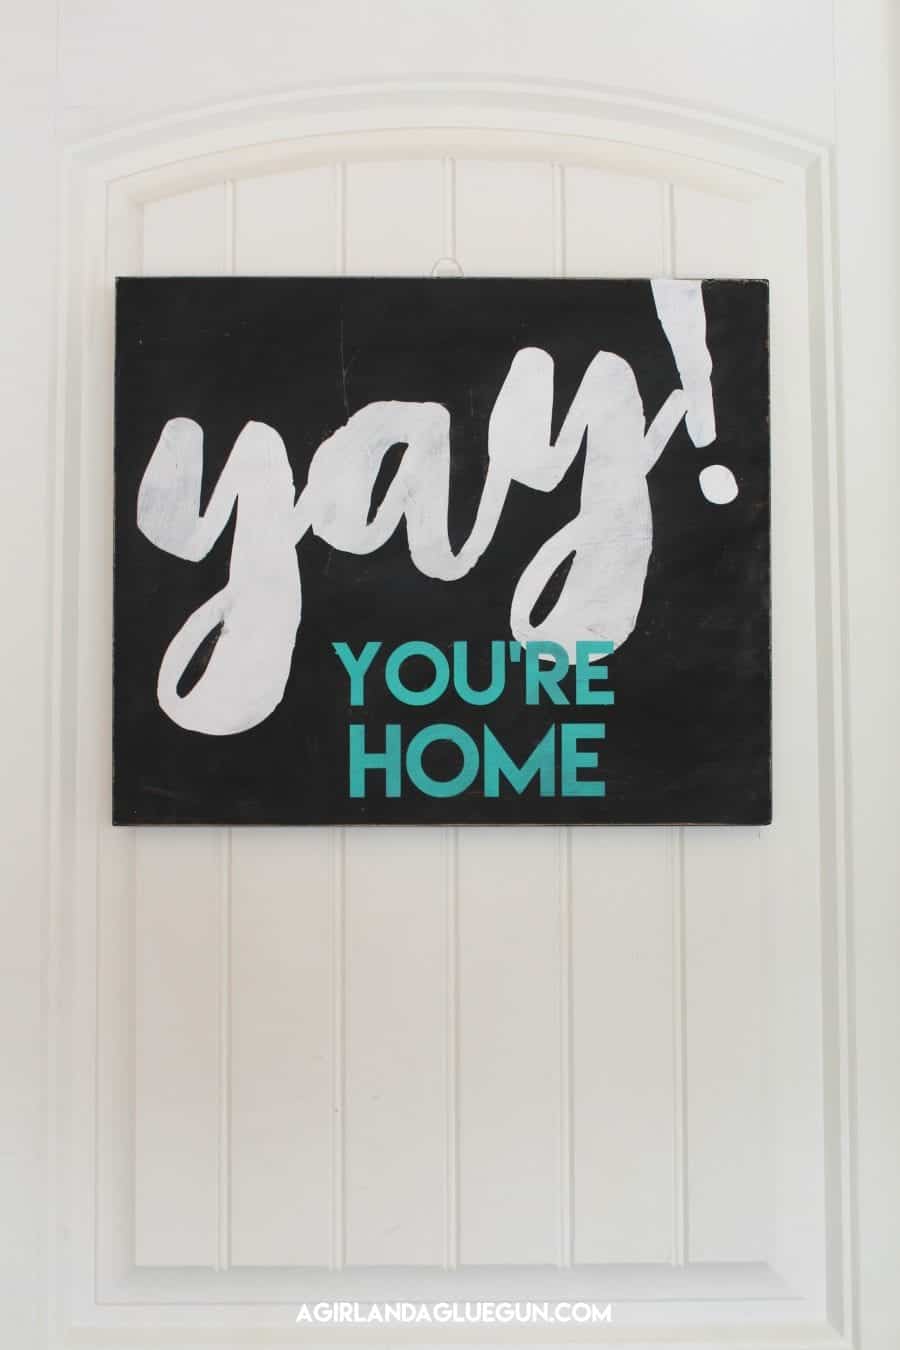
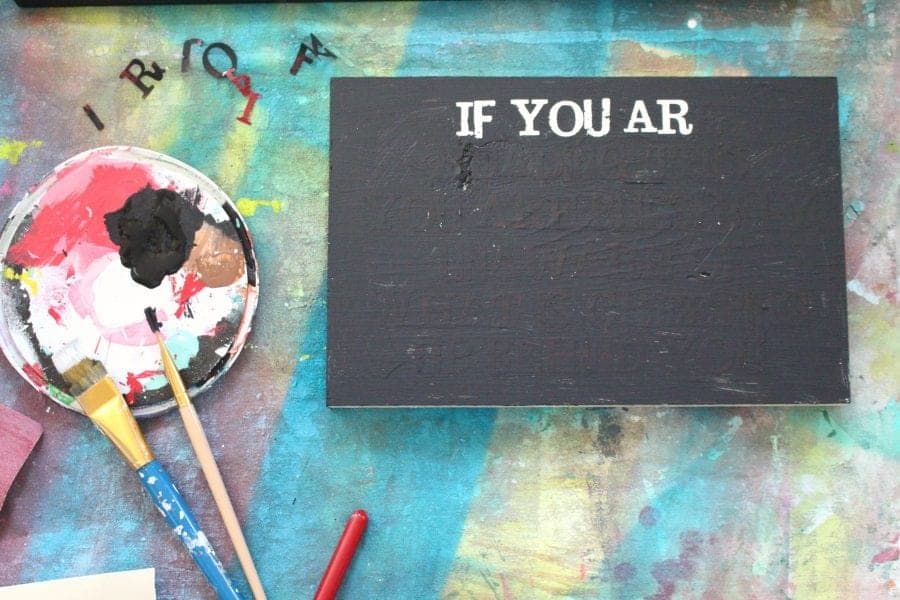
Next up is the creepy sign. It looks similar as the yay (black background and white words)

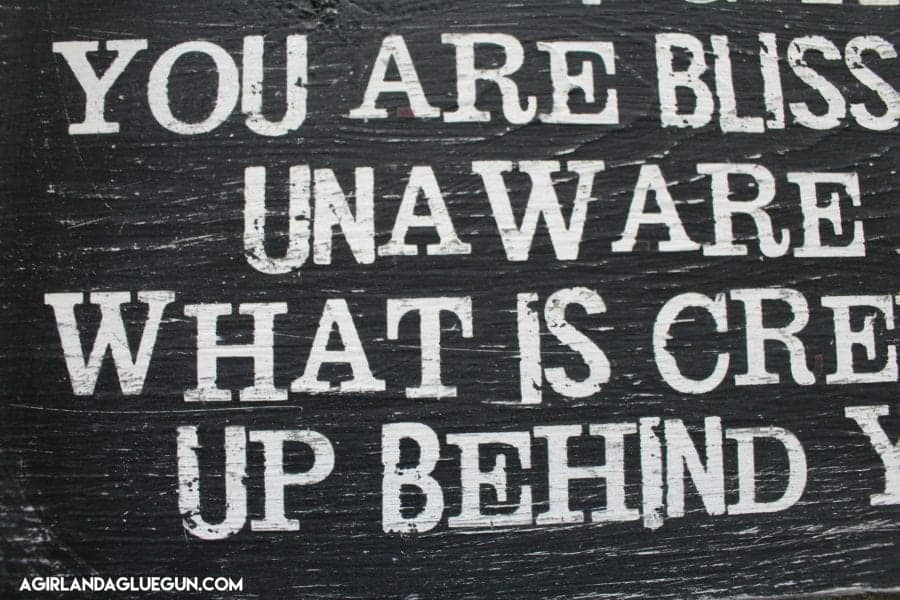
But this way is acheived backwards. I painted the background white–peeled up the negative space of the vinyl (leaving the words) and applying them to the board with heat transfer vinyl. I painted over the whole board with black and then peeled each letter. This way took a LOT longer (because of each letter instead of a big piece)
 BUT I wanted to show you because A. If you bought a vinyl saying–you could use it this way. Or if the board is painted the word color and you don’t want to repaint OR you forgot and weeded out the background instead of the letters. But for sure the YAY method is easier!
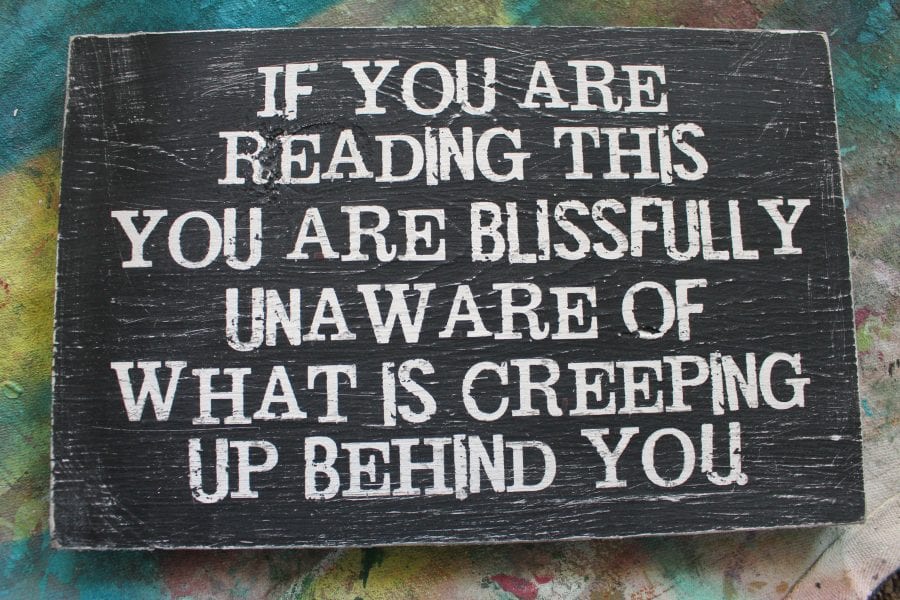
And then after all the paint dries…SAND! You can’t get this distressed look with vinyl!
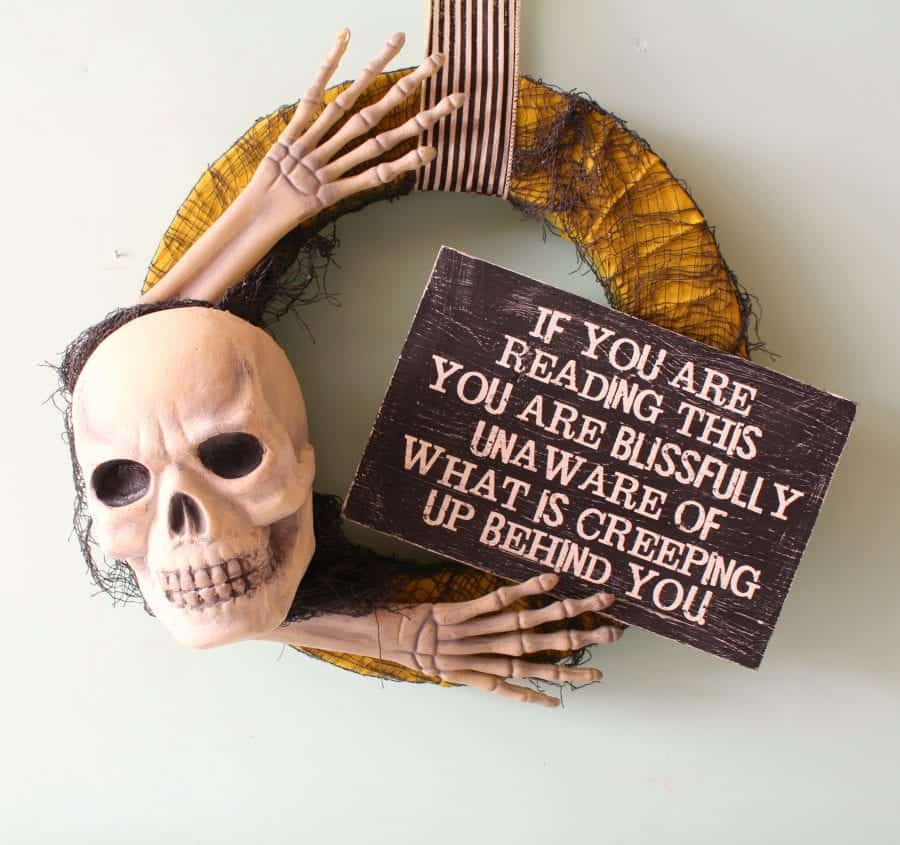
I stuck it on this wreath! Isn’t it fun!
(I also whipped up this one while I was making the Laundry sucks sign!)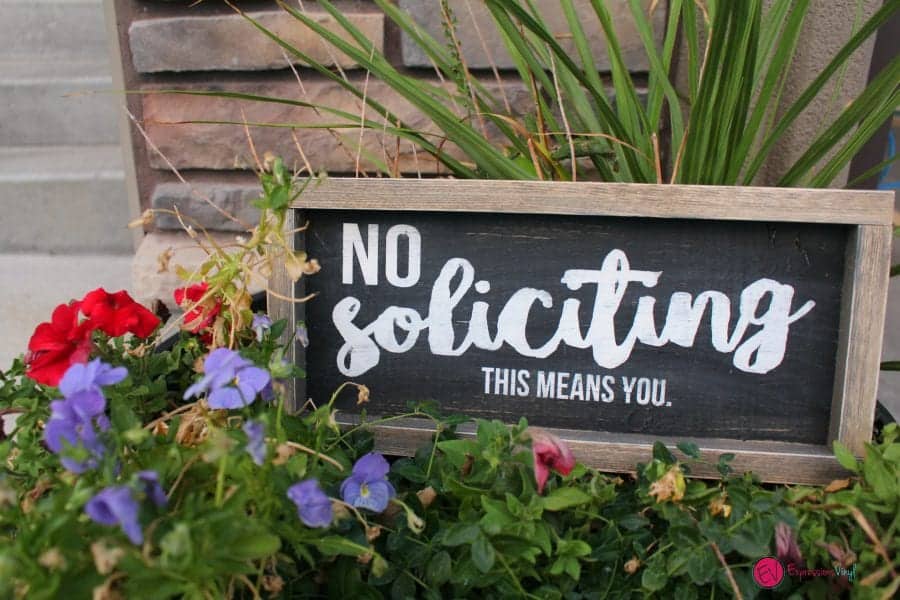
P.s. I actually made another one–
(framed out using this technique!)
Linda at Mixed Kreations says
Wow your signs are so cool! I distress most of my signs, but I would Love to have a cricuit. I think that would be so neat to make my own vinyl stencils. Thanks for showing how it’s done. Maybe one day I’ll be able to get one.