
This shop has been compensated by Collective Bias, Inc. and its advertiser. All opinions are mine alone. #SpringCreations #CollectiveBias
Today I have a super fun project–using wood scraps and Scotch® Brand — From masking tape to spray adhesives and everything in between — no matter the craft, there’s a Scotch® Brand product to do the job.
I made some state cutouts…but you could totally branch out and do letters, stars, pineapple, unicorn–so many options!!! It would be totally fun to have a girls craft night and see what everyone creates!
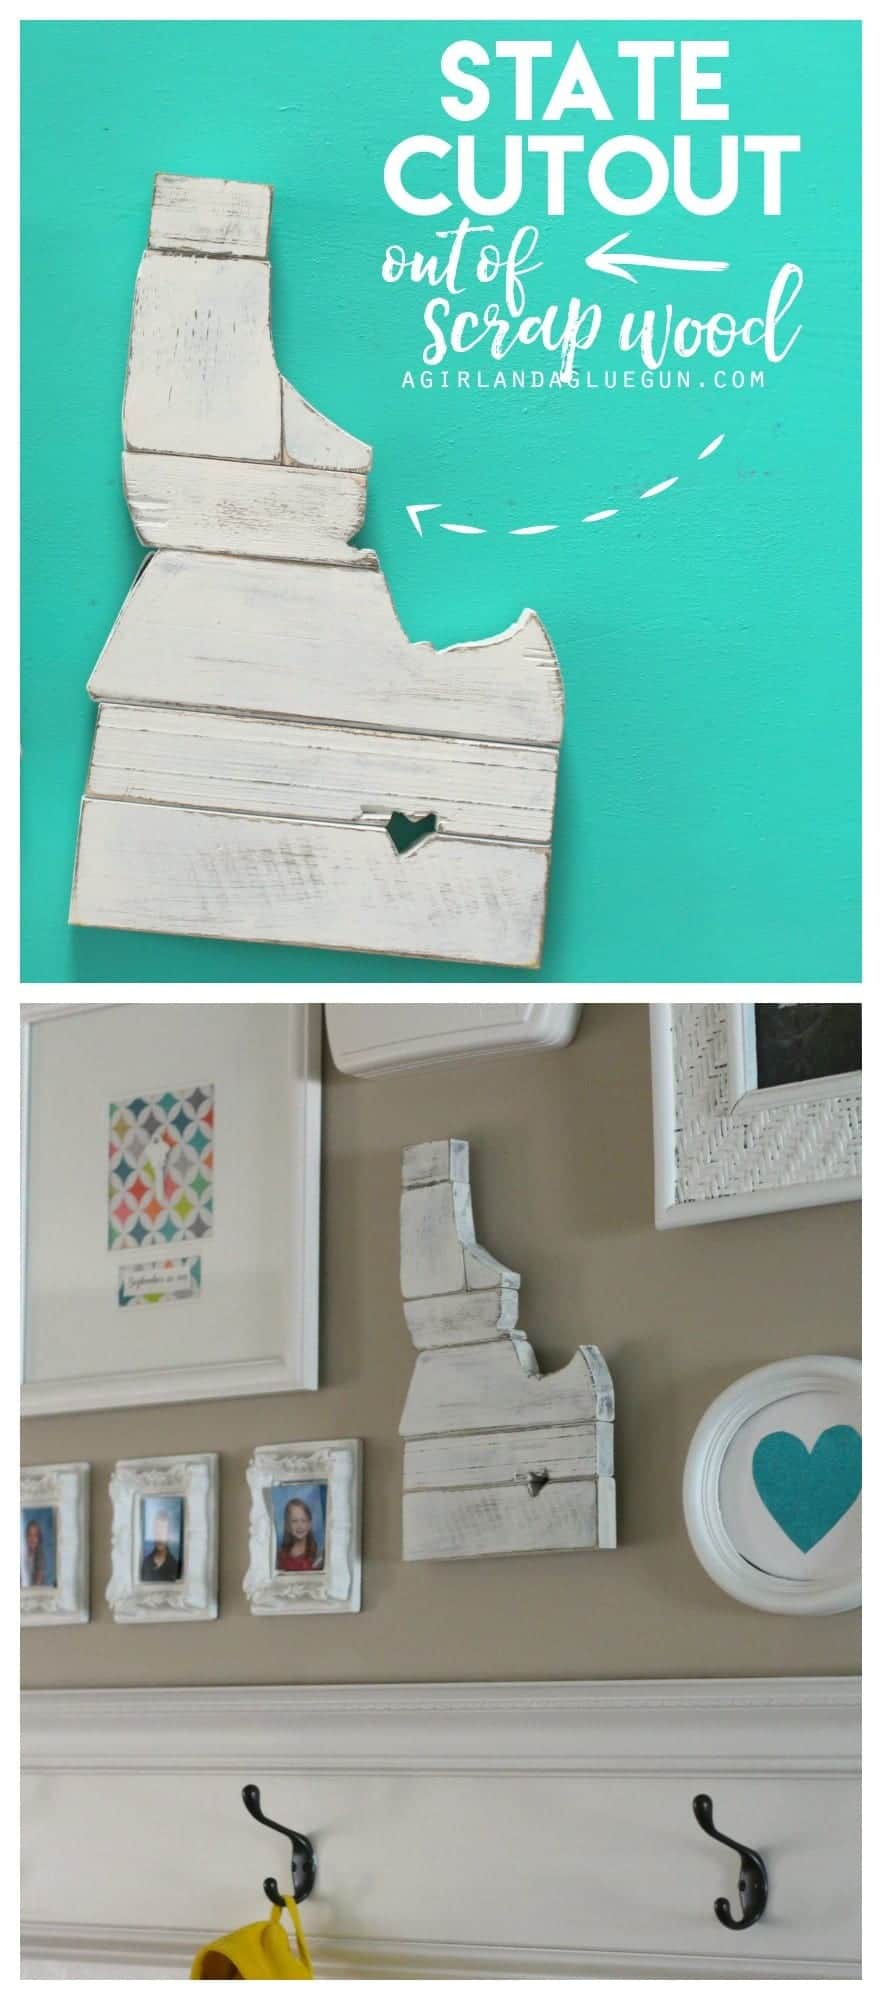 You can easily hang them up with Command™ Brand hooks or strips! They provide damage-free hanging solutions for a wide variety of uses for your crafting needs. Our products hold on strongly, come off cleanly. (aka…no holes in your wall!)
Besides the wood and jigsaw–all the supplies can be found in the crafting aisle at walmart! Got to love one stop shopping!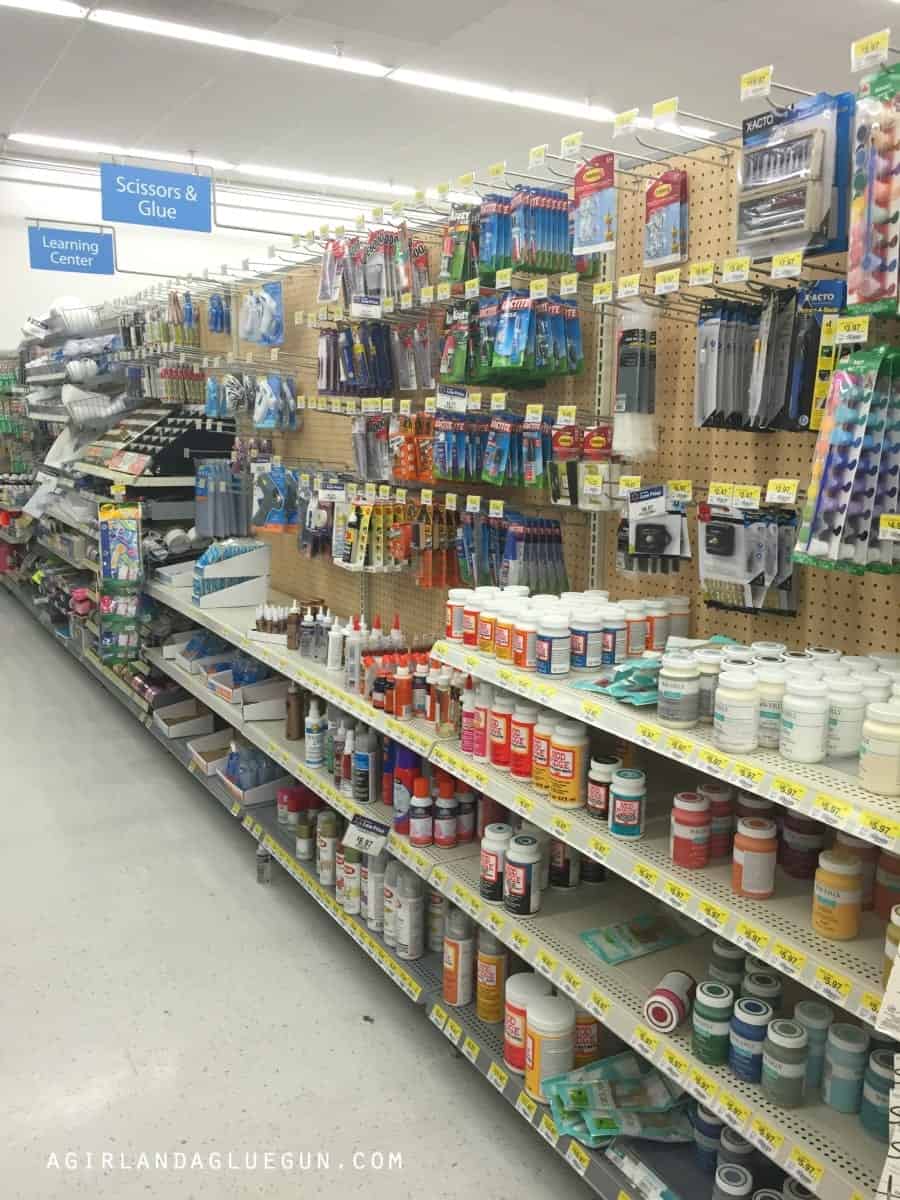
Here’s what you need:
- Scotch® Brand Permanant Mounting Tape
- scrap wood
- paint
- Command™ Strips
- jig saw
Round up all your scrap wood. I loved the look of different sizes but you could do the same size if you wanted!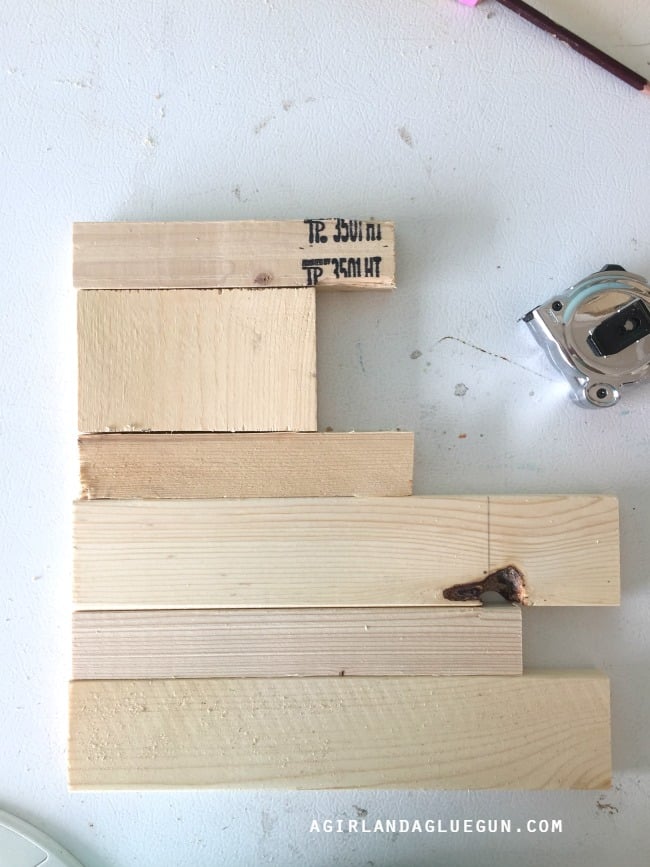 Trace or sketch the state shape! I had a cutout so I just lightly sketched around it (since I wanted it bigger!)
 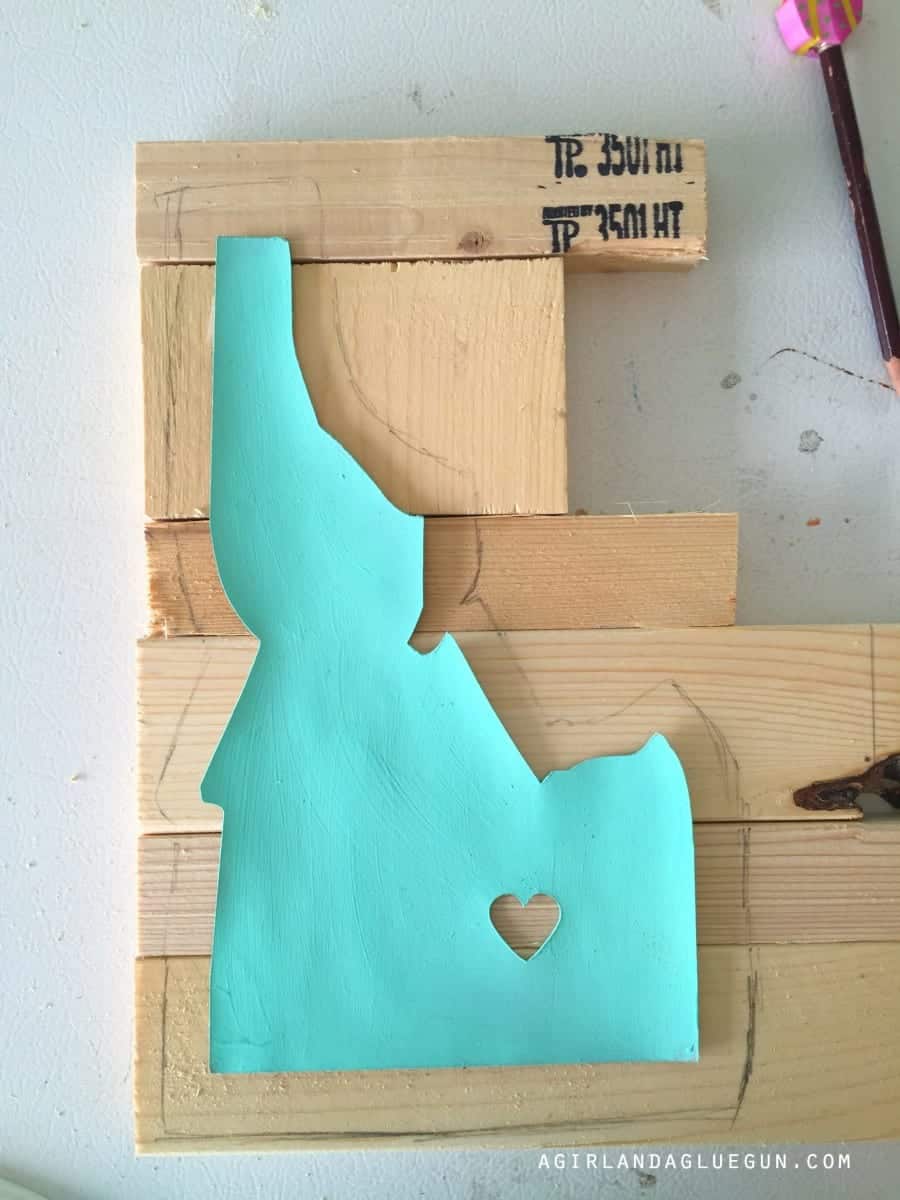 I tried to make all the straight cuts on the chop saw.
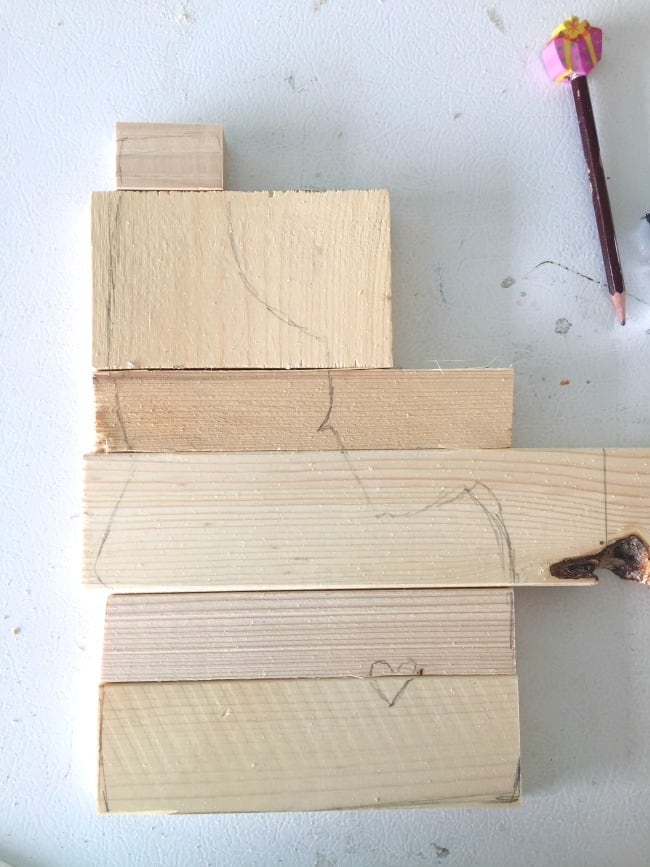 Then I had to get in there with the jigsaw. Some of these pieces were pretty small, so make sure to clamp them down and get your fingers out of the way!
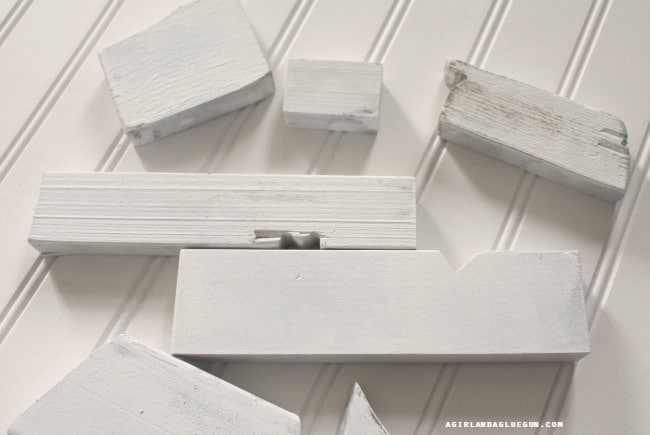
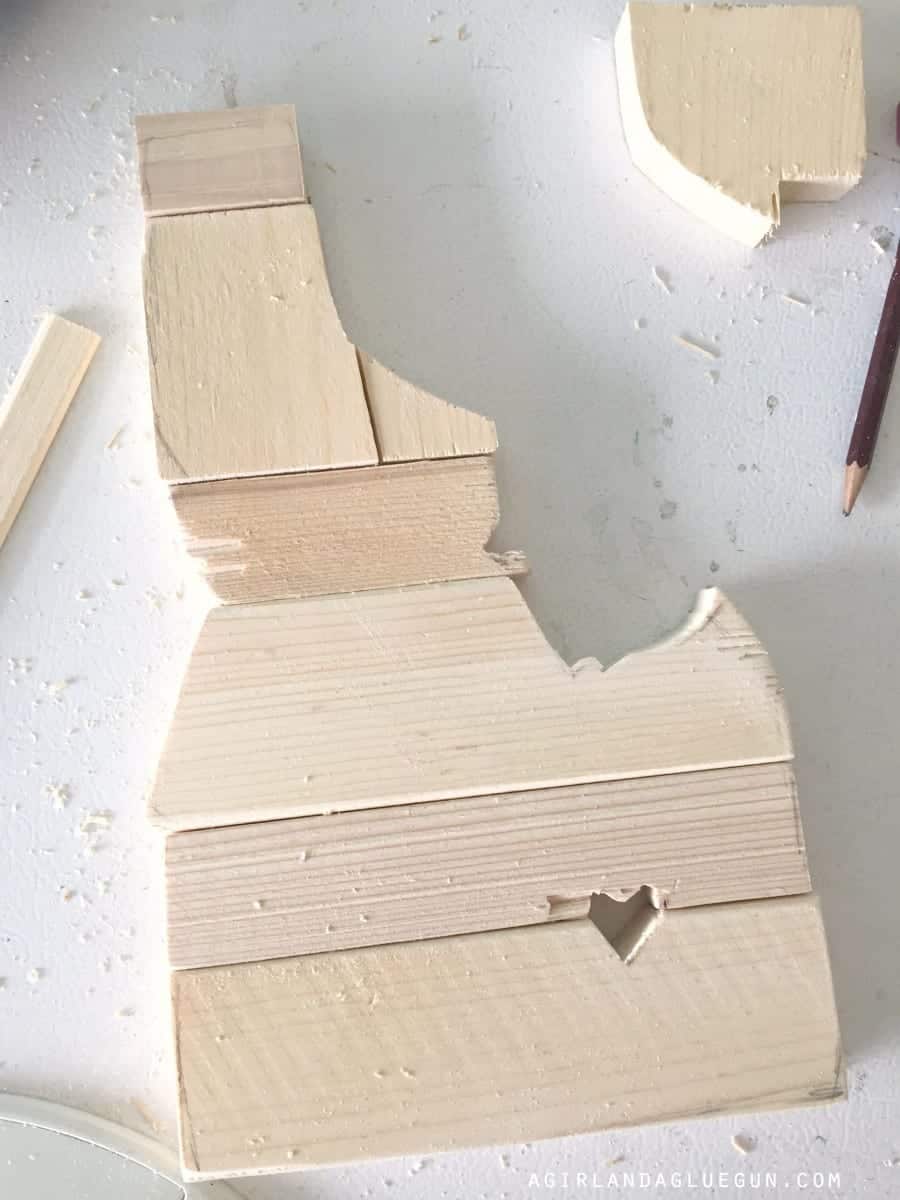 I wanted a distressed look to match the rest of the decor so I stained them all brown and painted them white after that dried. Then I used sand paper to smooth the edges and let the brown show through (you can see on the top right piece!)
(looks like a jig saw puzzle!)
At this point…I was kind of stuck on how to get all these pieces to stay together as one big piece! Lucky for me I stumbled upon Scotch® Brand Permanent Mounting Tape! It turned out perfect! Held it into place and looks fantastic! I had some skinny pieces of wood left over from trimming my Idaho.
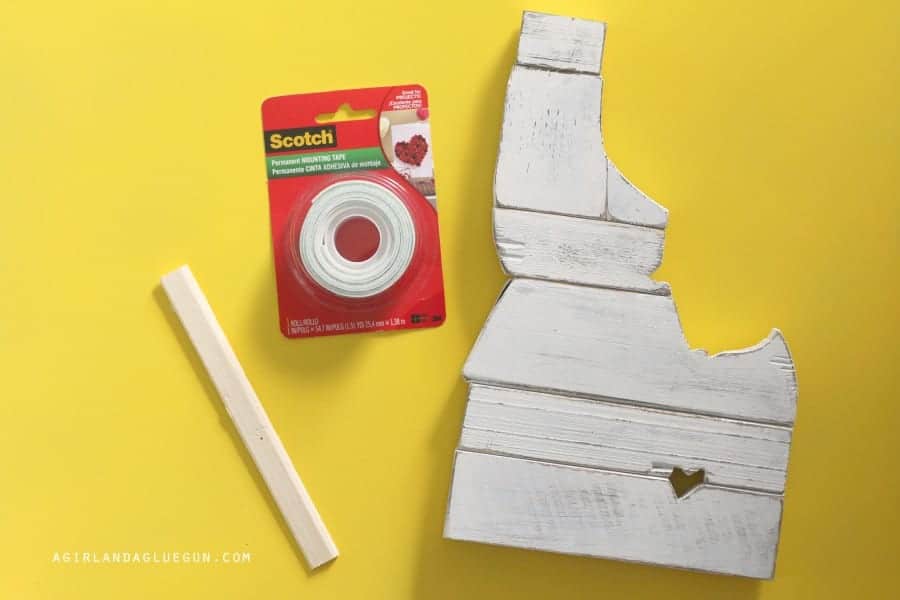 I just covered one side of the stick with the tape (You can trim it to size–but it was on the back so I wasn’t worried about it!)
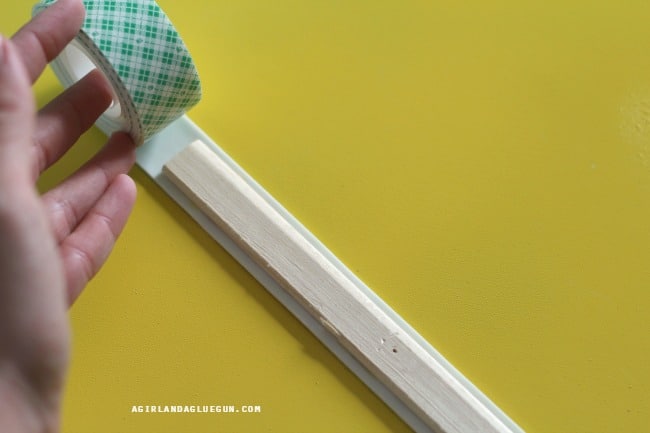 Peel off the backing and press onto the Idaho!
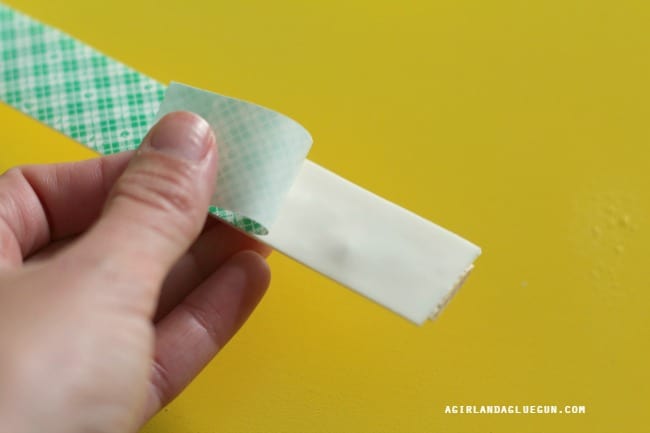 I let it stick for awhile before hanging! I just had two strips to hold into place (although I’m sure one would have held it fine!)
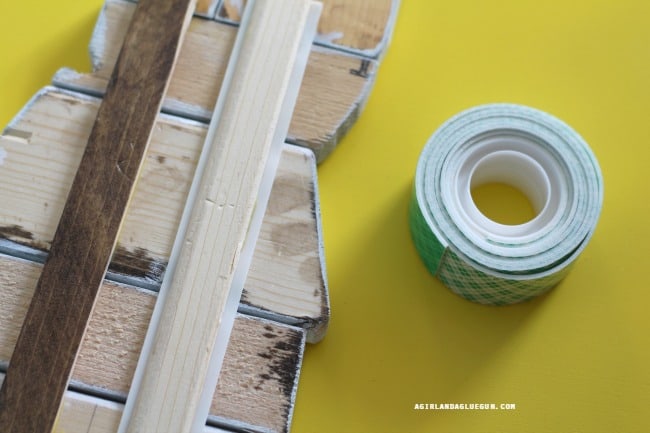 Then it’s time to hang with Command™ Strips–Perfect way to get it on the wall without any holes! My husband is anti holes in walls so we totally buy Command™ Strips and Hooks in BULK!
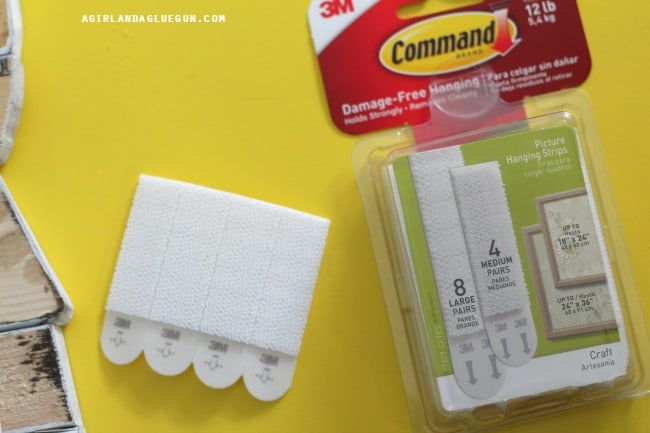 Here is my tip–I place one side on the project…and just barely attach the other piece on top and then peel off the backing. Then I place the project where I want it so the Command™ Strips gets placed exactly where it needs to be. Then I take the project off and press the Command™ Strip and let it adhere before placing the project on the wall!
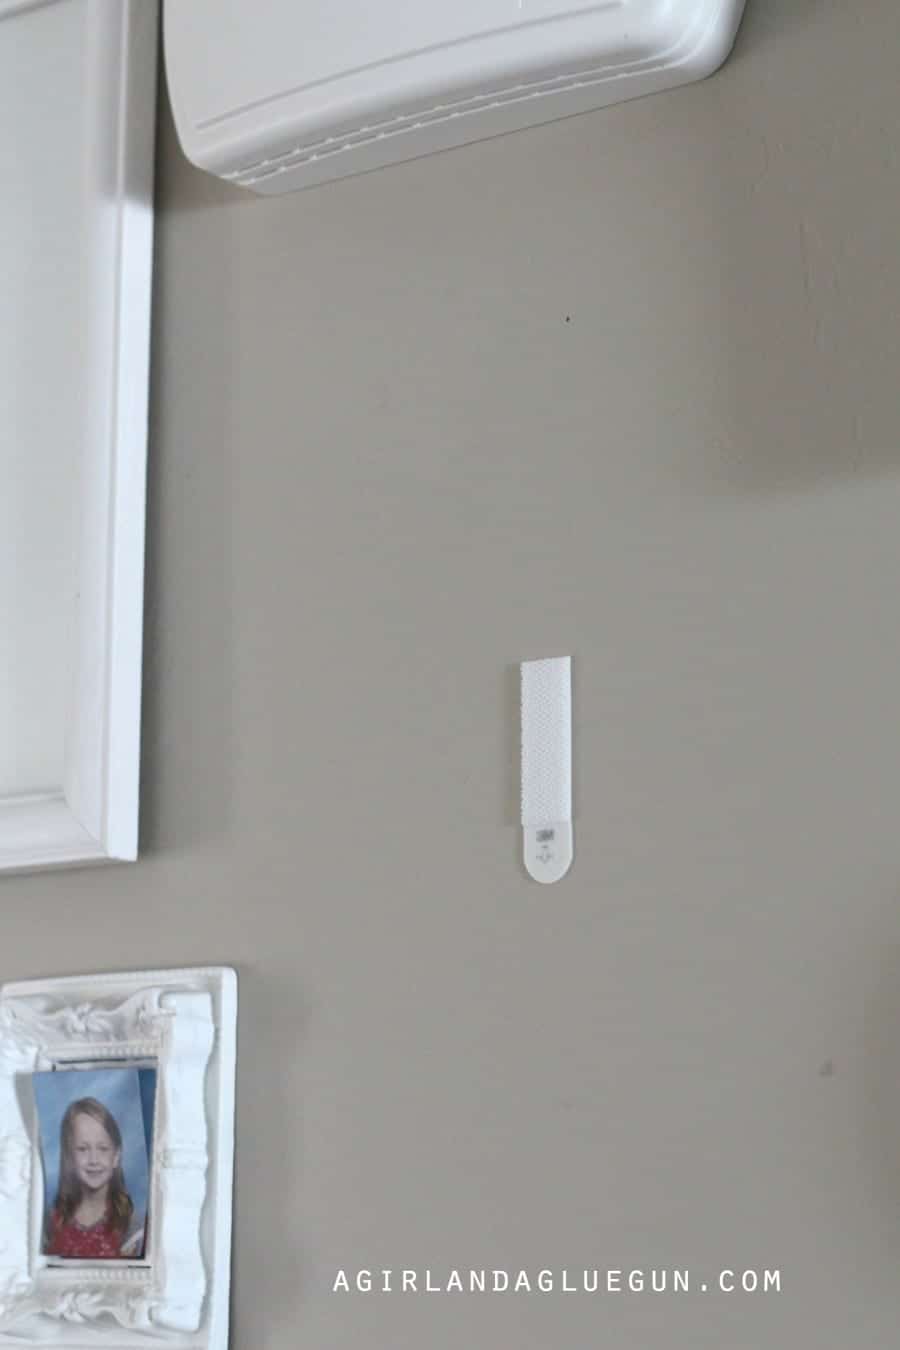
It totally finishes off my gallery wall!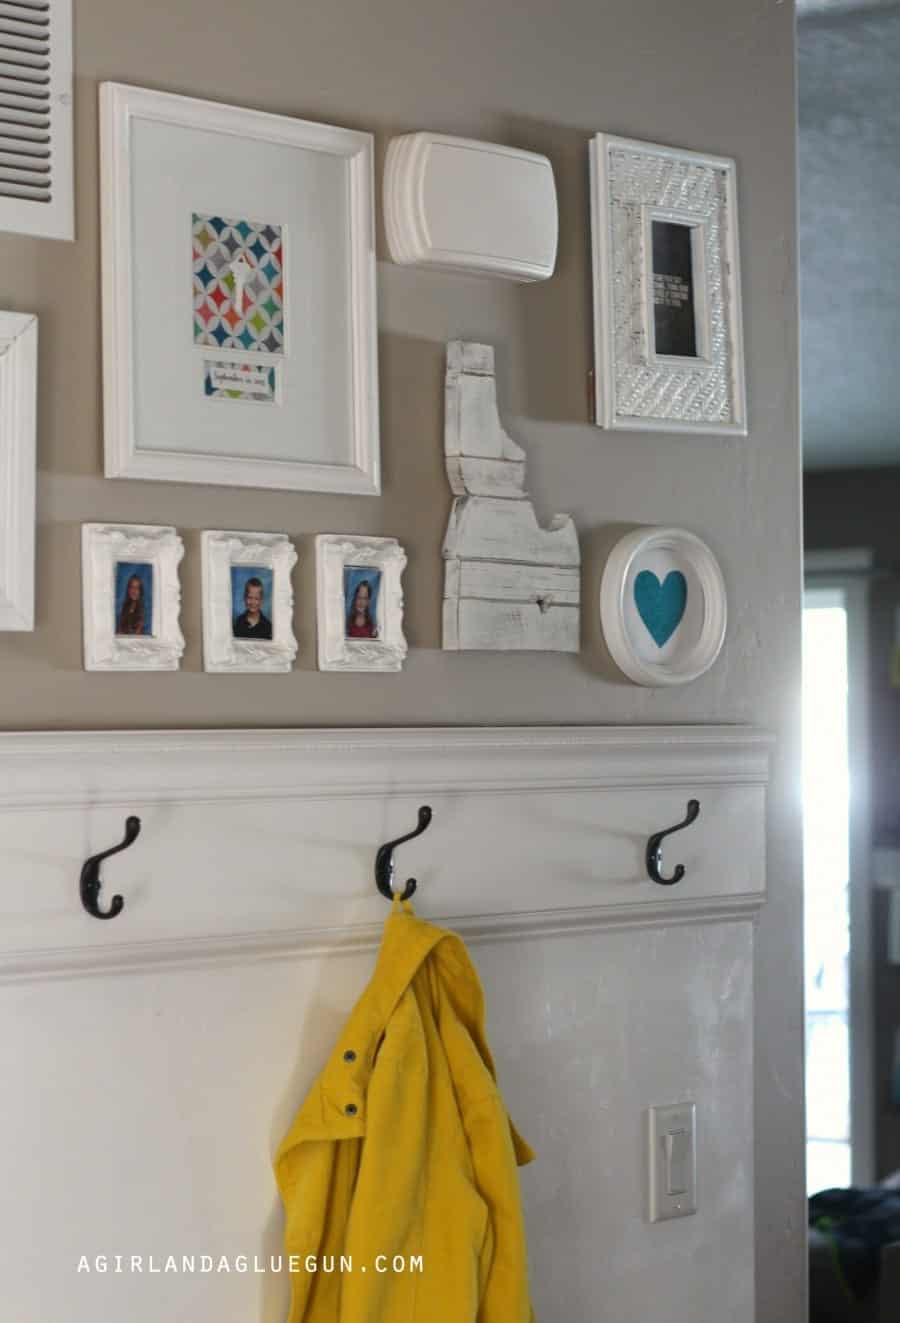
I also made a Utah shape one (this one with watercolors)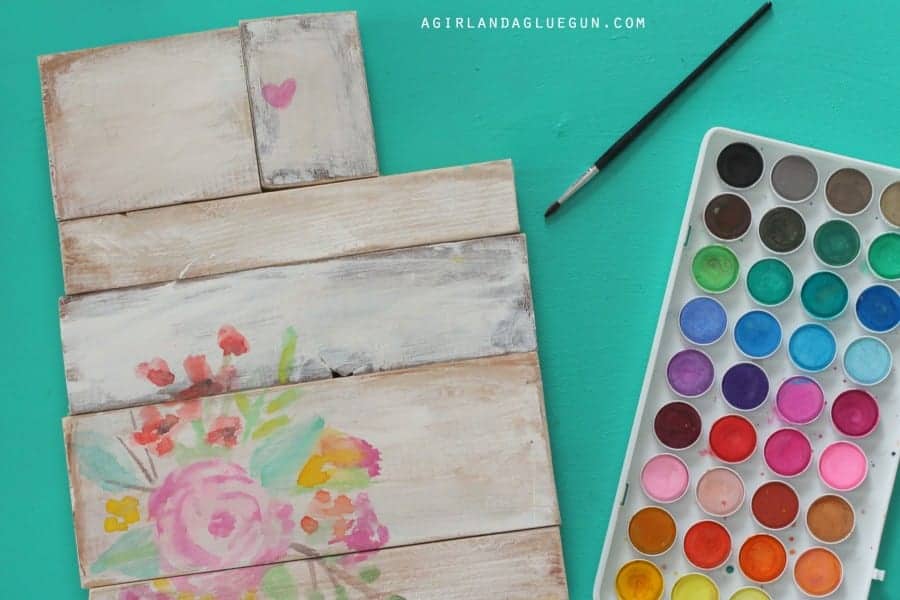
I didn’t have any more pieces of small wood…so I actually just cut up a piece of foam board and attached it using Scotch® Permanent mounting tape again. 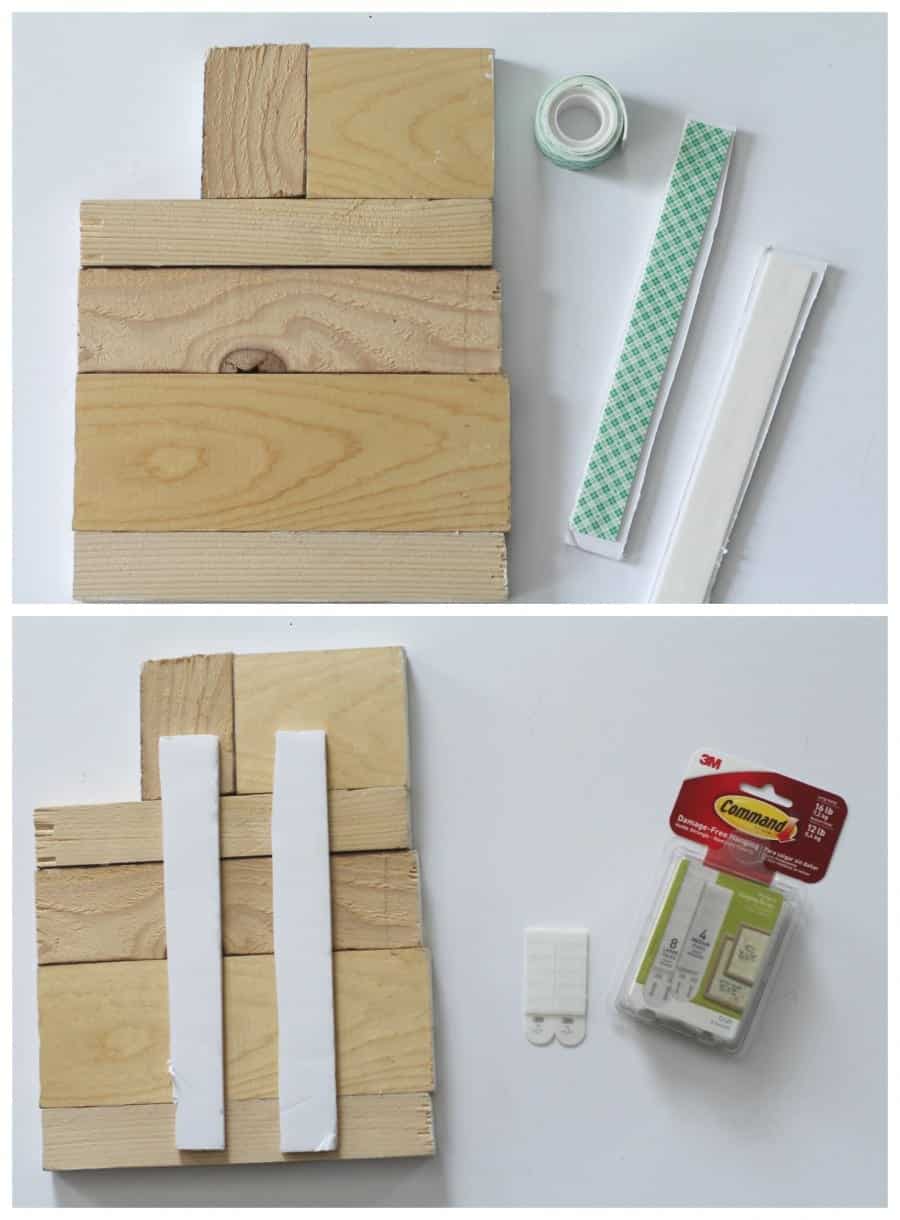
This one was a little bigger so it worked a little better with two stabilizers on back!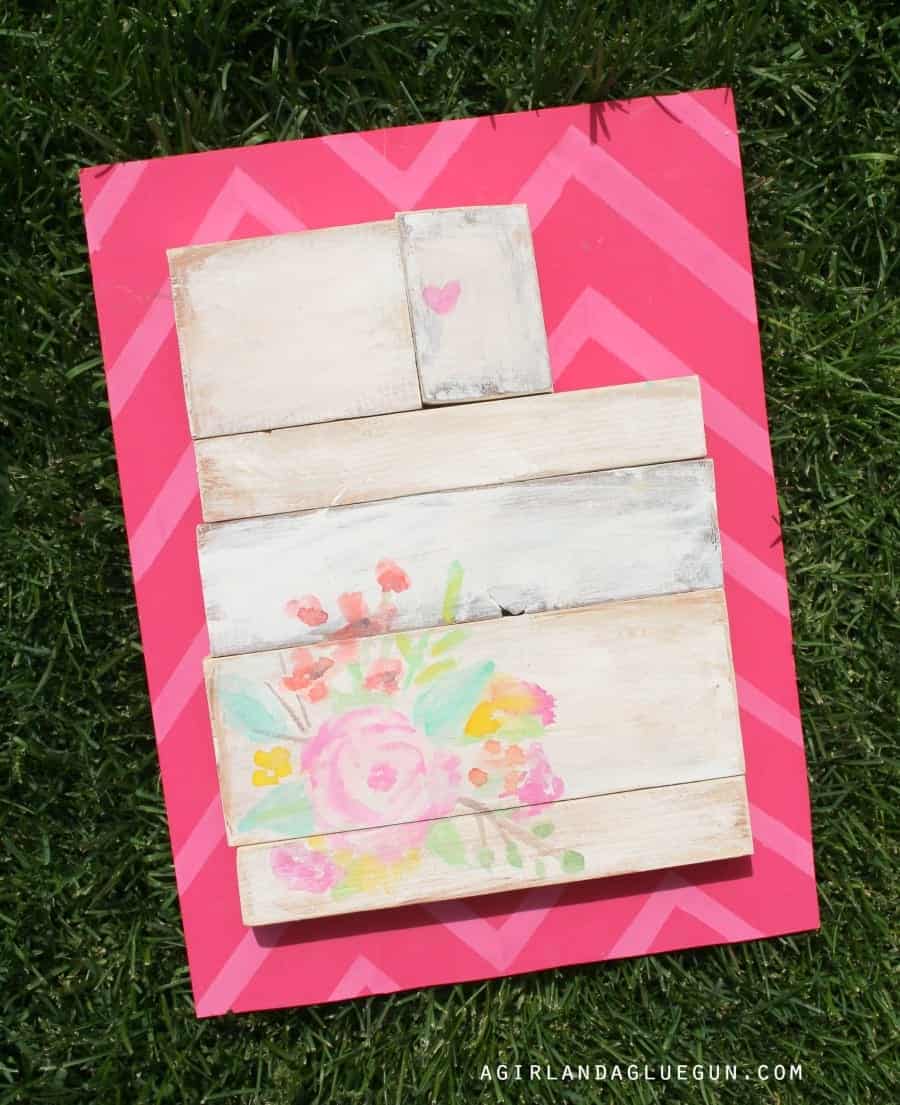
Now I want to make an Arizona–where my husband was born with some cactus painted on them!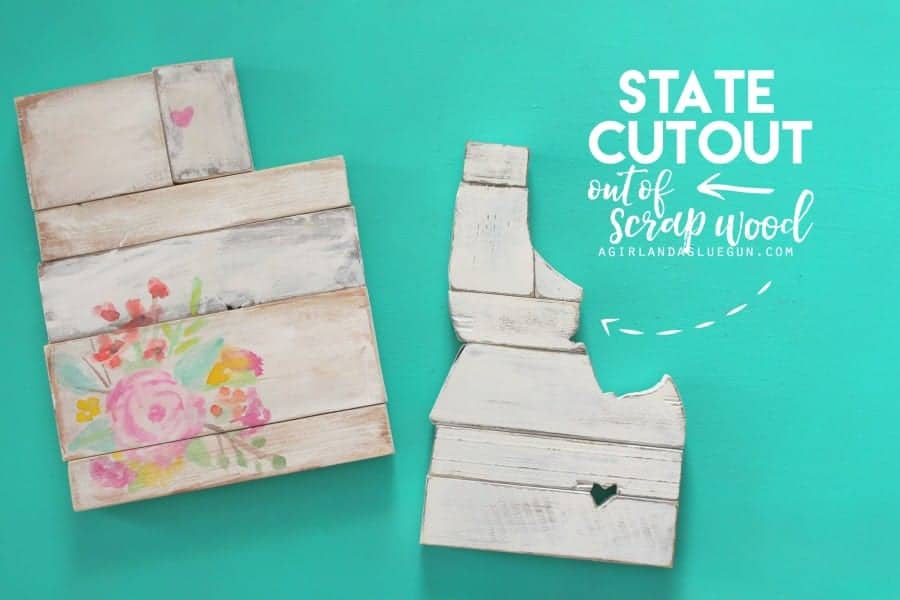
You can get even more inspiration on Pinterest and from Scotch® Brand! Lots of fun ways to create with Scotch® brand!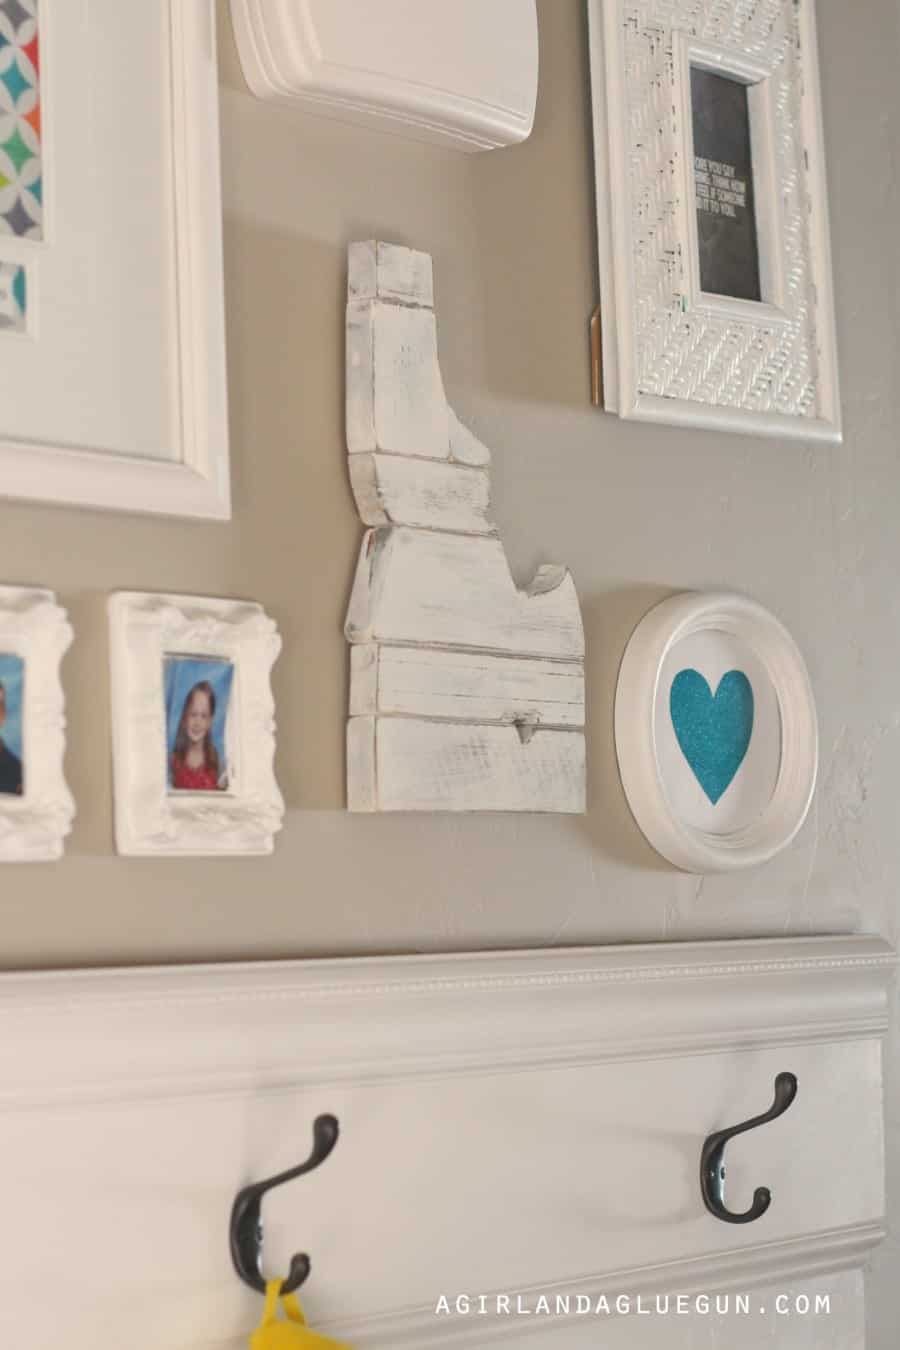
Kara Coo says
Totally love this! That teeny tiny heart just makes it. Although that Utah one is pretty too. Great idea!
Courtney Buteau says
I love everything about this idea!!! You did such a fabulous job explaining how to do it. It seems very doable! I adore your gallery wall. Beautiful. #client
Virginia Fynes says
Darn you and your easy cut out states… but that technique is genius! And LOOOOOVE that watercolor idea, it is so pretty!
Kimbo says
haha! Poor Canada!!!
Lolly Jane says
This is my kinda DIY! LOVE it!! And adore the watercolor, you are mega talented!