
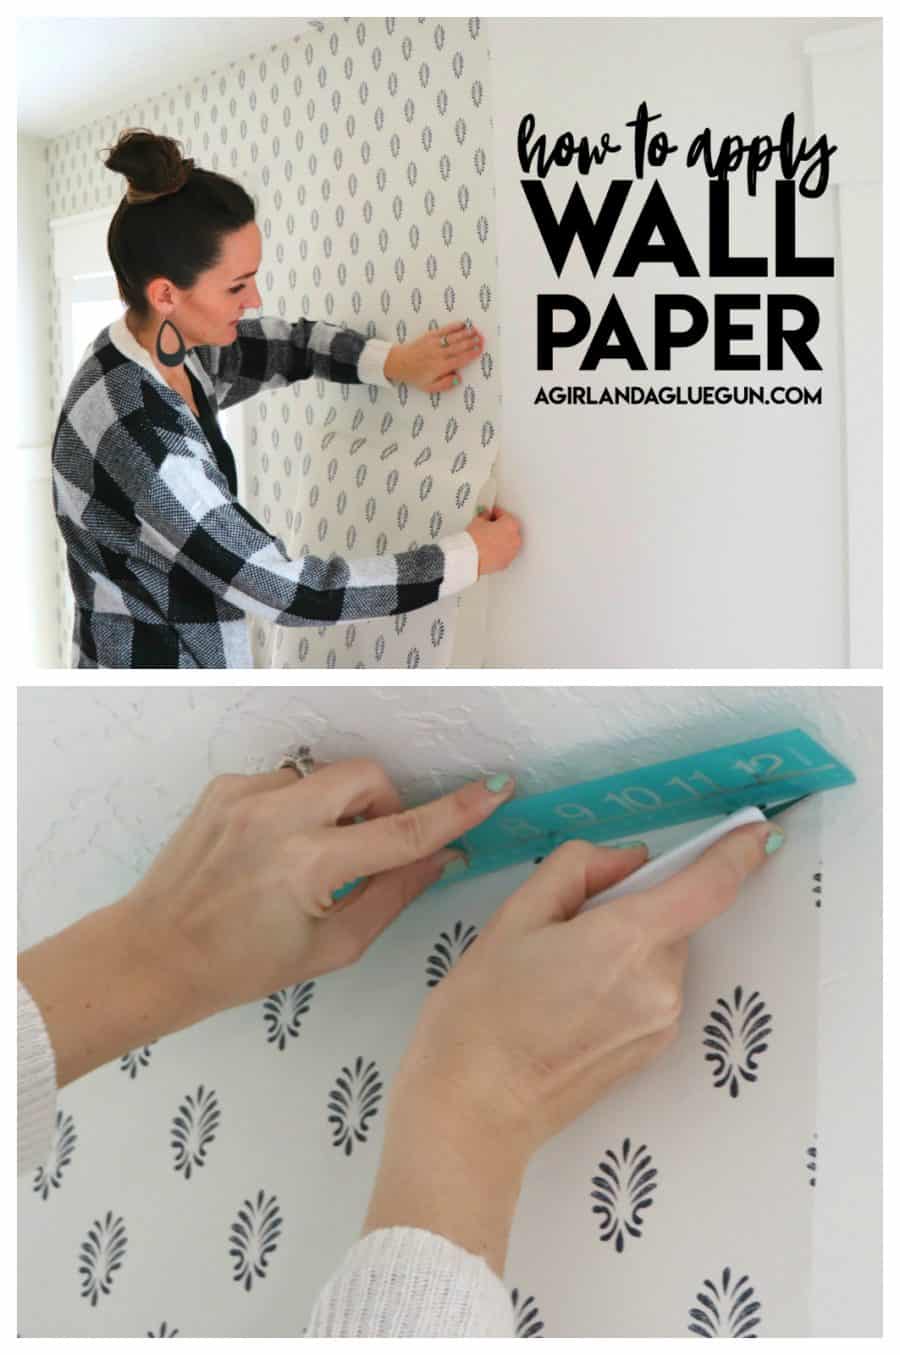
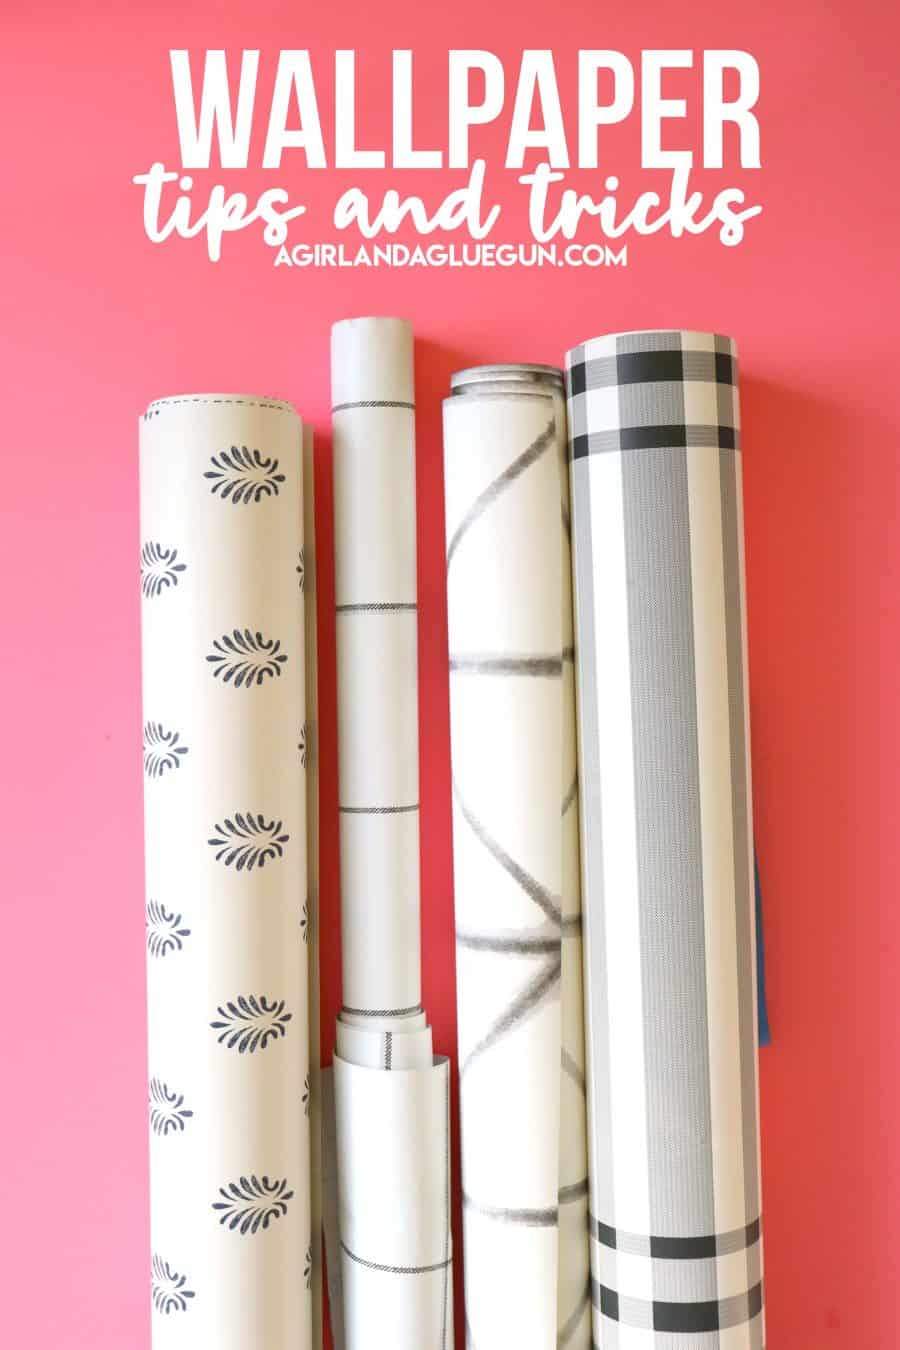
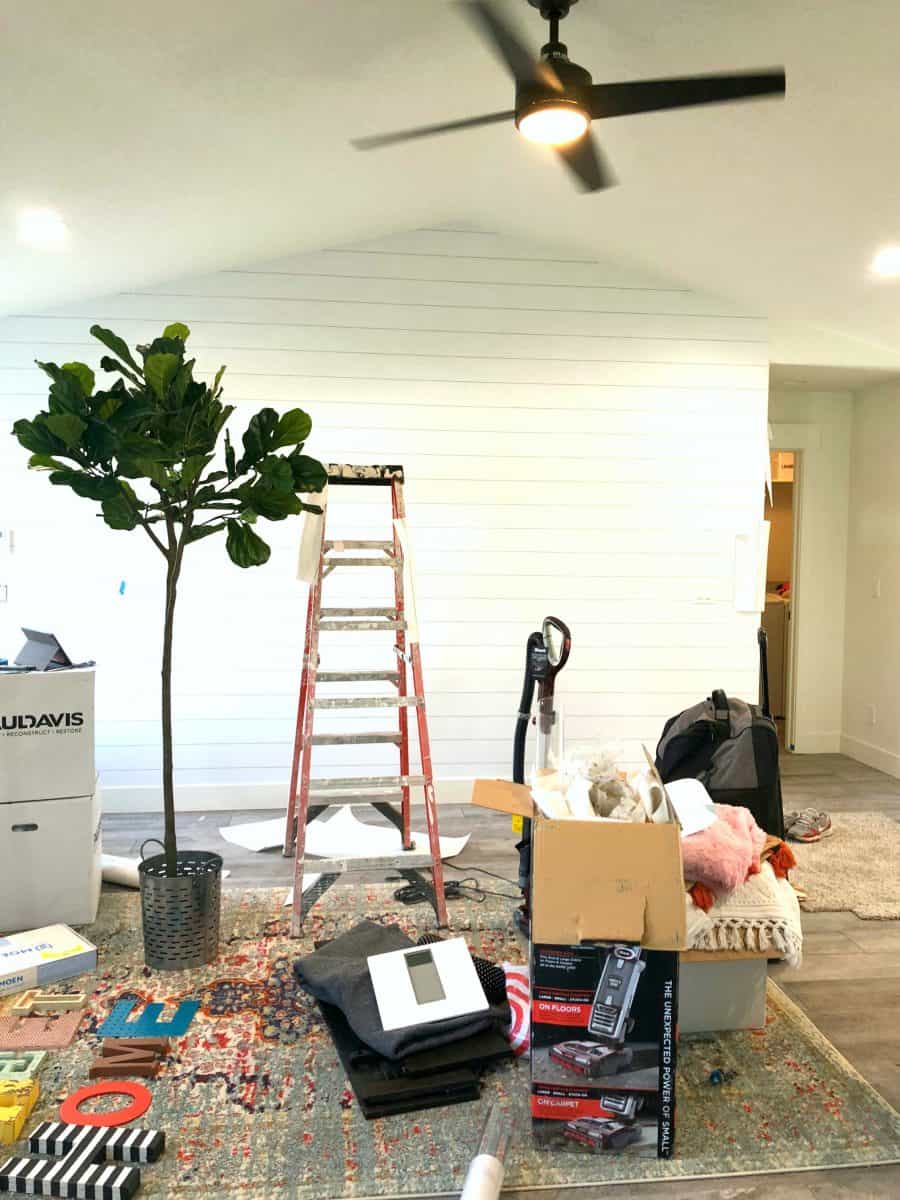
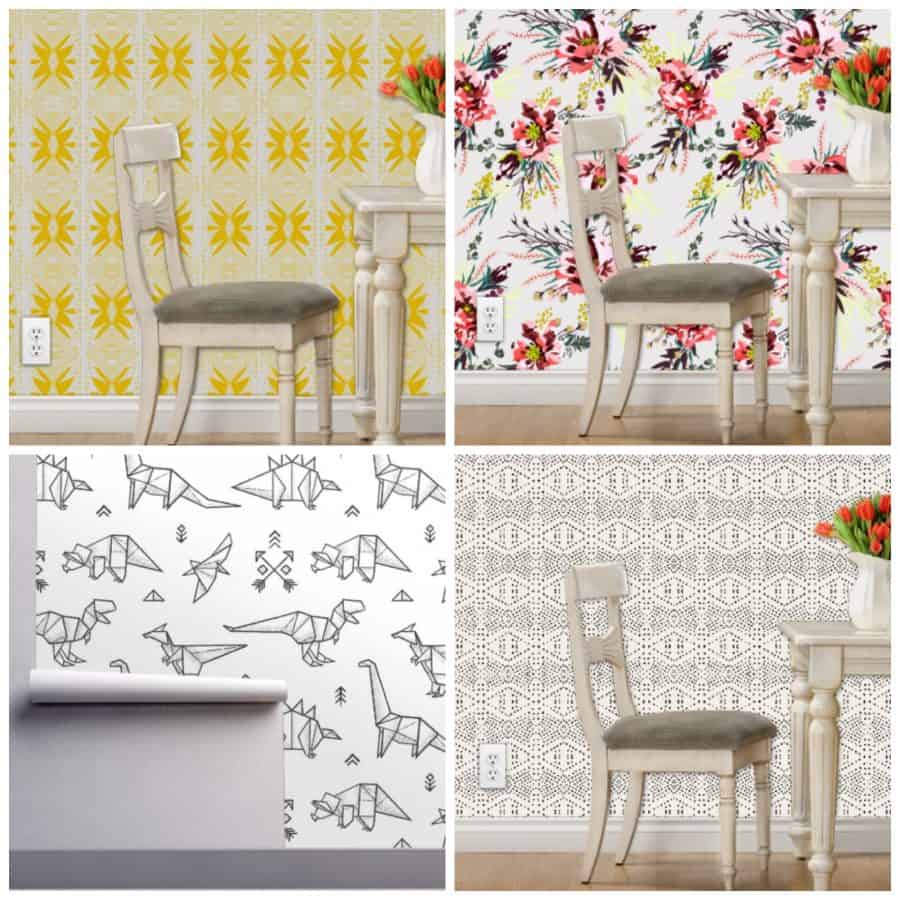
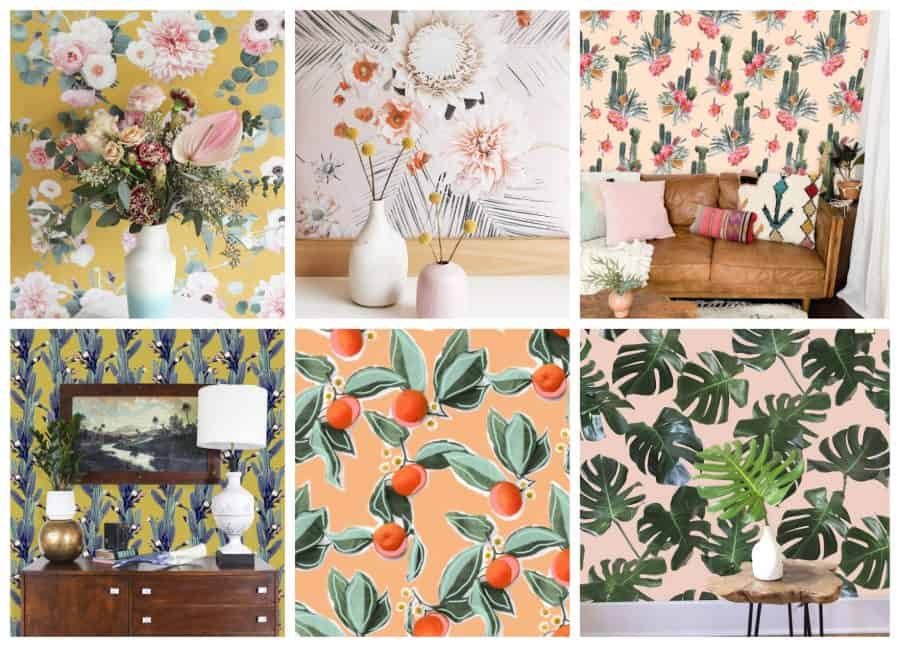
After the fire, I got into a new blank house. A perfect white canvas. I had loads of fun ideas–and the main ones all involved WALLPAPER! I freaking love wallpaper. It’s easy, it’s not permanent, it’s relatively cheap (depending on where you buy it from) and there are so many fun colors and patterns these days that I can’t stop/won’t stop. I always get asked so many questions about it- so I finally am sitting down to write up A. how to apply both peel and stick and water-based wallpaper, B. What tools you need, C.Tips and Tricks D.is it REALLY removable? and E and my favorite places to buy it!
This post may contain affiliate links. If you purchase something through the link, I may receive a small commission at no extra charge to you.
Wallpaper comes in both peel and stick and water-activated (like glue on the back) I personally prefer the water-activated one- it’s a little more easy to apply and get lined up. With peel and stick you have to get it perfect right off. With the water-based wallpaper, you can throw it up on the wall and move it around to get it nice and straight. That being said, I usually buy peel and stick because the patterns I love come in peel and stick!
How to Apply Wallpaper
I’m a visual person, so I created a video to show you how to apply Wallpaper. It makes so much more sense to see it- even though I will still try to talk you through it down below!
Before you start anything though, Wipe down the wall, clean off the baseboards and remove all the light fixture plates, outlets and anything on the wall you can take off! ALSO: Do not apply to freshly painted walls. The walls need to cure for about 30 days!
let’s chat about what you need to help make your life easier when applying.
What Tools do you need to apply Wallpaper
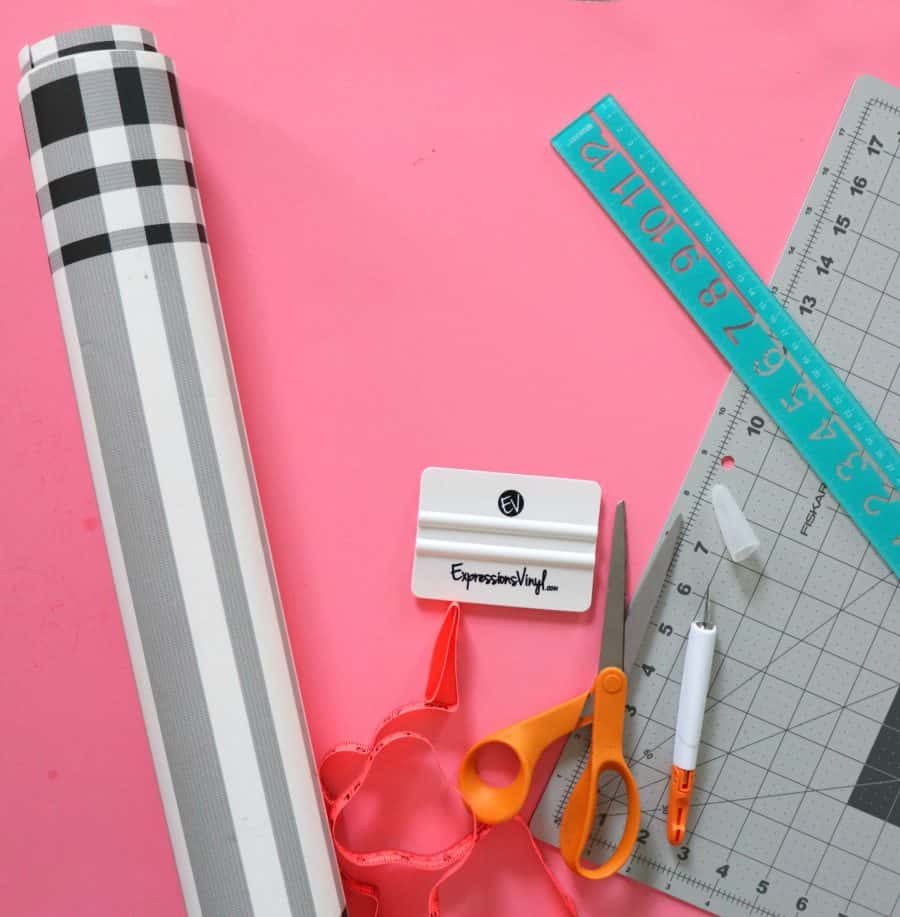
- scissors
- level (if you want to be precise)
- screwdriver (to remove outlet and light plates)
- utility knife
- ladder or step stool depending on the wall height
- squeegee or credit card (optional)
- measuring tape
- squirt bottle
Lots of these are optional- you do you! I prefer to smooth out with my hands– but the squeegee works great. You decide what you like the best!
How to apply Water Activated Wallpaper:
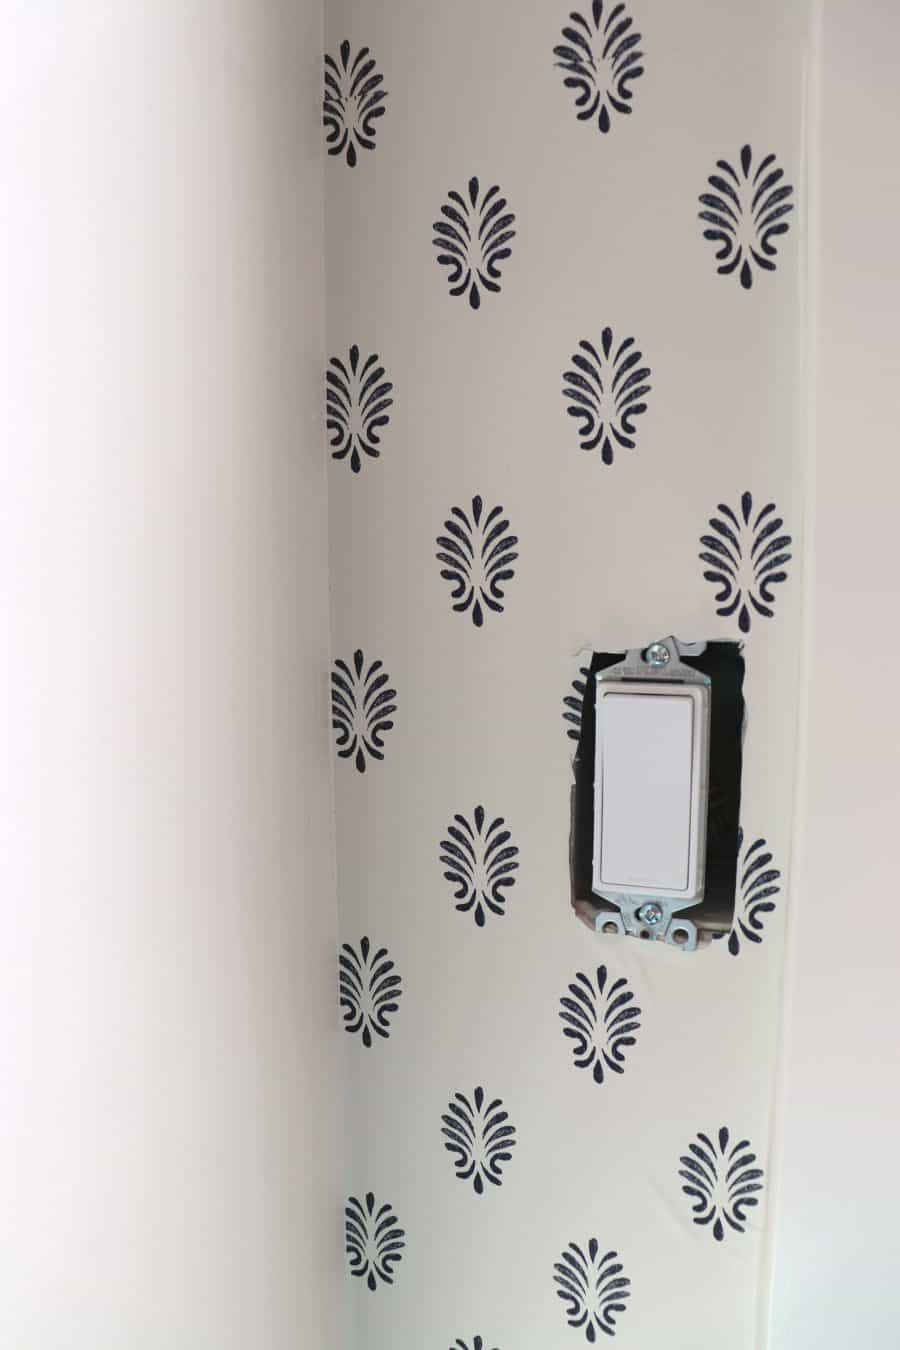
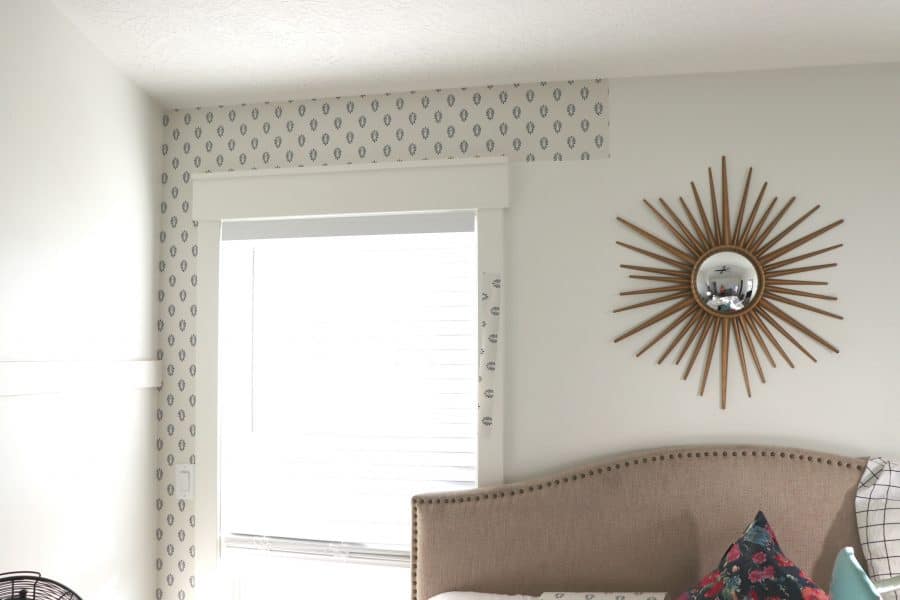
This is also know as pre-pasted wallpaper! Here is the little wall I’m applying wallpaper too!
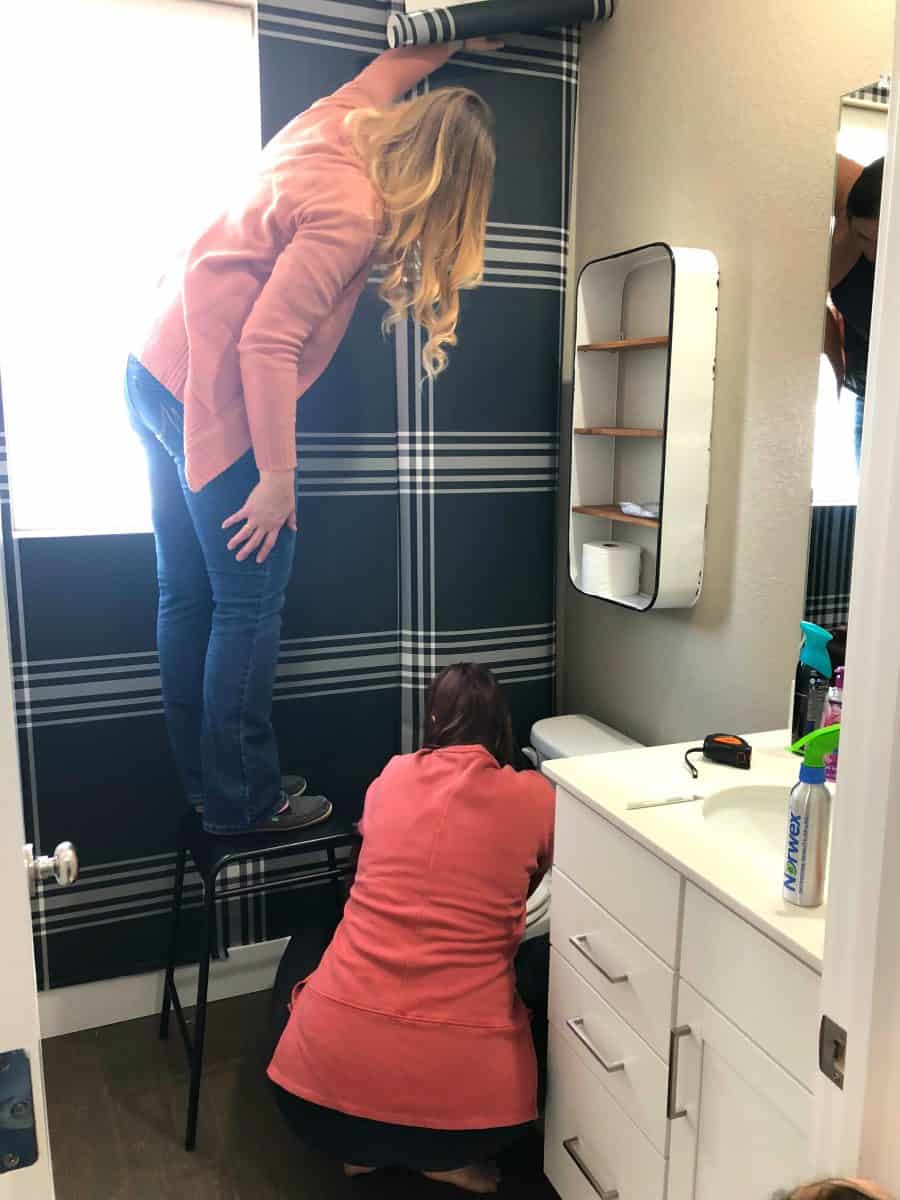
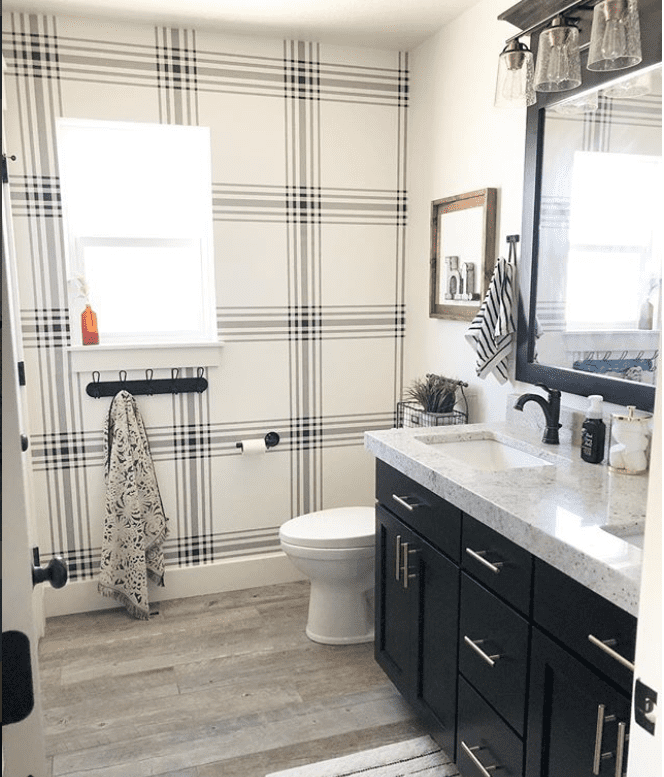
Depending on what wall you are applying it to depends on where you start. If it’s a nice square wall, I usually just start on one side and work my way over. When I applied wallpaper to my bathroom, I knew that one side would be seen way more than the side behind the door. So I started there (that way if I need to patchwork any section-it’s on the part behind the door that isn’t being seen)
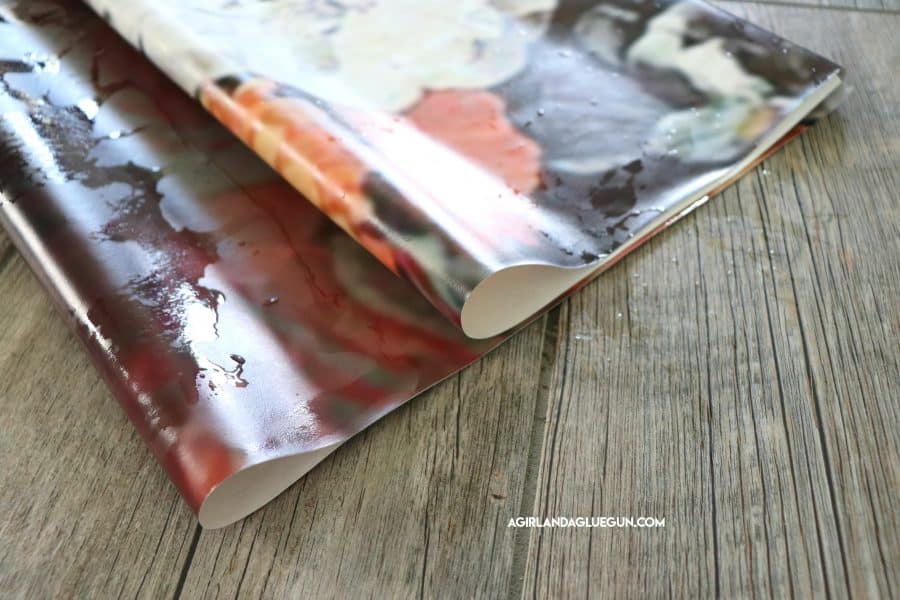
I measure out the length for my first section and trim it (leaving a good inch or two for wiggle room) I spread it out on a towel and sprayed it with a squirt bottle. (I grew up with my mom putting it in the bathtub with water-I tried it. I felt like when I was applying it, it made SO MUCH glue come out the seams when I rubbed it. So I liked to saturate not soak. If you are using a spray bottle and it still isn’t sticking-then opt for more water. I’m sure each brand of wallpaper will be unique.
You have to BOOK the water-activated wallpaper. After it’s wet- you fold it onto itself (remember-if you have any questions- watch the video!) It activates the glue. Leave it for about 5 minutes.
When you are applying- you line it up with the wall and ceiling (keeping in mind that walls and ceilings aren’t always perfectly straight. You can use a level if you want but I only really think it matters when it’s the shiplap or brick or anything with lines that you will see if they aren’t straight. Florals are pretty forgiving.
Line it up and press it down. What I love about the water wallpaper is that you can move it and slide it until it’s perfect. Always keep scissors in your back pocket and just trim off any part you need (Like around the cupboard) If you applying over an outlet you will want to take a knife and cut out around it-it doesn’t have to be pretty. But you just want the wallpaper to lay flat instead of having the bulge of the switch. The plate will cover it up and make it look nice!
Just squeegee or smooth it down trying to get out all the wrinkles.
Then measure and book your next piece.
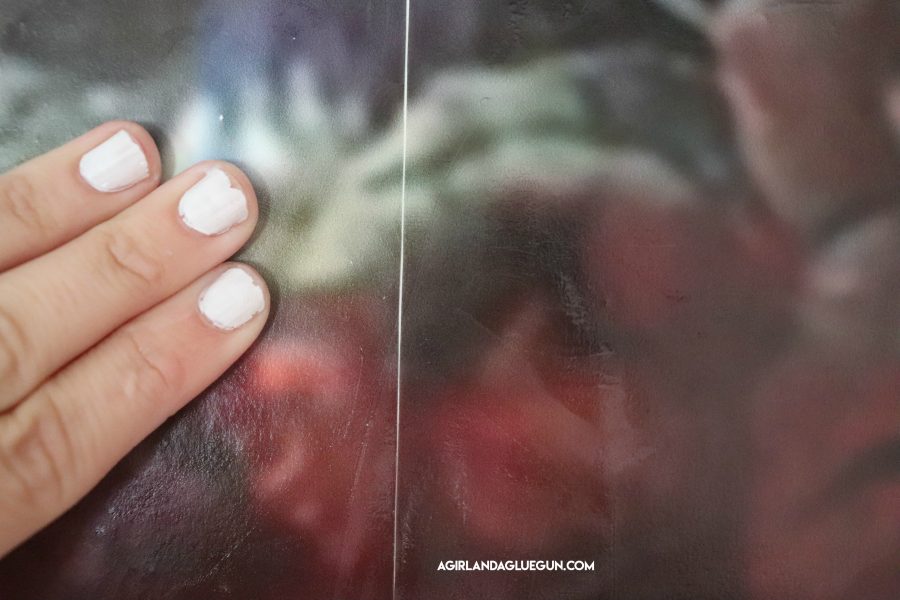
The Tricky part about piece number two is you have to match up the design. Using painters tape I try to tape up and match up the design so I know where to trim. You might have a foot of extra wallpaper up on the ceiling. Just trim it off and save it. You will want to butt up the edges (not overlap)
If any part becomes dry- just squirt it with a little water. After it dries, if any part peels up…squirt it with a little water and smooth it back down!
After all the pieces are applied- Using a sharp blade, I go along the ceiling and baseboards and trim off the excess- But with the water based wallpaper you are going to want to wait until it dries a little bit because it will pull up the wallpaper!

This area took a while-lots of molding and cabinets to go around. So maybe start with a nice square wall if it’s your first try with wallpaper.
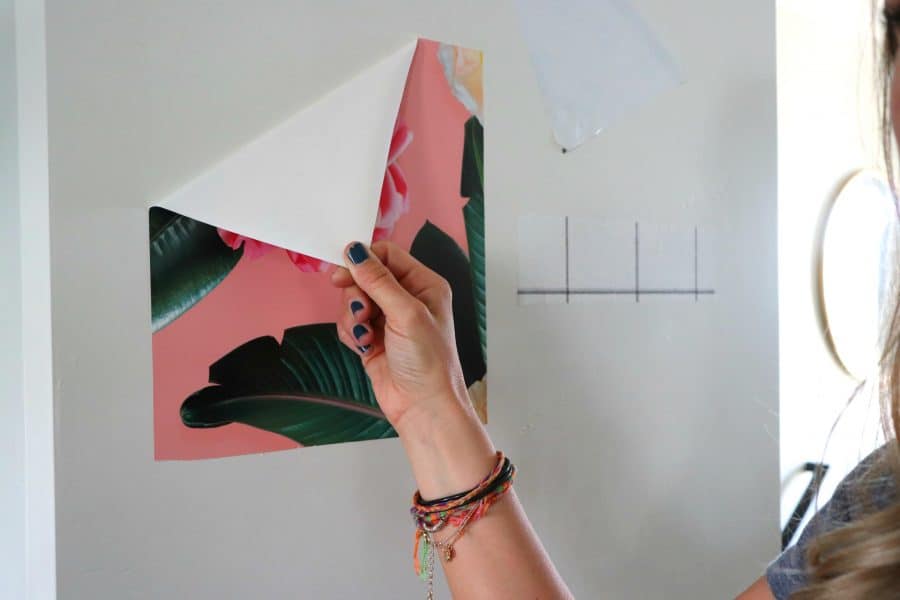
How to Apply Peel and Stick Wallpaper
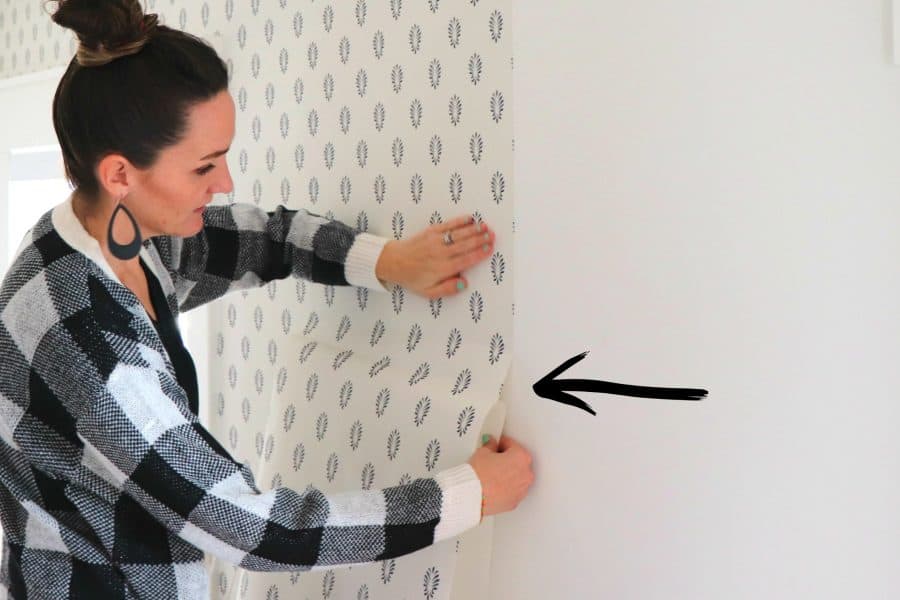
Lots of similarities, prep the wall, measure it out, line it up. BUT no water! Instead, you are going to start by trimming off about 8 inches off the backing. (seriously just watch the video if you need help! Here is the room I’m working on:
This helps you stick it up there when lining it up. You really have one shot at getting it on. If it’s a little crooked…by the time you get all the way down to the bottom- you will be a LOT crooked. and I do not recommend pulling it all up once the backing is off. It stretches it out and will be a general pain to get back down. So take your time. Line it up and press down that top piece. Once that top piece is applied. You are going to reach up and pull off the backing. Go slow. Pull down a few inches. smooth out the top. Pull down a few inches, smooth out the top. You can pull up little sections if you have a big wrinkle.
The second piece is once again the trickiest- Lining it up with the first piece. These repeat patterns are really easy to match up!
Exacto knife around all the edges to make it look nice and finished.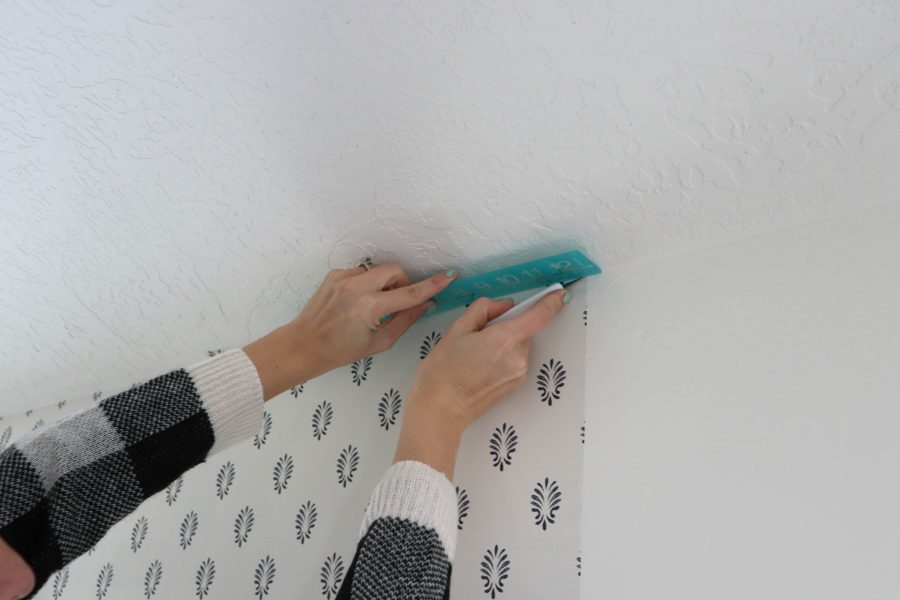

Tips and tricks
I’m a lone wolf. But I will tell you what. When My sisters and I applied some together-it made it really easy. So Tip number one: accept help.
I used painters tape to hold up the wallpaper while I trimmed it to size. So if you don’t have the help-get tape! lol.
Another tip is to save all the scraps. Just lay them out until you are done! I have pieced together so many sections. You don’t want to buy a whole roll of wallpaper for a one-foot section. And if you match it up pretty good, no one will ever know it’s patchworked
Tip number 3: Always work top to bottom. I had a friend on Instagram what was wallpapering a small nook so she tried to go left to right- Gravity will fight you and you will not have a pleasant experience!
Tip number 4: I mentioned this earlier-but don’t apply wallpaper to freshly painted walls! Walls need to cure for about 30 days!
Tip Number 5 (not really a tip but a question I get asked) What about textured walls!? I have put wallpaper on so many different textures. It has worked great. You don’t see the texture too much peeking through (I mean how close are you up against the wall examining it?) I would be a little nervous about a really heavy orange peel with a smooth finish wallpaper. (but the textured wallpaper would be great!) And maybe don’t put wallpaper on a popcorn ceiling.
Is it REALLY removable?
So. I took all the scraps I had and stuck them to the wall and left them there. It looked really funny for a few weeks. But then I peeled them off and they came off great! Both water-based and peel and stick!
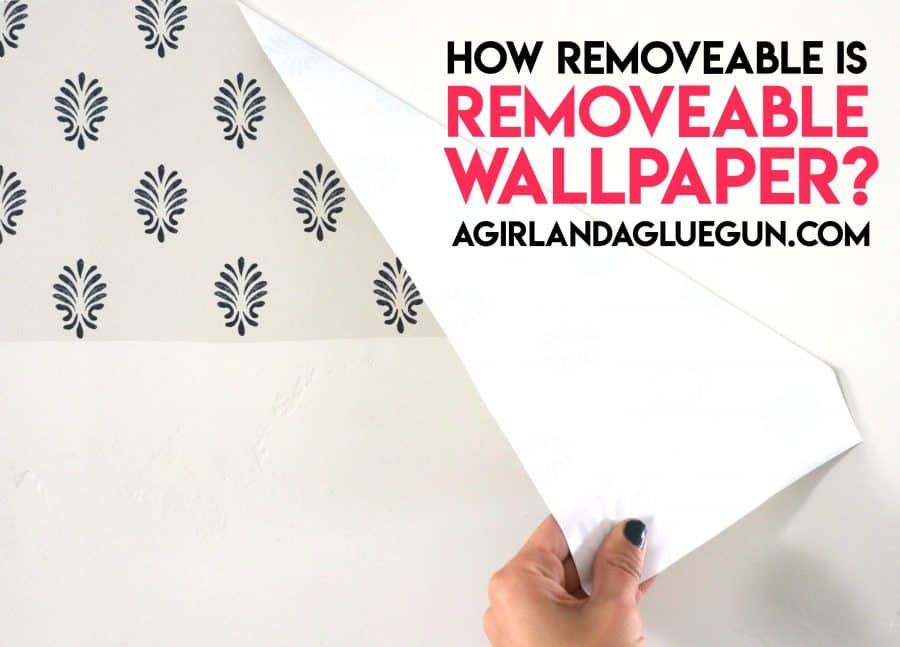
That being said. My walls are a pretty smooth finish and new drywall. I have seen some cases where it has peeled off drywall-but it looked like it was older walls. To remove the peel and stick–run a hairdryer over it and heat it up! Peels off a little easier. and If you want to peel off the prepasted- a little steamer over the wallpaper will loosen it right up!
Best place to purchase Wallpaper
I’m first going to link up all my wallpaper I have used and then I will link to places I love to browse!
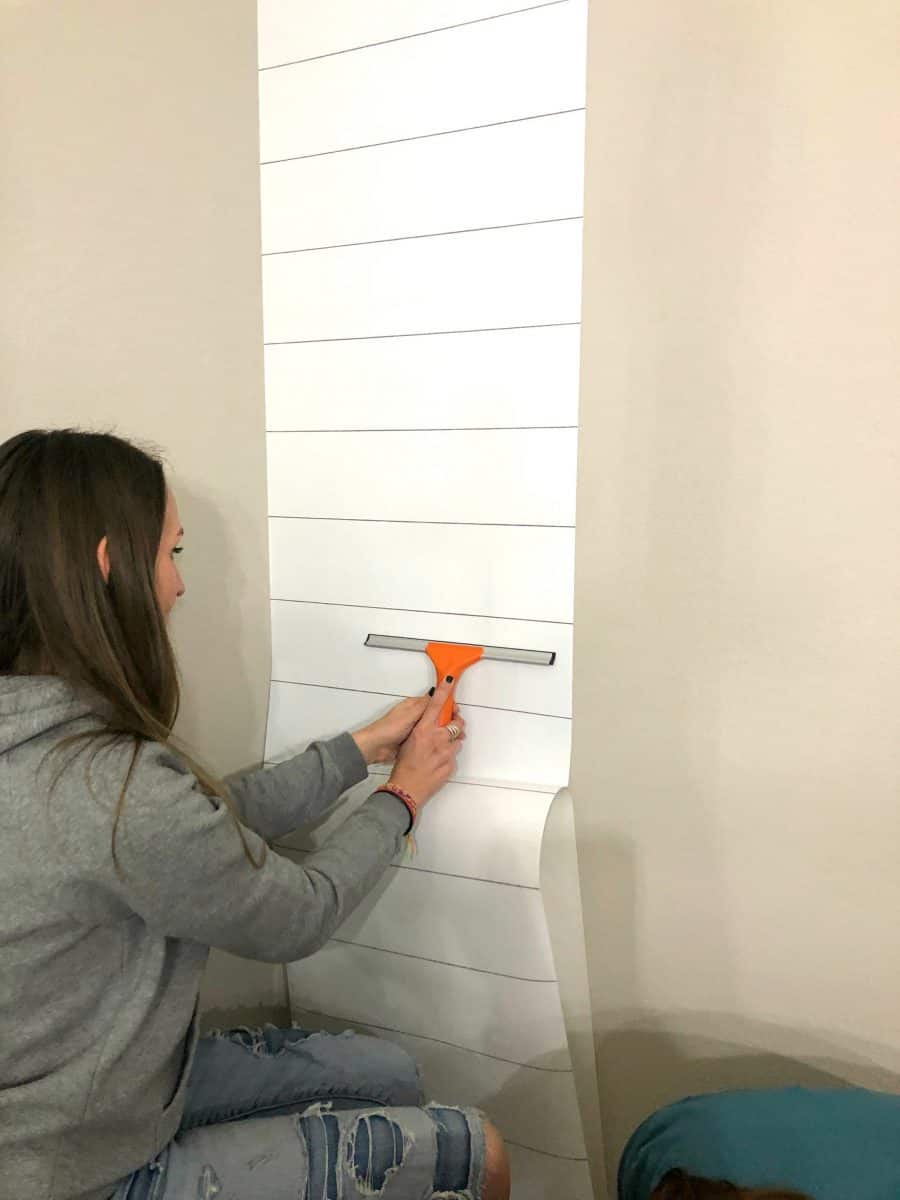
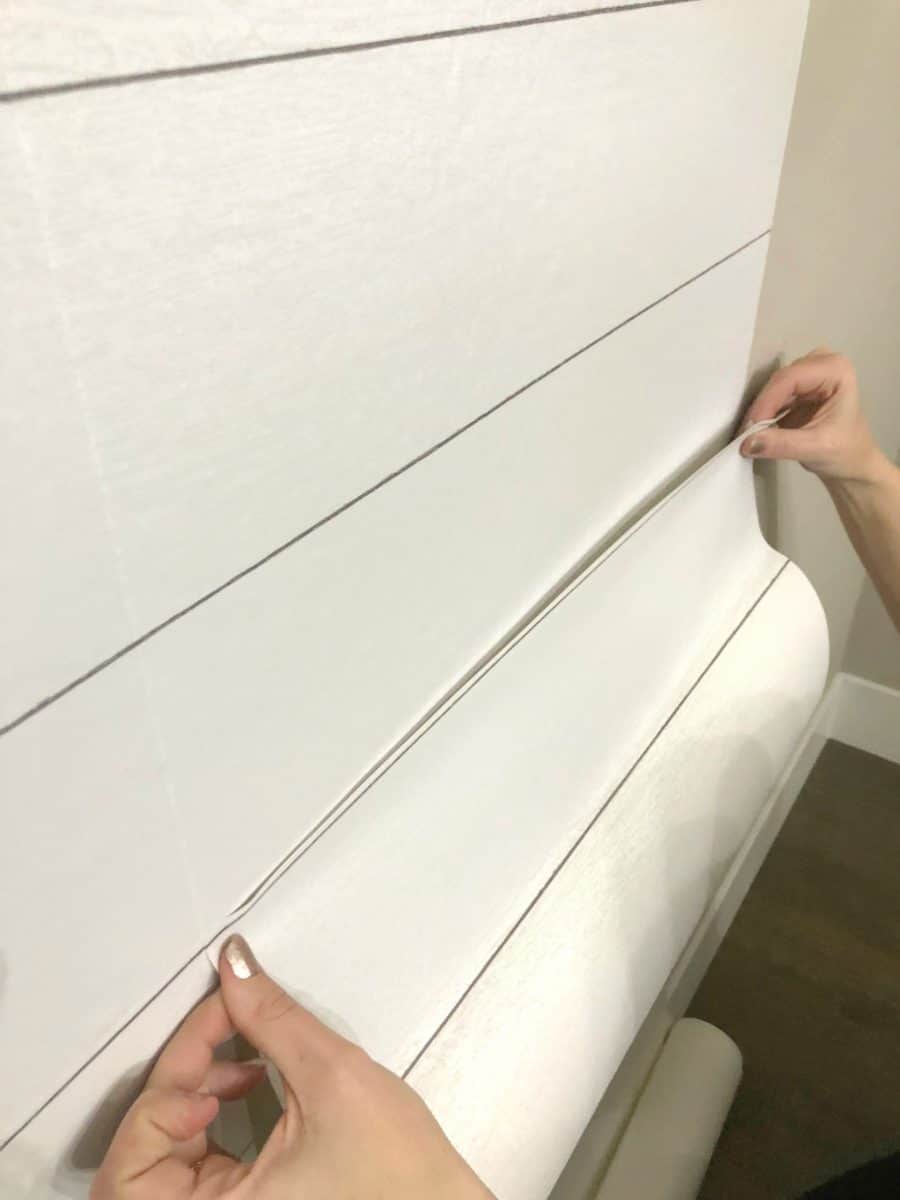
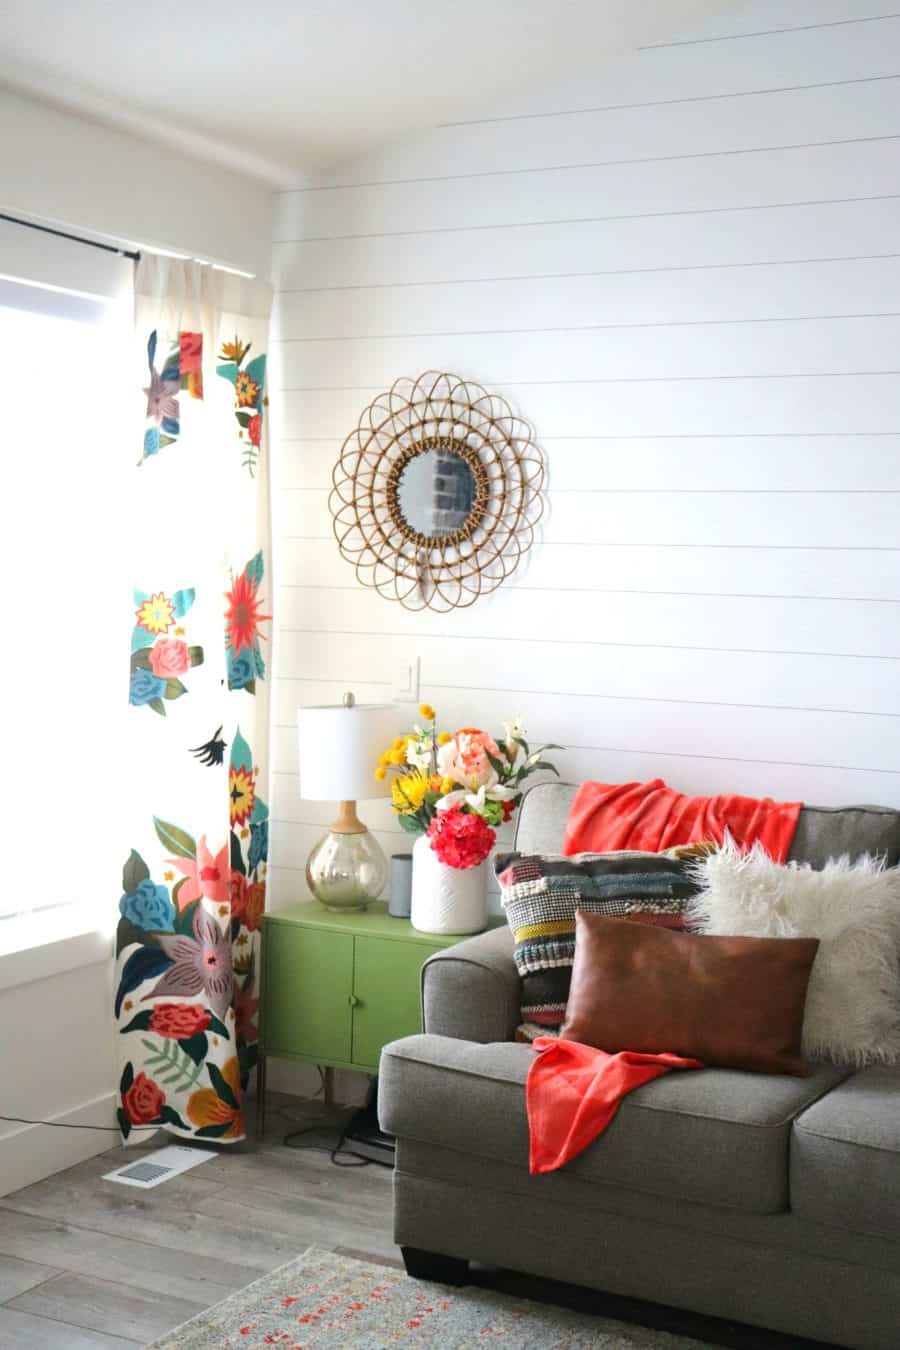
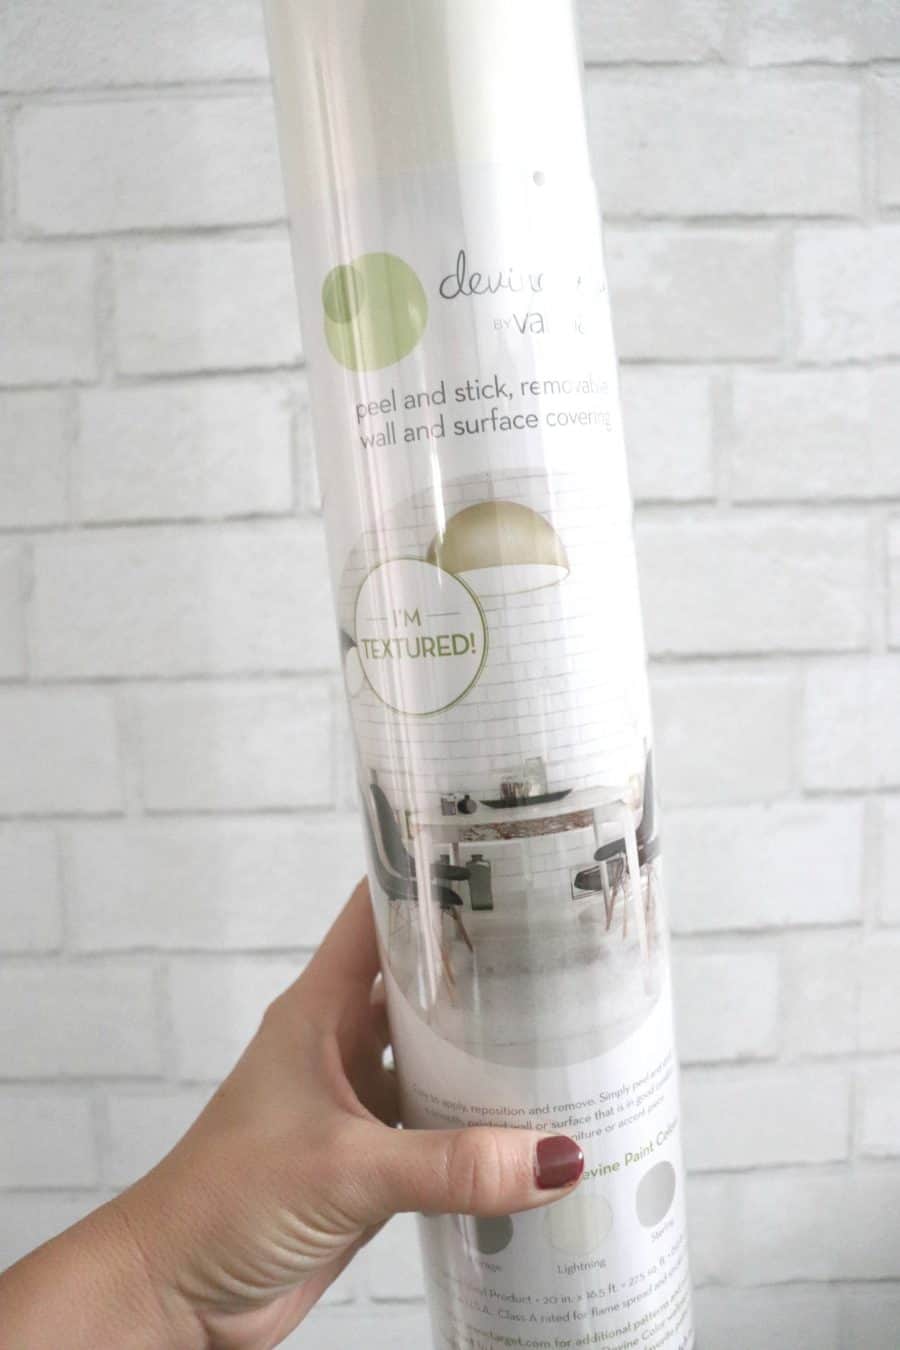
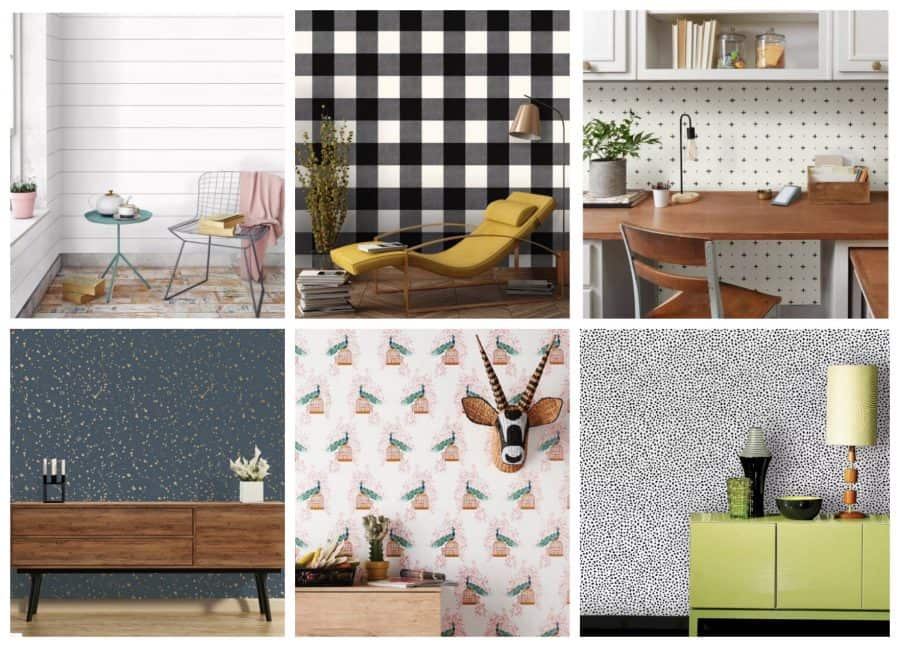
The one I get asked the most about is the shiplap (from target) I put it up first thing-before we even had furniture.
It’s textured and people are astounded that its wallpaper. At initial glance, it looks like real shiplap!
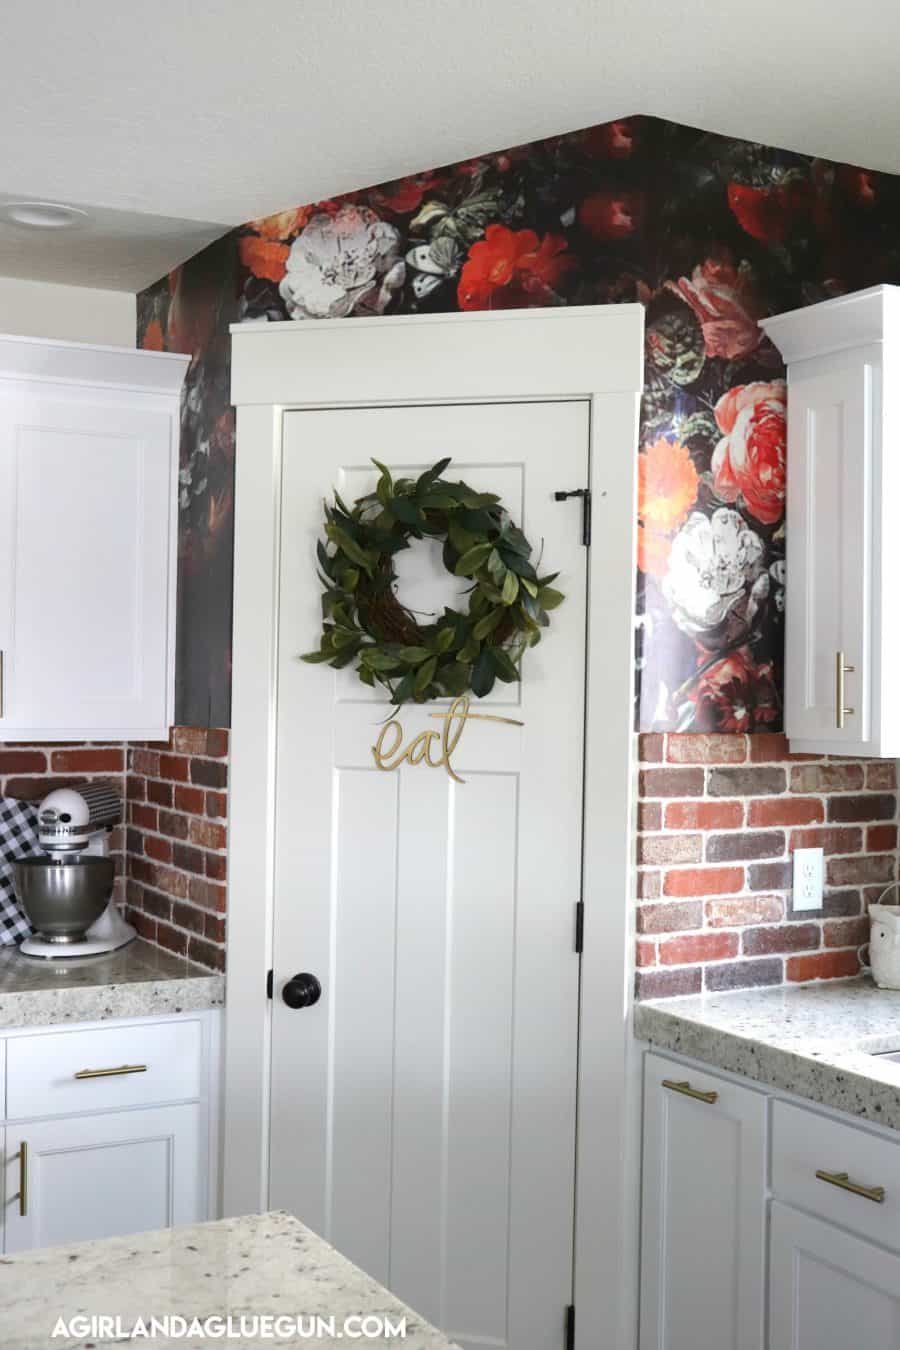
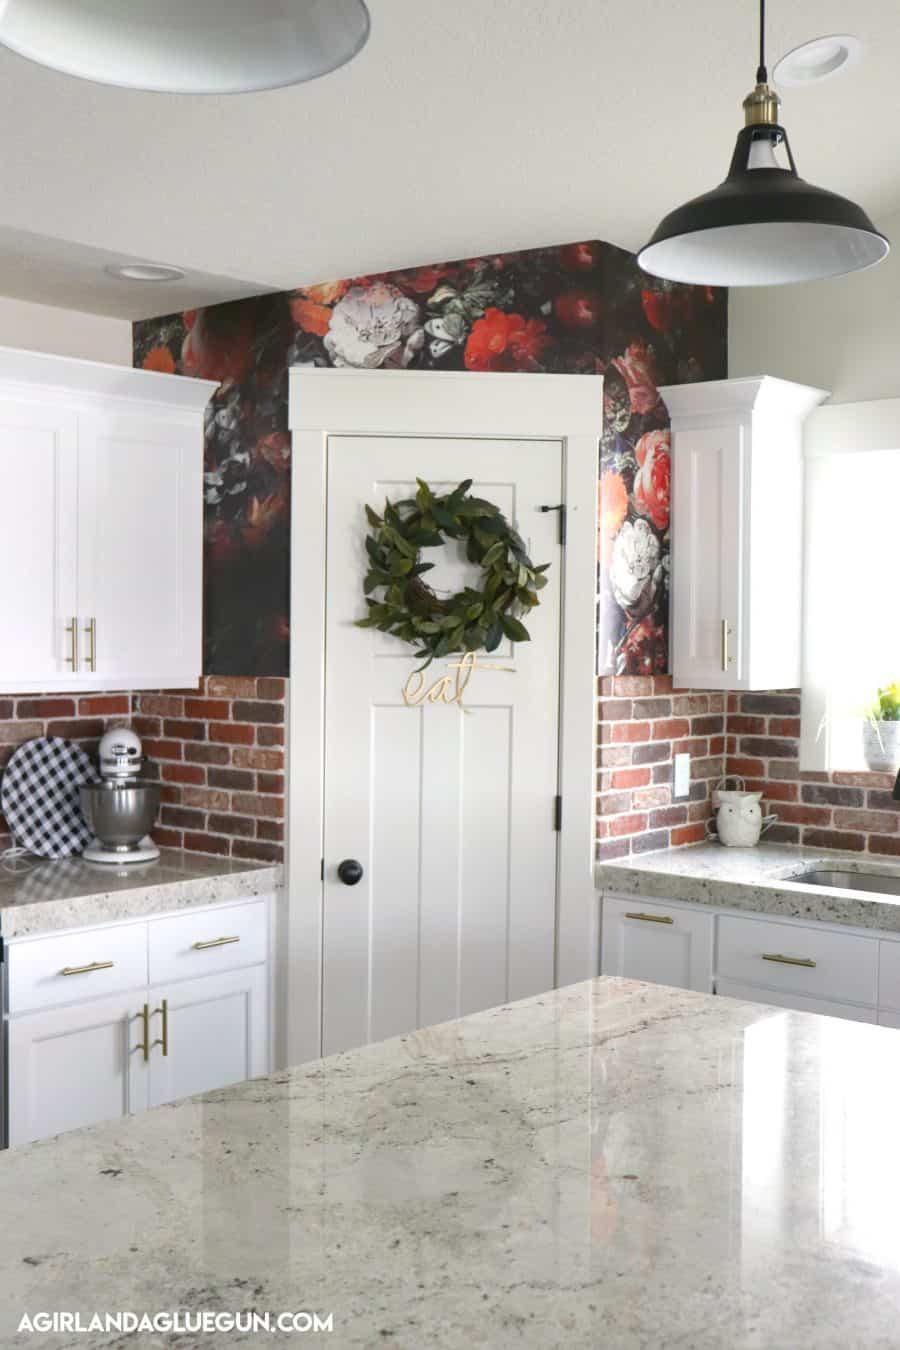
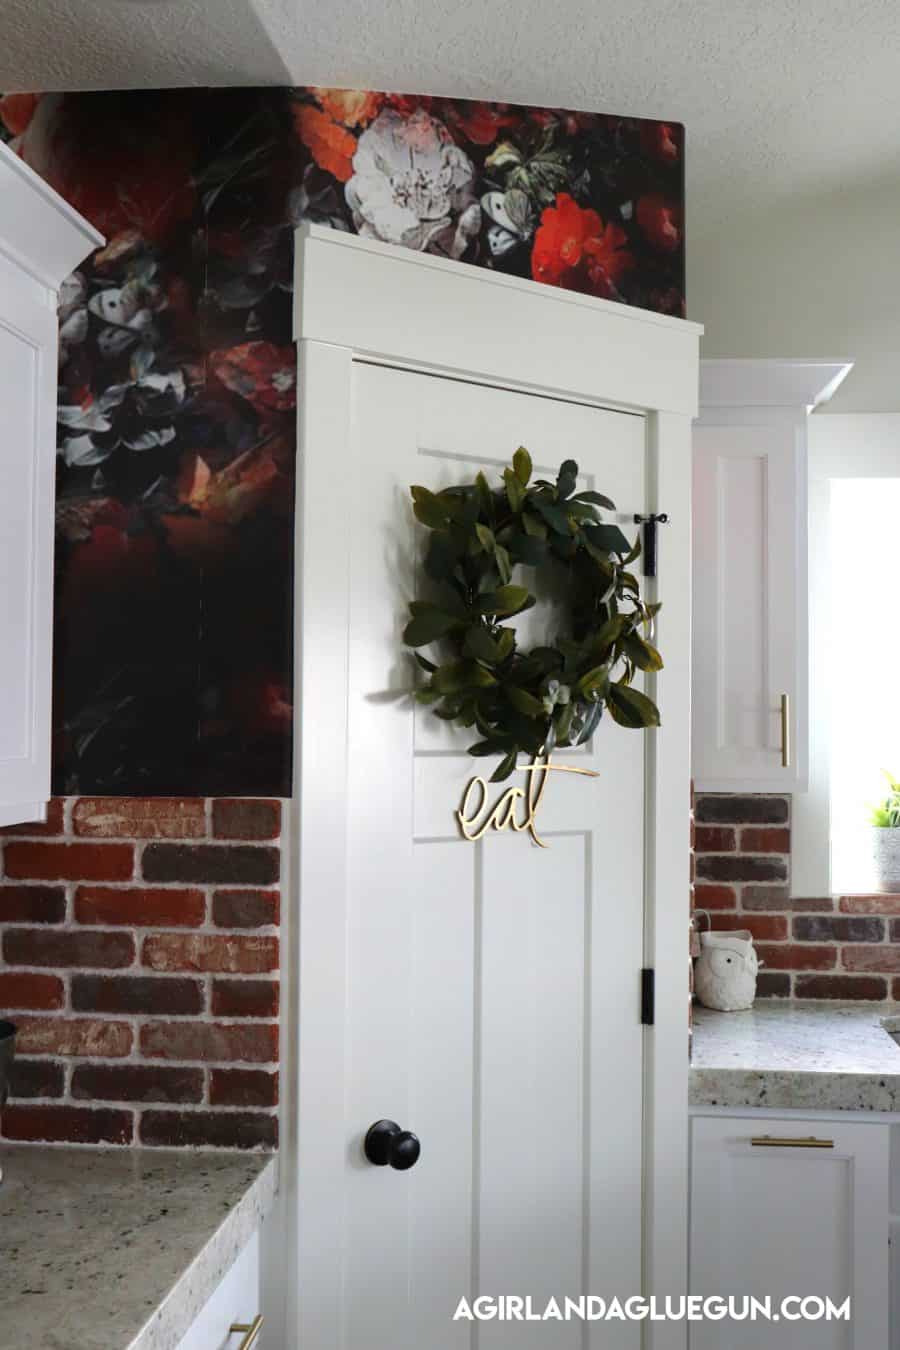
Gorgeous floral from anewall. I wanted to tie in the orange from my brick without being too much and I fell in love with this so much. But I didn’t see it on their website anymore!
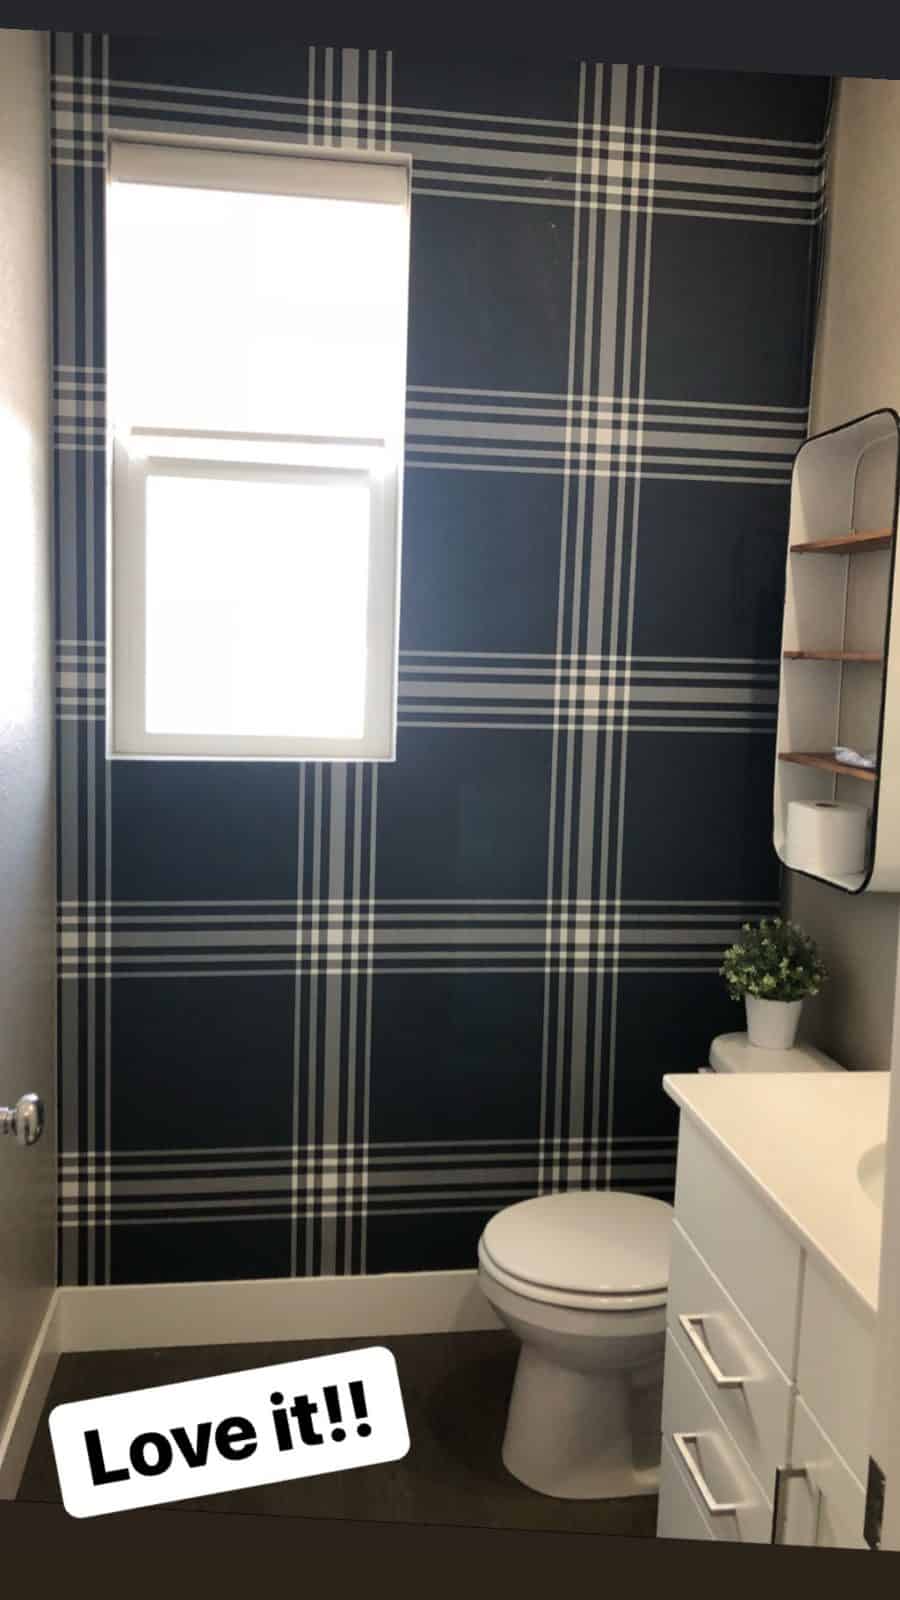
The black and white plaids are Hearth and Home from target. (no longer available)
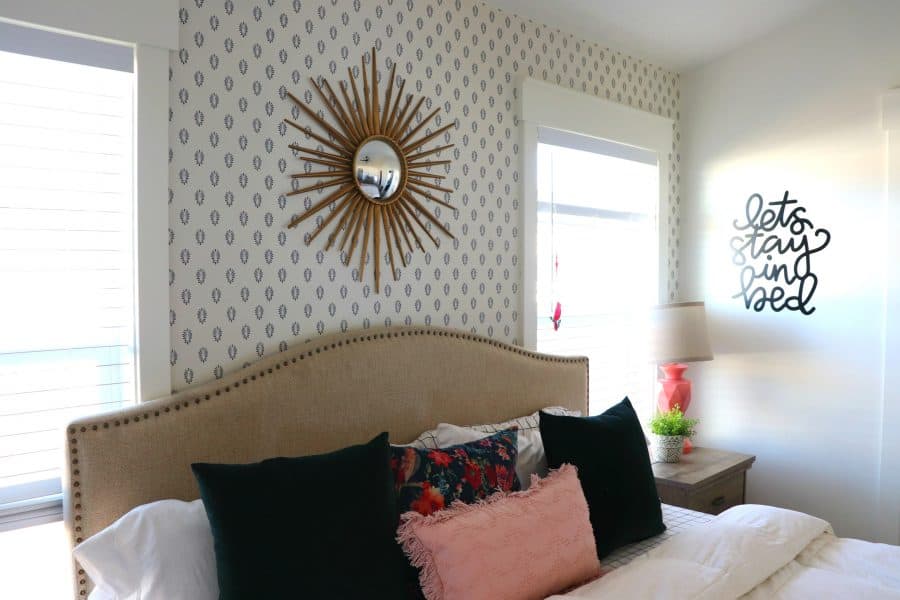
This was from Target opalhouse- also no longer available– what’s the deal target!
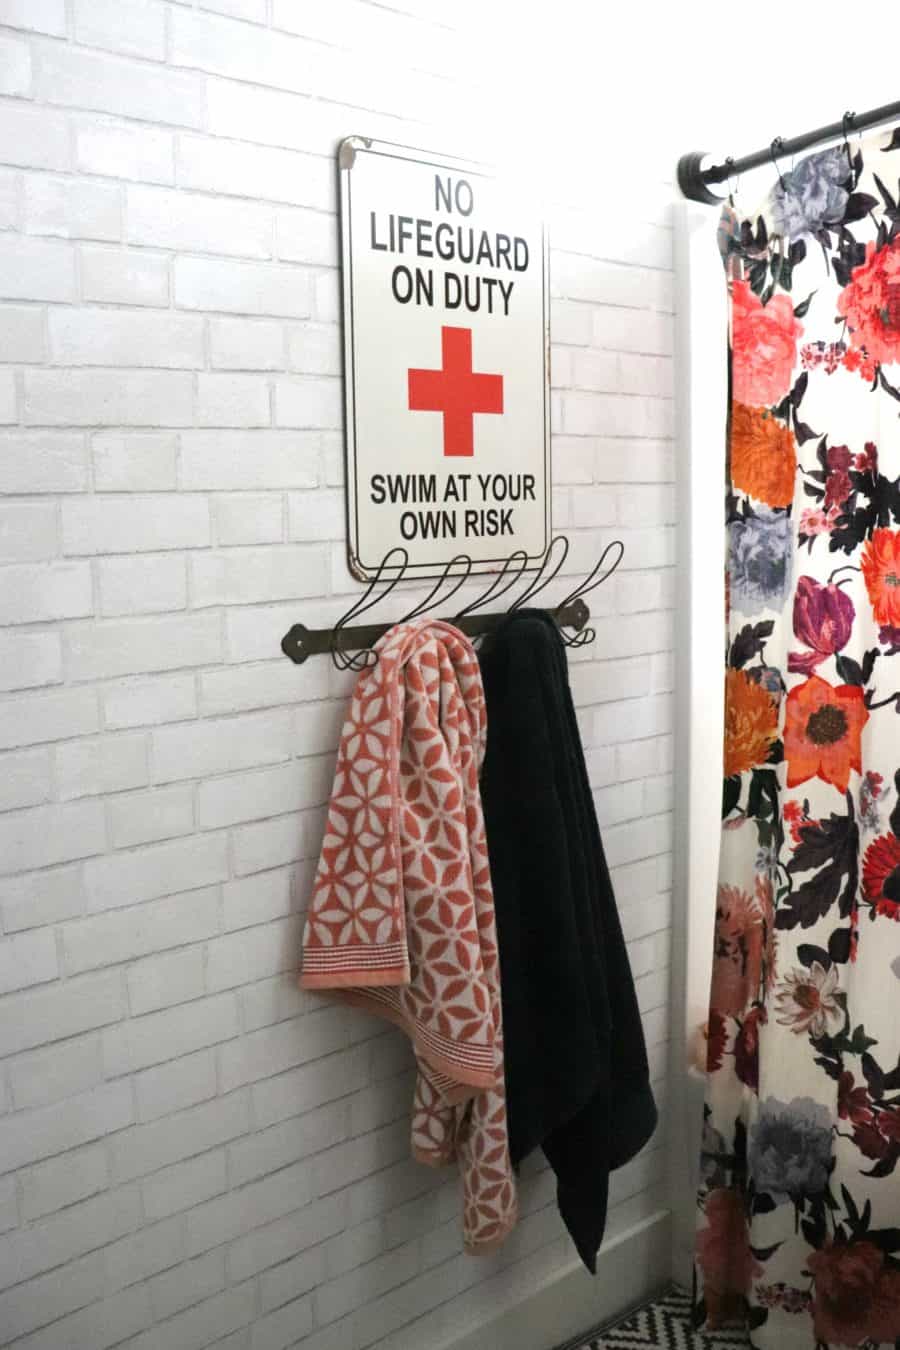
This White brick is so good. It’s textured and very cool but a little hard to match up.
I have it in my bathroom AND my daughter’s room! (you can see my whole bathroom here)
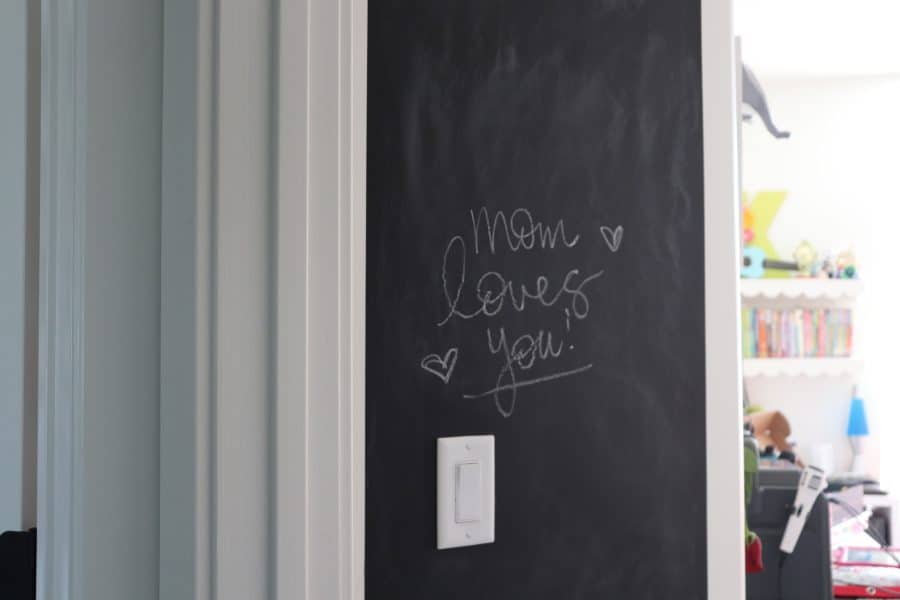
I put up a strip of chalkboard wallpaper in my daughter’s room.
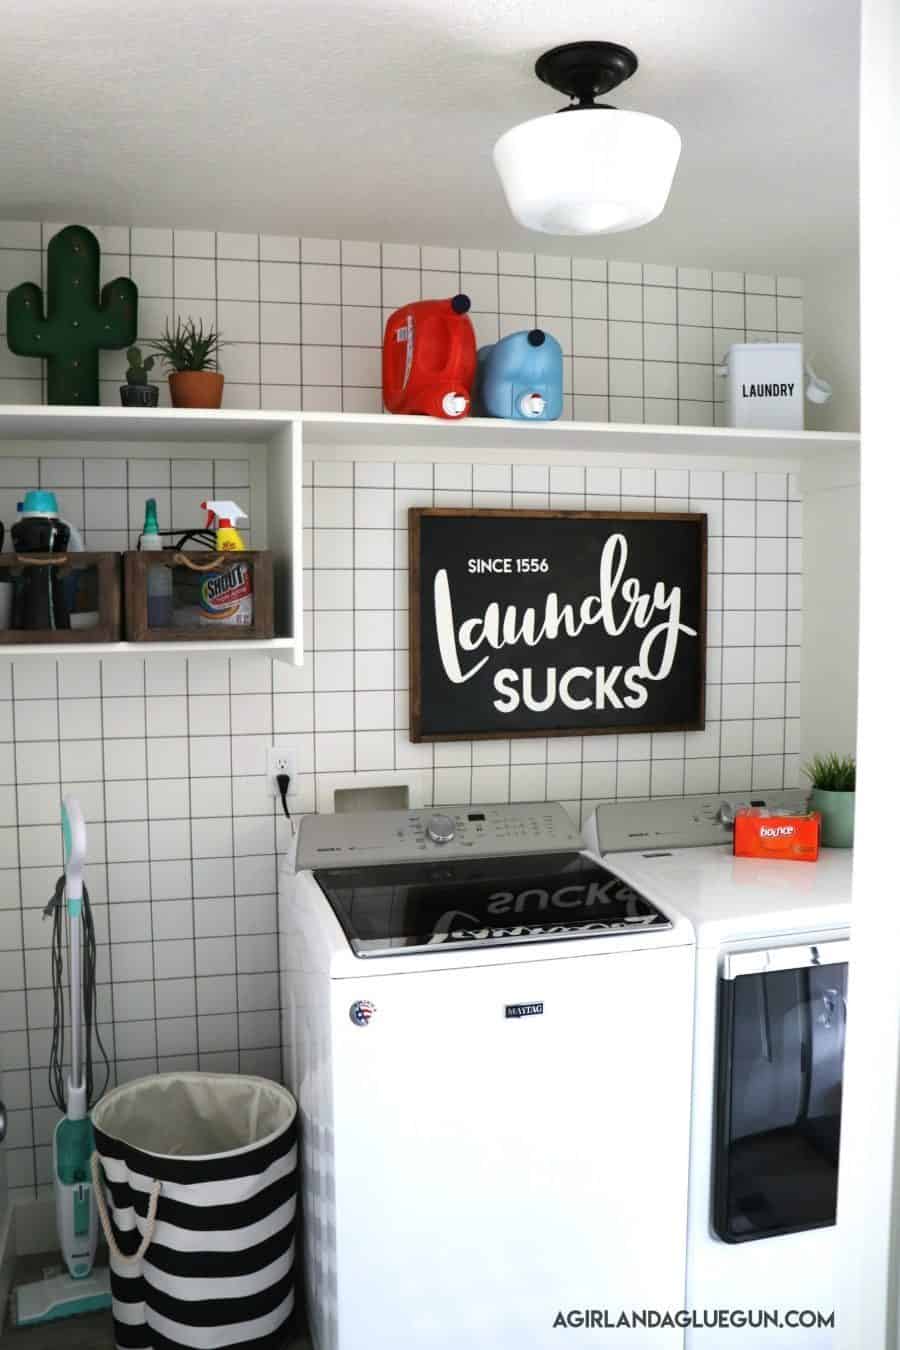
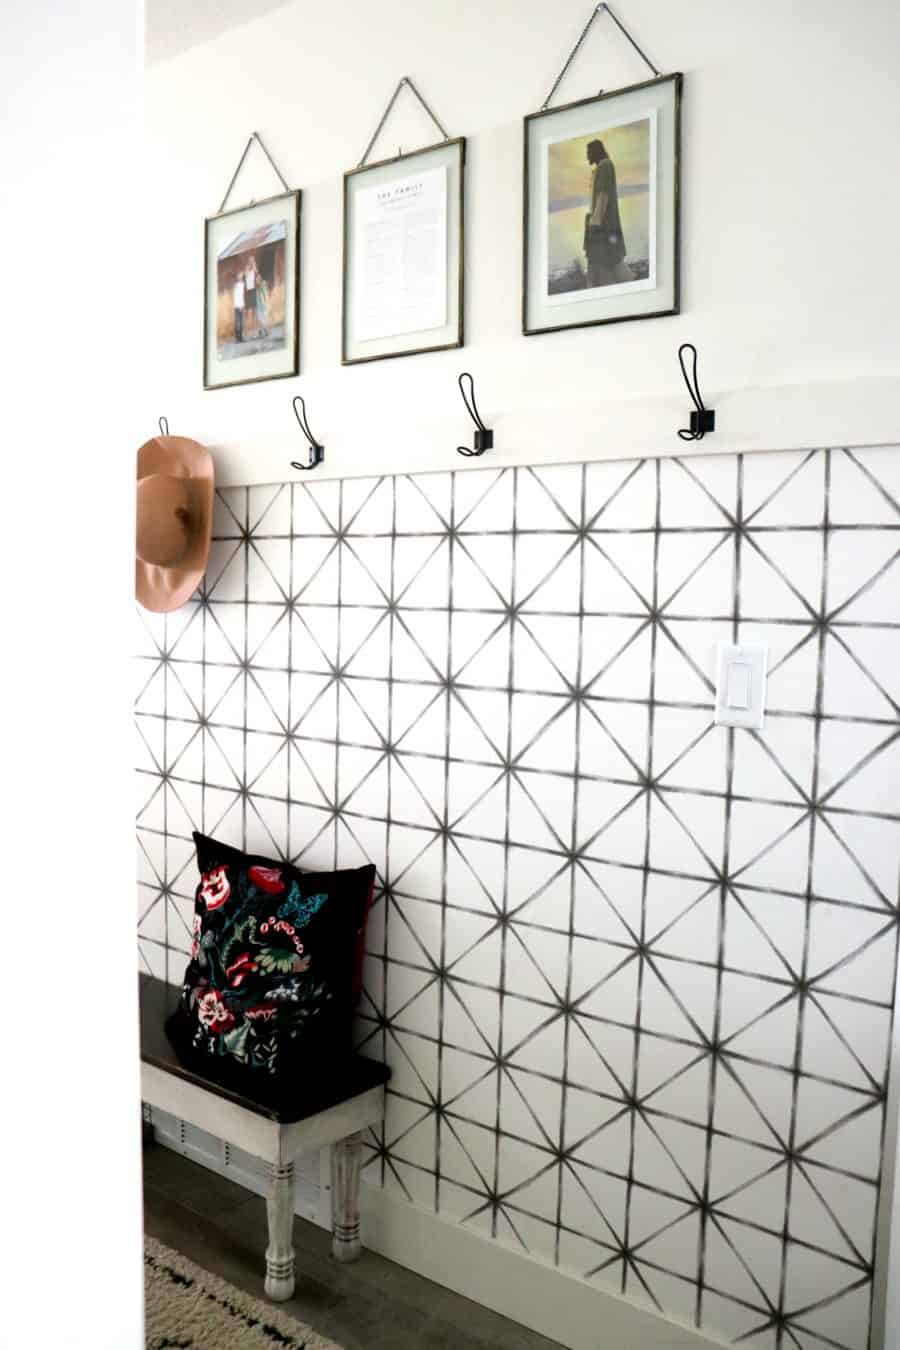
I loved this grid. Bought it off Amazon. It‘s too thin for my liking- more like contact paper or drawer liners. (you can see my laundry room here!)
This geometric is from Home Depot
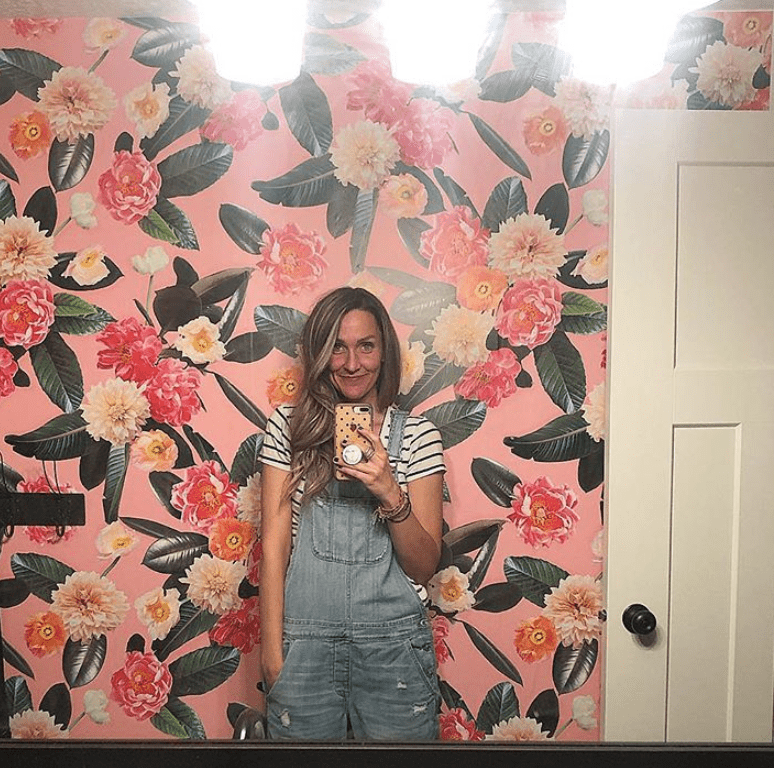
This pink floral is so bright and fun- It’s from Samantha Santana– and it’s in the bathroom with no light-so impossible to capture how good!
Great places to buy Wallpaper:

My go-to. Lots of great options and pretty reasonably priced!
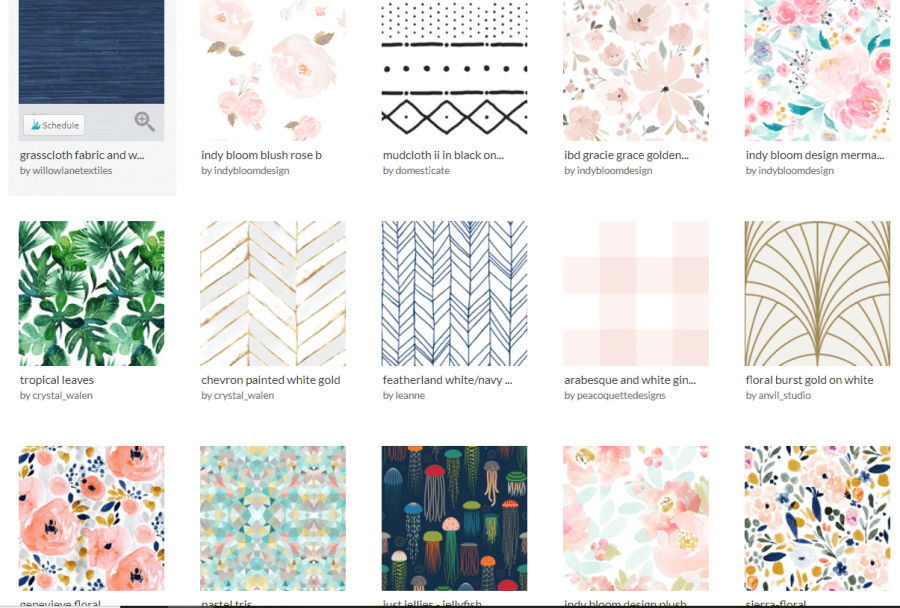
Spoonflower
SO MANY OPTIONS. They have designs for anyone. I almost find it TOO overwhelming with all the choices!

On the expensive side- but gorgeous.
Samantha Santana has some totally cute unique wallpapers!
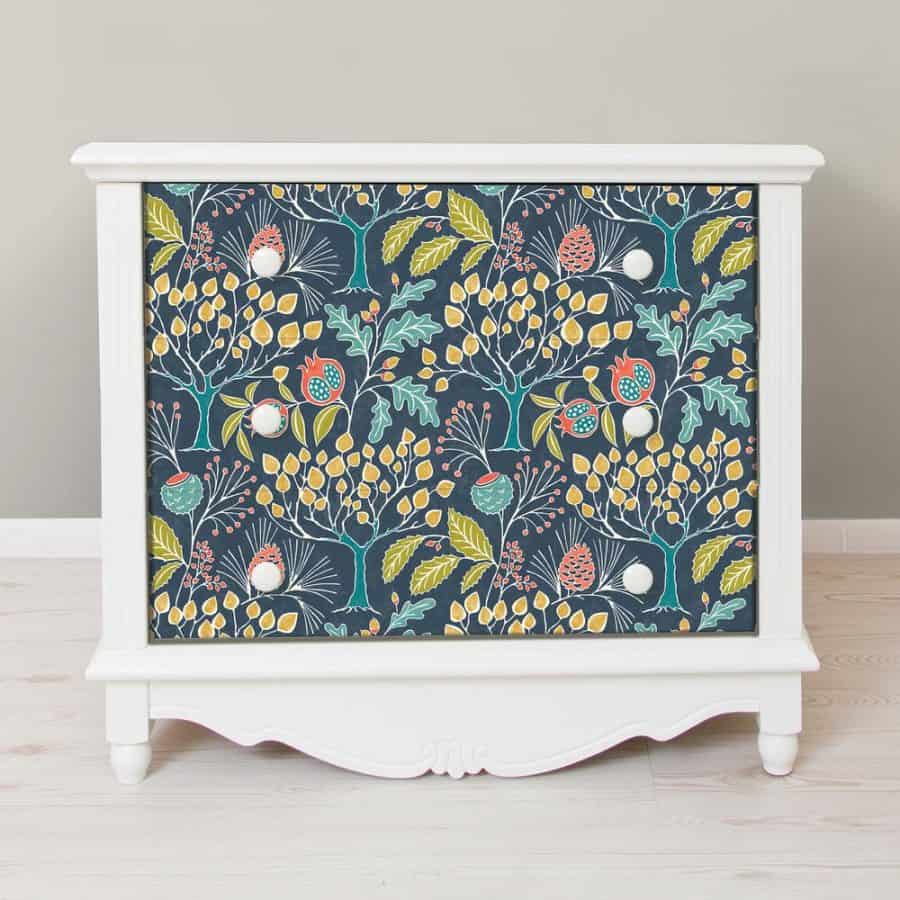
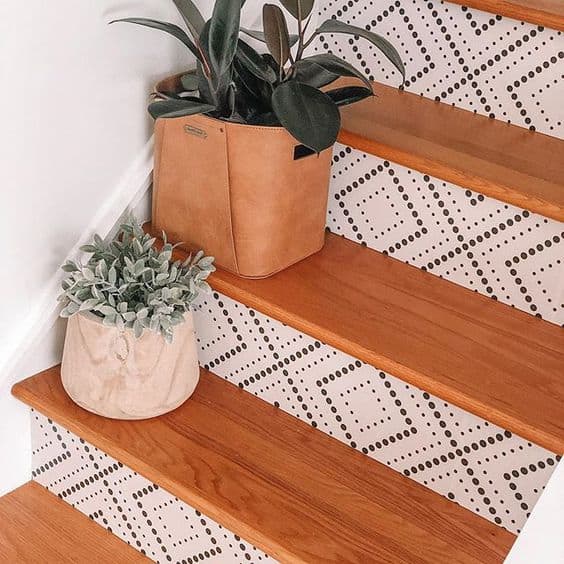
also: Not ready to commit to a whole wall? You can add wallpaper to the back of bookshelves, to stairs, inside of closets or pantry! Have fun with it!
Leave a Reply