
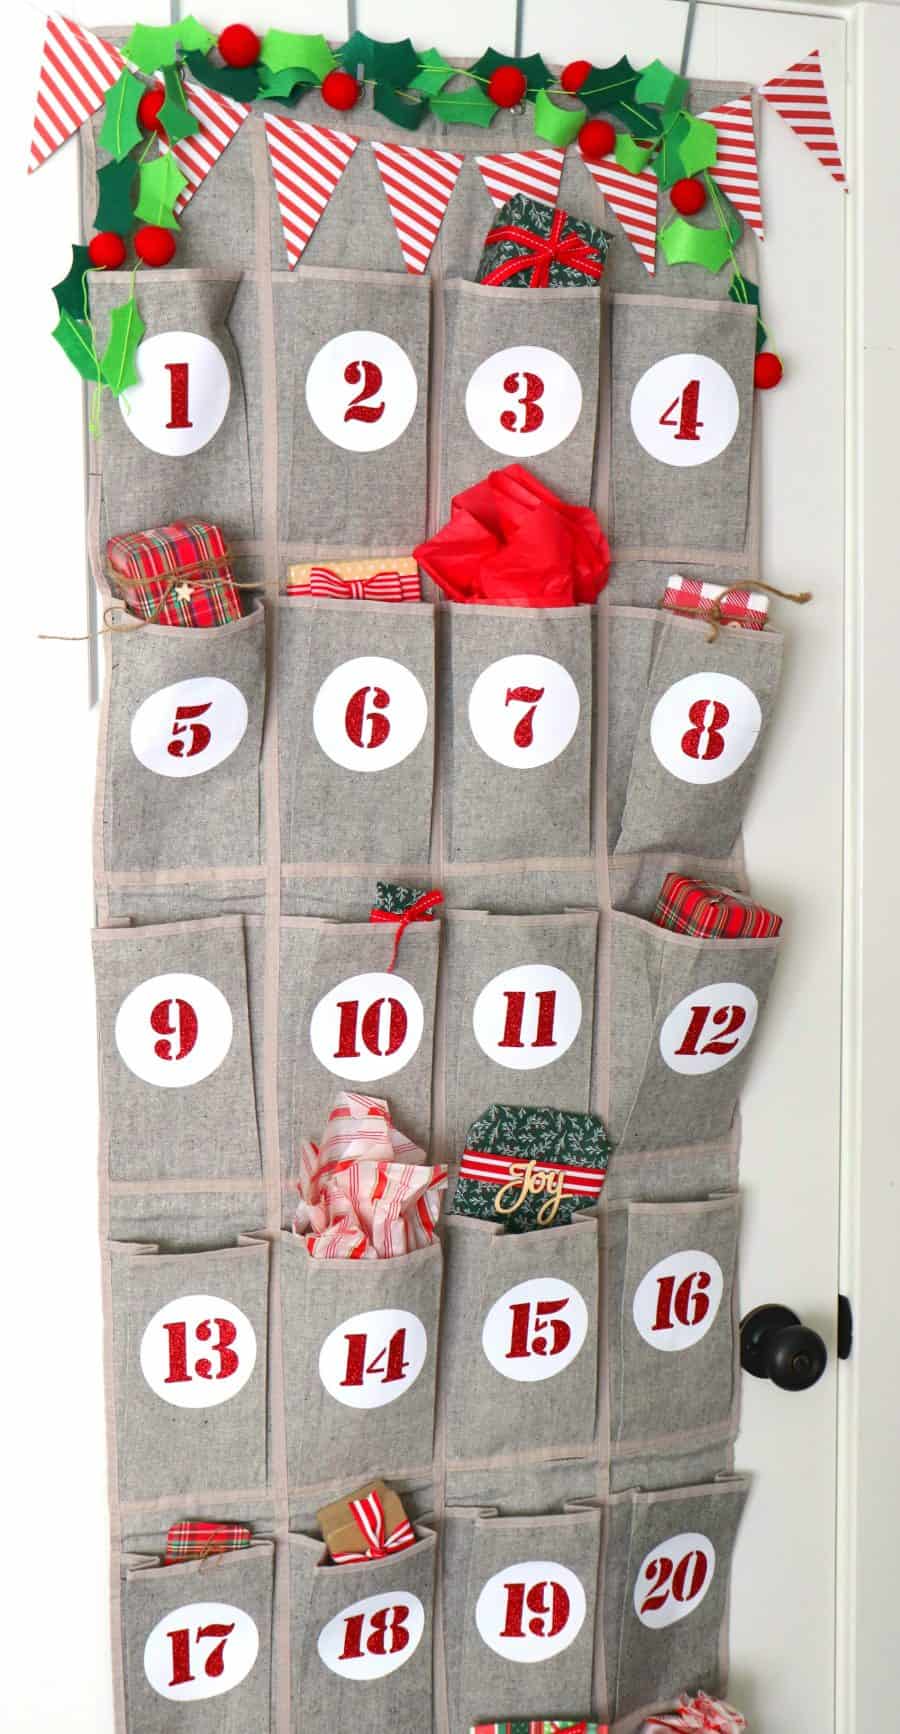
We love to do fun Christmas Advent calendars every year! With all the hustle and bustle of Christmas, they really help us get excited and build up the anticipation! This new Christmas advent is my personal favorite! It’s so cute, up out of the way (it hangs on the back of the door) and it’s reusable year after year! AND you can add whatever color of Expressions Vinyl to really put your own creative spin on it!
Advent calendar Supplies
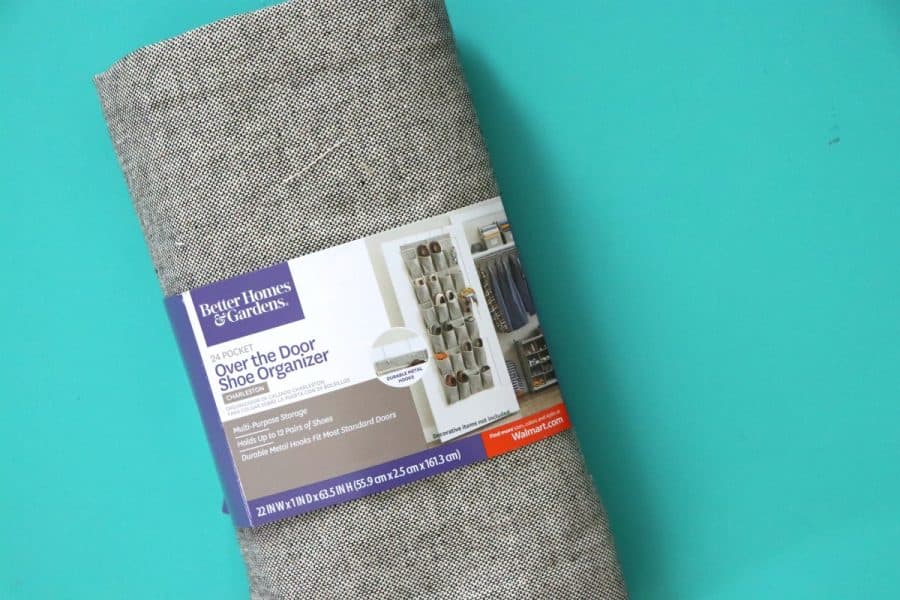
- over the door shoe organizer
- heat transfer vinyl (whatever color you want! I used white smooth htv (about 48 inches) and red glitter htv l 12×12 sheet ) both from Expressions Vinyl
- Multi-Use paper (this is reusable!)
- Silhouette cameo cutter
- Garlands or pom-poms to decorate the top (optional)
Advent calendar with vinyl Instructions
I loved the look of the fabric on this shoe organizer, but Walmart also had a canvas one and a clear plastic one. (If you decided to do a clear plastic one, you would use adhesive vinyl instead of Heat transfer vinyl!)
I opened it up and steamed it to get all the wrinkles out!
Cutting out the vinyl
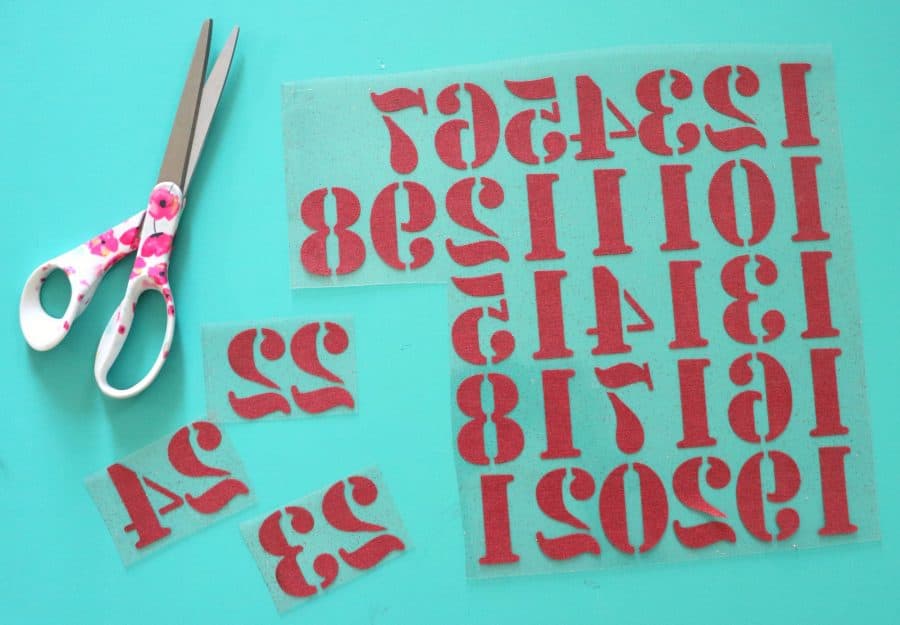
I measured each pocket to ensure my numbers weren’t too big or too small! Then, I designed what I wanted it to look like. I wanted the numbers to pop, so I opted to use a white circle behind the red glitter numbers. The numbers is the STENCIL font.
Once I had everything sized, I cut it out with my silhouette cameo.
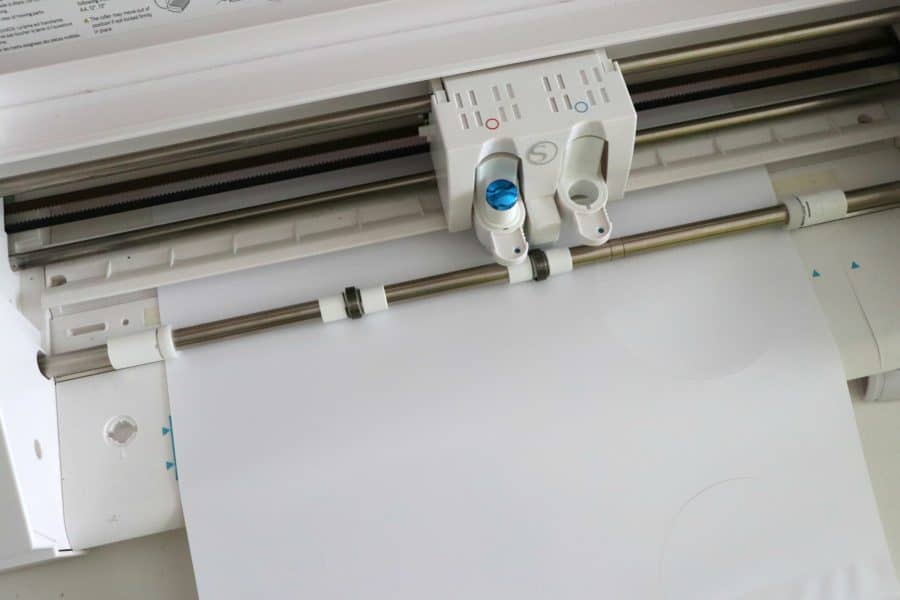
When cutting Heat transfer vinyl, you actually cut on the backside. For more instructions on how to cut out Heat transfer vinyl head to this blog post!
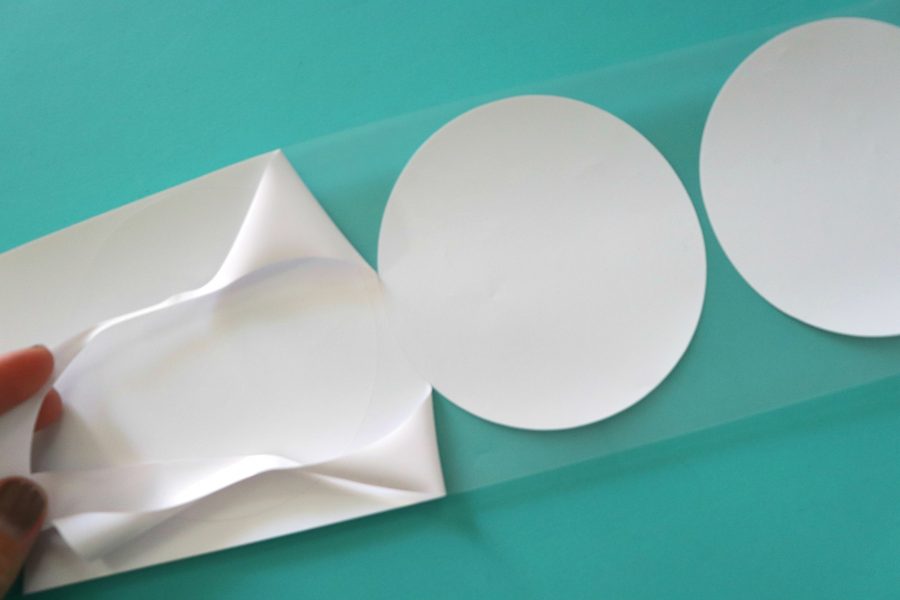
Pull away the part of the vinyl that isn’t the design. (This is called “weeding the vinyl”)
Repeat with the red glitter vinyl. I sandwiched these letters together to help save vinyl (I love to hoard that vinyl)! Then I just cut apart each number.
Layering vinyl
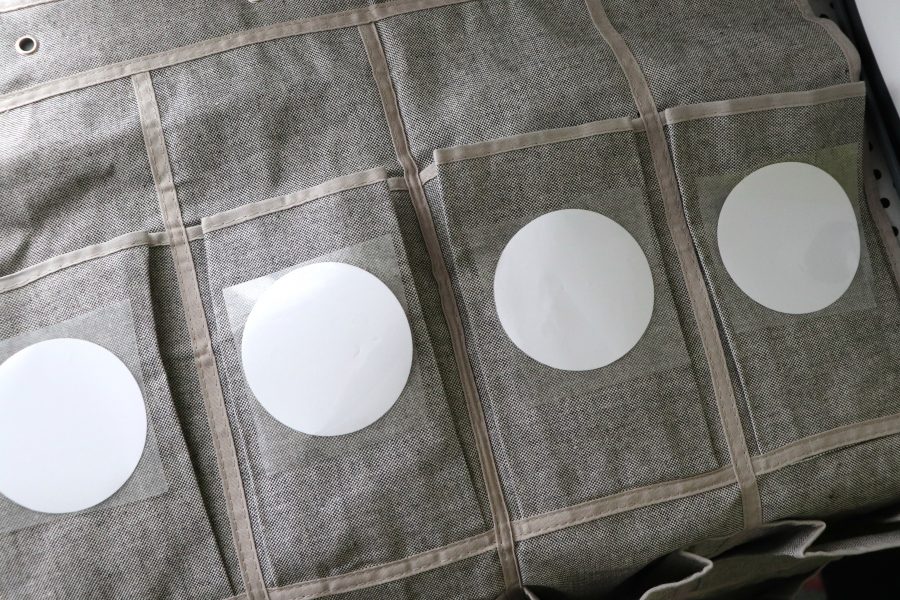
I thought I would walk you through layering. I laid out the white circles first and spaced then all the same (I measured down from the top of the pocket)
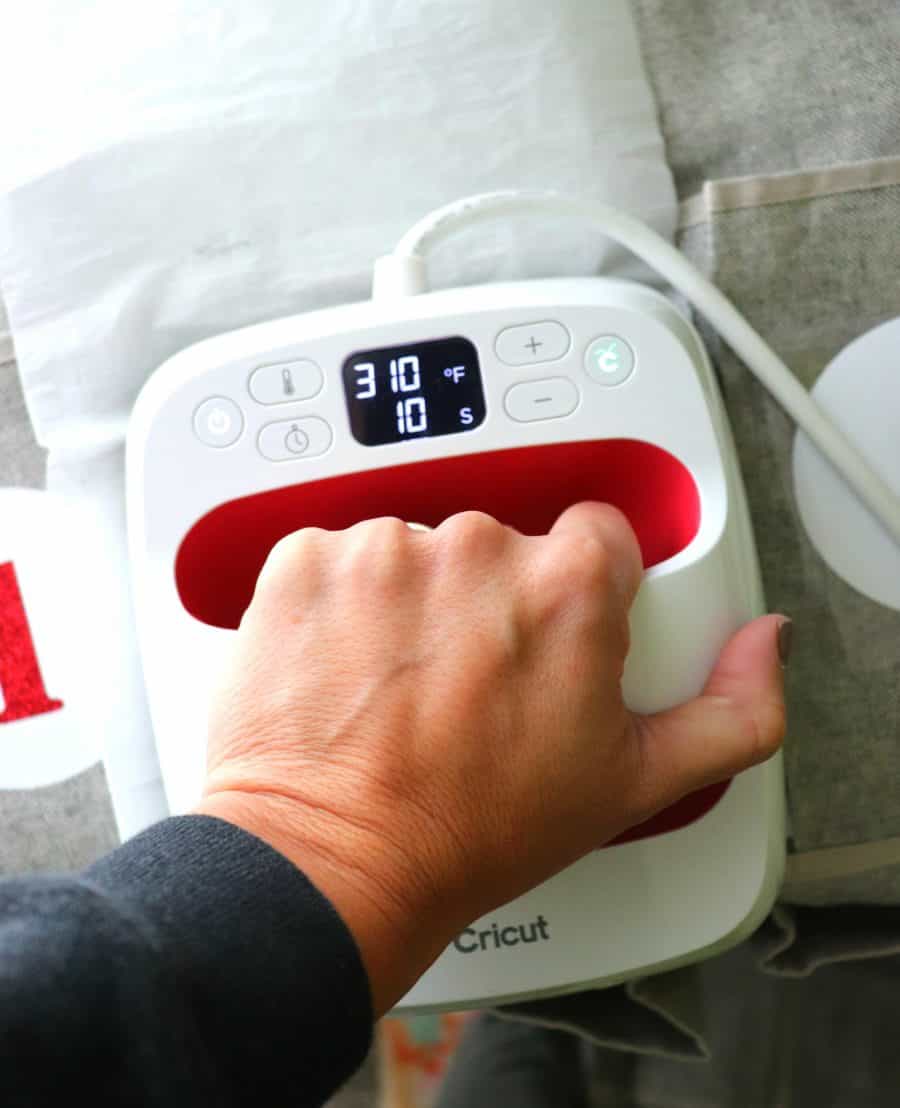
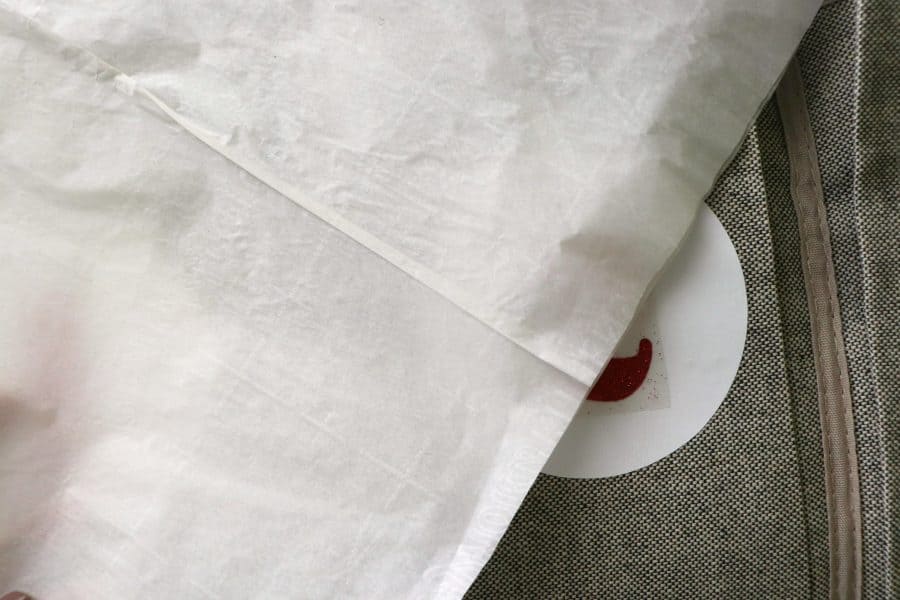
Since the material of the shoe organizer has a poly feel to it, I laid down a multi-use paper to protect my iron from melting it accidentally.
I pressed the circles for about 10 seconds (just long enough to get it stuck down) I used my cricut easy press-but you could do this with an iron as well!
Peel up the carrier sheet, that’s the plastic sheet over it.
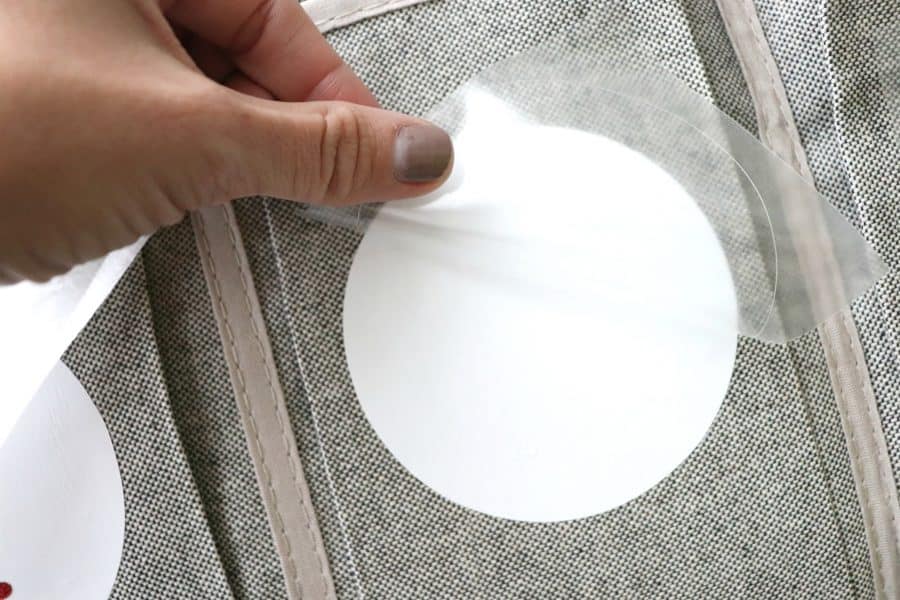
Place the glitter number centered in the circle.
Cover back up the vinyl with the multi-use paper and press for 15 seconds.
Then peel off the carrier sheet from the red glitter.
AND Repeat 24 times!

Decorate the advent calendar
Once you hang the over-the-door shoe organizer, the top is pretty boring. I added a paper garland, some felt berries, and holly.
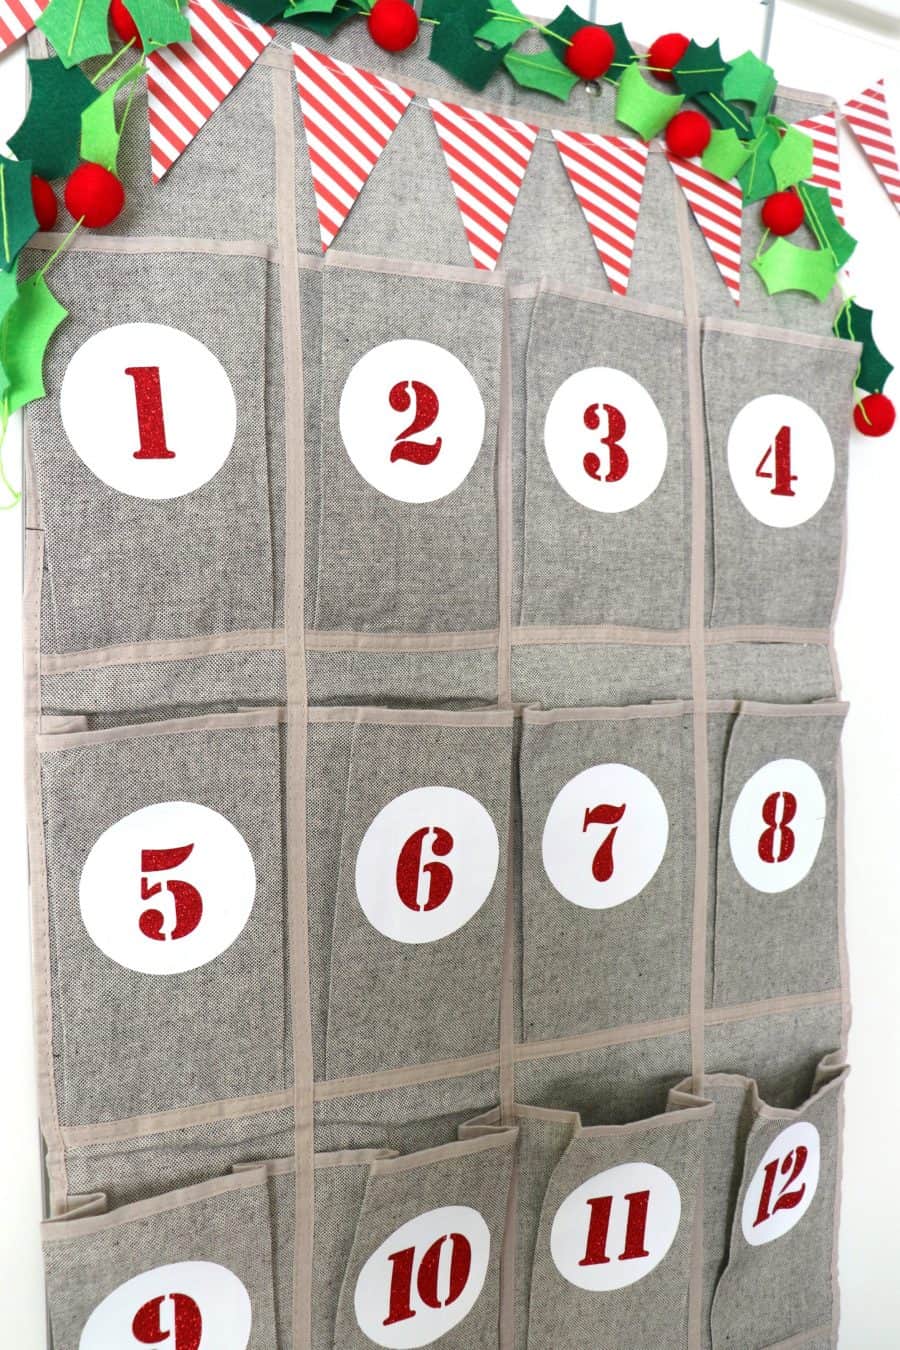
Look how good that glitter HTV from Expressions Vinyl is!

What to put in an advent calendar
Then you can just add in presents for each day-

I know this sometimes can be the hardest part trying to figure out what to put in an advent calendar! Here is a list of fun things we have done in the past!
- Toys
- gift cards
- lego surprise packs
- Chapstick
- socks
- bath bombs
- gum
- Pens, crayons, or markers
- Nail polish
- zit patches
- Jerky
- Hot wheel cars
- Lotto tickets
- Friendship Bracelet
- Slime/playdoh
- Nail trimmer kit
- Rings
- Temporary tattoos
- Lotion
- Glow sticks
- Yo Yo
- Hair clip or scrunchie
- movie tickets
- keychains
- book
- perfume/cologne
- Face mask
- fidgets toys
- pencils or erasers
- buttons/pins
- stickers
- magnets
- mittens
- little hand sanitizer
- Pez dispenser
- sunglasses
- new phone case
- breath mints
- eyelash curler
- eye mask
- cup/water bottle
- nose strip
- scented gel pens

Other fun things you can put in an advent calendar
- a little piece of candy!
- Fun Christmas activities (I have a free printable)
- Christmas Movies (Free printable! Just cut them up and add in what ones you want to watch.
- Christmas stories to read. One for each day!
- Christmas songs for each day.
- A puzzle. Divy up the pieces and let the person have a few each day
- A QR code for each day to open up a Christmas show or song or even SNL skit
If you don’t make it overly Christmas looking-you could reuse this to count down birthdays or trips! OR if you are a die-hard Disney fan-how cute to make this countdown with Mickey Mouse ears as the circles!

I also have over 50 fun advent calendar ideas here
Save for later!
Too busy to get crafting today? No problem! Pin this post to remind yourself about this project later! Sharing my projects helps me reach more people, allowing me to continue sharing free content!
Leave a Reply