
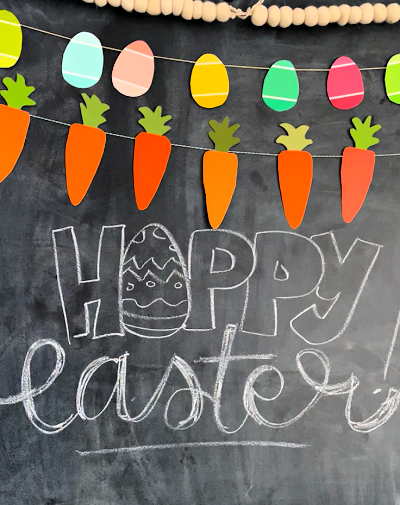
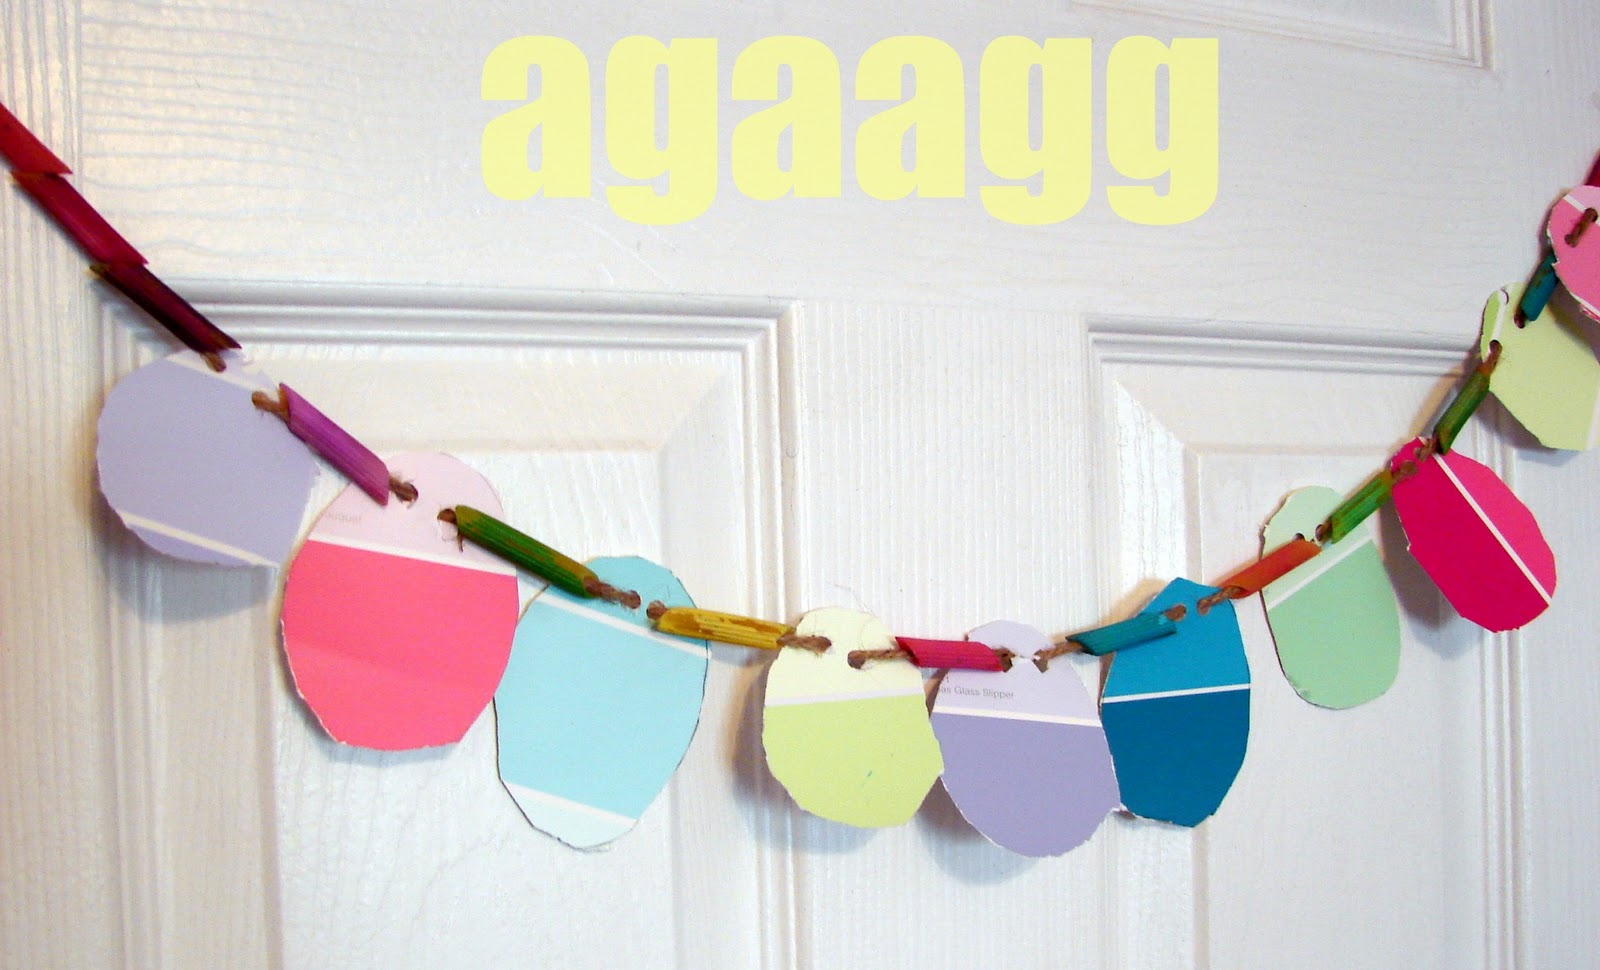
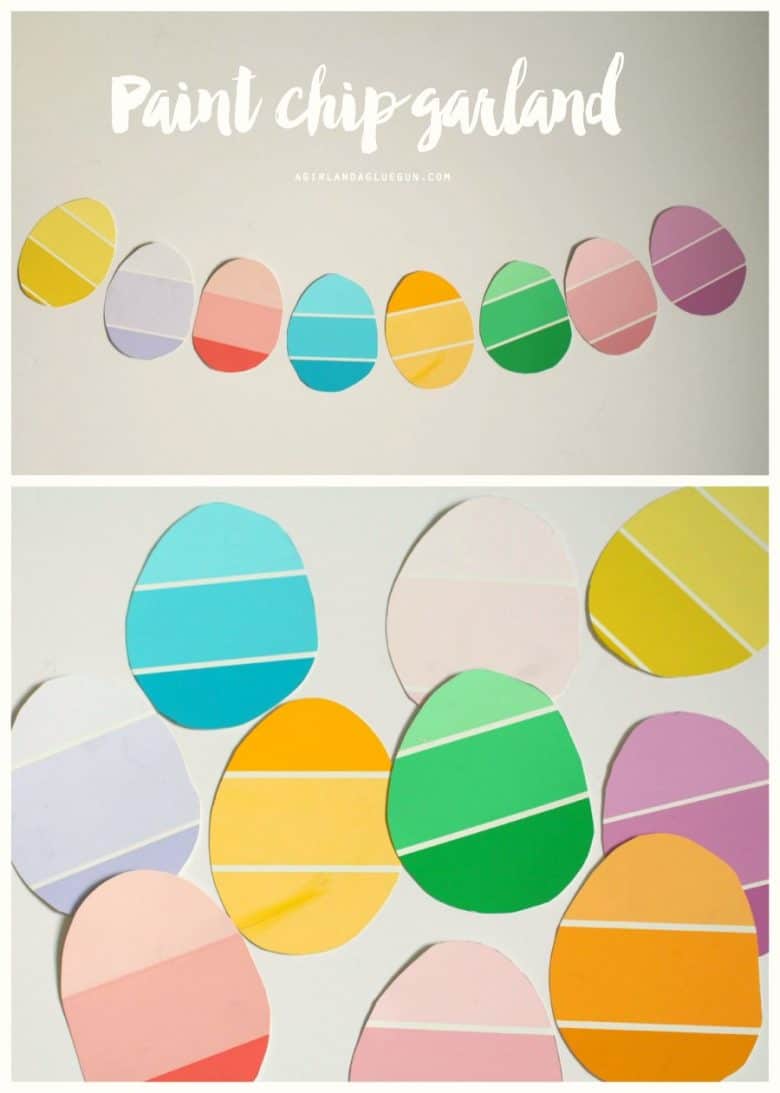
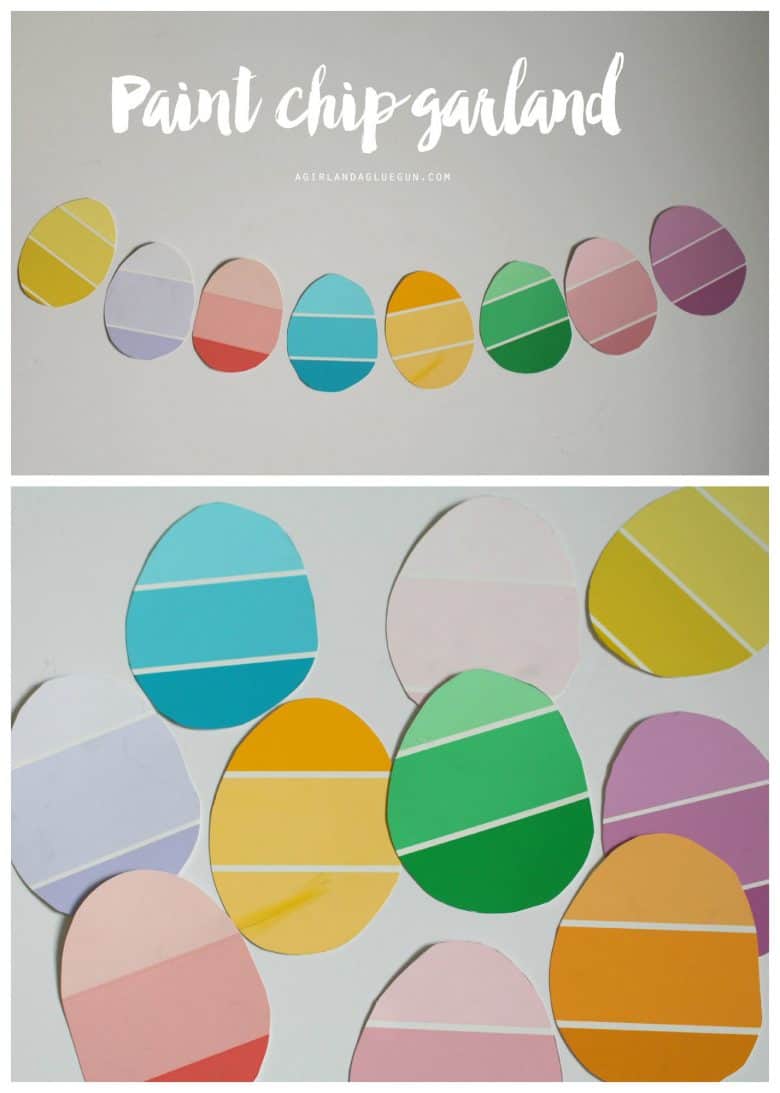
Today’s craft is a Paint Chip garland that is perfect for Easter! It’s an easy and inexpensive way to make a darling Spring craft for you or your kids!

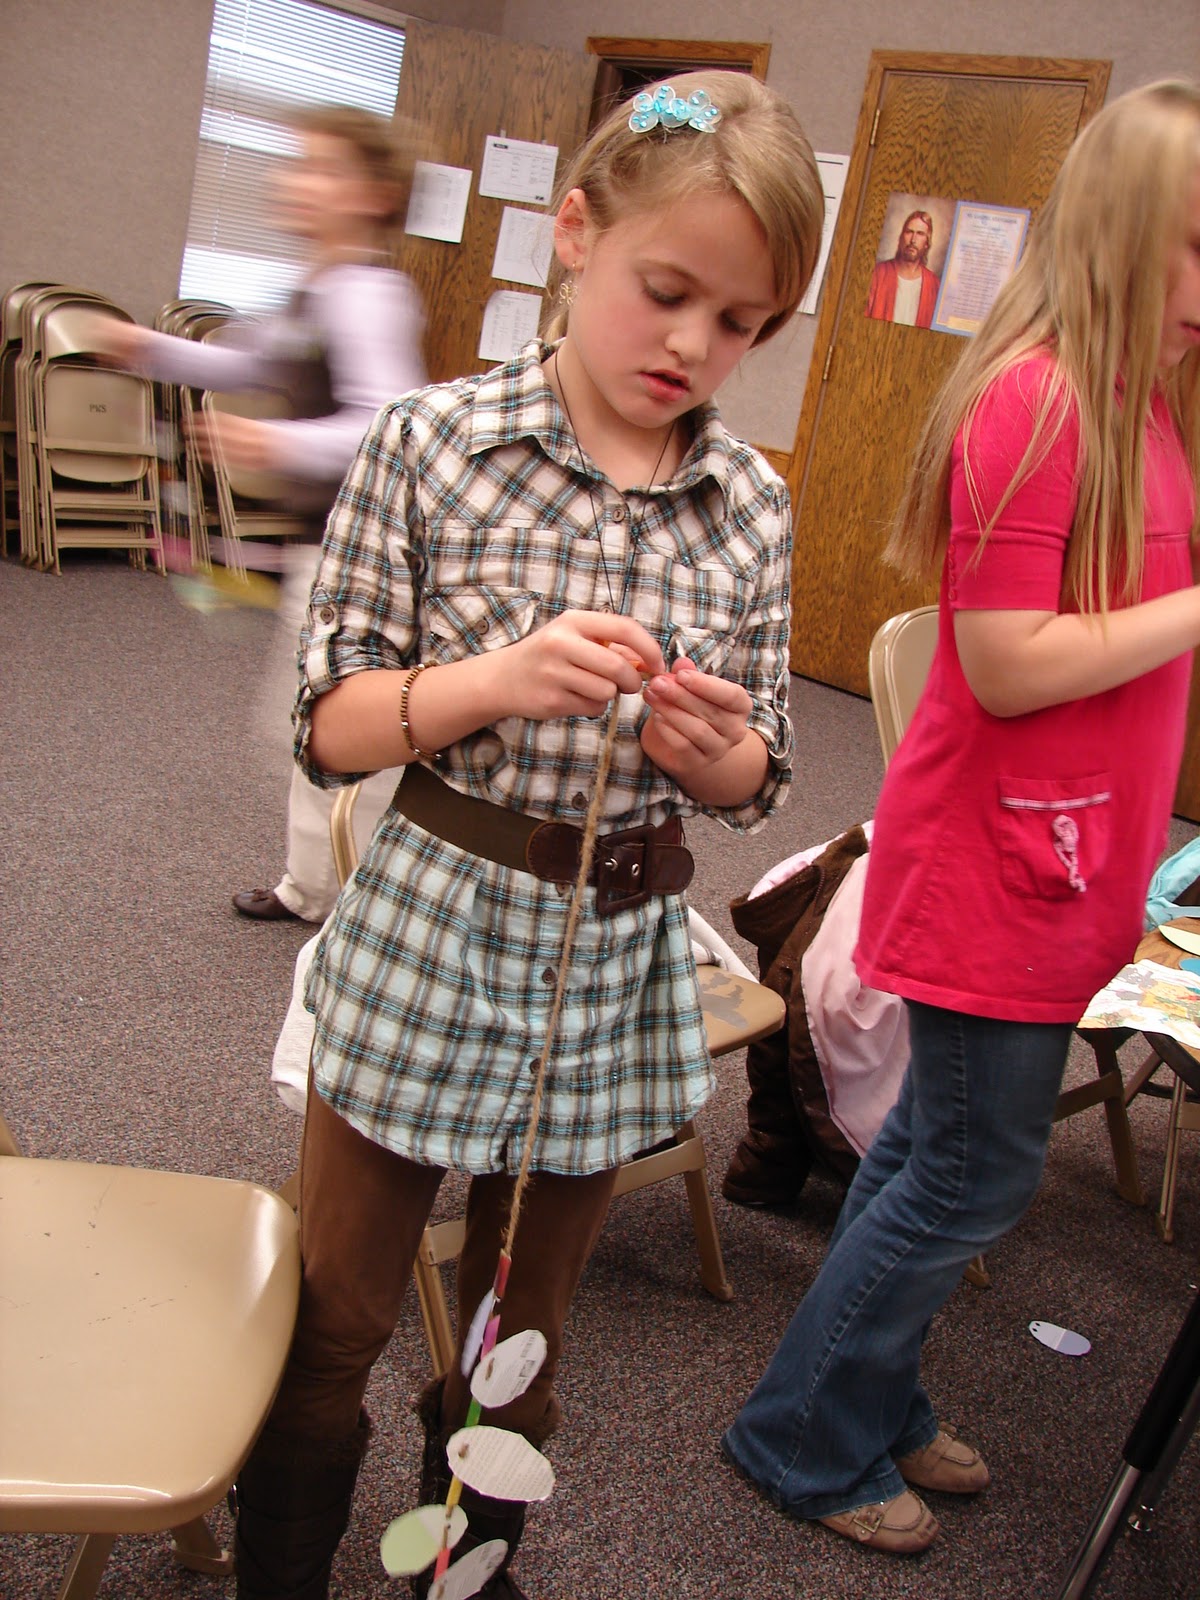
This week, I found myself in charge of activity days at my church (it’s girls ages 8-12) and I wanted to do an Easter craft. Since the girls are of a variety of ages, I had to think of something that would be on all skill levels!
Looking for a fun and budget-friendly way to decorate for Easter? This DIY paint chip egg garland is the perfect spring craft! Made from free paint samples and a few simple supplies, this cheerful decoration is great for kids, classrooms, or adding a pop of color to your home.
Not only is this craft easy to make, but it’s also a creative way to reuse materials while celebrating the season.
Why You’ll Love This Paint Chip Egg Garland
- Budget-friendly – Use free paint chips from your local hardware store
- Kid-friendly – Simple shapes make it easy for little hands
- Perfect for Easter décor – Bright, colorful, and festive
- Customizable – Mix and match colors and patterns
- Quick project – Can be completed in under 30 minutes
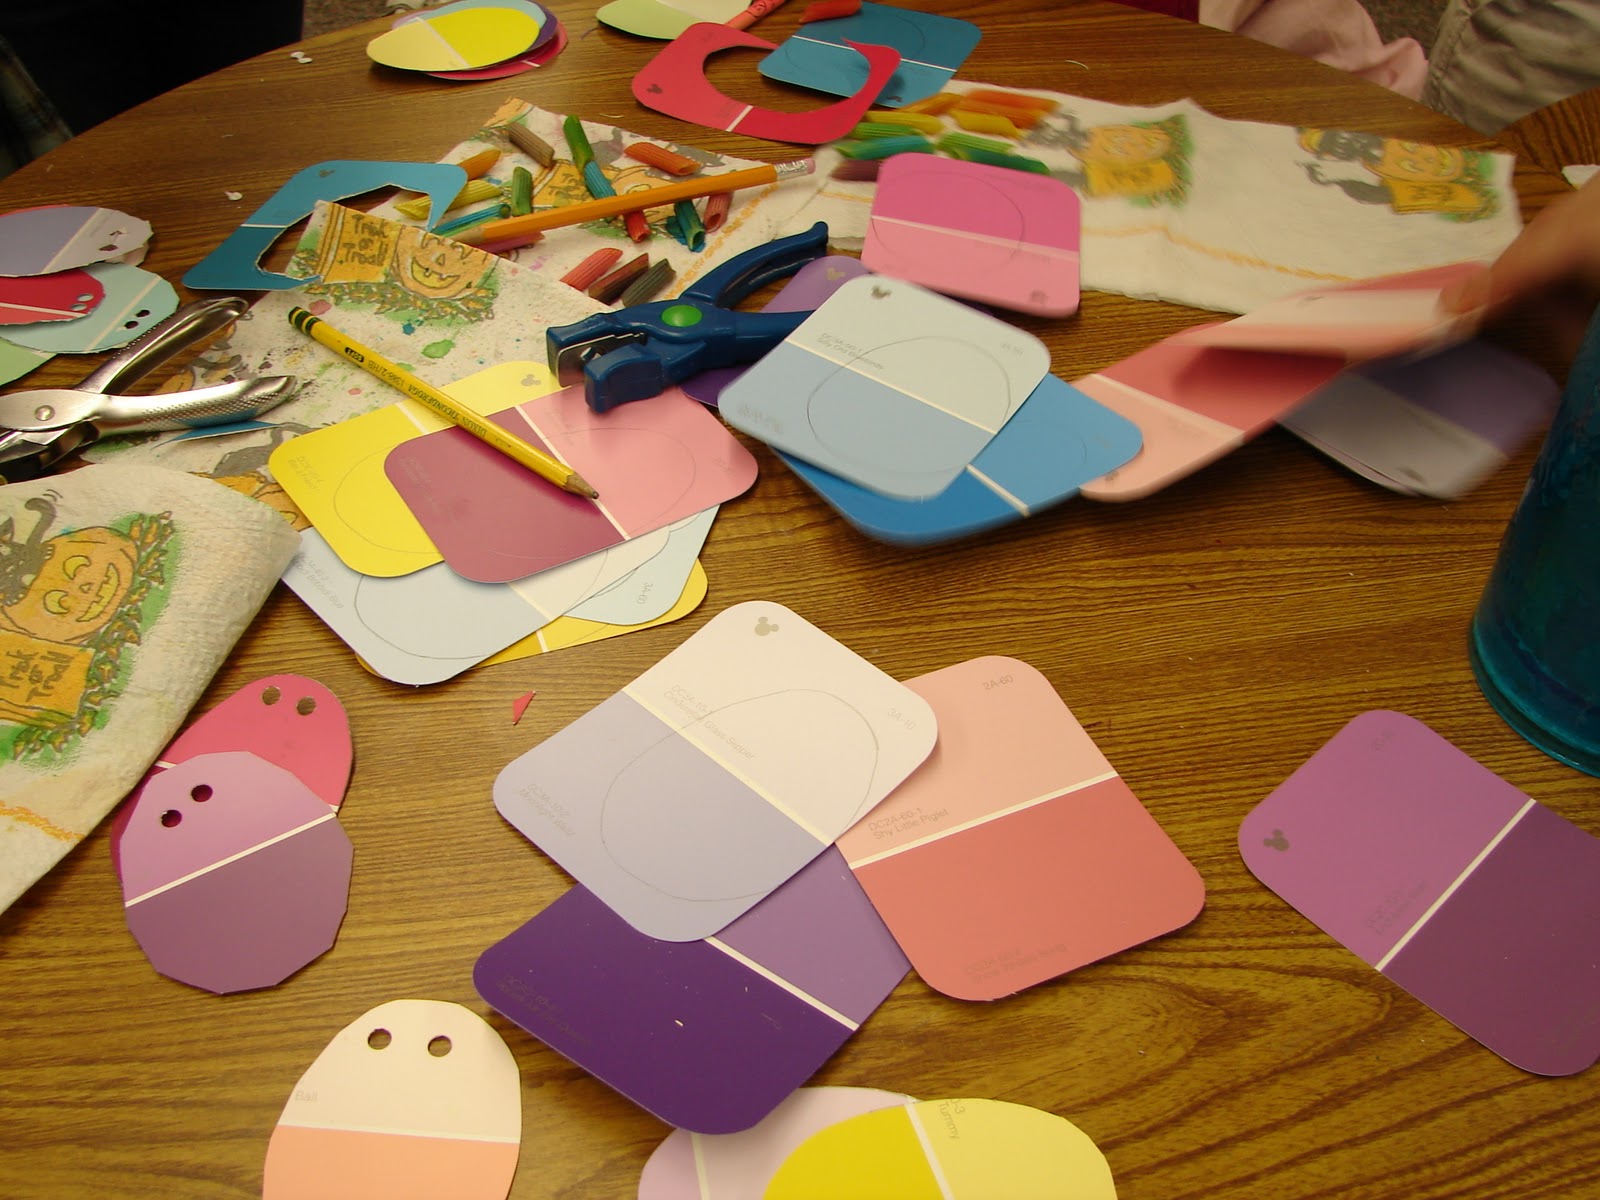
Supplies to make Easter egg paint chip garland
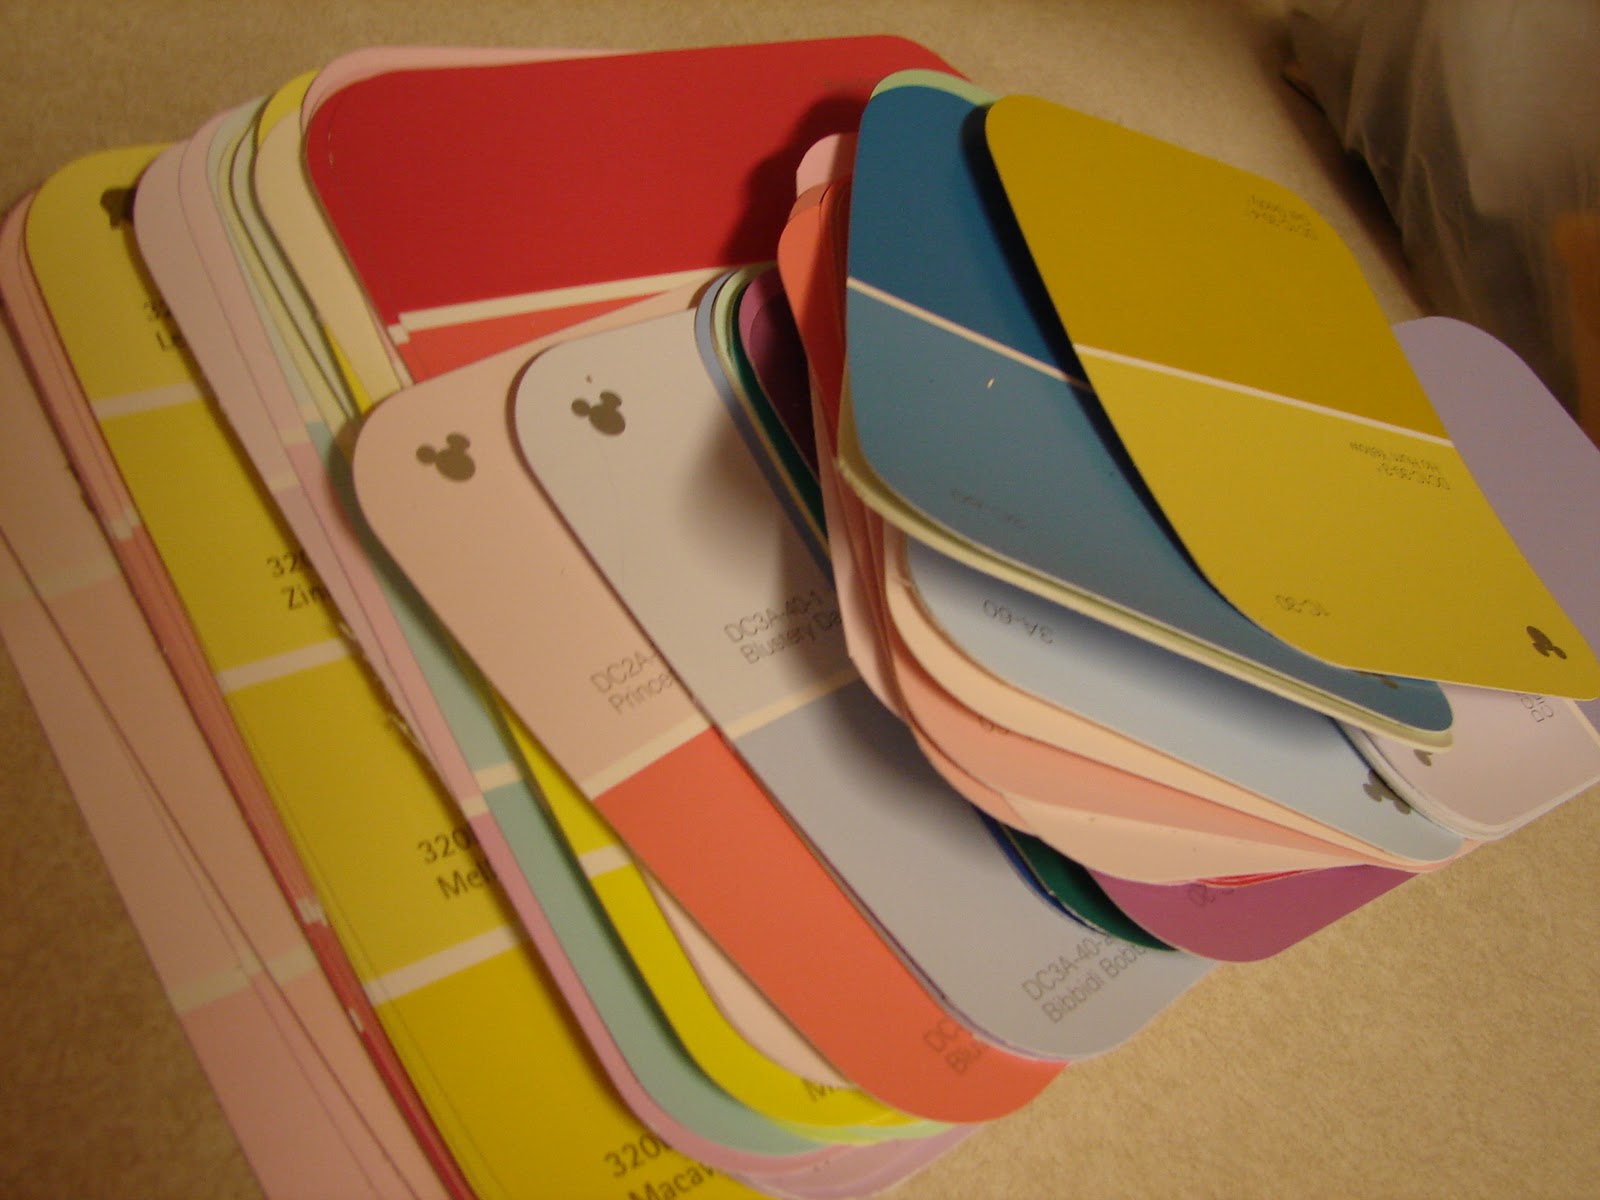
- paint chips
- scissors
- tape or glue
- ribbon or twine
- template (free down below!)
Just an FYI- I always ask when taking paint chips for art projects! The companies are always great and let me take a nice variety! But I just think it’s common courtesy to ask!
How to make a garland
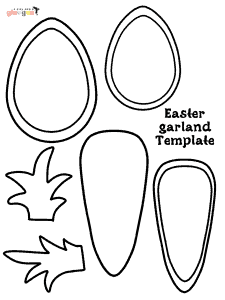
Step 1: Create Your Egg Template
Draw a simple egg shape on paper or print a template to trace. I have a template down below.
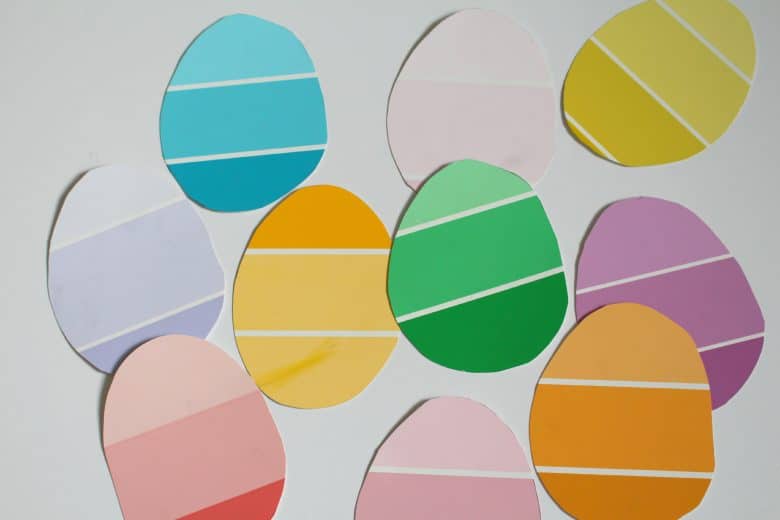
Step 2: Cut Out Egg Shapes
Trace your egg template onto the paint chips and cut them out. Use different colors and gradients for a fun and vibrant look.
Step 3: Decorate Your Eggs (Optional)
Let kids get creative! Add stripes, polka dots, zigzags, or stickers to personalize each egg.
Step 4: Spacers
You can easily go right into adding these onto twine with tape to create your garland- just like we did with our carrots.
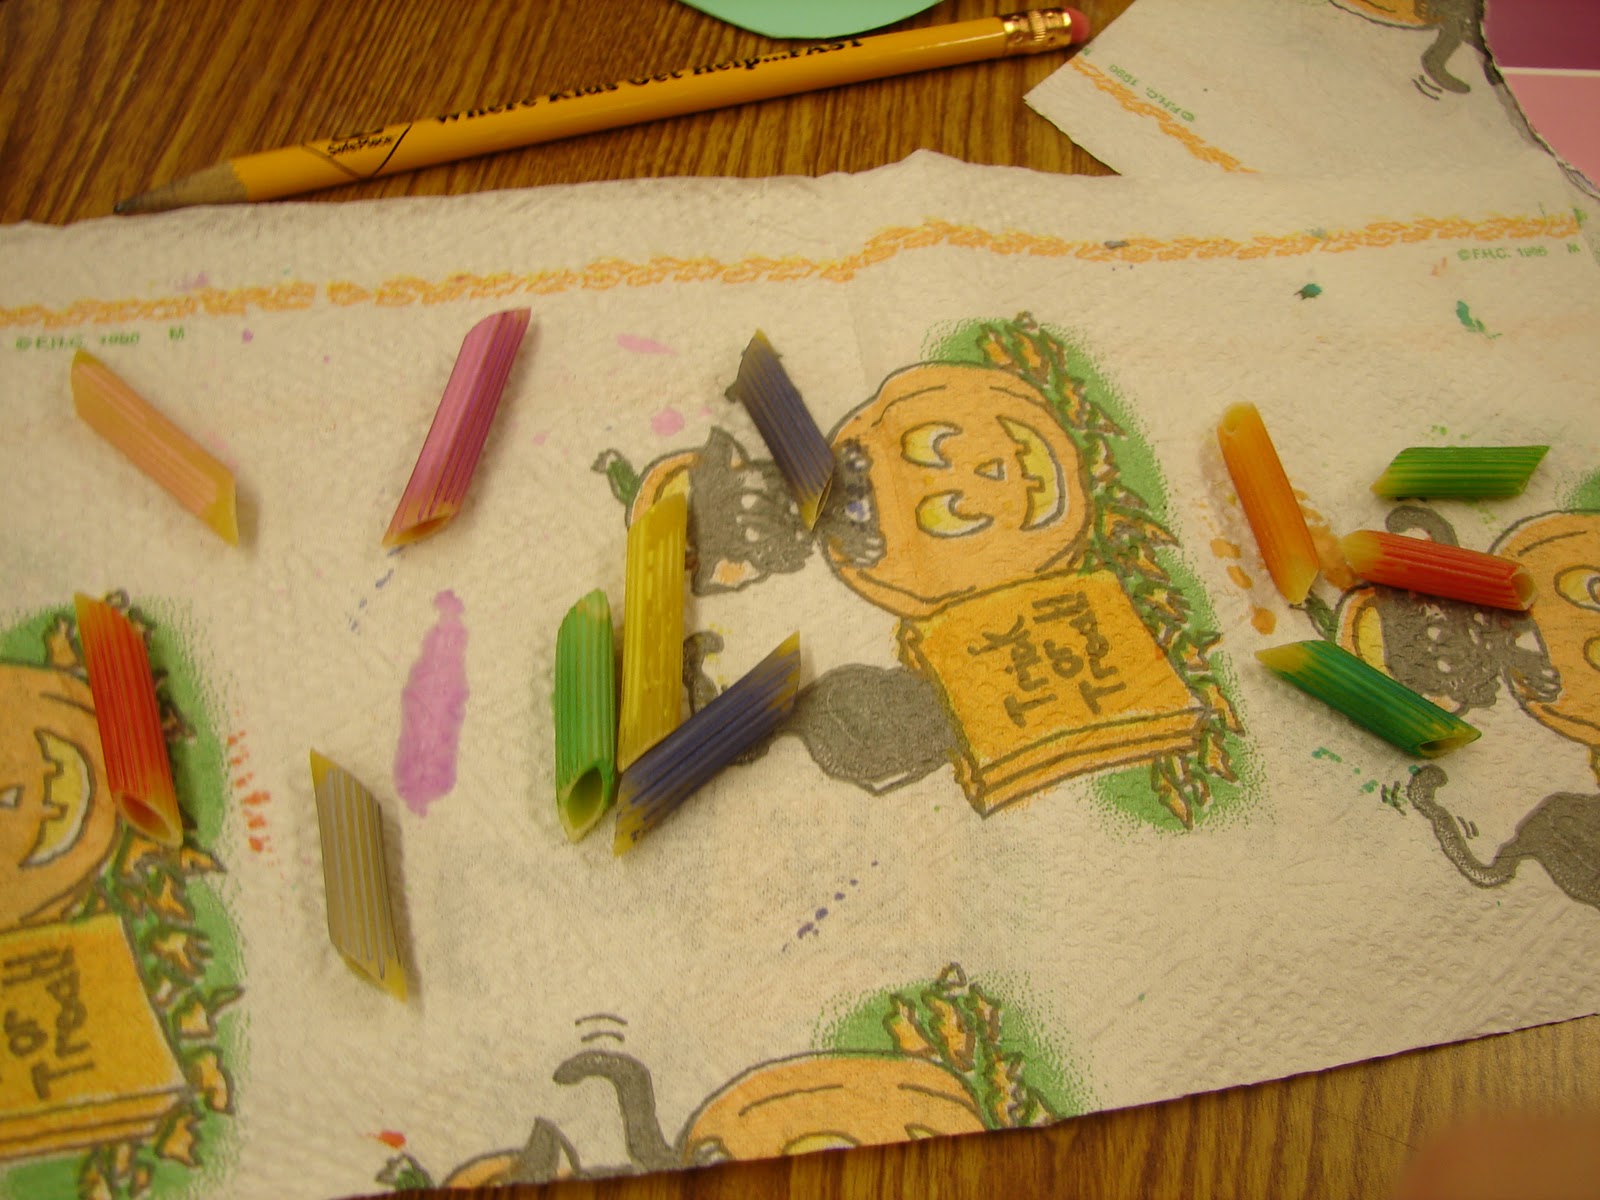
Since we were doing a kids activity, I wanted to make it last a little bit longer. I decided to add some beads in between each eggs. There wasn’t a budget to spend, so instead of beads, I got a box of dried pasta!

I just gave girls a handful of pasta and they painted them with watercolor. You could use acrylic paint if the girls are older. We did this step first so they could dry while we cut out the eggs. Also think about bringing a hair dryer to speed up the process.
Step 4: Punch Holes
Punch a hole at the top of each egg. For a more secure garland, you can punch two holes and string through both.
Step 5: String Your Garland
Thread your eggs onto twine, string, or ribbon. Add noodles, eggs, noodles eggs, Space them evenly or layer them close together for a fuller look.
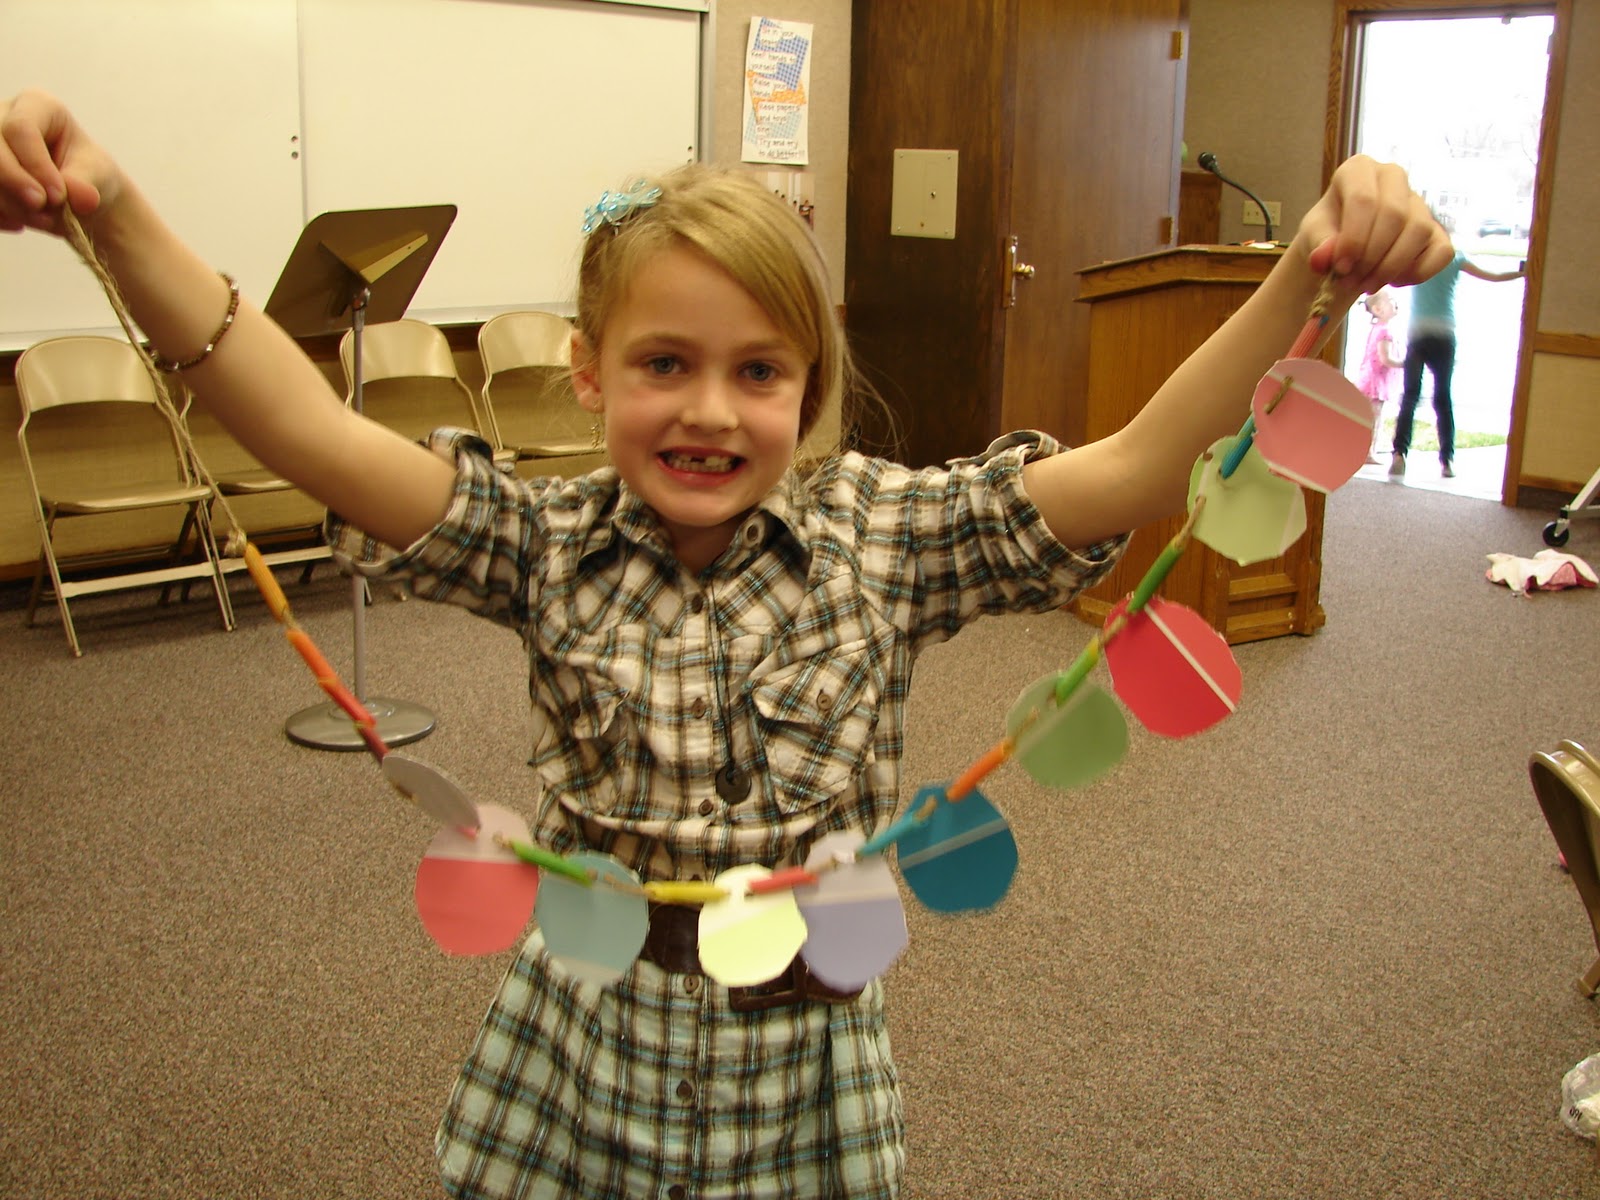

Step 6: Hang & Display
Hang your garland on a mantel, wall, window, or across a doorway to add a festive Easter touch!


Tips for the Best Results
- Use paint chips with gradient shades for a unique look
- Mix in pastel colors for a classic Easter vibe
- Laminate or use cardstock backing for extra durability
- Try layering two egg cutouts for a 3D effect
- Use a sewing machine to stitch eggs onto string for a quick garland
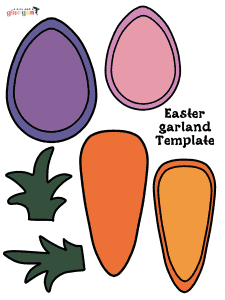
Easter paint chip garland printable
I have a template in case you don’t want to freehand! You can print them out and pick what size works best Then trace them on the back of the paint chip as a guide!
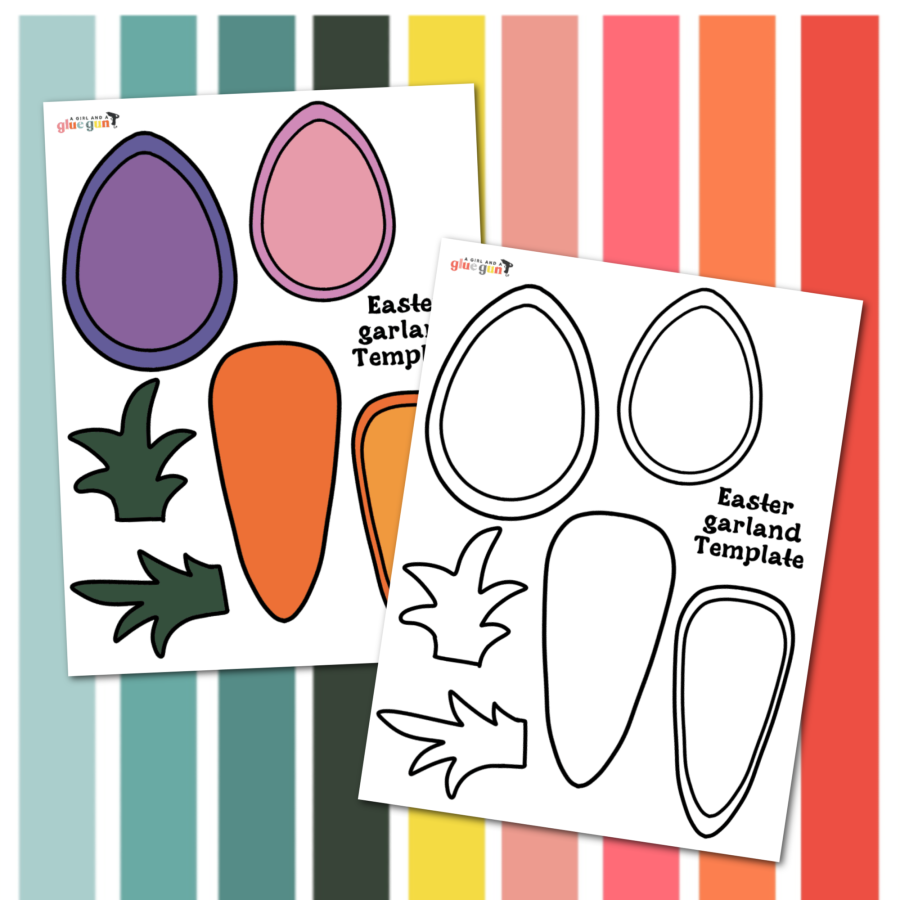
Just click the image below and the download with happen immediately!

Save for later
Too busy to get crafting today? No problem! Pin this post to remind yourself about this project later! Sharing my projects helps me reach more people, allowing me to continue sharing free content!
Other fun easter crafts and activities
Final Thoughts
This paint chip egg garland is an easy, creative, and affordable way to celebrate Easter. Whether you’re crafting with kids or decorating your home, this project adds a cheerful handmade touch to your spring décor.
Give it a try and watch your space instantly brighten with color!
gail@myrepurposedlife.net says
too cute! love it
gail
Kimberlee, The Spunky Diva says
That is too cute! Those kiddos sure had fun.
~kimberlee
http://www.TheSpunkyDiva.com
Glorinha, Tatiane e Ana Maria. says
Suas criações são sempre belas e criativas. Parabéns tenha uma otima semana.
Steph at ModernParentsMessyKids.com says
You guys did a great job! I had to laugh at the image of you lifting paint chips for your church group :). I added you to my pinterest page of readers that tried the project here:
http://pinterest.com/modrentmessykid/reader-s-mpmk-projects/
Meri says
I love it!! I think I am going to do this with the kiddos while they are on Spring Break next week. 🙂
Valerie says
I love this! I'm going to try and do this with my kids for an activity. . .
Rhiannon says
very cute! i wish i knew about this 2 days ago! I just threw away a handful of paint samples. i held on to them thinking i know theres some great project out there in blogland and i just got tired of hanging on to them.
Kassi @ Truly Lovely says
GREAT kid craft!!! Thanks for sharing here! Gotta love a girl that'll snag paint chips from Home Depot for a church activity! *wink*
Trina says
Megan sure had fun! I think she would like it if you did it every time!!!
Tami Marie says
How fun! Looks like a cute craft. I'm sure my class would love to do something like that. Thanks for sharing.
Fern Smith says
You have made me night! I can't wait to hit the Home Depot!
~Fern
Fern-Smith.blogspot.com