
This post is #sponsored by The Home Depot. #DIHworkshop
Learn how to make an amazing Rain Gutter Planter. Hold flowers or herbs for a beautiful, functional outdoor hanging garden!
It’s been so warm here that I was so excited to work on this project! It was so nice to be outside and spray paint and plant some flowers! Are you ready to see what I created?
Here was the inspiration piece from Home Depot to start with: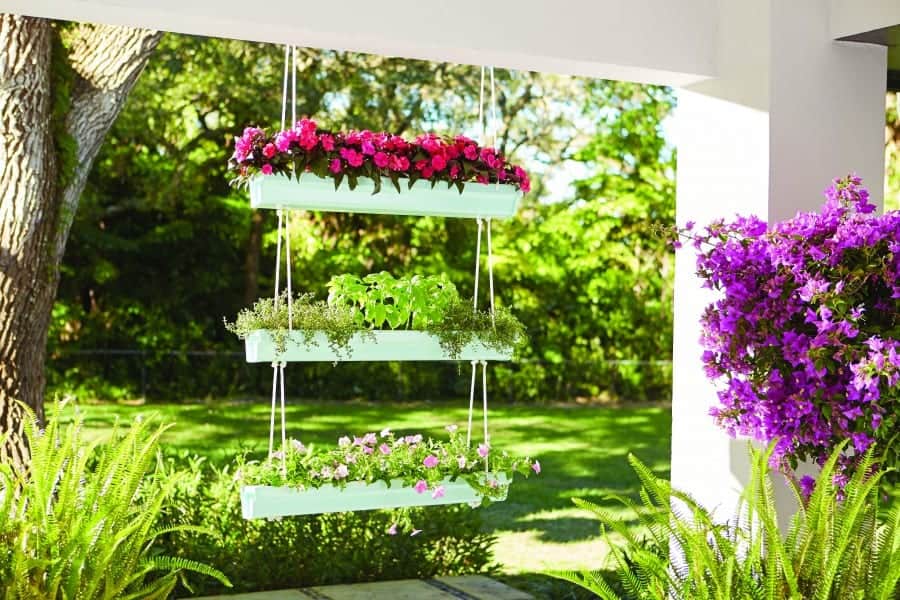
And here is where I ended up creating: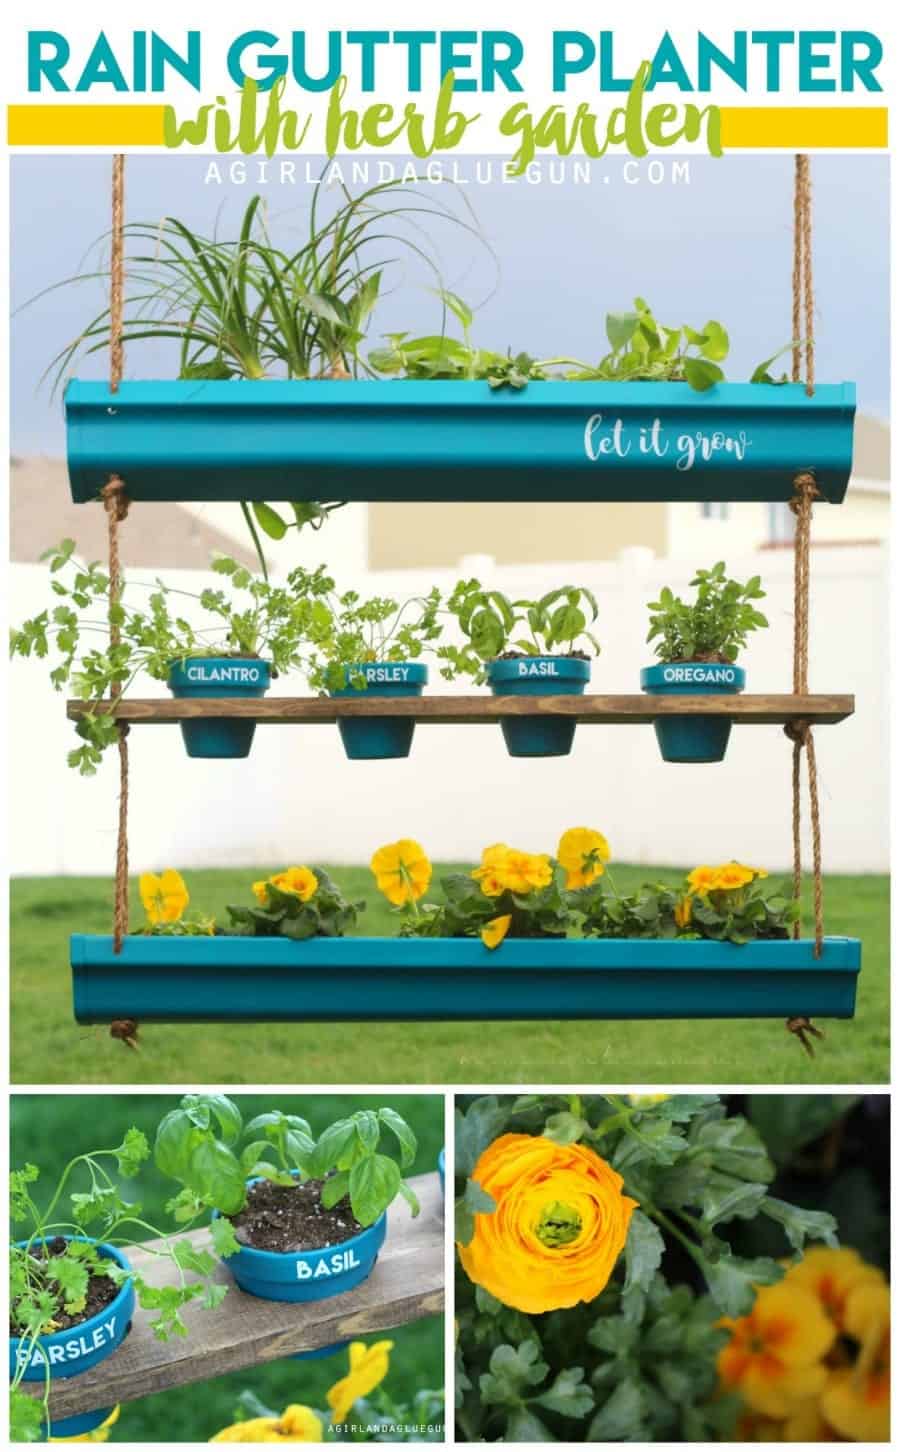
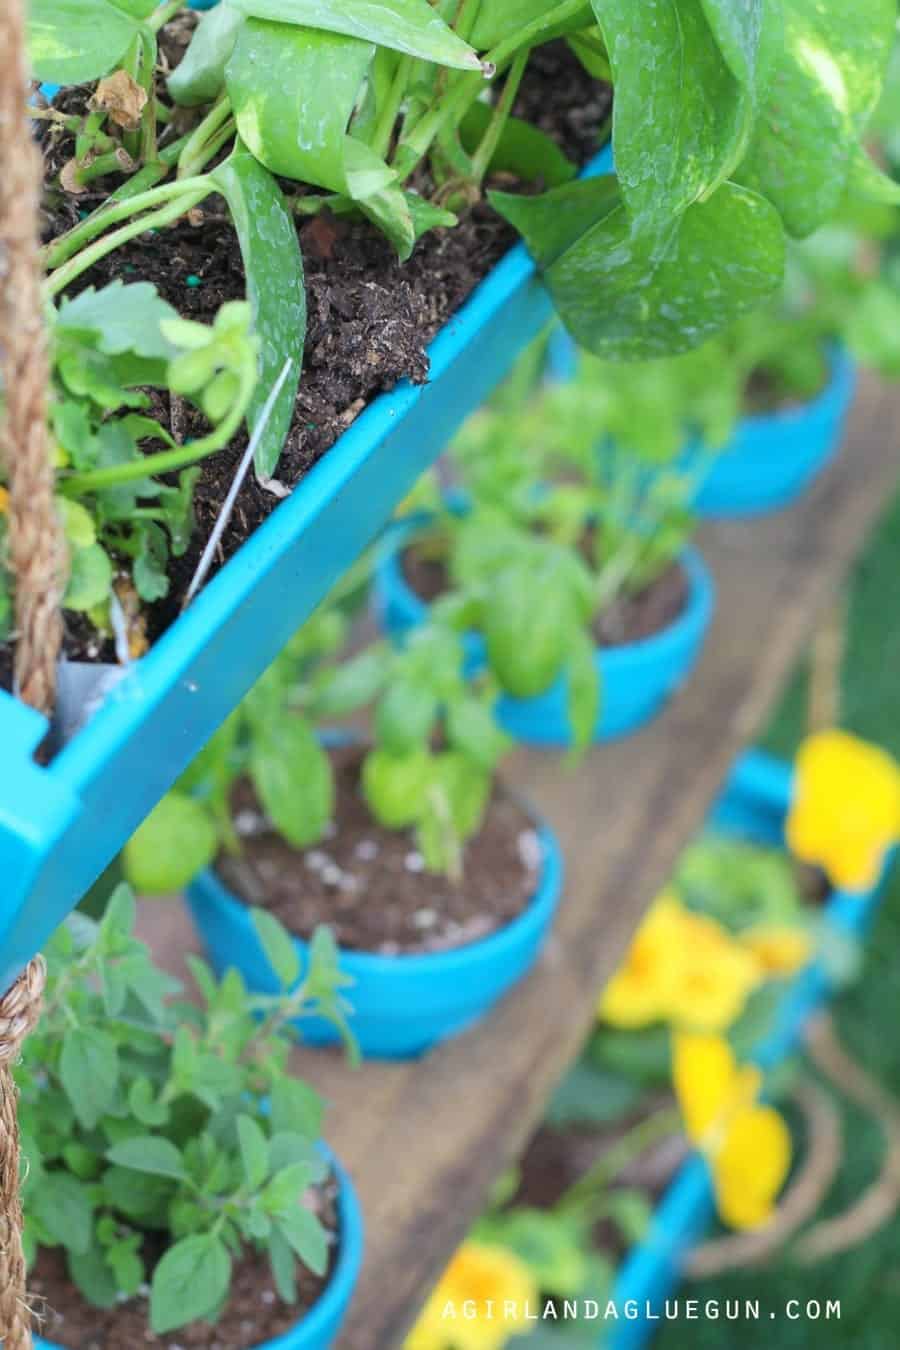
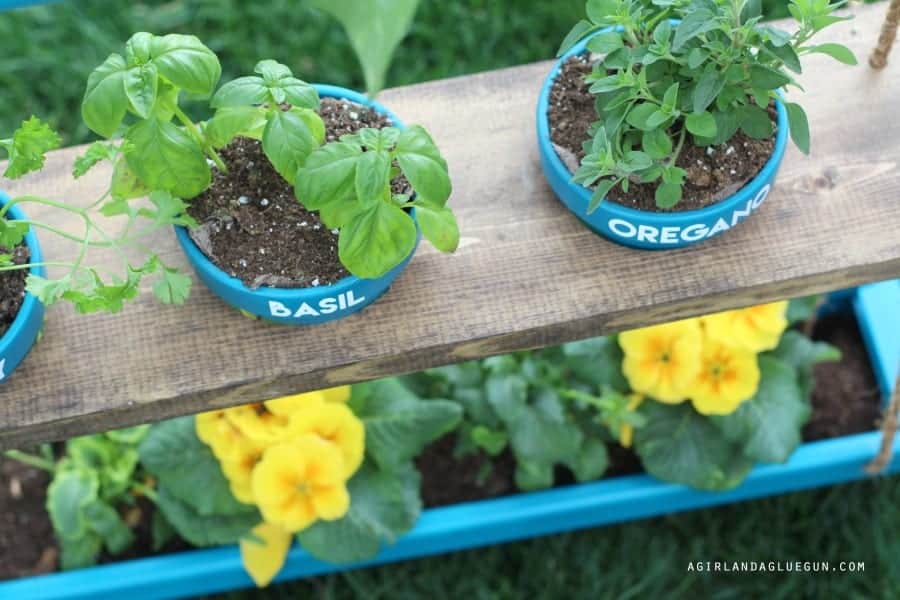
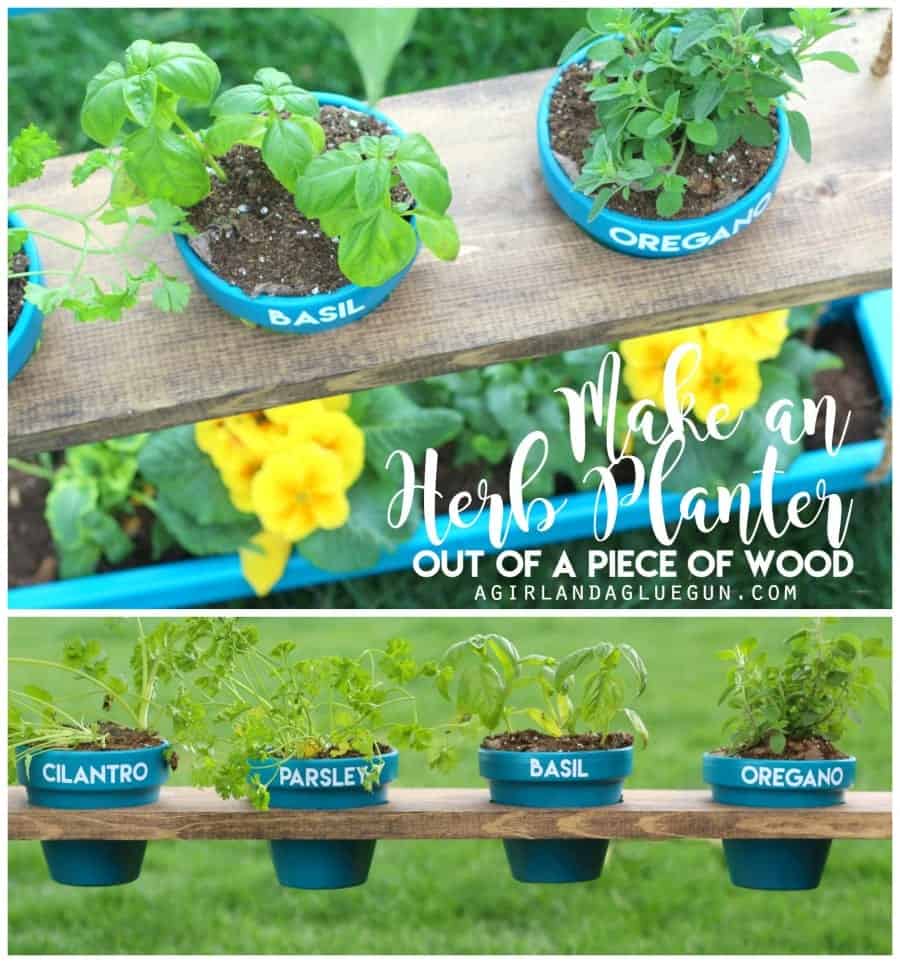
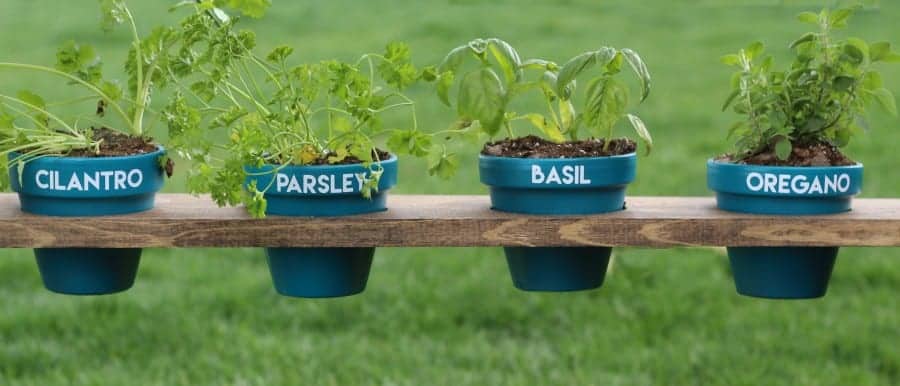
I took out the middle tier and added in a little herb garden in pots! And I , of course, added vinyl!
The best part is that the rain gutter is 10 feet long and only 3.98! That is so cheap! (so cheap in fact I posted a roundup of fun things to do with rain gutters!) This planter is so cool because you can customize it with any color spray paint you want–and you can make them how long you want or even add 4 tiers! It makes a really pretty privacy divider!
Supplies to make a hanging planter:
- 1 vinyl rain gutter (I only used half of the 10 feet)
- 1 6 inch wide common board
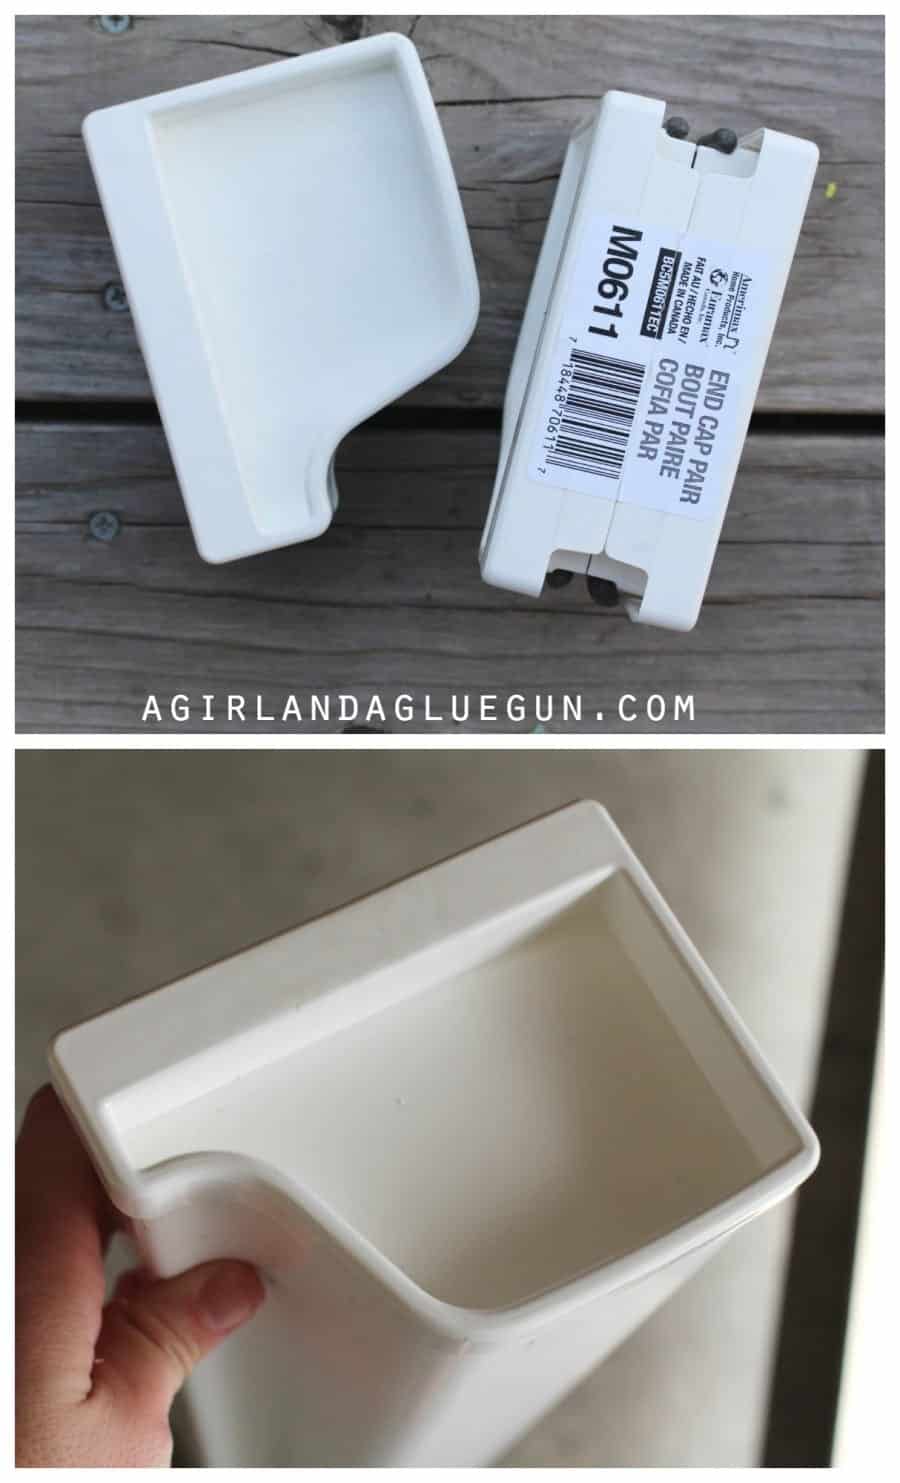
- 2 end caps for rain gutters
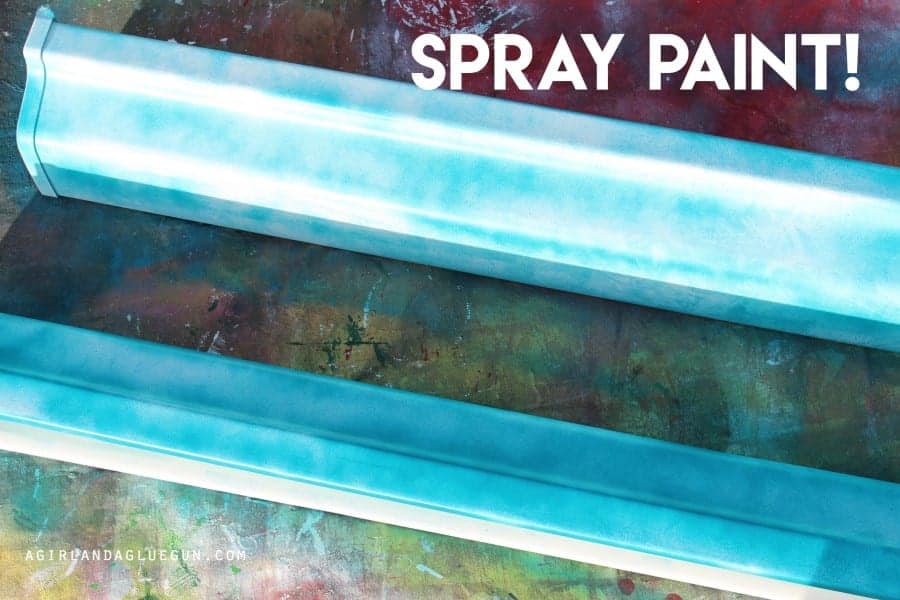
- Rusteleom spray paint in Lagoon
- Wood stain in Jacobean
- Terra cotta pots
- Plants/Herbs/Flowers/Succulents
- Soil
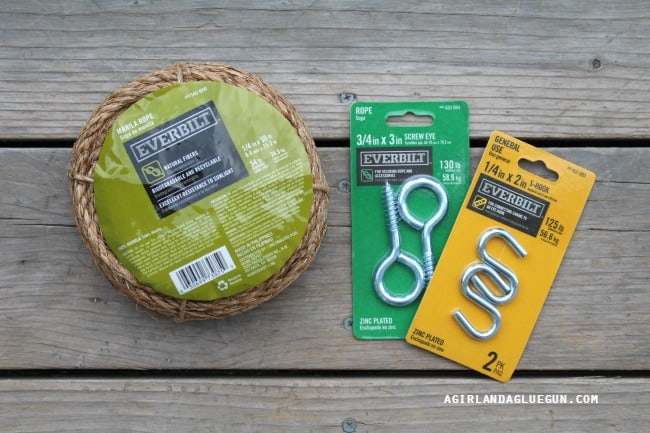
- Rope
- 2 S hooks
- 2 screw eyes
Like I said, you can customize the length of this, the color of this or add more tiers. The supplies I’m listing are basic because the amounts depends on the size of your planter. If you want it really long, you need more rope etc!
How to make a rain gutter planter
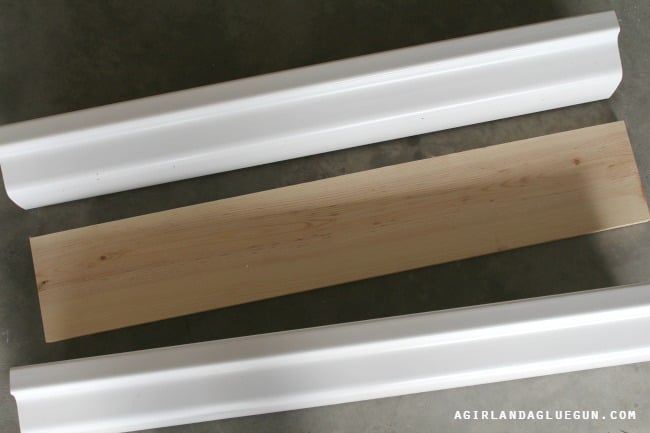
I had my husband cut 2 pieces of rain gutter (mine are 32 inches long) and then one piece of common board ) also 32 inches. (Home Depot can cut them for you if you need which is a service I love!)
I added the end caps before I spray painted. Next time I think I will leave them off and spray paint them separately and then attach them when they are dry!
Paint and stain your rain gutter planter
I used Rusteleoum spray paint to paint the rain gutter. This isn’t the best picture–but I wanted to show you that it’s best to do a few light coats instead of thick ones (even though sometimes impatience wins!)
This is the stain for the piece of wood–but you could paint it as well!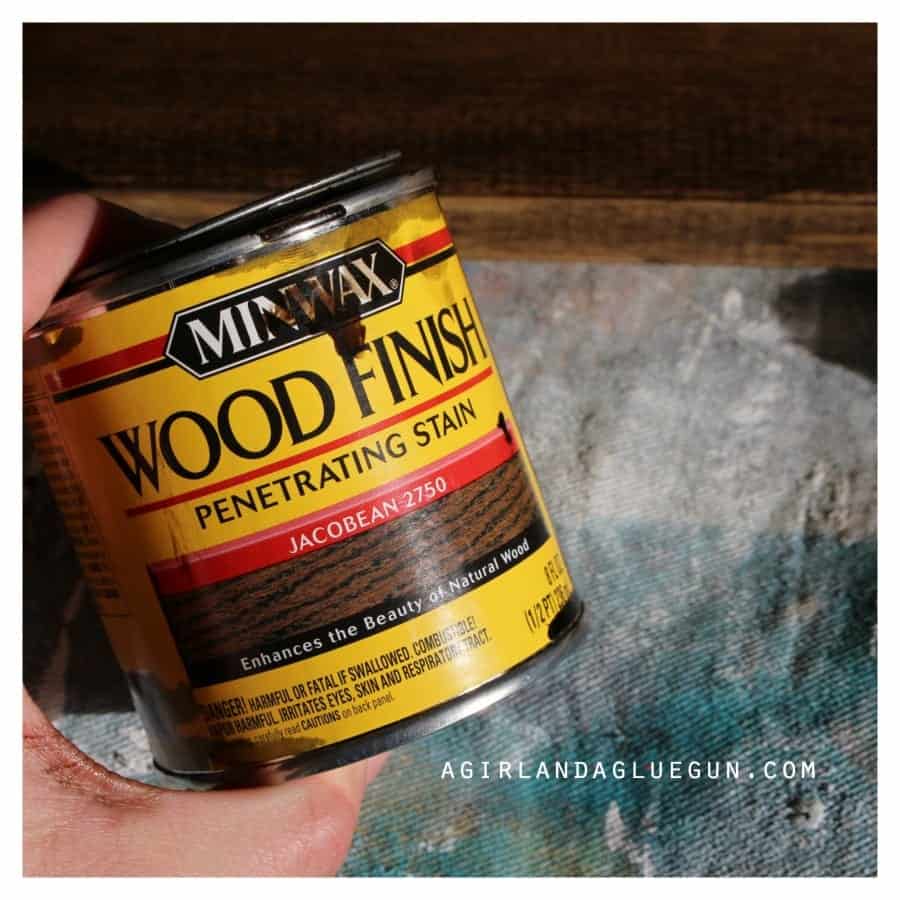
I originally bought pretty red pots at Home Depot (they have lots of awesome pots and planters there!) But since I wanted to make them matchy matchy with my rain gutter, I ended up swapping them out for these terra cotta pots (they are less than a dollar a piece!) and I gave them a shot of spray paint as well.

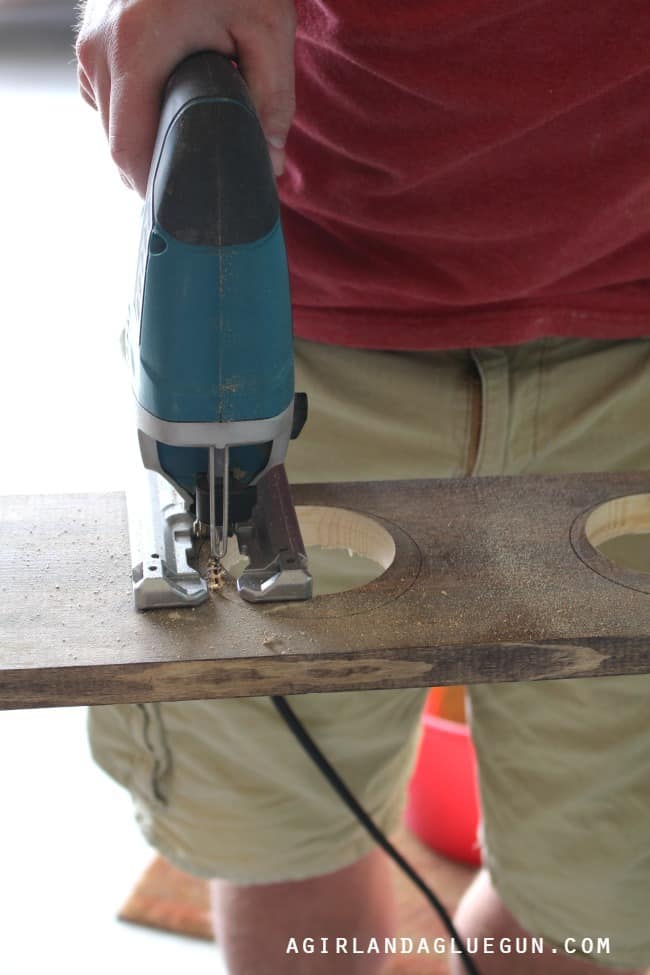
I cut holes in the wood so the terra cotta pots could sit down inside of the wood. I used an attachment you can buy for your drill to cut the circles –but it wasn’t quite big enough so we took our jigsaw to finish the job!
You could cut out the circles and then stain so the inside of the circle looks finished- but you can’t see it once the pot is in so we just left it as is!
Vinyl decals
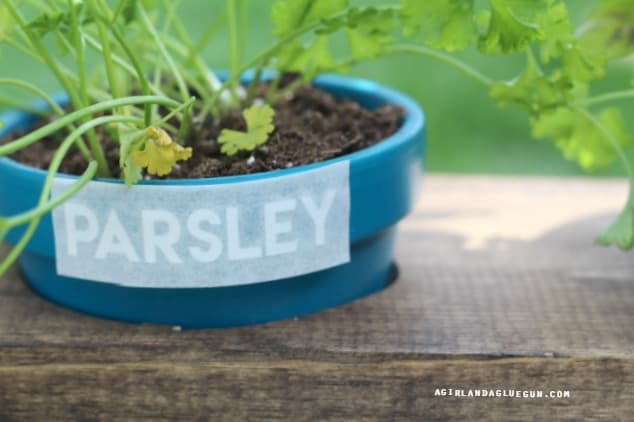
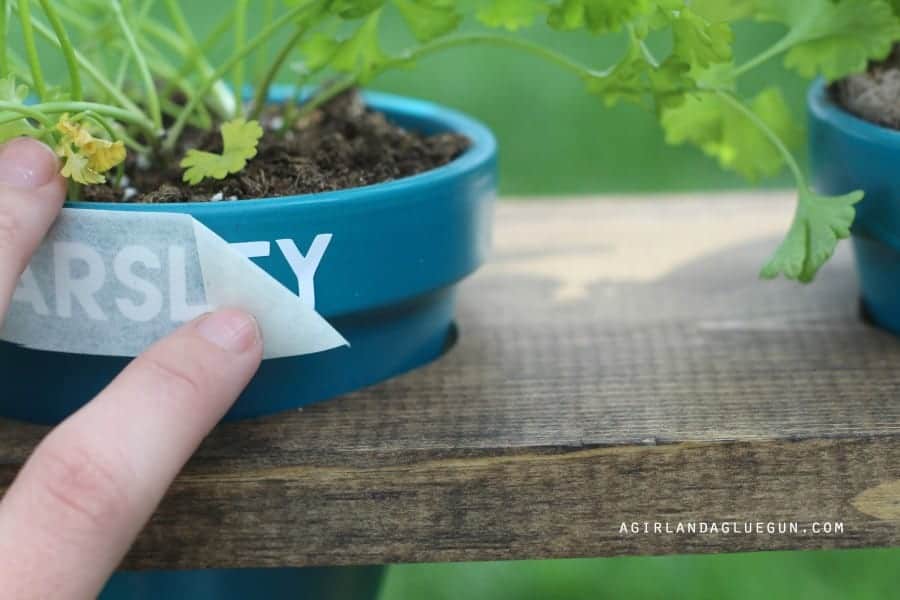
These pots were my “herb garden” and since my green thumb is only green because I have spray paint on it… I needed to label the pots so I knew what herb was what! Cut out some Expressions Vinyl and added to the pot with transfer tape! (Make sure the pot is completely dry or the transfer tape will peel off paint and the vinyl won’t stick!)
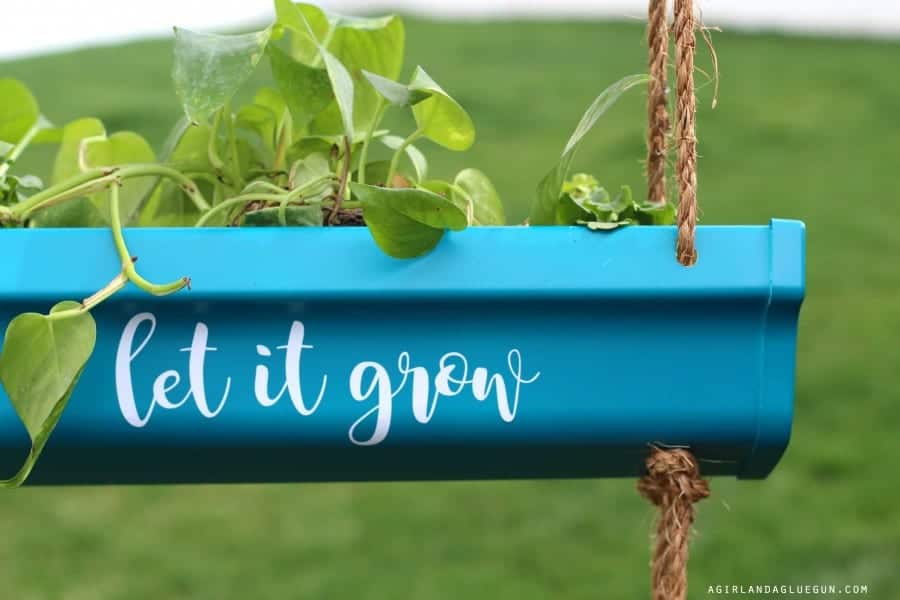
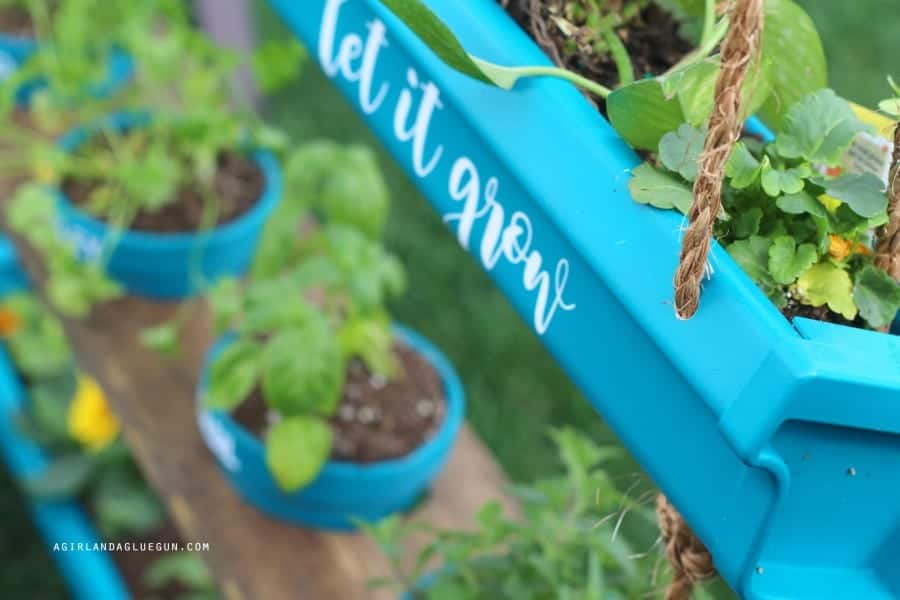
I also added some fun vinyl to the one of the gutters—
How to hang the rain gutter Planter
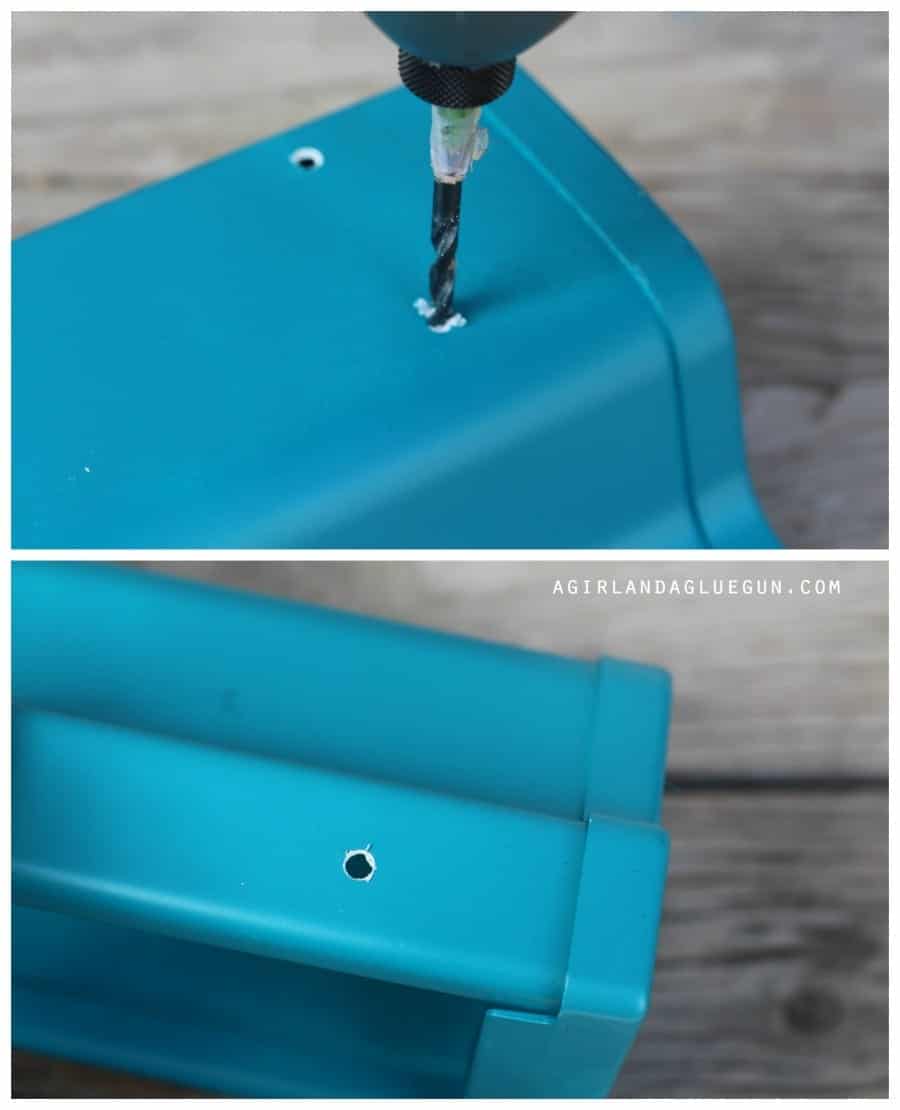
Next, drill holes in the rain gutter. Two on the bottom and one on the side. This is for the rope!
 Time to run the rope through. I bought this kind of rope because I liked the color–but there are lots of great options and colors. You could even use a chain!
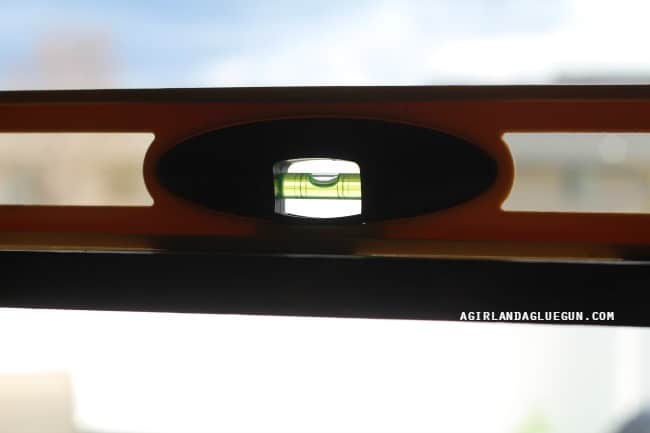
I actually hung this up on a curtain rod to make sure it was level as I added the rope. I didn’t want one side to droop down!
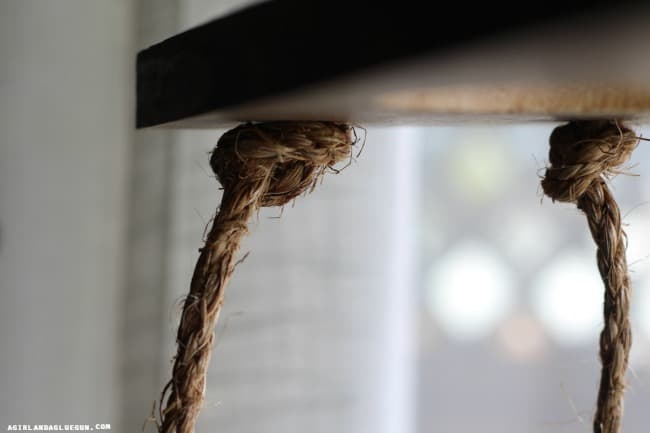
 Tie a knot on the very bottom of your rope. Run it up through the bottom and out the side. Each of my levels are 10 inches apart–so 10 inches from the hole I just ran the rope through I tie another knot. Keep going. Once you reach the top loop it over and work it down the back holes (tie knots!)
It’s time to hang! You can use a screw in a plant hook–I ended up grabbing a screw eye. I screwed it right into the top of our deck and then just used an S hook to hang!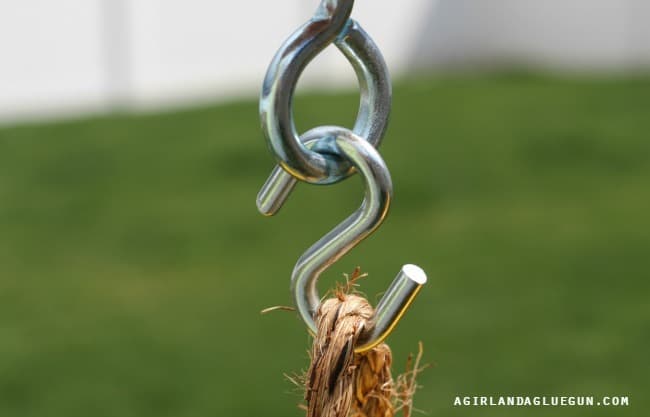
Plant your Herb garden
And my favorite part–time to plant! You could turn the whole thing into a fun herb garden (I actually wanted to do succulents on the bottom and top layers and hang this in my kitchen window!) 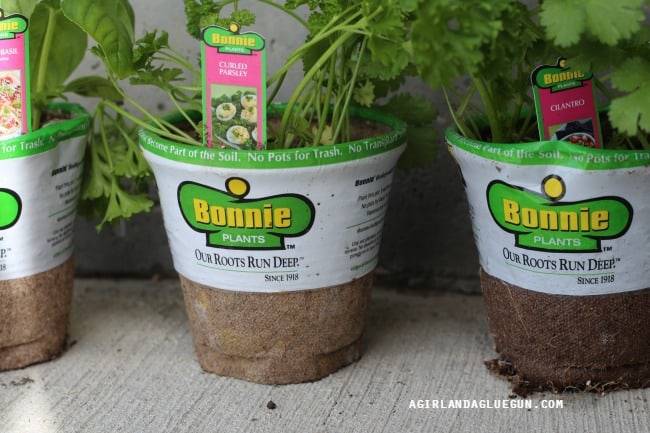
If this flower doesn’t make you excited for Spring, I don’t know what will! 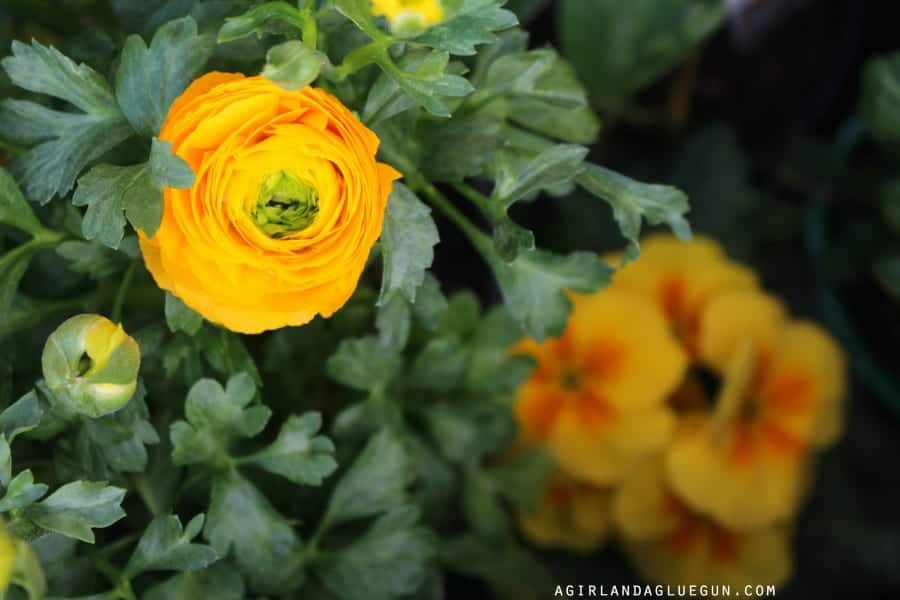 If you are wondering how heavy this is, it really isn’t that bad! I can lift it and place it on the hooks myself!

Guys! I love how it turned out! I want to make one with every color of the rainbow!
If you have any rain gutter material left over- make sure to check out this post about all sorts of cool things to do with rain gutters! The Ribbon storage idea is BRILLIANT!

The Home Depot offers Workshops at all of their locations for do-it-yourselfers of all ages and experience levels. There are three types of Workshops offered – Do-It-Yourself (DIY), Do-It-Herself (DIH) and Kids. Customers can learn how to build décor projects, how to make easy home repairs and how to operate tools through demonstrations and step-by-step instructions right at their local store. The workshops are free, demonstrative classes. While attendees won’t always be able to make and take the project (changes by store), they’ll walk away with the skills to recreate the project at home!

gail says
Oh my gosh Kimbo, your planter rocks it out! I love how you added the board and the pots. Great spin on this project!
gail
Kimbo says
Ah! thanks!
Amy says
I love love love your version, super cute to break up the gutters with the pots!
Cher @ Designs by Studio C says
The board with the small pots in between the gutters is an awesome idea and the color is fabulous!
Laura A says
Love this ideas!!! Wanted to make a wall of these 2 sets. BUT wow…. The end caps are super expensive compared to the gutter, I would need 6 sets of end caps at $11 each set. Now I have to re-think the end cap situation and come up with a solution.
Kimbo says
yikes! I wonder if you could cut up some wood or leftover rain gutter material and use silicone to secure it!