You know I love vinyl….And using lots of colors in layers make the project so darn cute! But it can be tricky! Let me show you how to layer that heat transfer vinyl!
![]()
If you need the basics of heat transfer vinyl…head here!
But they always start the same way. Cut out. And weed. Since we are doing layers…we actually have lots to cut out. This is what it looks like in my silhouette studio. Once you have everything sized…You want to make sure not to mess with it again. If I made the pepperonis bigger…it wouldn’t look good. Then I slowly just take off everything-leaving only one thing on the mat and cut each color.
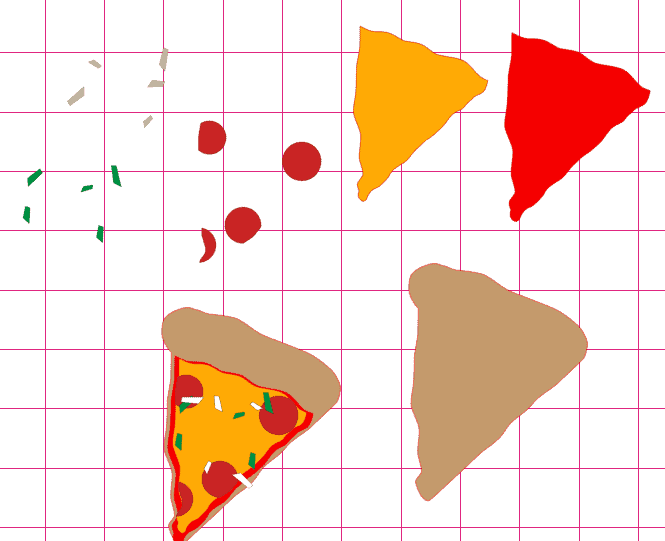
I like to color coordinate each layer so it’s easy to know what color I need to cut!
After each layer is cut..time to weed.
Here is all the layers ready to go! ![]()
Start with the bottom layer first. Normally you press for 15 seconds. BUT since we are layering on top (6 layers) that would be 1 min 30 for the bottom layer. So we are only going to press for 3-5 seconds. Just to get it stuck enough to add another layer!
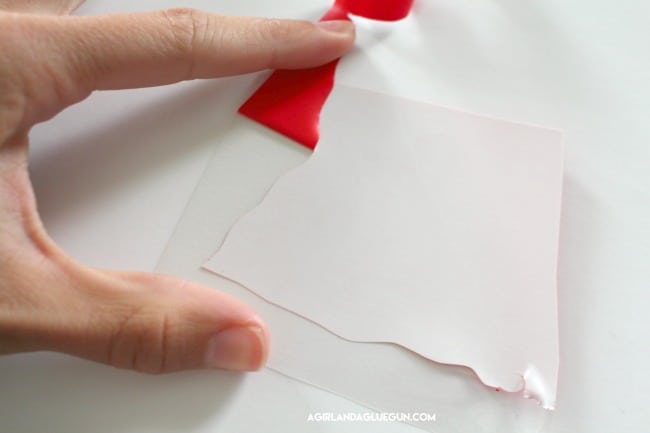
After the bottom layer is stuck on good enough and you have peeled up the carrier sheet (that clear plastic piece) Add the next layer. You can see in the top picture that the carrier sheet doesn’t cover all of the bottom piece! If your iron touches the vinyl it will melt it! I usually just place the original carrier sheet of the bottom layer (the one I just removed) over any exposed vinyl. BUT Expressions Vinyl has a Multi use paper. It’s cheap and reusable and you can use that to lay over the project! ![]()
Then iron for another 3-5 seconds and then peel up the carrier sheet. 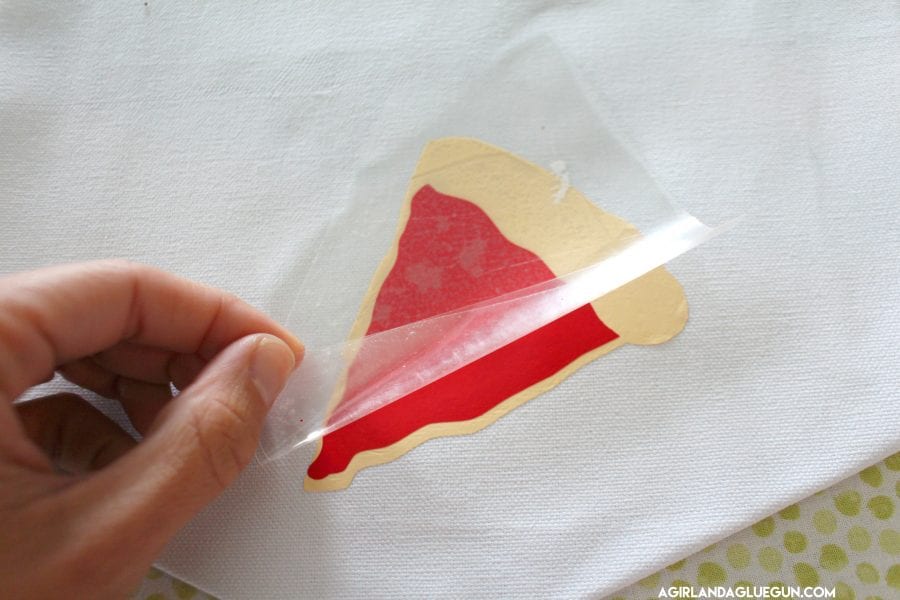
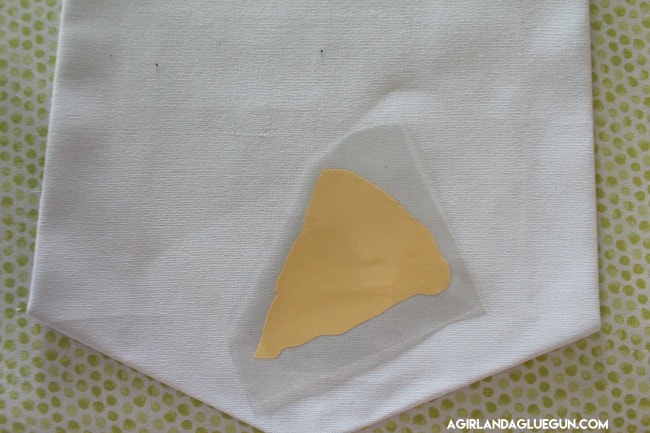
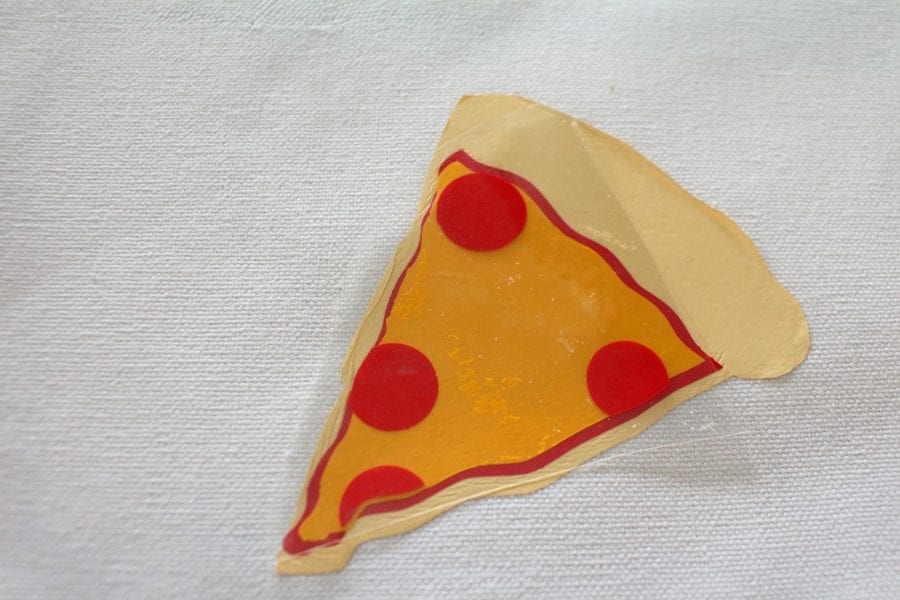
Add the cheese…and continue. (make sure that any exposed vinyl is covered!)
![]()
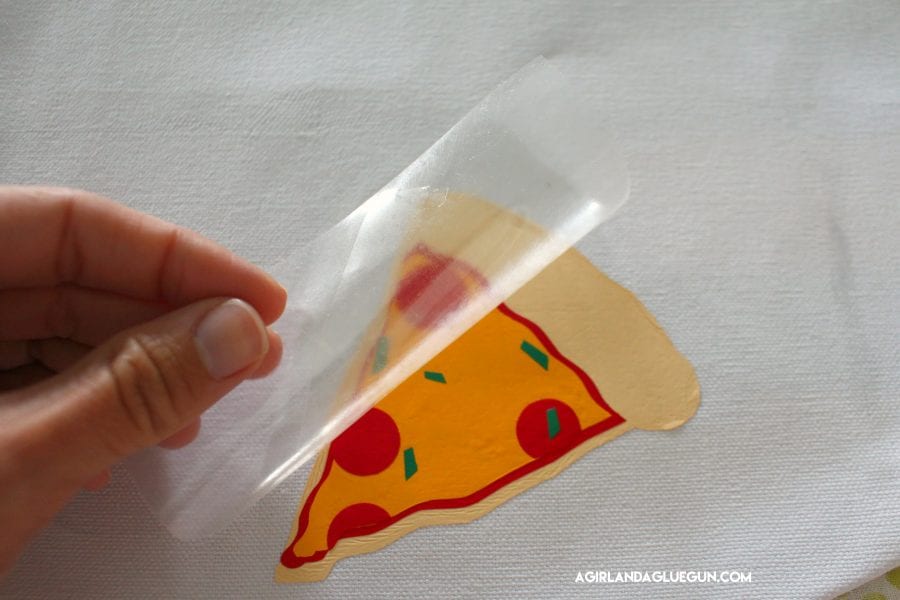
When you get to your last layer (the white onions?) It’s time to PRESS the whole time! About 15 seconds! to make sure everything is nice and stuck on! 
This was something my daughter made for her friend. (inside joke!)