
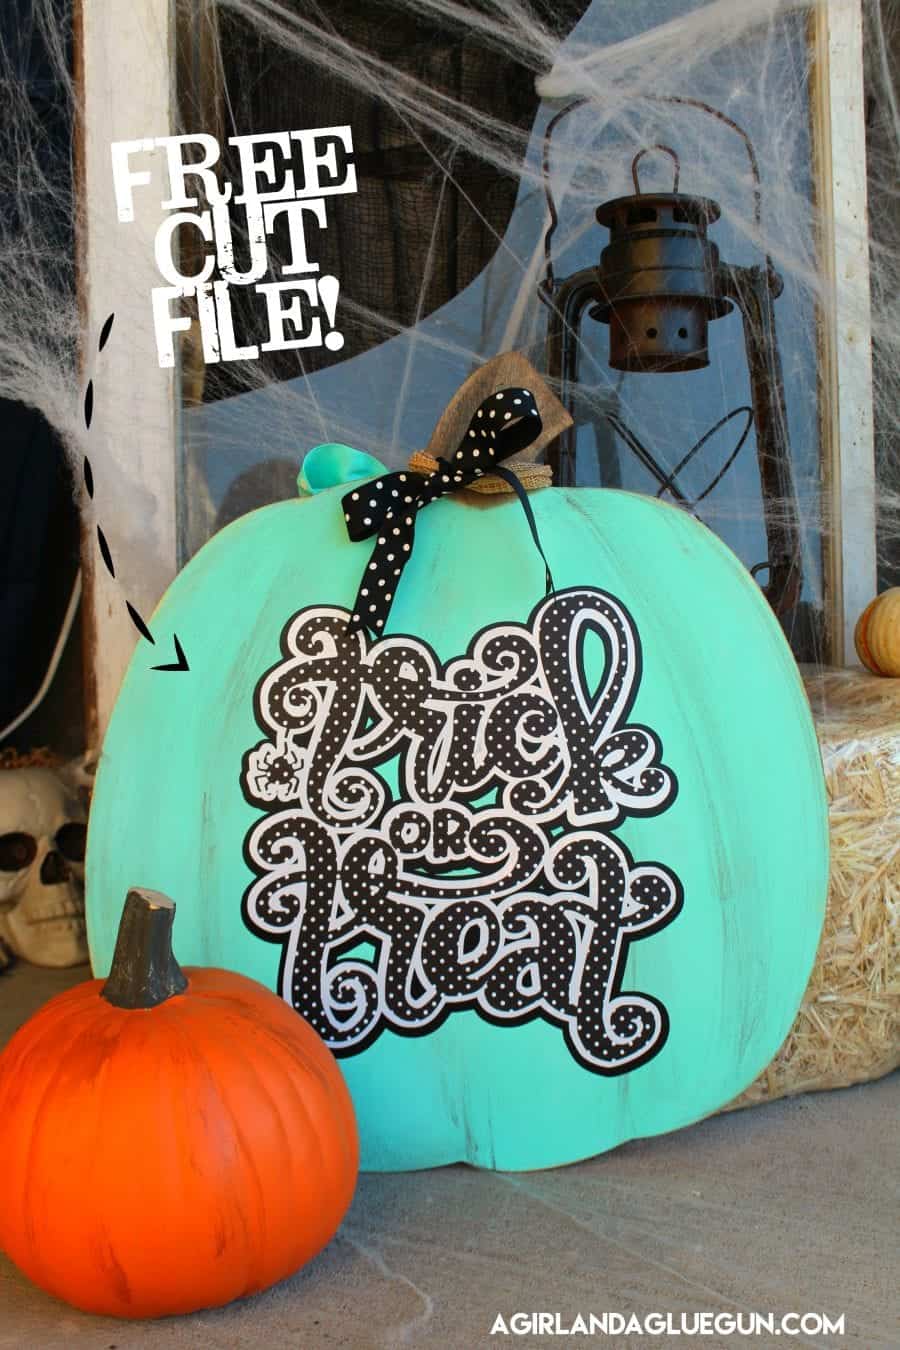
Halloween is coming up QUICK! and I’m still over here crafting up a storm for it! I got this big (over 18 inches) pumpkin from Hobby Lobby. It was blank wood and the options were endless.
So I sat and hemmed and hawed. I didn’t know what I wanted to do!!! So I finally decided that I had better do two sides….one for fall and one for Halloween! 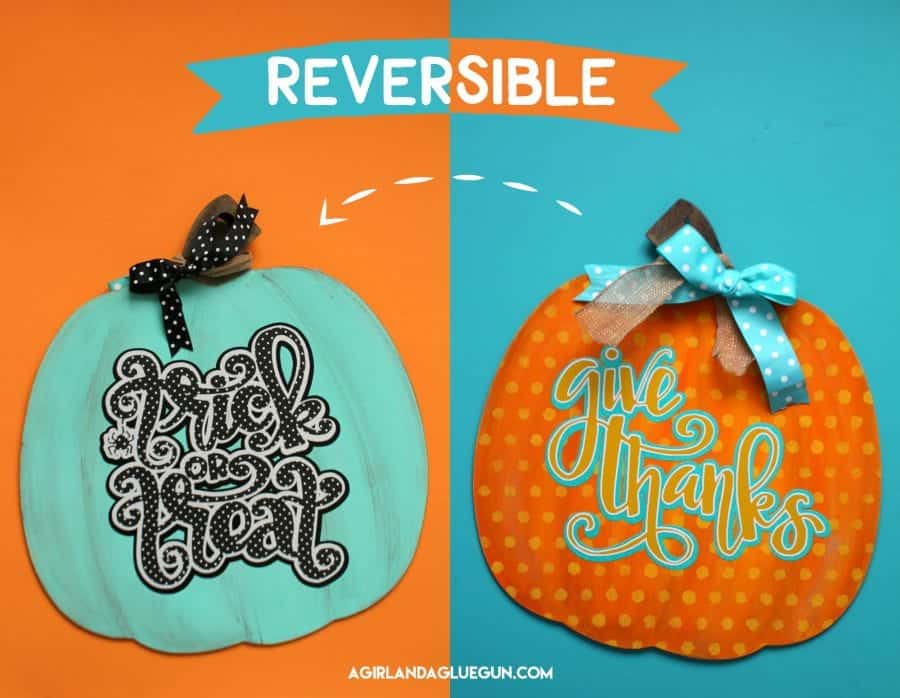
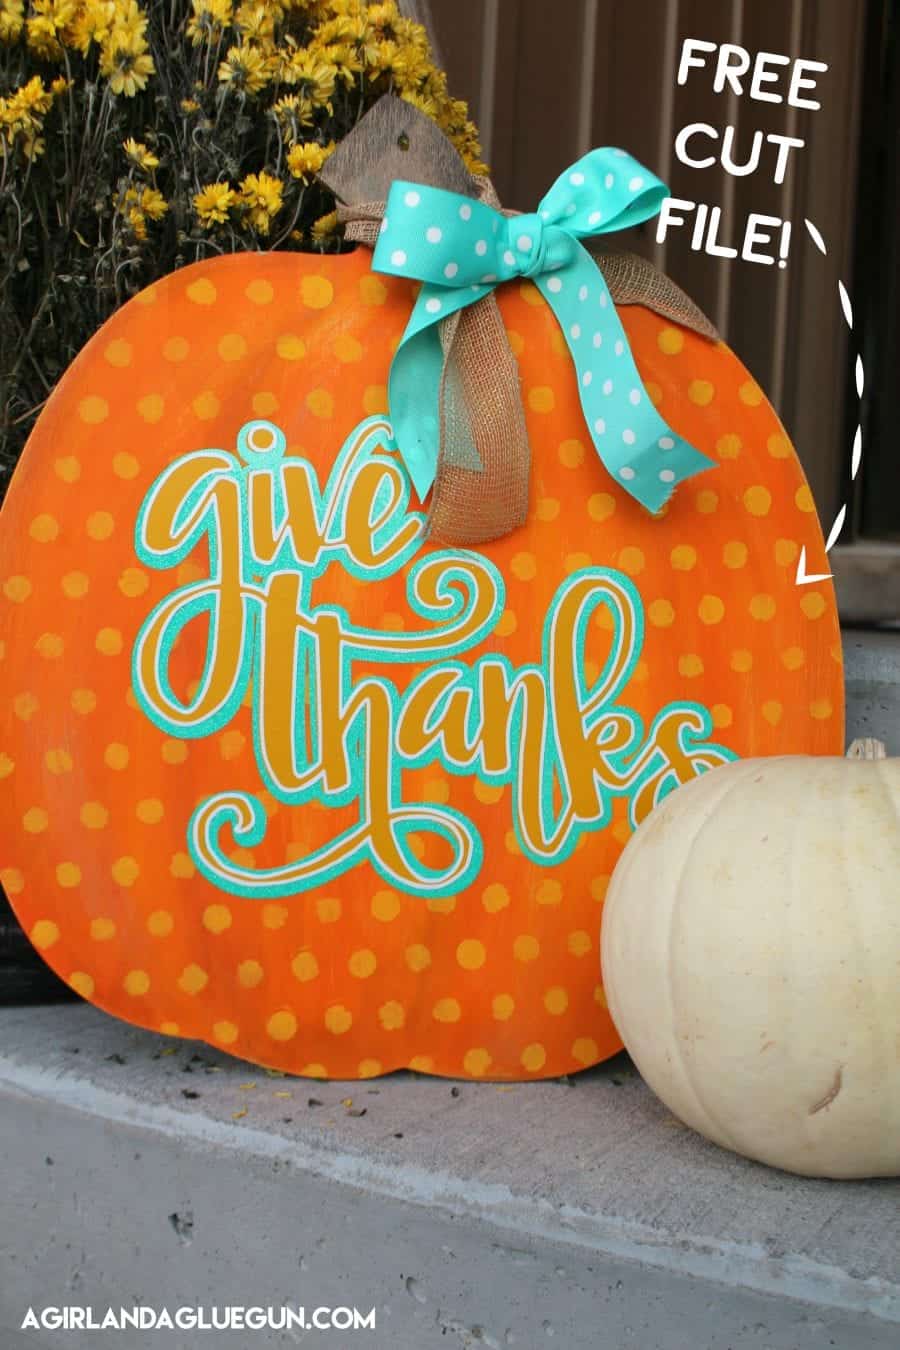
and of course I had to do cut files…only because I want to play around on my ipad pro!
I actually have a whole tutorial on how to layer vinyl! Each of these POP because they are 3 separate layers of vinyl! But it’s a long post…so I’m breaking it up and sharing the cut files today!
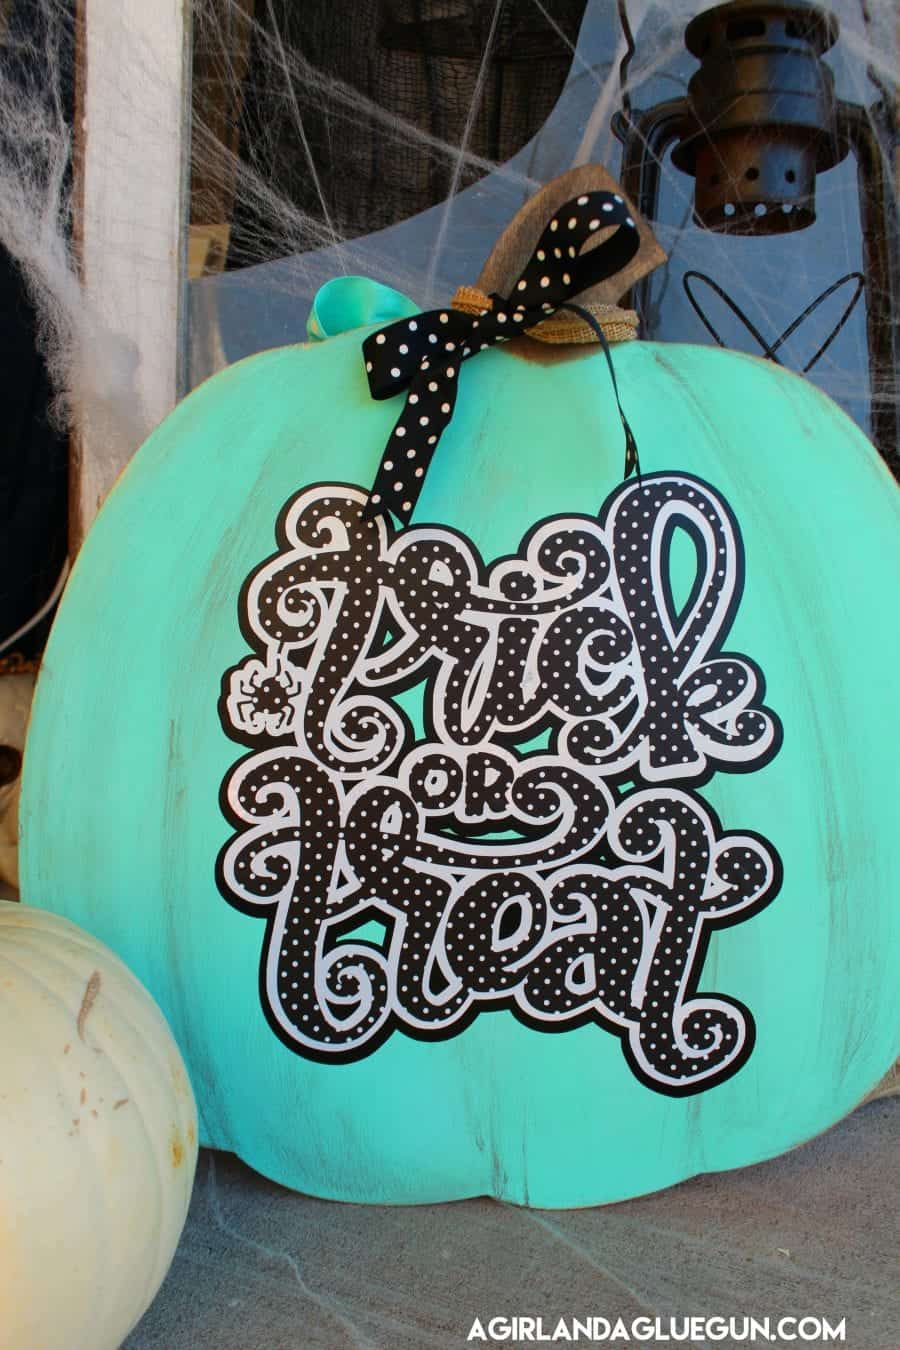
First up…trick or treat!
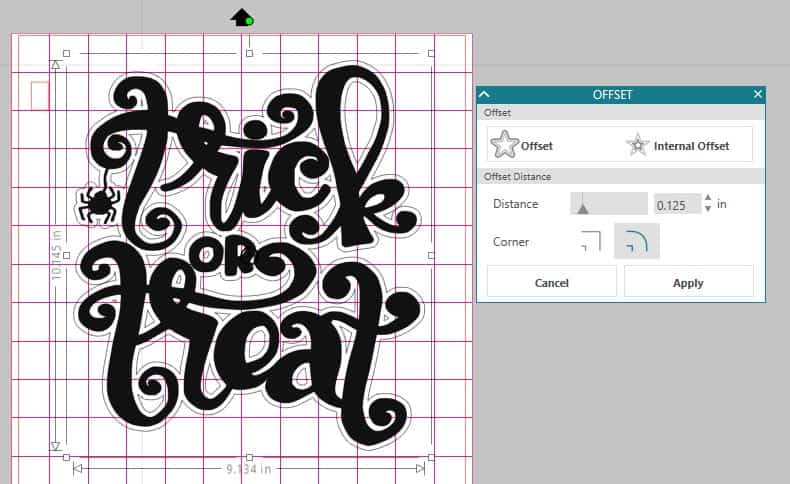
This cut file is only one layer…I used the offset in the silhouette studio. You can adjust the distance slider to get a big outline or small outline. I did it twice. One small and one larger.
(all vinyl is from Expressions Vinyl and cut with my silhouette cameo!)
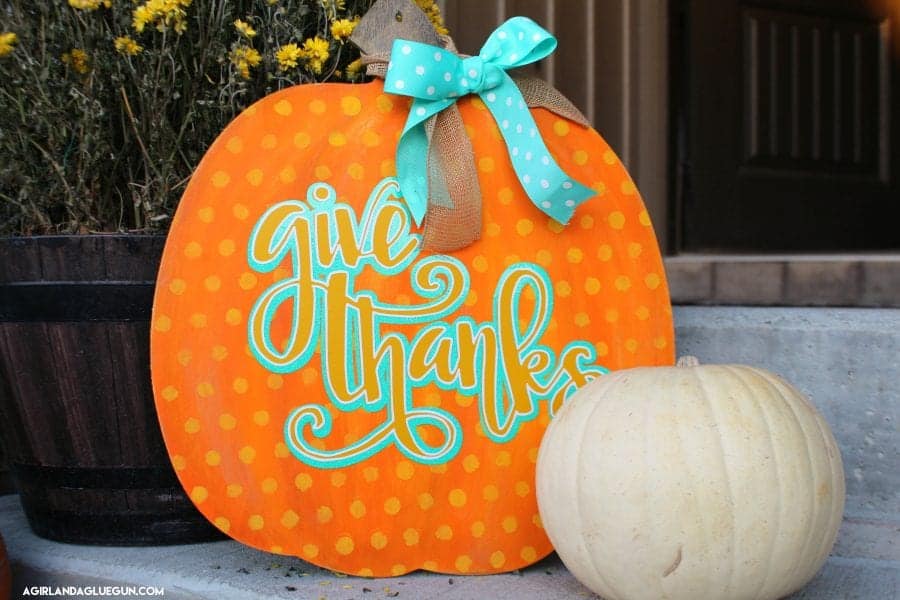
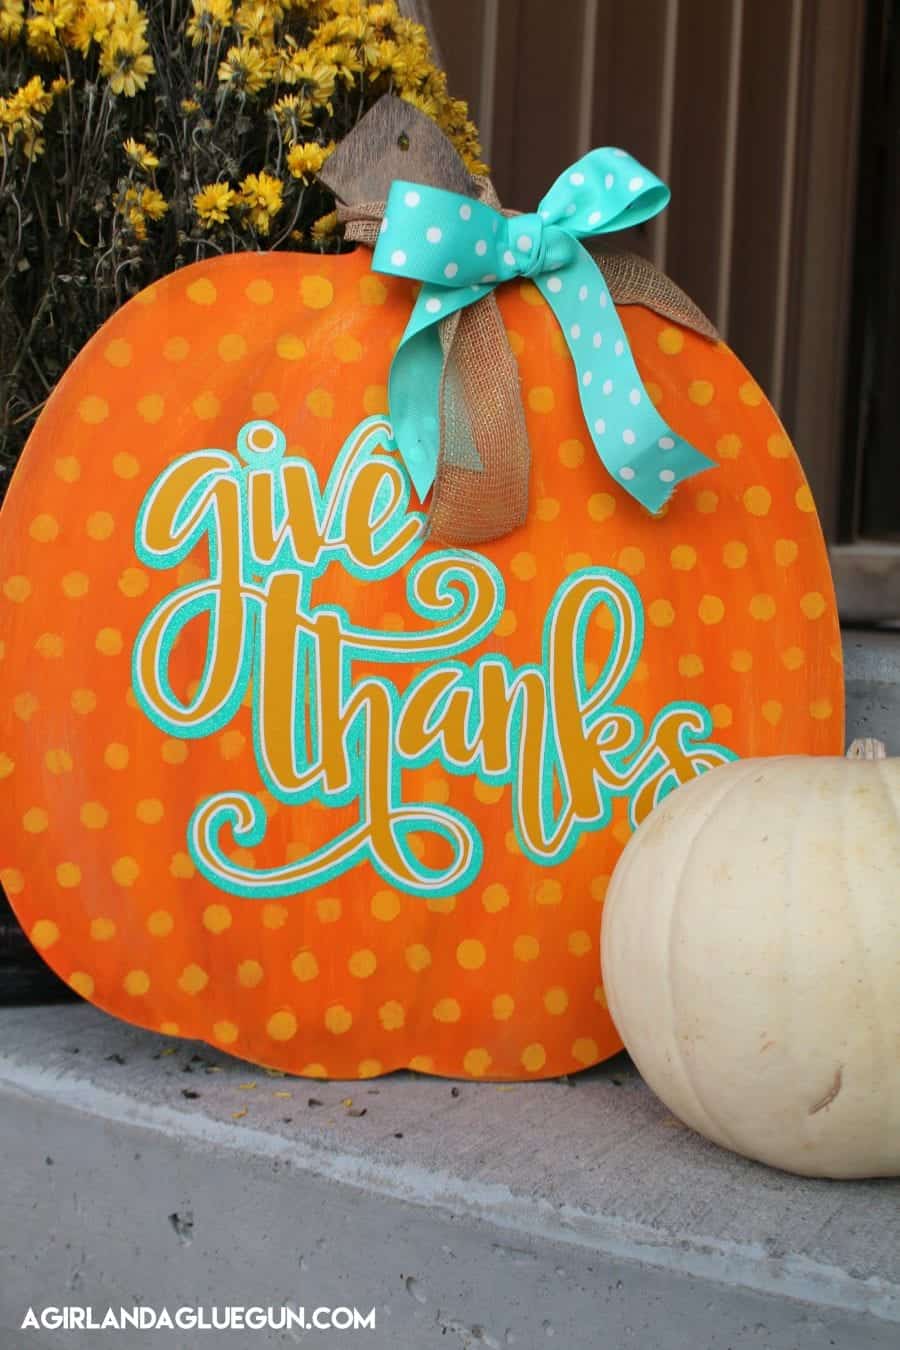
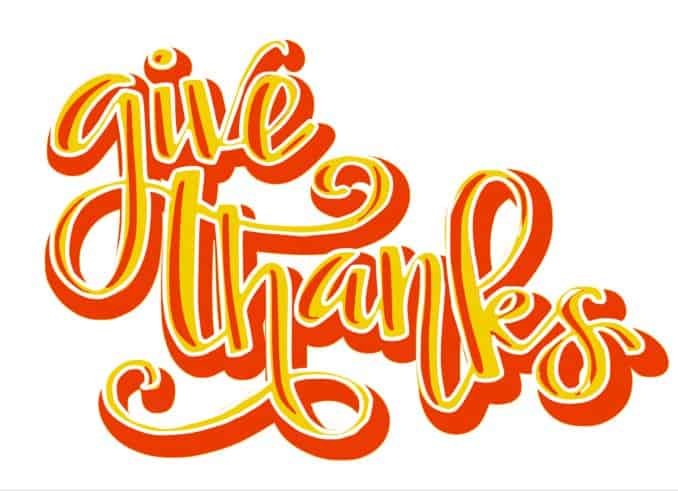
This one is 3. There is the basic give thanks. There is the thin outline. and then there is one that is distressed…(it’s missing pieces….(below) the blue layer on the pumpkin is another offset…(as well as the orange in the photo below!)
I love how they turned out…I especially love the double duty of them– I can keep it up for months!
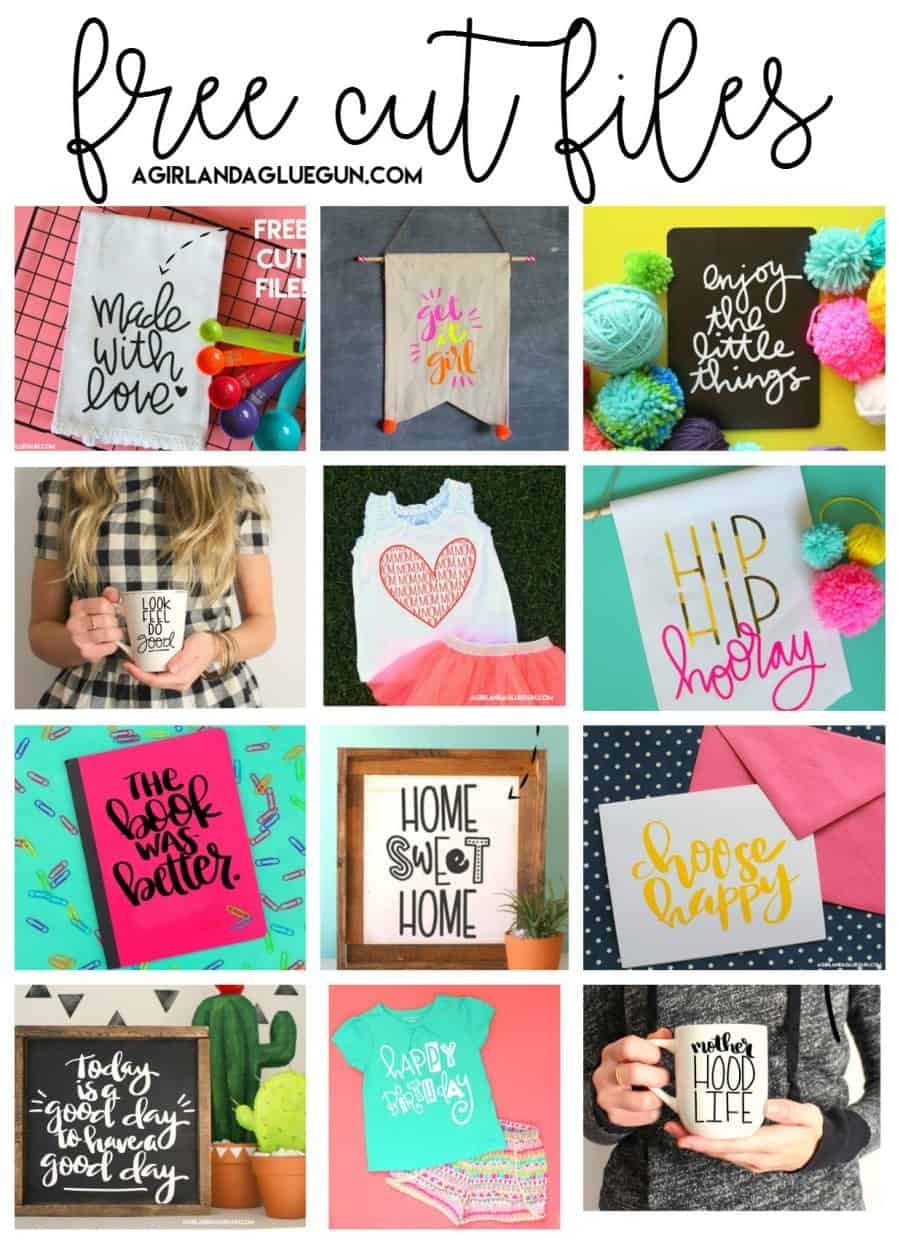
Check out all my free cut files!
and if you make anything–I would LOVE LOVE LOVE To see it!
If you are looking to sale products made with this cut file please purchase a commercial license HERE! (This will let you use ANY of the free cut files I offer on my blog! If you are having a crafting day and want to use this to whip up a cute sign or tote bag…than totally free! Every cut file is hand lettered by me on my ipad pro with an ipad pencil.