
Want to know what makes this The EASIEST DIY Christmas Box Stand? Dollar store supplies and a cardboard box! That also makes this project the cheapest!
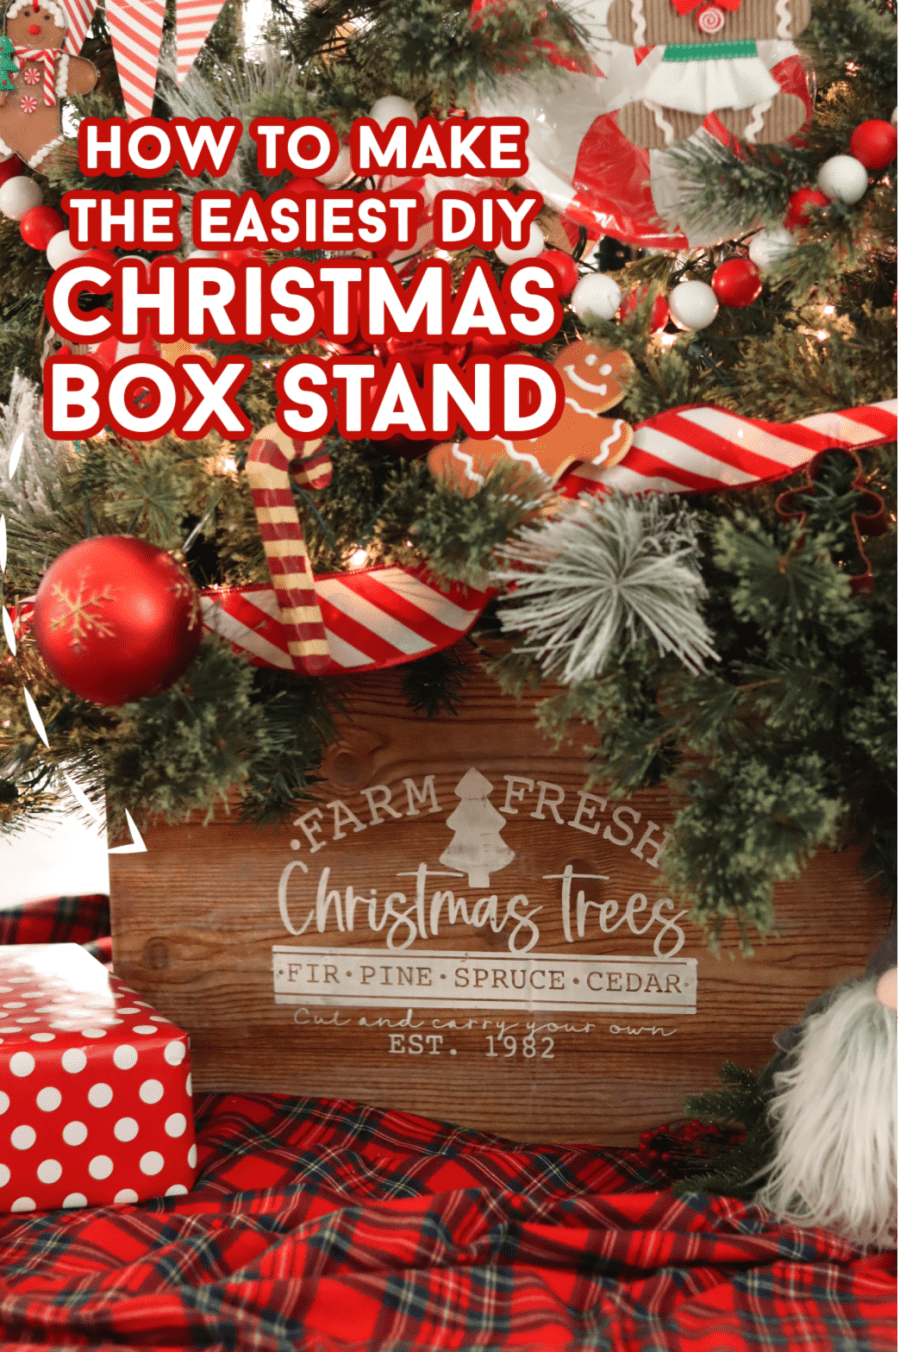
I wanted to make this Tree collar last year- and never got around to it, So it was one of the first projects to make this year! I don’t want the time and expense of building my own out of wood. I’ve seen some really cool faux looking wood crates but they are about $20. So Let’s DIY our own cheap version that folds up nice and flat for storage!
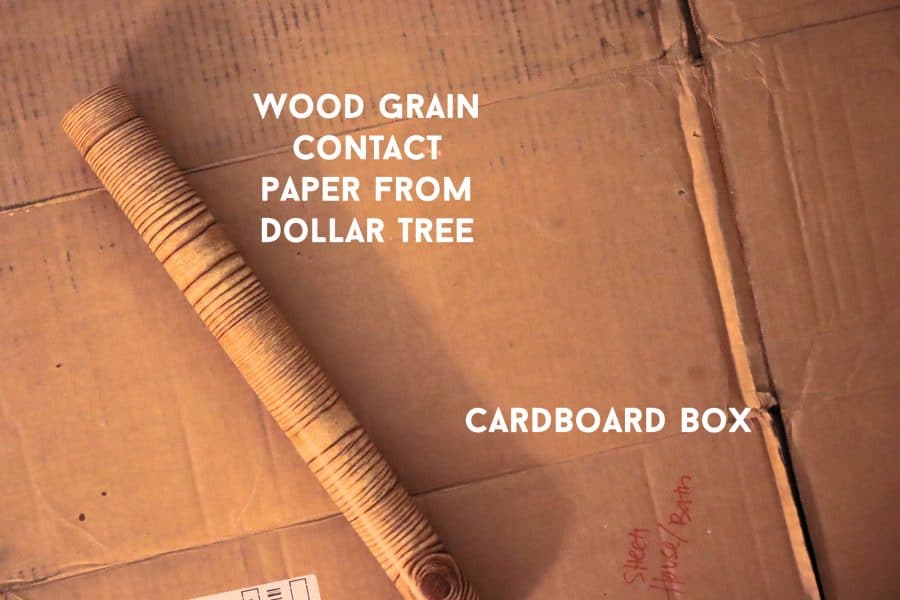
Supplies to make a Wood crate Christmas Tree Stand:
- 2 Wood grain contact paper from dollar tree
- medium/large cardboard box
- scissors
- paint (optional)
How to make the EASIEST DIY Christmas Box Stand
Step 1: Size of the box
Measure from floor to the bottom of your Christmas tree.
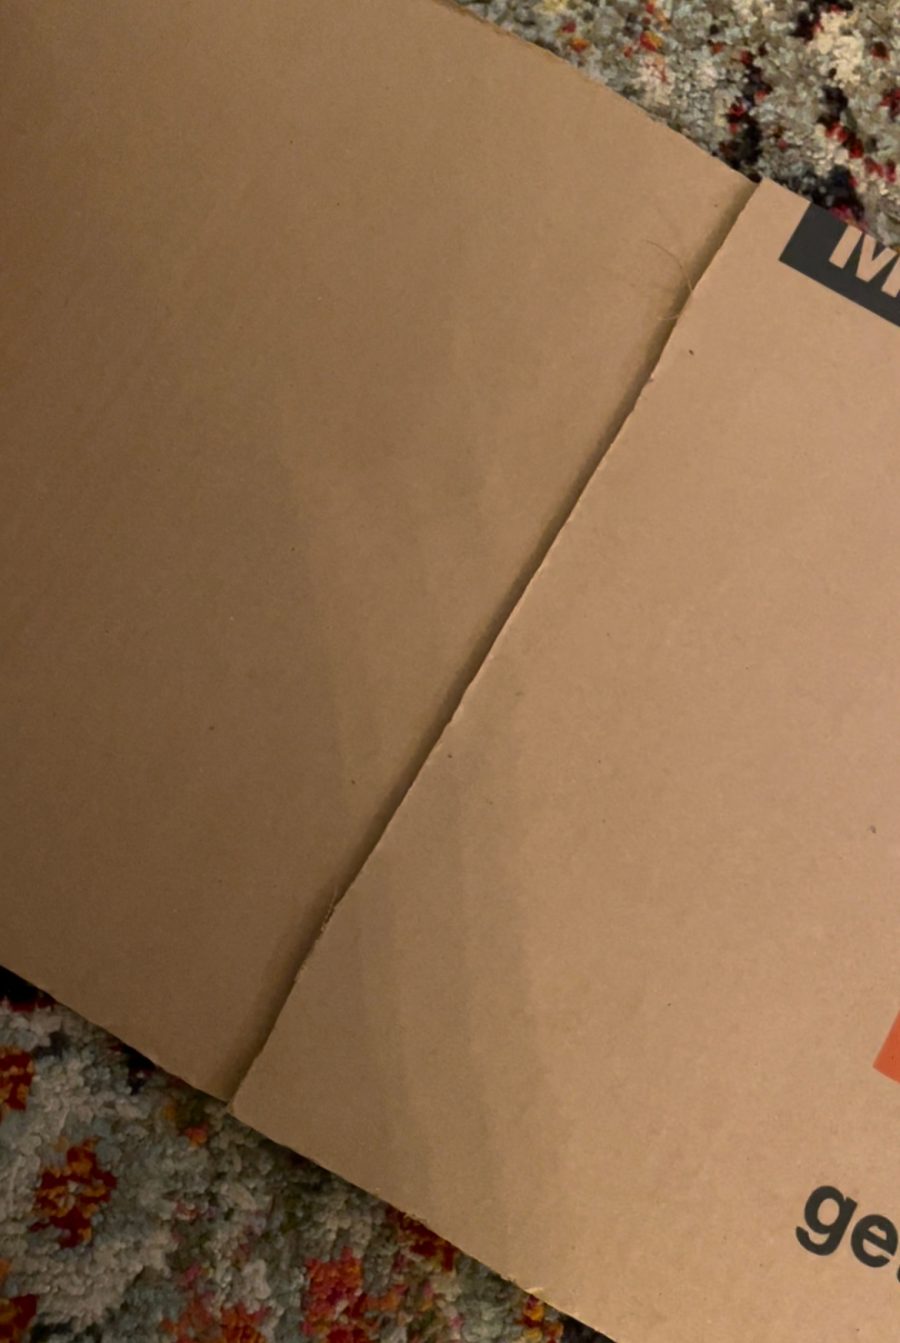
Step 2: Trim
Take the cardboard box and trim off the flaps. You just need the base of the box. I had to trim a few inches off the top of the box base as well to fit it under the tree. Cut up one of the sides so you have one long piece of cardboard.
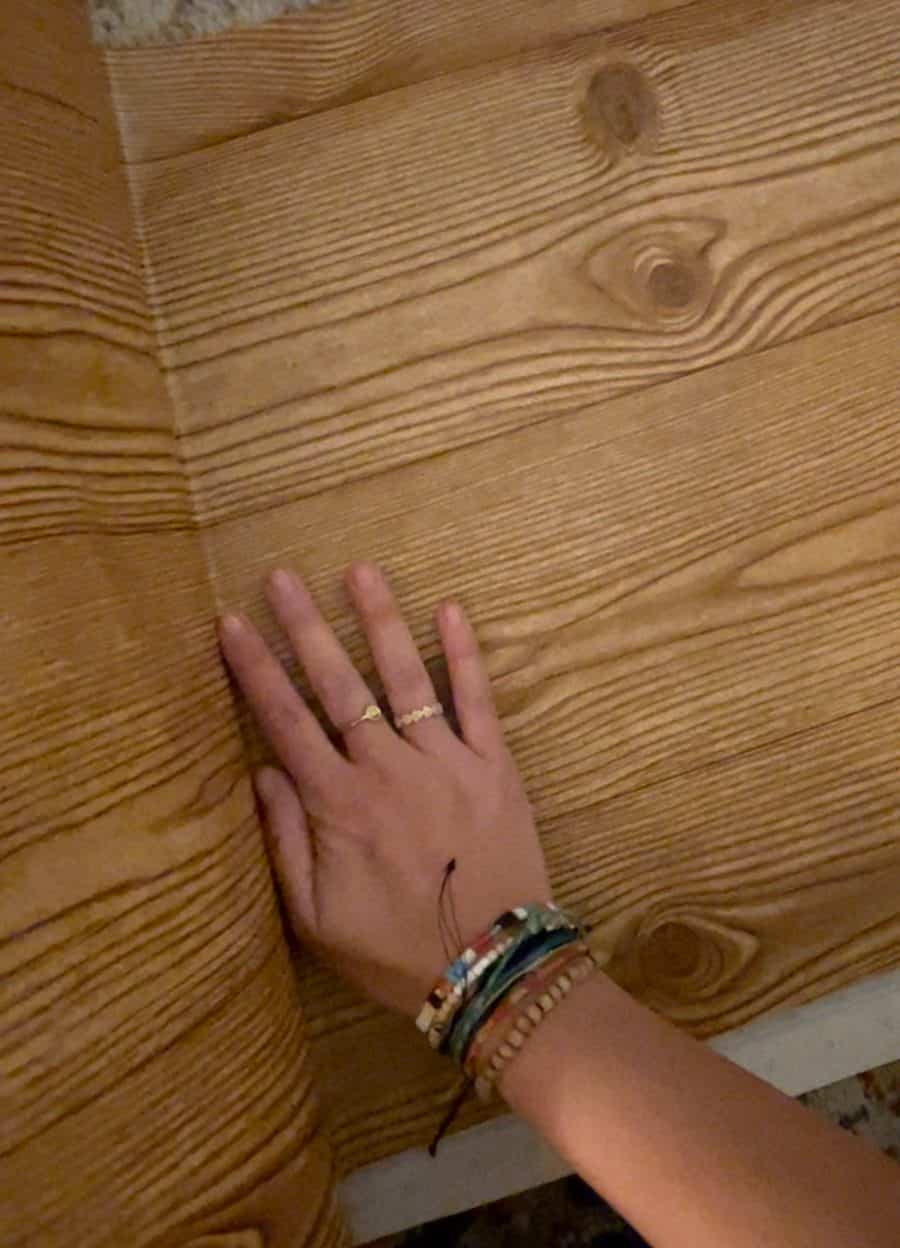
Step 3: Add contact paper
Apply Contact Paper. I just trimmed off the backing, laid it on the cardboard box as straight as I could get it and then just peeled off the backing as I pressed down the front. It was super easy. Trim off or fold over any excess contact paper.
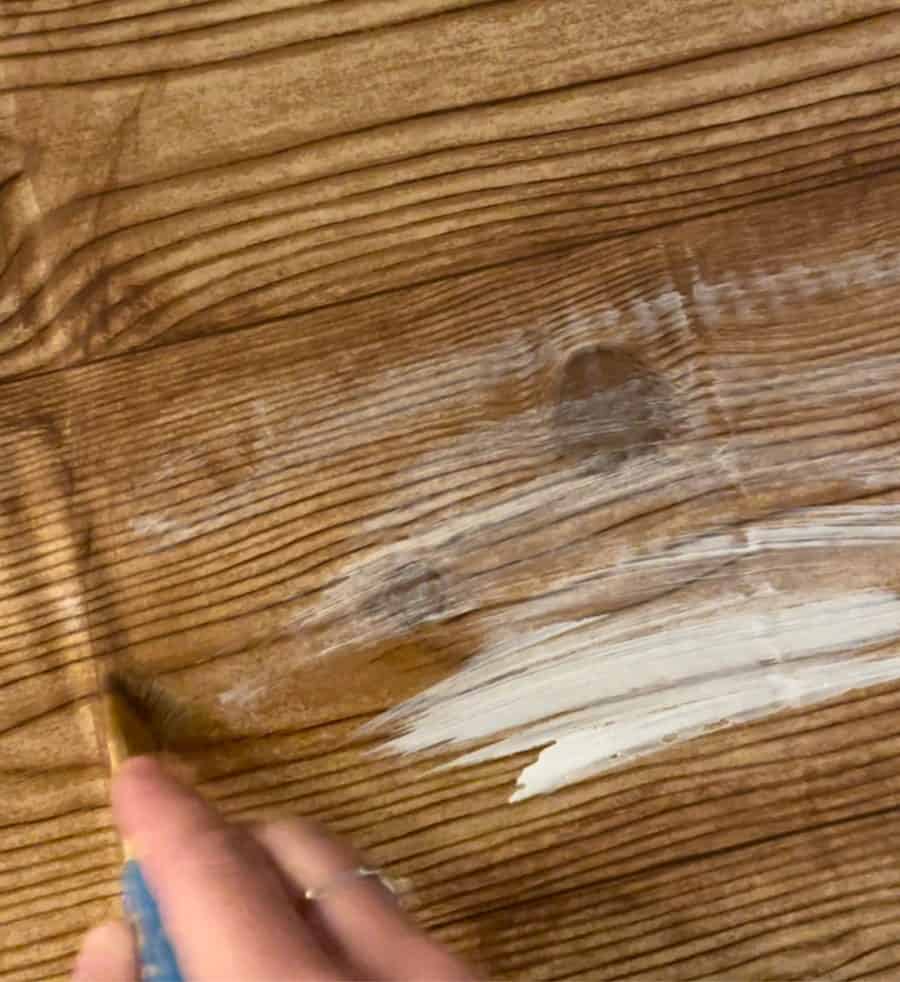
Step 4: Distress
Paint (this part is totally optional!) I wanted to add a little more dimension to the fake wood crate so I add a little dark paint on the edges and some white wash along the panels. Once its under your Christmas tree, I’m not even sure it’s that noticeable! So if you skip this step- don’t sweat it!
Step 5:
Add a logo/sign . (another optional step!) I stenciled a tree sign on one of the panels. I have a whole post on how to stencil with vinyl if you need help! You could add it on to all the sides if you will be able to walk around the tree. I’ve seen cute tree collars with people’s monograms or last names on them! Dollar Tree also has some cute window clings you could use on the wood crate to jazz it up if you don’t want to the vinyl route!
You can grab this Farm Fresh Christmas Tree SVG cut file here!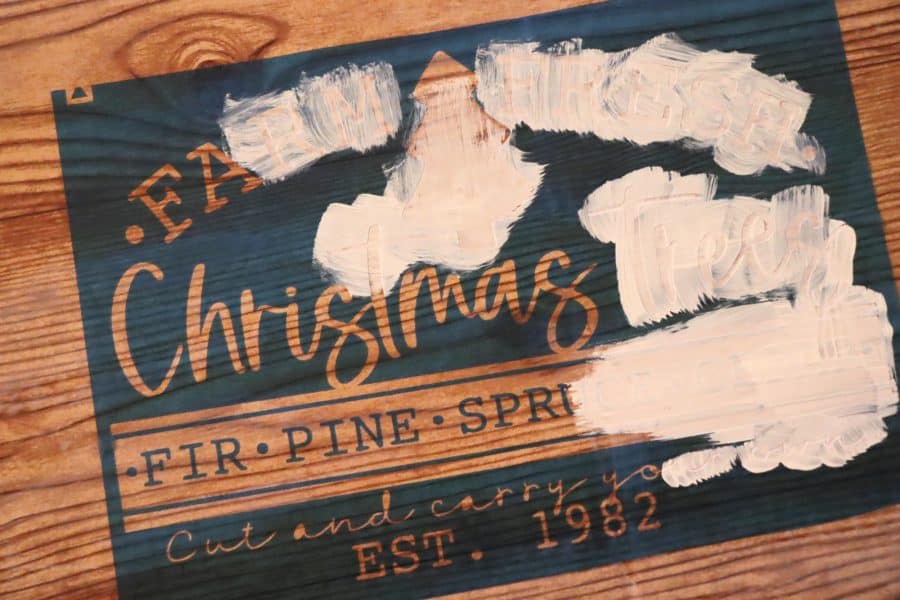
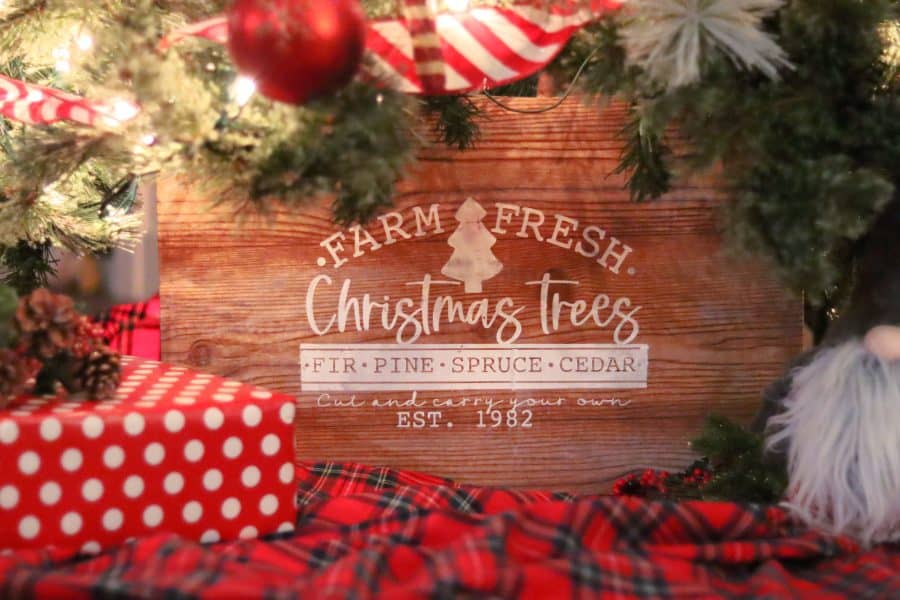
Step 6: Place under tree
Once everything was dry, I just placed the box under the tree. Slide it in at an angle and then prop it up. It stands by itself. You can add a piece of tape to keep it connected, but I just left it and it’s held up fine!
That’s the best part about this DIY version: It folds completely flat! It takes up a tiny space in your Christmas decoration storage!
Another cute option is to take the cardboard box, cut it like I mentioned and wrap it like a present. Place under the tree and it will just be a totally cool big present!
Leave a Reply