
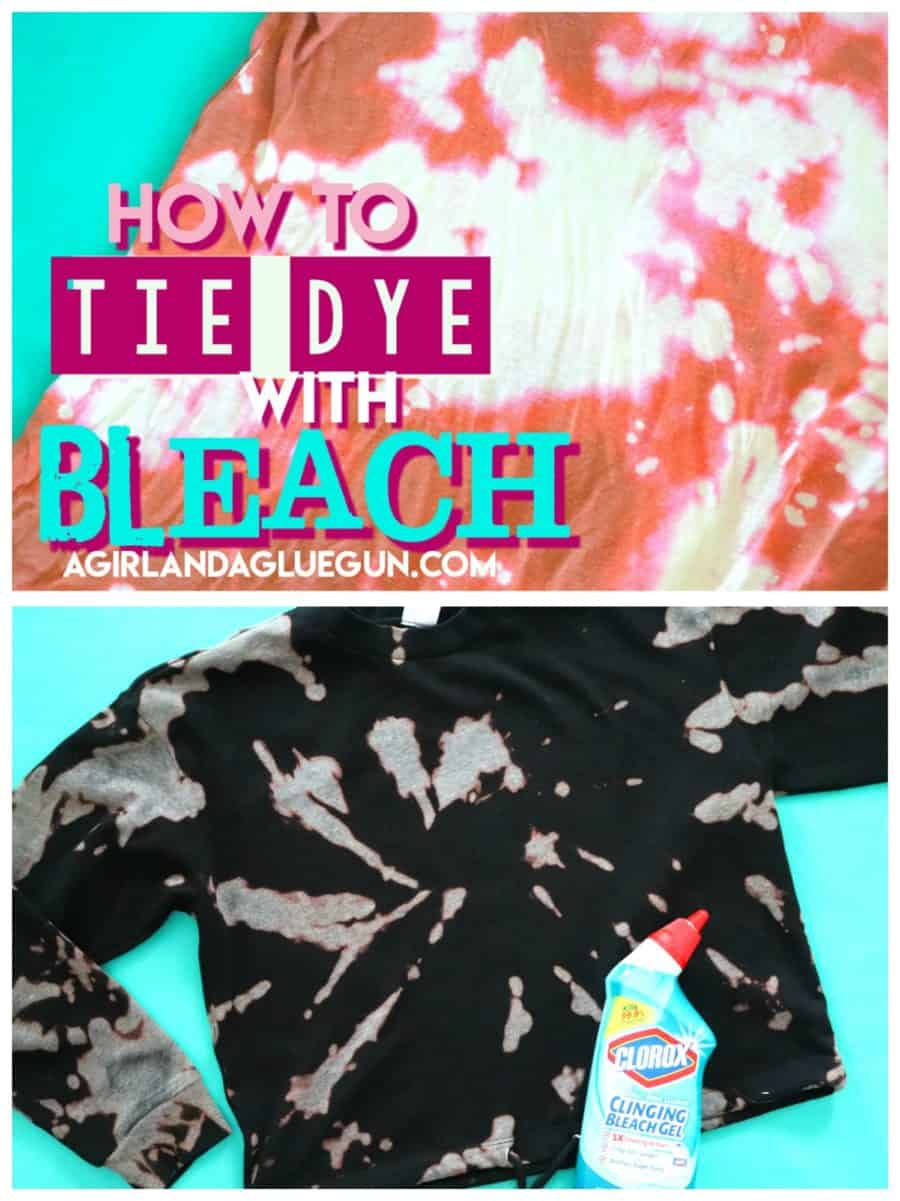
Today we are going to make some super cool tie dye with bleach. It’s perfect because you will probably have everything you need right in your own house!
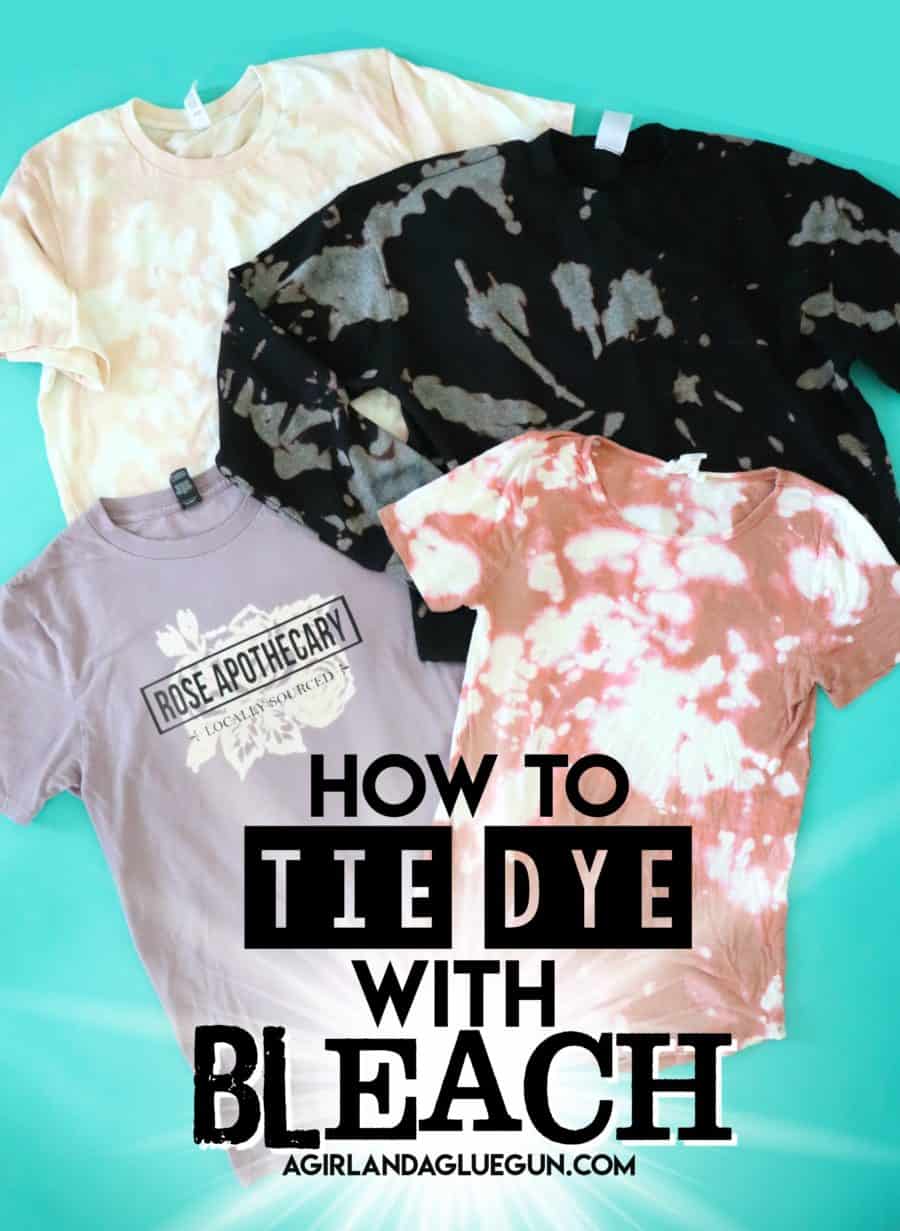
I keep seeing this trend pop up on tik tok–and I knew I wanted to try it out! Bleaching Tie Dye is so much fun and I’m sure you will love it too!

What you need to Bleach Tie Dye
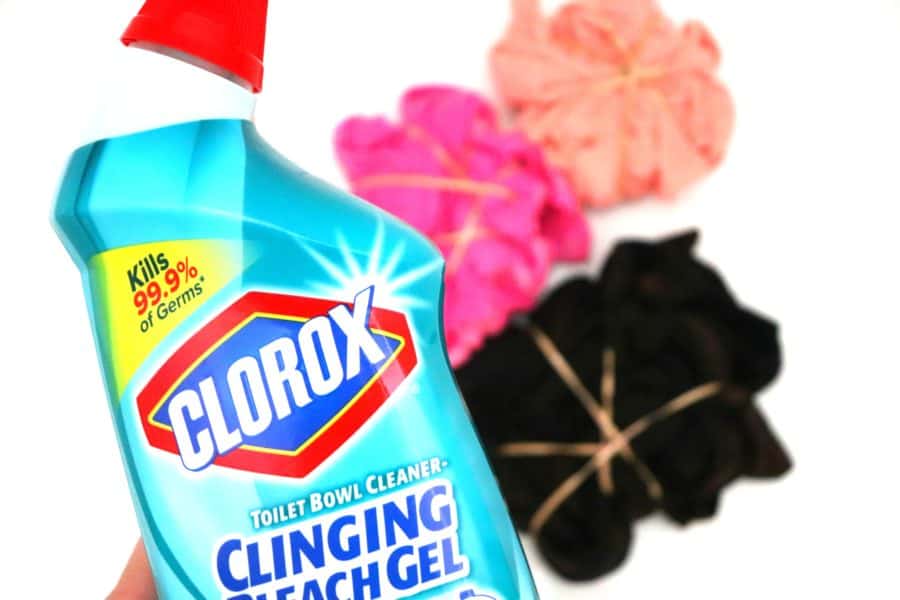
- Bleach (we used toilet bowl cleaner and a clorox bleach pen
- rubber bands
- water
- shirts! ( I grab mine from here!)

I tried quite a few shirts. First two from Walmart didn’t even work! So I learned to take a q-tip or bleach pen and dab a little bit on the hem of the shirt (inside) to test it! It’s not worth the time and effort if you don’t like the colors!
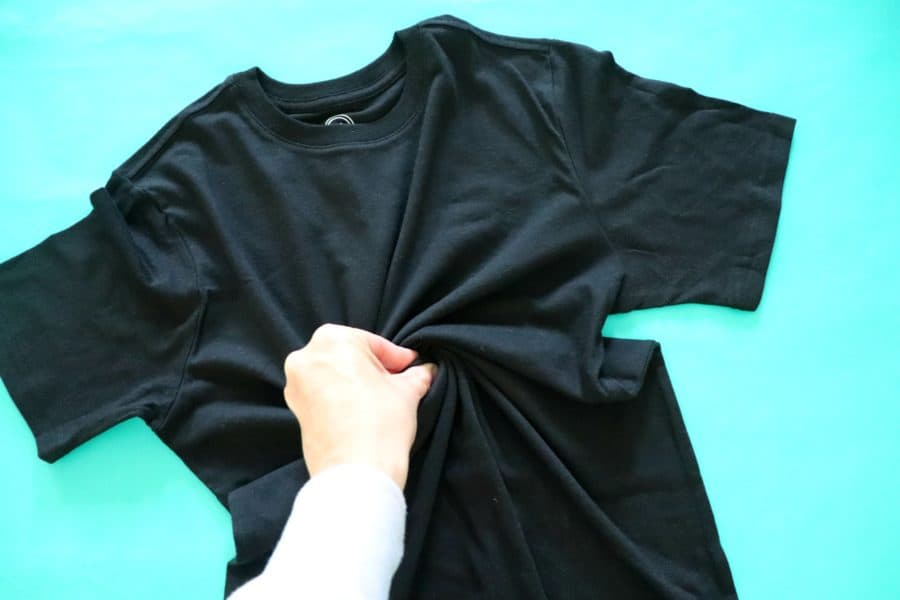
How to scrunch up the shirt to tie dye
There are so many ways to fold up your clothing. My two favorite ways are to either just scrunch it up or cinnamon swirl it. Grab it in the middle and swirl it around. You will want to do this on DAMP clothes. I’ve heard it makes the colors better. I didn’t do it on damp fabric and they turned out fine but better to be safe than sorry!
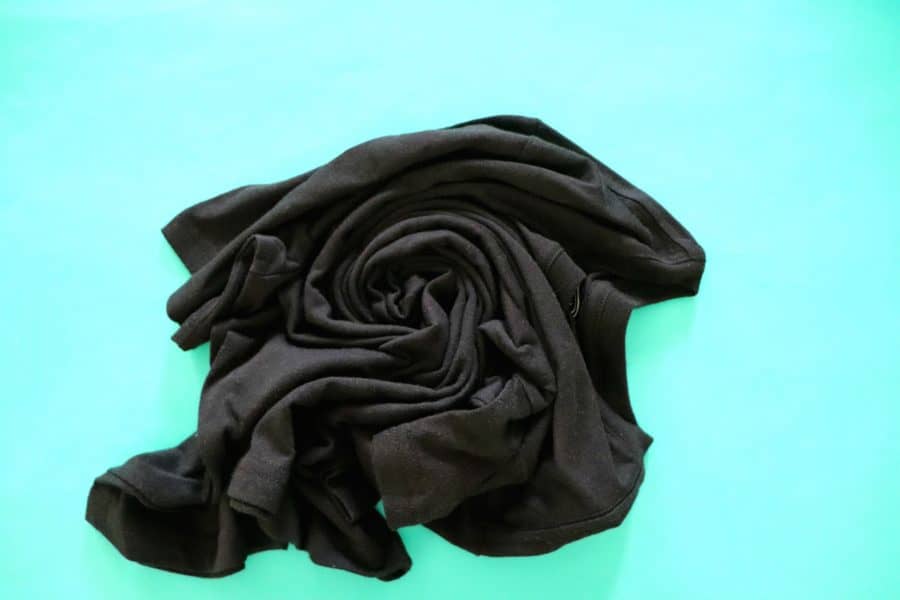
There is no right or wrong way. I think the bleach trend is supposed to look messy so just go with it!
Add some rubber bands to keep it together.
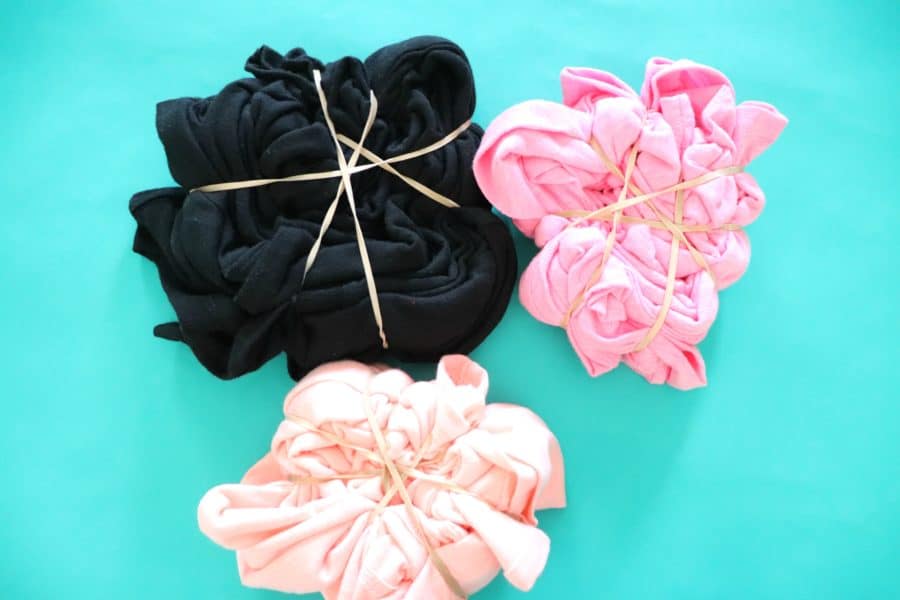
This also prevents the bleach from getting on everything (the fabric that is tucked inside will remain the color of the shirt mostly while the bleach gets on the outside.)
If you want to see other fun techniques- check out this post! It has so many different ways to create strips, swirls, and sunburst! It will be fun to try them all out!
How to add the Bleach Dye
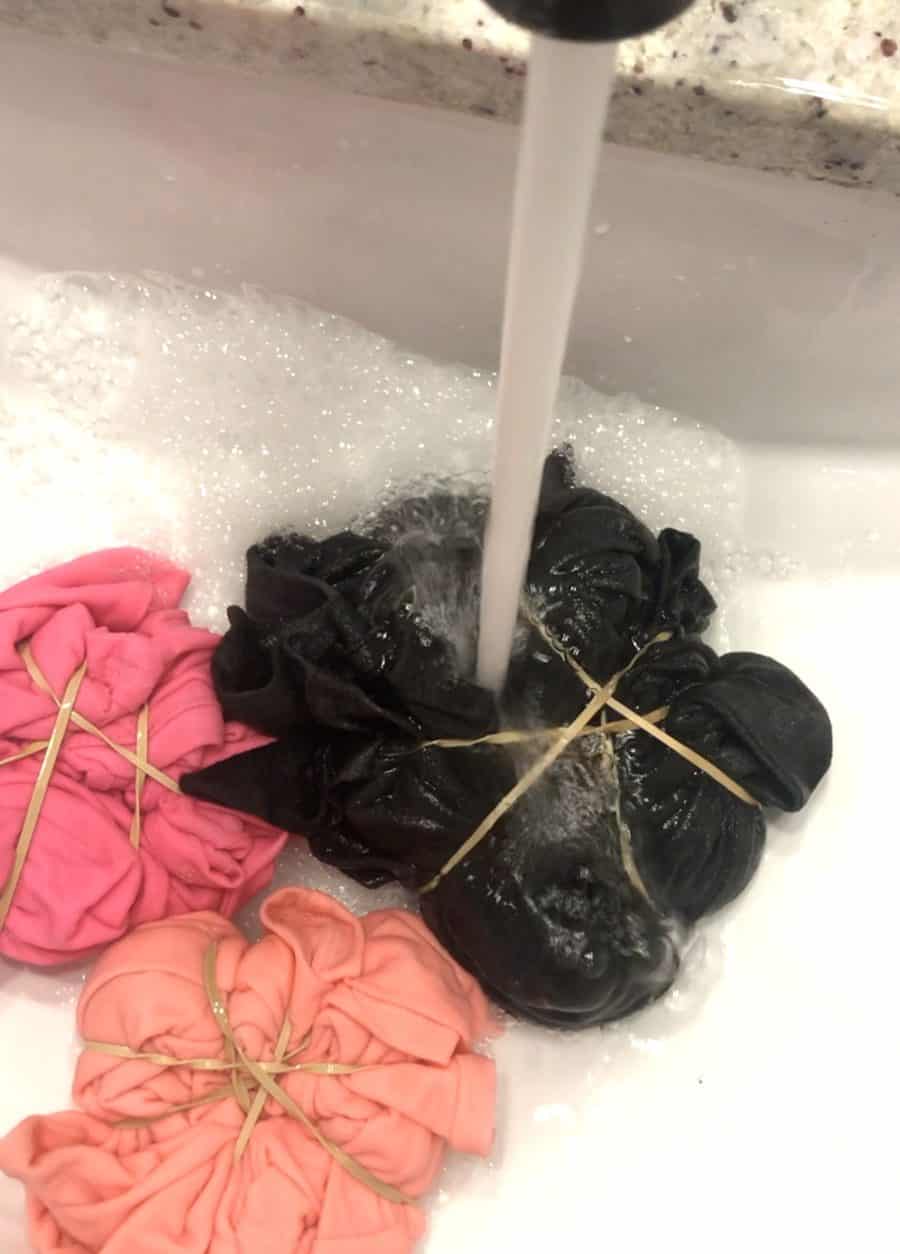
Place in a sink, covered area or bathtub and drizzle the bleach over the top. I would not recommend using straight bleach. I’ve heard it will eat through the fabric. So I would recommend mixing bleach with water if you aren’t using the toilet bowl cleaner.
Cover one side and then flip over and cover the other side. (wear gloves or use tongs to flip it over) You can saturate the fabric. You can just drizzle it over (if you do straight lines they will show up. You could bleach in a spray bottle and spray over it and get a cool polka dot splatter effect! This is where your creativity will shine!

The question I got asked the most on Instagram when I showed this project was
how long do I keep the bleach on!
I think it’s going to vary for each shirt. I just watched and as the colors changed, I would rinse it out. Some shirts took about 20 minutes (the light pink and purple one) the black took a few hours. I totally forgot one shirt and left it overnight and it was FINE. So don’t panic. I HAVE seen bleach eat through a really thin shirt. I think it just depends on material, the concentration of the bleach, and how long you leave it on. So just watch it!
When the colors have changed, rinse it out! You want to get the bleach off so it doesn’t keep spreading onto the rest of the fabric when you wash it! Rinse it and take off the rubber bands and rinse it some more.
Then throw it in the wash and run it through a cycle (or two! That bleach smell is STRONG!) Do not put it in the washer with anything else. You can put it in with other bleach tye dye projects but don’t add in any regular laundry!
Then Dry!
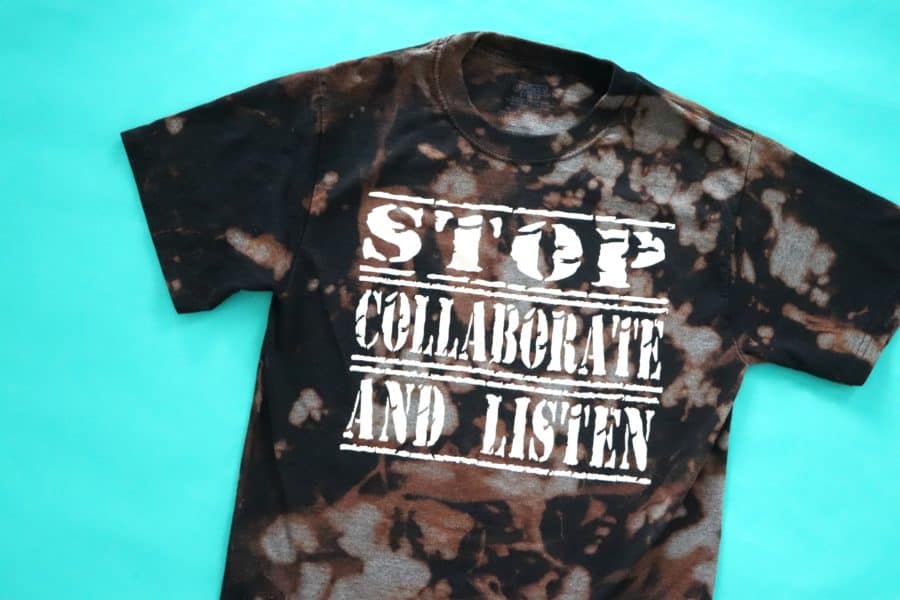
Pull out and enjoy your totally cool shirt! Each shirt will take the bleach a little differently. You might get all white, you might get pink around the edges. It’s all so awesome though! 
Extras to do with your tie dye with bleach
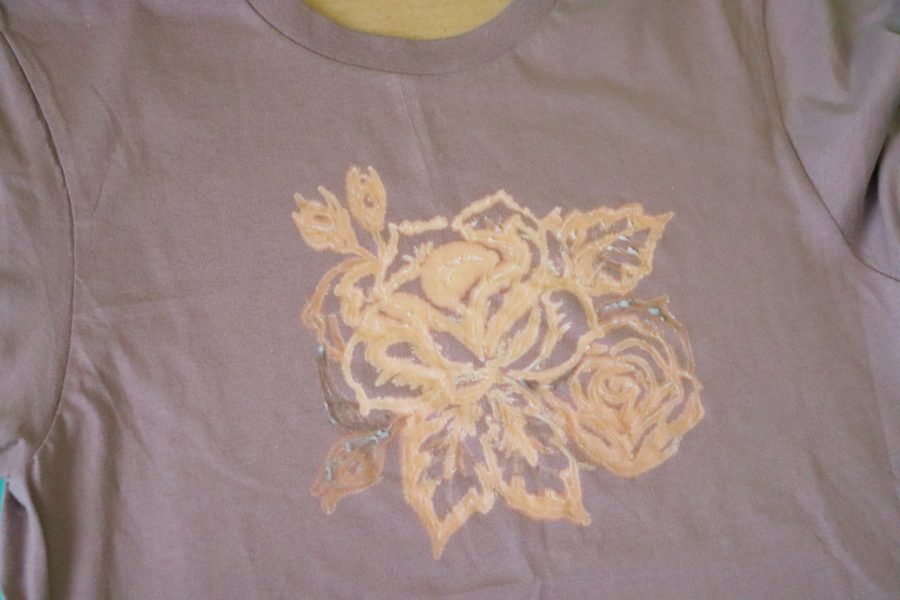
I took a bleach pen and used it basically as a marker to make a rose picture on a shirt- It does bleed quite a bit so don’t try to do anything super detailed!
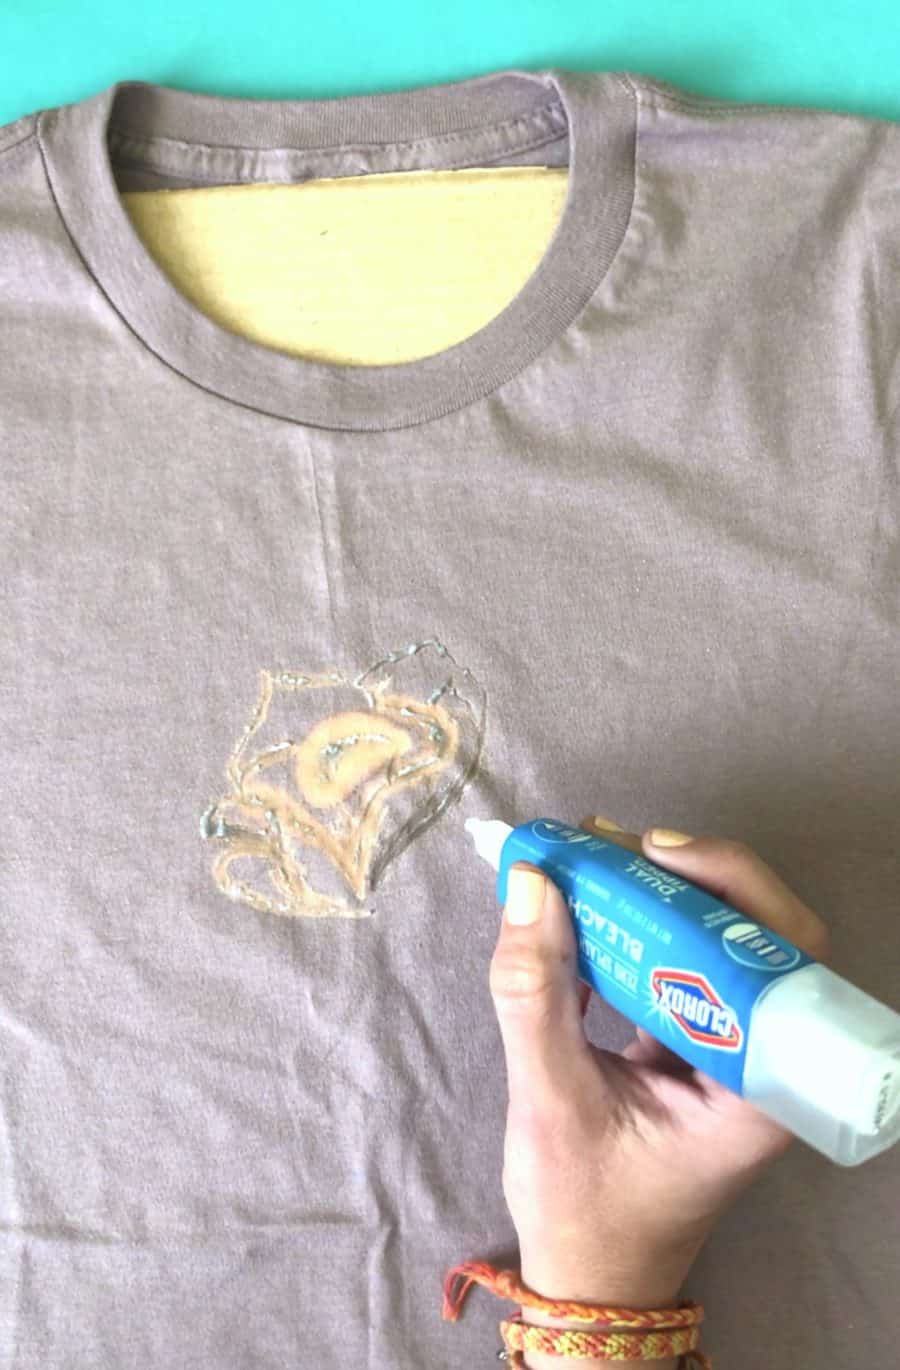
But if your kids wanted to write their names or you want to add some cool specific designs, grab a bleach pen and have some major fun! The bleach will soak onto the back of the shirt so make sure you have put a piece of cardboard or something in between the shirt to protect it!
(I am Momma Has lots of cool ideas on what to do with the bleach pen!)

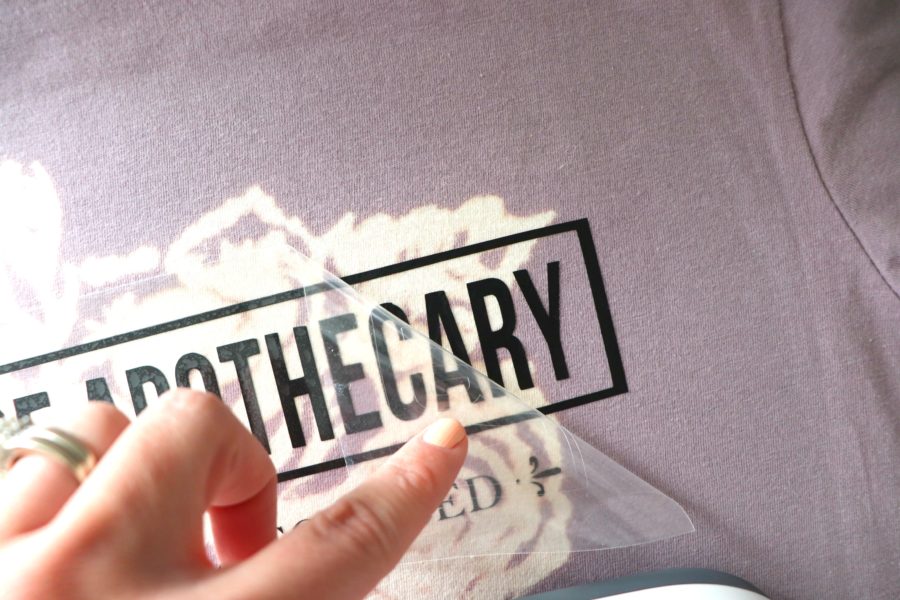
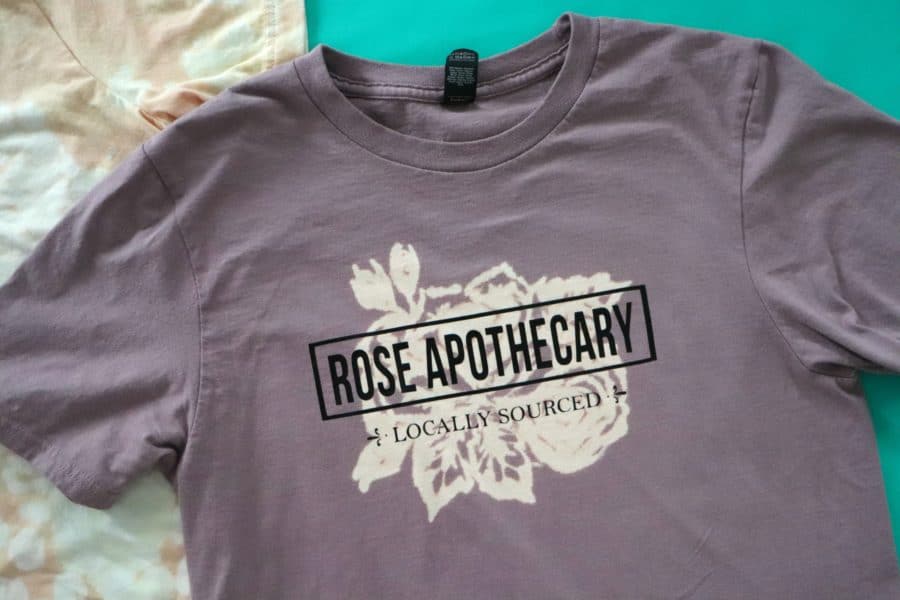
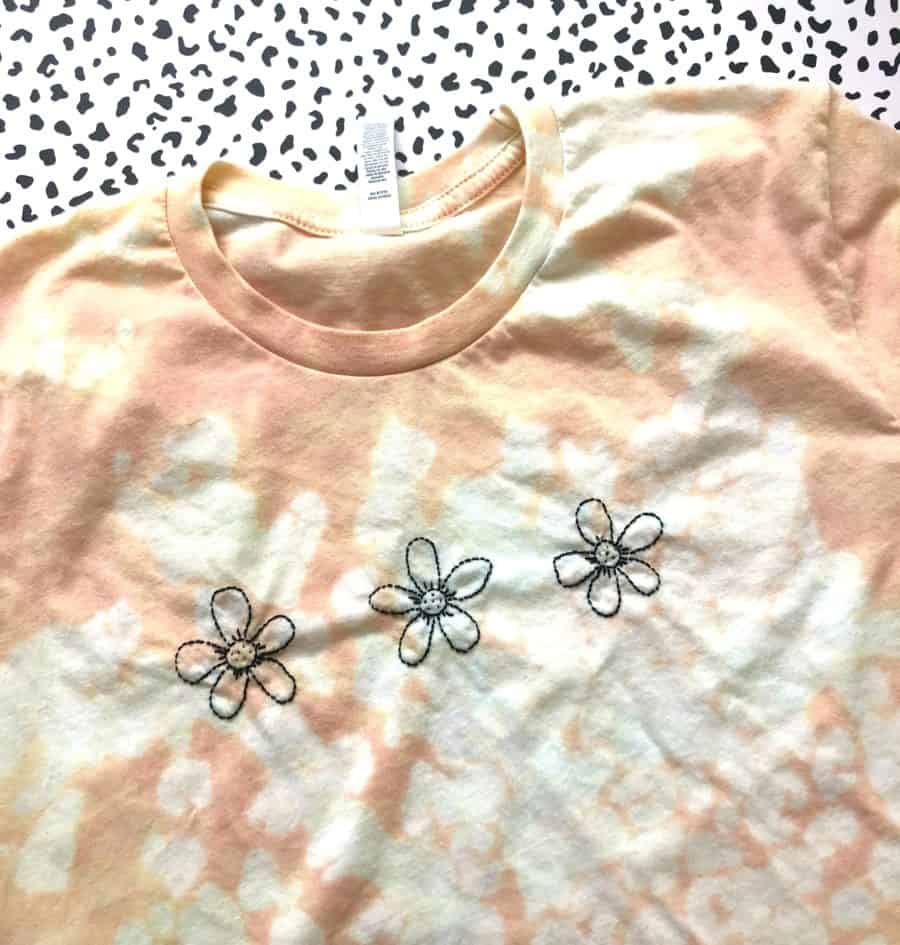
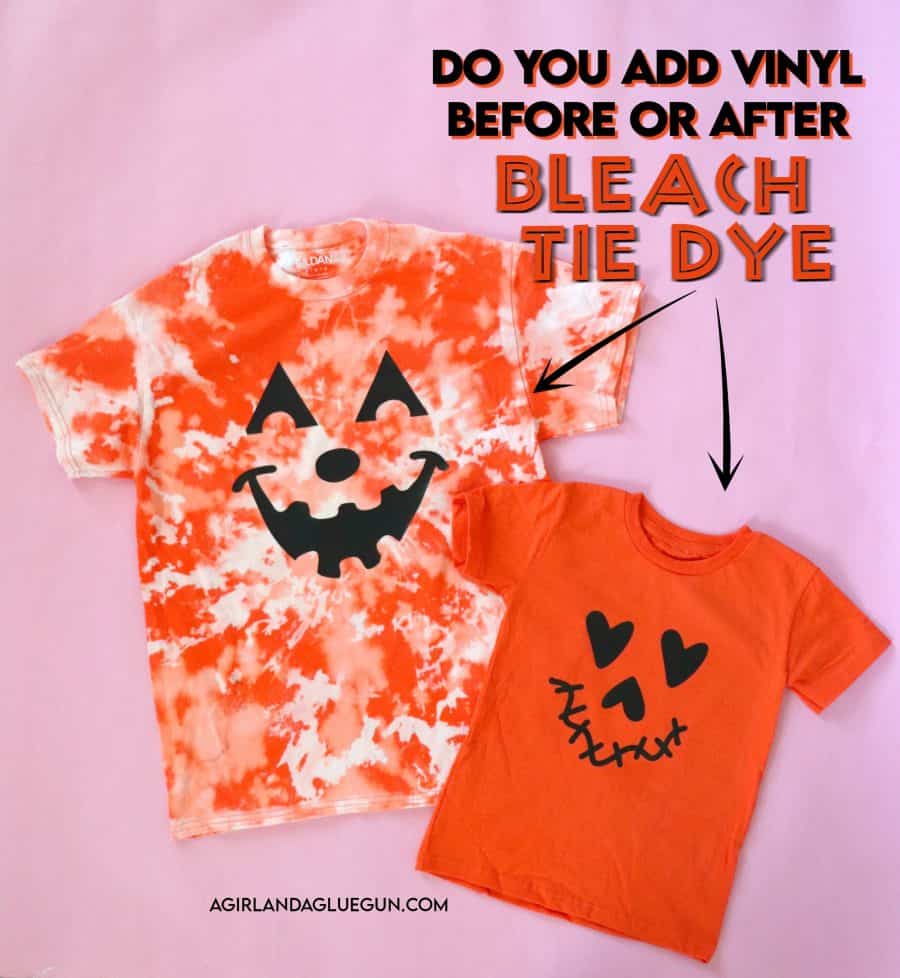
We, of course, took it one step further and added some vinyl to one shirt and some embroidery to another shirt! (update! If you want to diy your own rose apothecary/schitts creek fan shirt- I have a cut file for you here! )
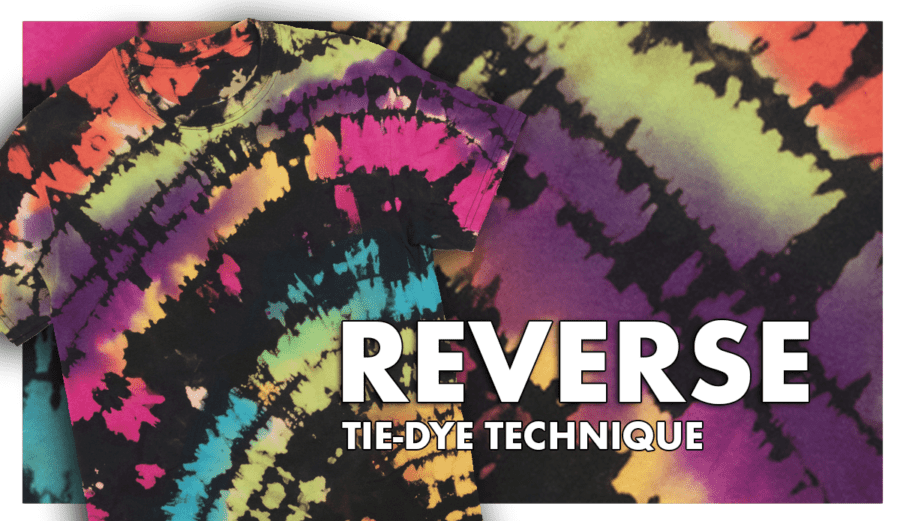
If you do a black shirt, you could totally try this reverse tie dye effect. You add in tie dye color over the spots you just bleached! Cool project!
A question I keep getting asked if you can bleach tie dye a shirt that has vinyl on it- I wrote up a post about it! check it out here!
If you want more fun crafts to do- check out these old but awesome blog posts!
Leave a Reply