
This post may contain affiliate links. If you purchase something through the link, I may receive a small commission at no extra charge to you.
Okay guys! Layering vinyl is so much fun! It totally adds a little something something when you have multiple colors going on! So today I’m going to walk you through layering vinyl using the offset button in the silhouette studio! 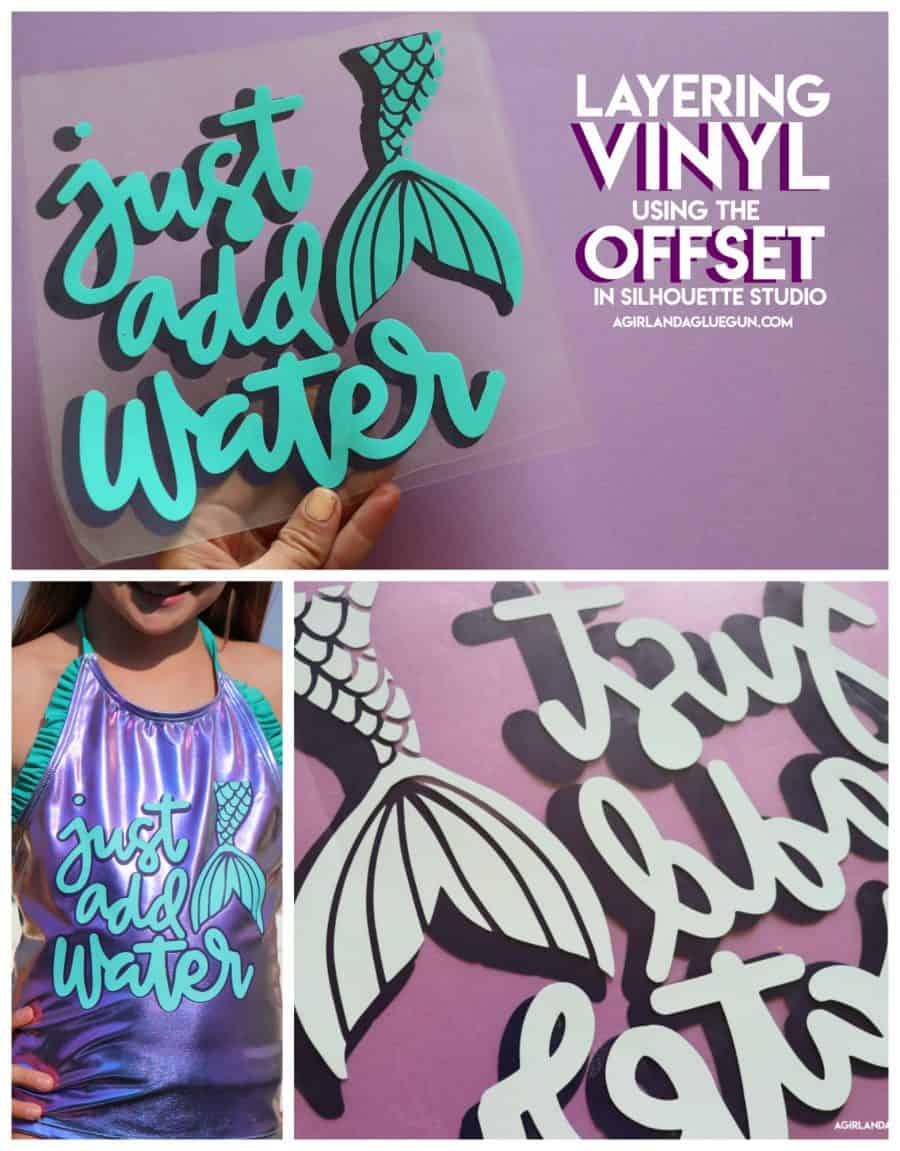
I do have a whole video that shows how–but I will walk you through step by step here too!
How to offset in the silhouette studio
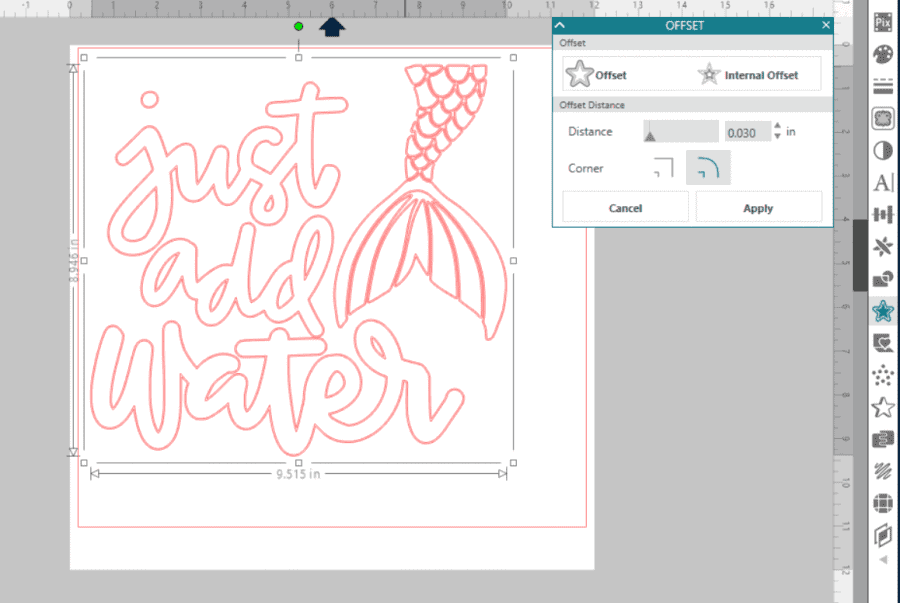
This works with pretty much everything. fonts, pictures, cut files. This one is my cut file that I have uploaded. click on the star on the side (This is the offset)
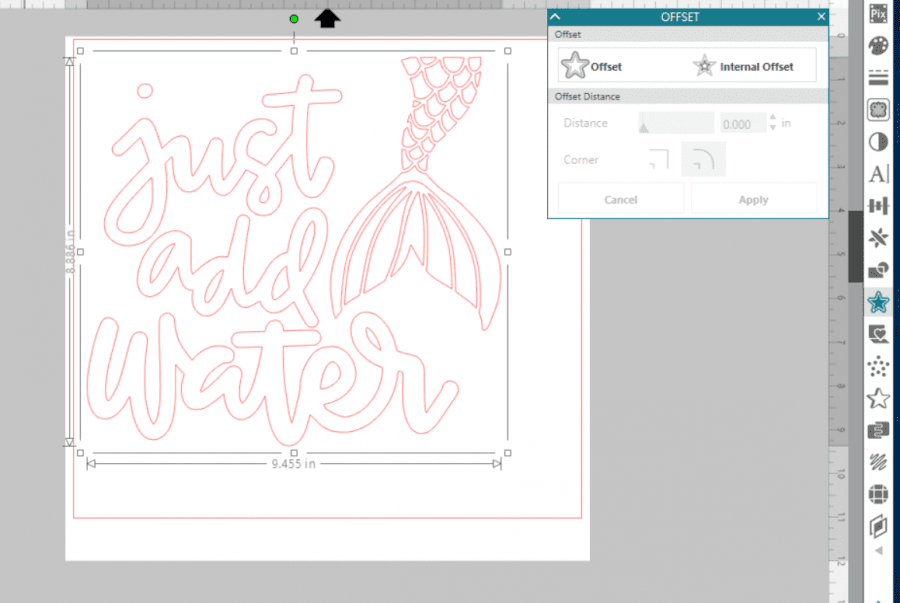
Click on the offset. It creates the giant bubble around the design. Use the distance and make it smaller and larger–until you have something you love.
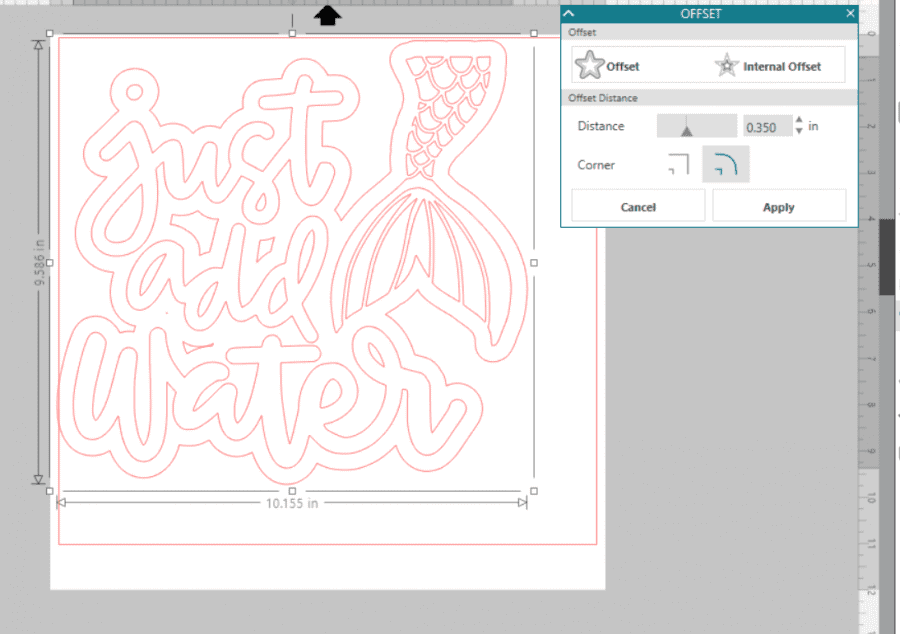
Click Apply. The offset will be ungrouped..so you will need to move off your original design and drag a box over the entire offset and group it together. Keeping it grouped will ensure it will all line up when layering.

I love to color coordinate my designs–just a simple sanity silhouette saver.
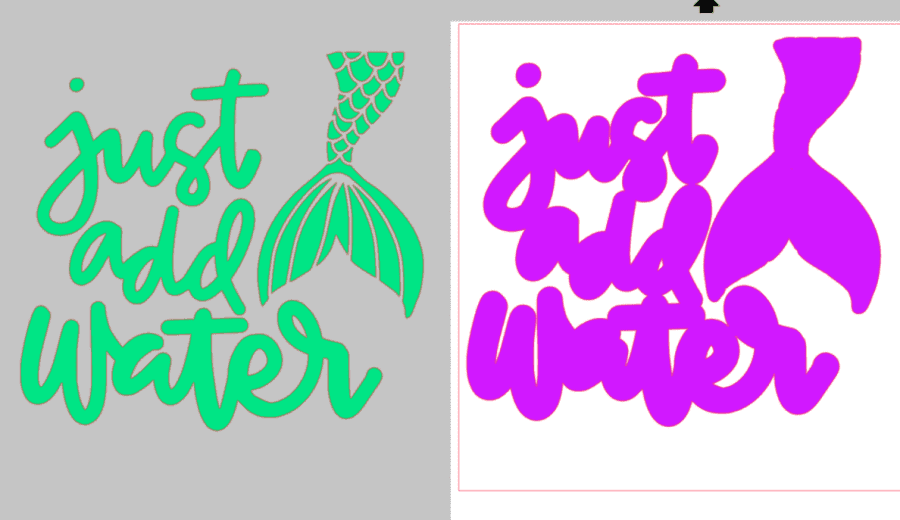
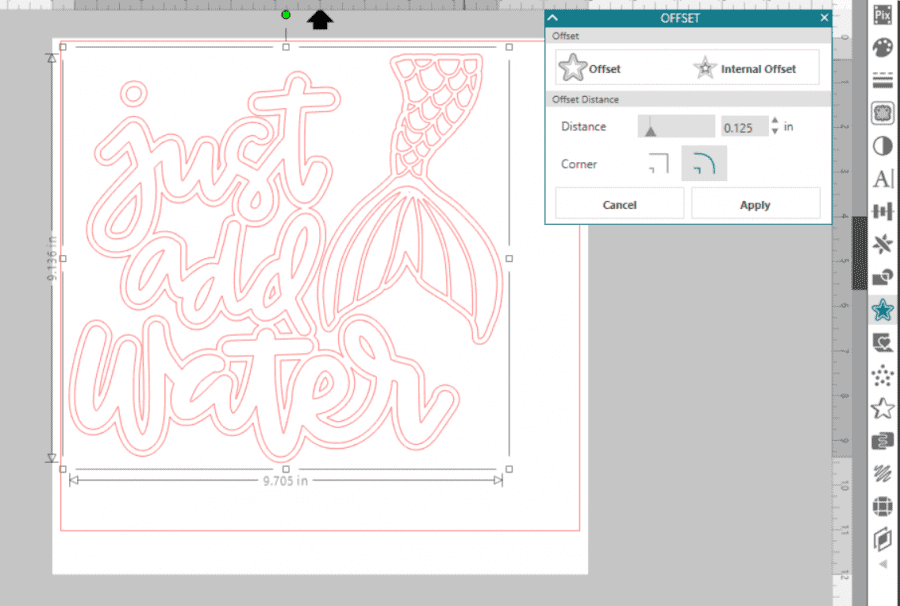
 You can actually do this and make more than one layer. (This one is three layers! see how it pops)

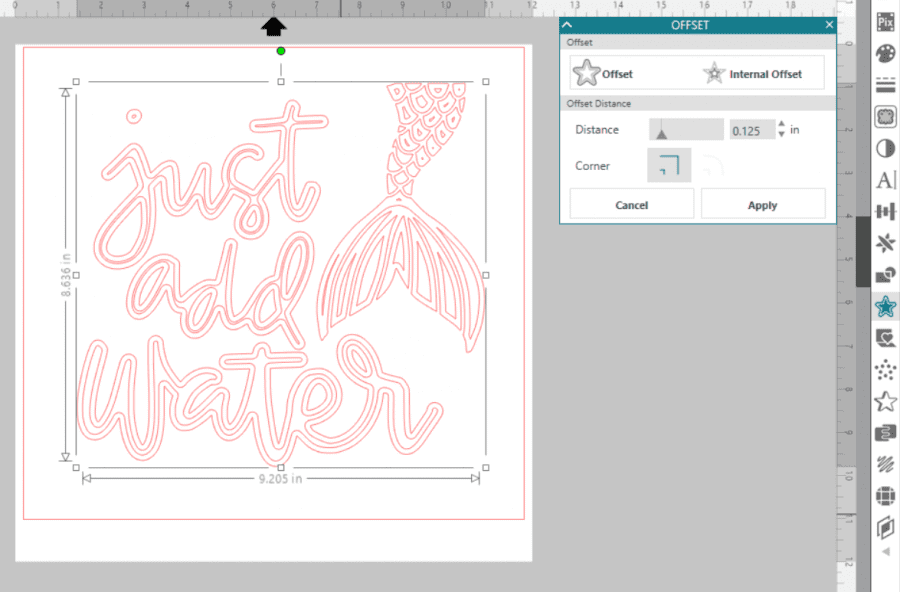
Let’s talk a quick second about internal offset–That will create a layer on the inside of your design. I don’t use it too much–but it’s nice to have if you have a cut file you can’t make any bigger or a font that is too big and you want it a little smaller.
Why you should use offset in Silhouette Studio
A. I love using it for layering (like I already mentioned) it’s great for making a project pop.
B. Another great reason to use offset is if you have a font or design with really small lines–Sometimes it can be such a pain to cut those out. Use the offset to chunk it up a little bit so it’s easier to cut out!
 Okay.Let’s apply the vinyl. Since the stretch heat transfer vinyl can be applied on top of each other–I didn’t use the knockout method.

I ended up centering it right in the middle…but it looks good as a drop shadow. 
Apply the bottom layer with a 3 second press (just a quick press to get it tacked down enough to peel off the transfer tape.
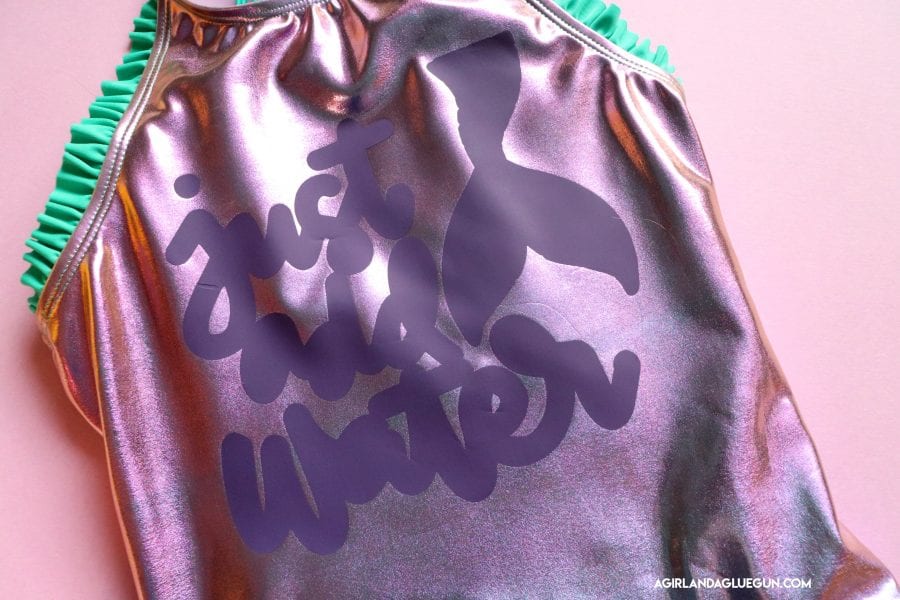
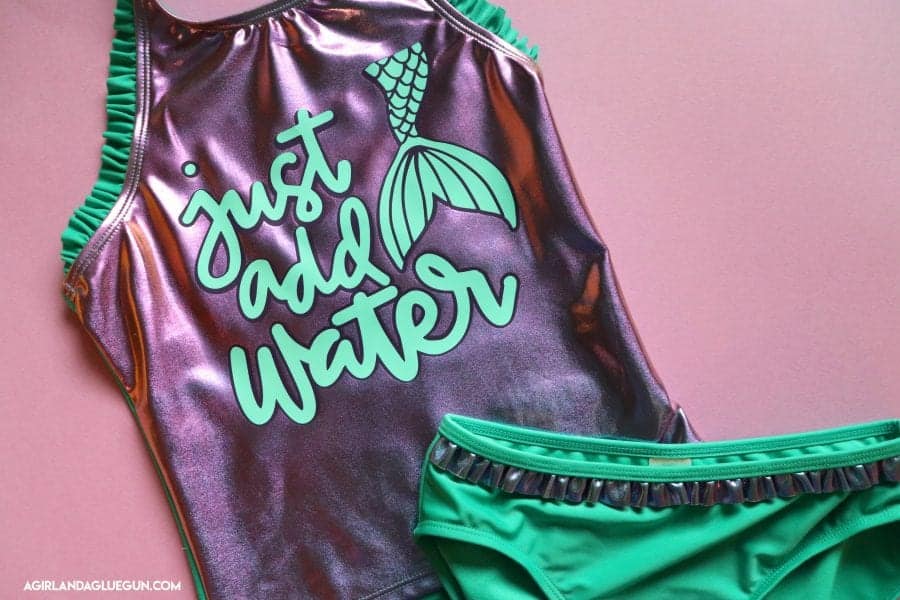
Then a 15 second press on the last layer to really attach it. (cute swimsuit from target!)
If you want the whole how to–go read this post I put up on Expressions vinyl blog!
But I will tell you this much: you are totally going to want to use STRETCH heat transfer vinyl! It’s perfect for stretchy swimsuits and spandex.
![]()
If you want more vinyl/ silhouette how to posts–make sure to check out here!
Leave a Reply