
This is a sponsored conversation written by me on behalf of Hobby Lobby. The opinions and text are all mine.
Alright guys! Today is the day you learn how to make a totally fun shirt–using heat transfer vinyl! And you have NO EXCUSES because I am going to show you how to cut heat transfer vinyl 2 different ways! (with a cutter….and WITHOUT a cutter) ![]()
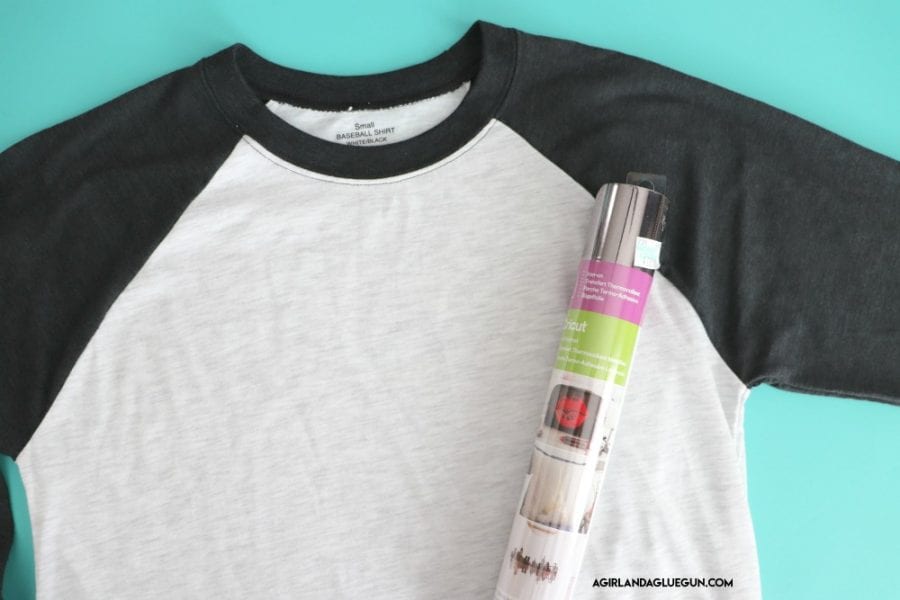
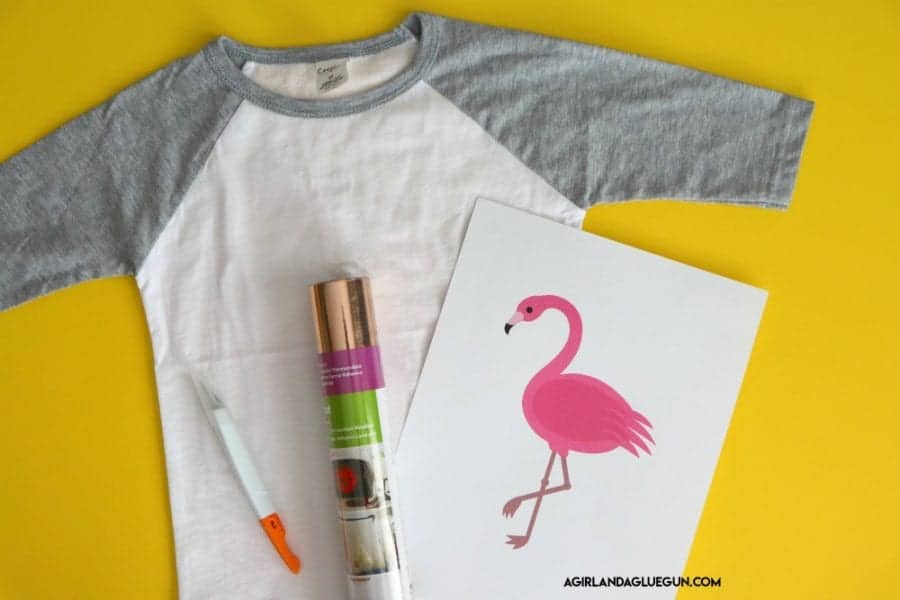
First up..grab your shirt and vinyl! Head to Hobby Lobby (because–um…it’s my favorite store ever.) They have fantastic shirts–these baseball shirts are the cutest (and softest) and comes in lots of sizes! 
and there are lots of different options when it comes to heat transfer vinyl ![]()
option 1: Cutting heat transfer with an electronic cutter.
This way is probably the most common. It’s fast and easy and you can cut intricate designs. BUT cutters are kind of a splurge. So if you don’t want to invest in one–skip to option 2! (although…I LOVE MINE. I use it all the time!) The two most popular are Cricut and Silhouette (you can see my comparison post here!)
and Hobby Lobby sells both! 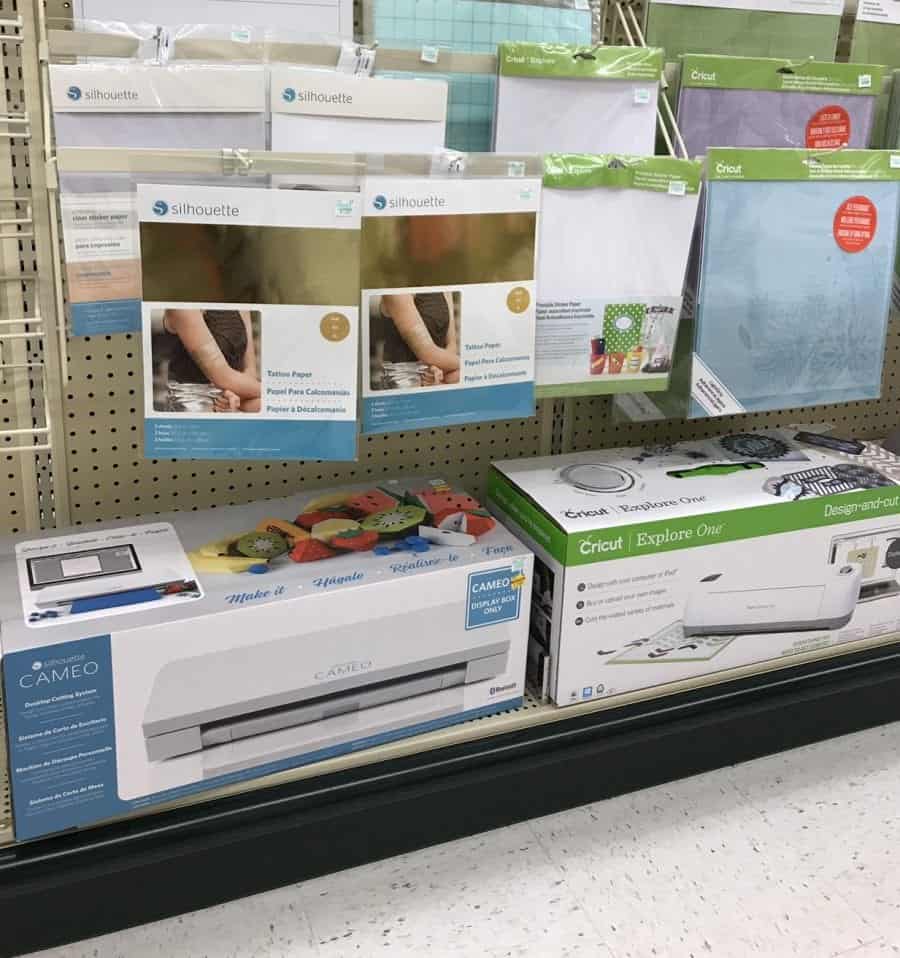
Regardless of what cutter you buy…the heat transfer works the same -so let’s jump in!
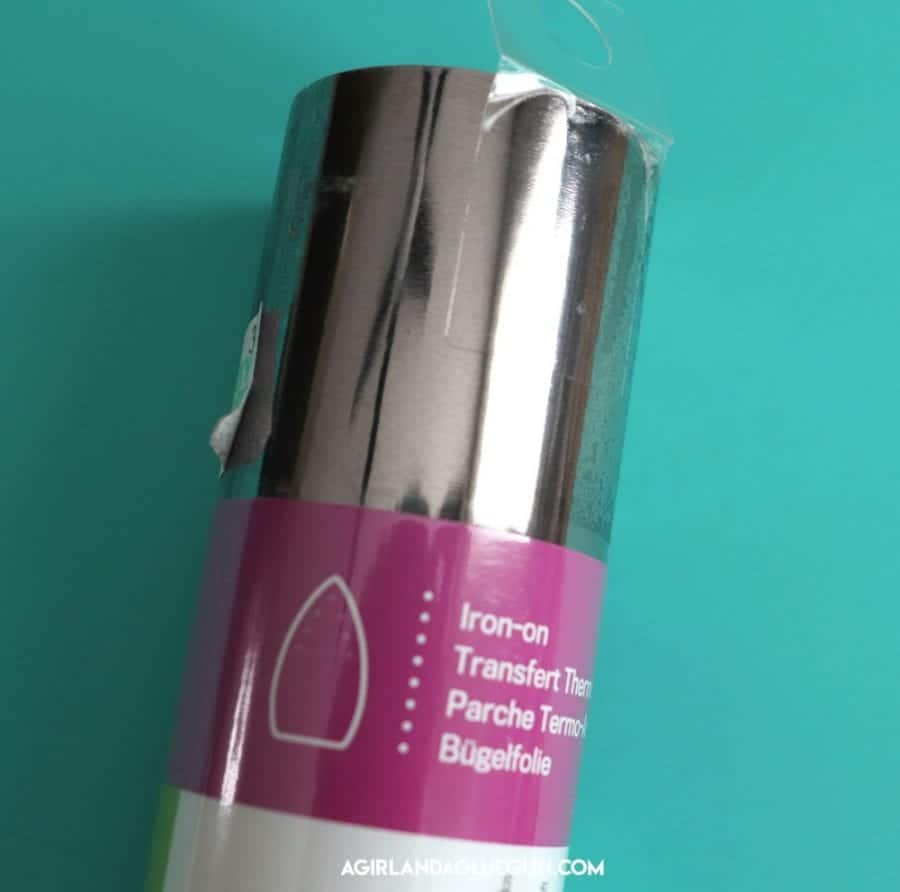
Here is the run down of heat transfer: the back is the heat activated part that gets laid on your cute baseball shirt. Over the top is the carrier sheet. It’s a plastic protective sheet that you can iron on and it protects the vinyl underneath but then peel off when your done ironing and the vinyl is attached.
![]()
Since you don’t want to cut the carrier sheet–you actually load your vinyl in upside down. 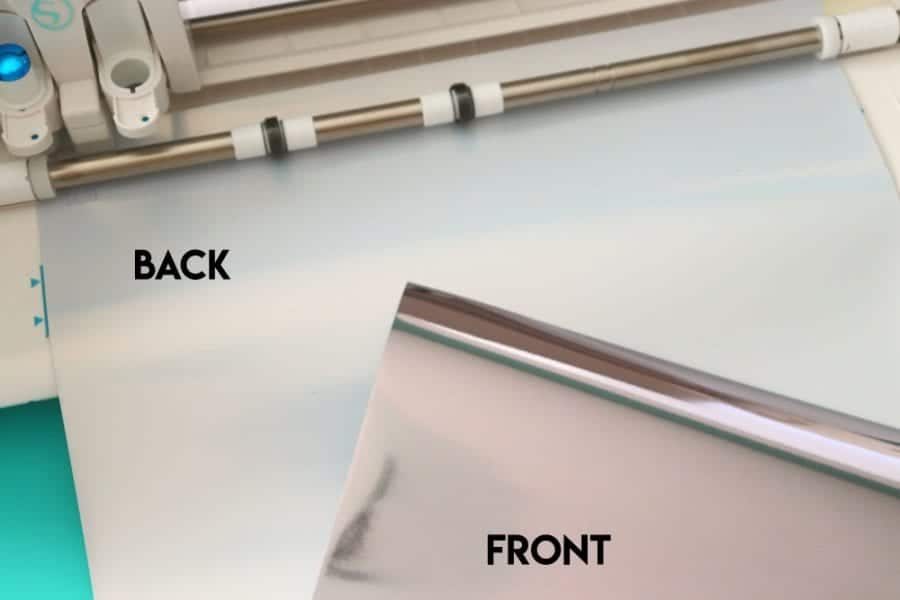
and cut the design backwards (you need to flip horizontal before cutting) The cutter suggests to flip it so you won’t forget! Press cut and it does all the work for you! Your perfect cut settings it to cut through the vinyl but leaving the carrier sheet intact. Most cutters have guides. So for my silhouette cameo, I just click heat transfer vinyl and it adjust to where my blade needs to be. ![]()
After it cuts out, you peel away the heat transfer vinyl that isn’t part of the design (called weeding!) 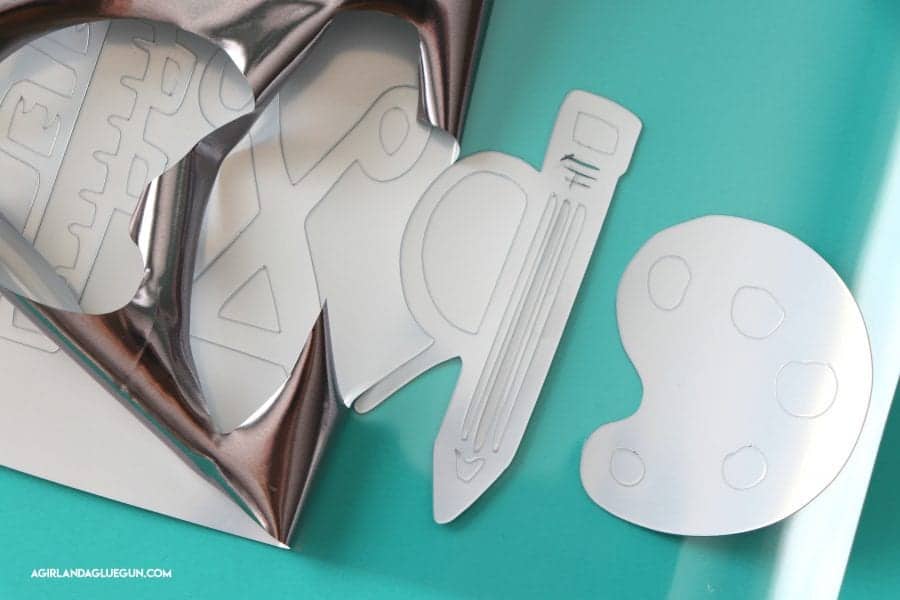

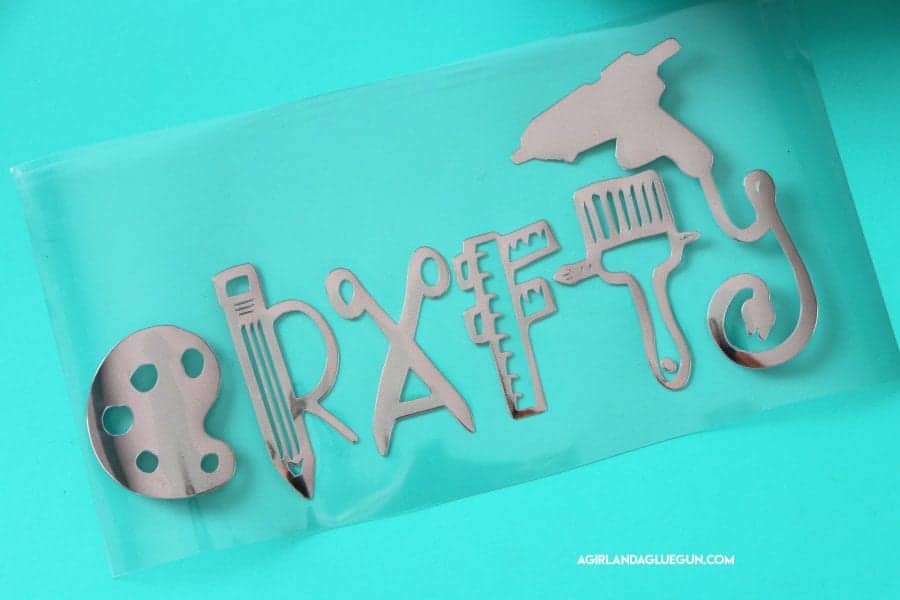
The backside of the carrier sheet is a little tacky. Flip if over to reveal your fun design!
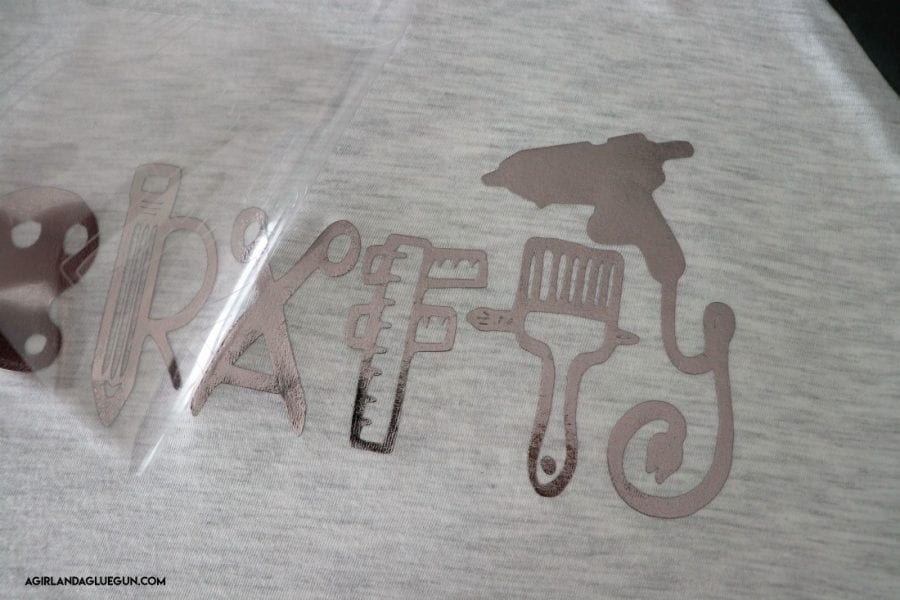
Time to iron! Grab your Baseball shirt and run an iron over it to make sure there are no wrinkles. Place your design where you want it and PRESS. Push down with some force for 15 seconds on each spot. My iron is set on the setting below the hottest but your iron might be different…so if it’s your first time, you might want to take a scrap fabric and vinyl and test it out! If the carrier sheet melts-you have it too hot. If your vinyl isn’t sticking…you have it too low. ![]()
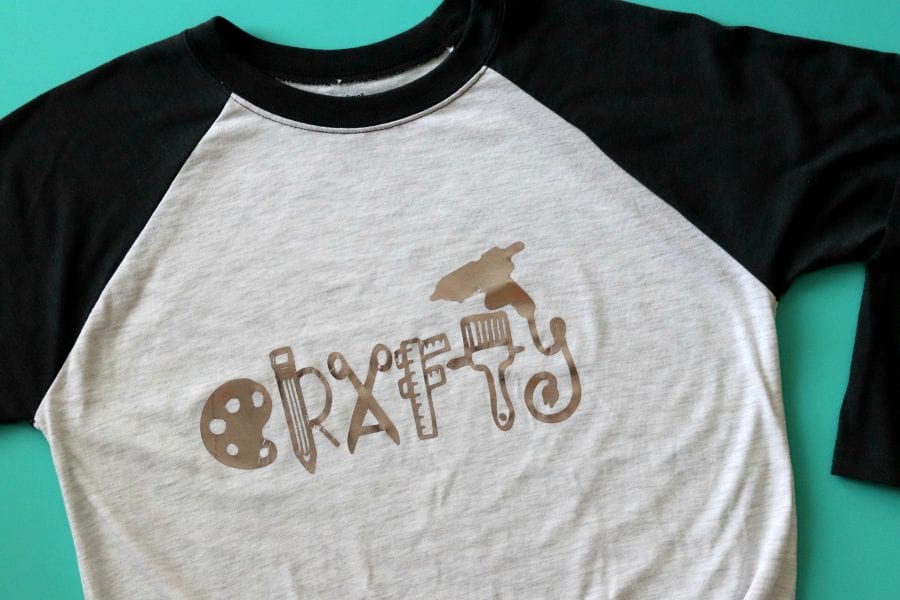
Then…peel up the carrier sheet. I go nice and slow to make sure that everything is pressed down like it should be!
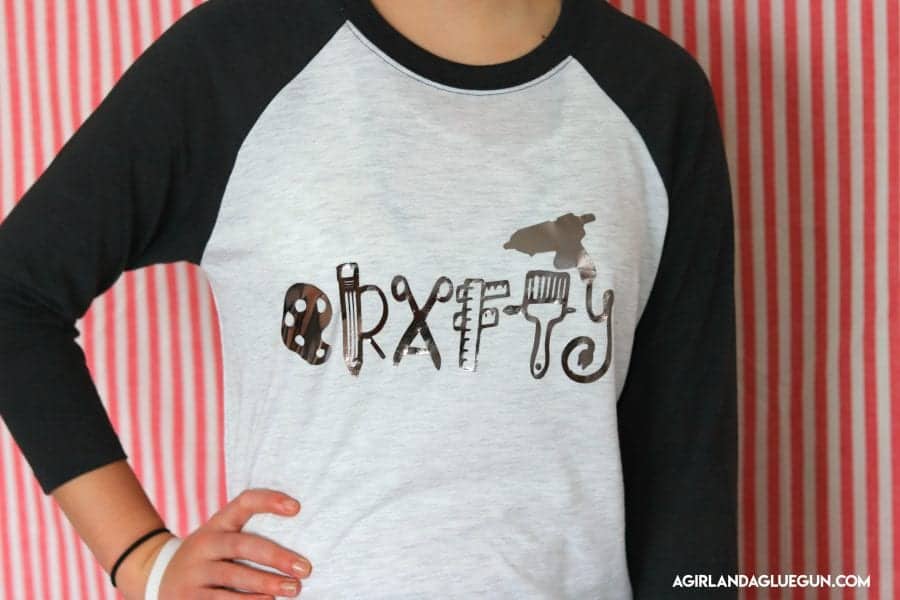
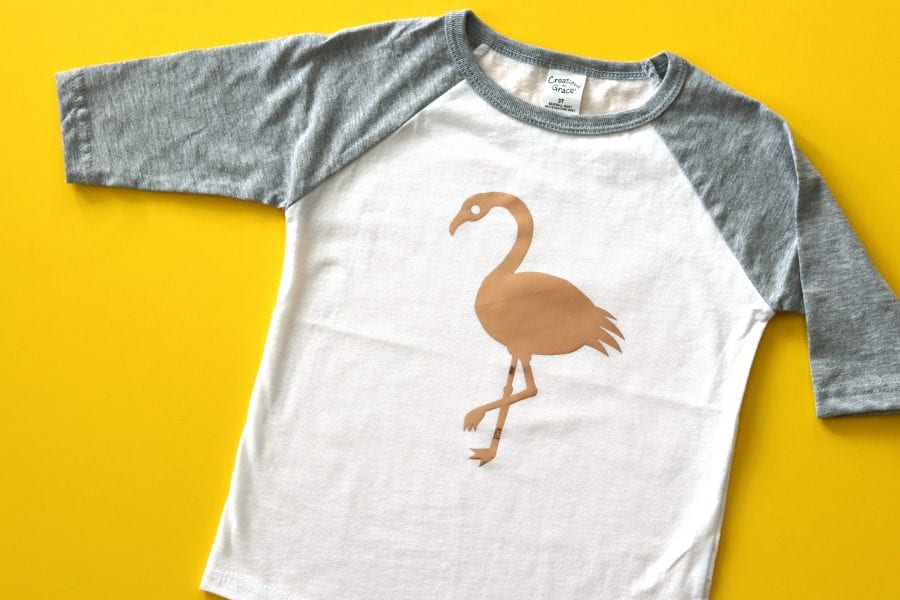
Check out how cute it turned out! I love that I can customize my own shirts!
I created this cut file and hopefully will have it up for you soon!
Option 2: Cutting heat transfer vinyl without a cutter
Okay! option 2! Cutting without a cutter. It’s totally possible. But it does require more patience! I try to pick designs that are not to hard or intricate. (mostly because I don’t have patience) but if you want something that has lots of details…just put on a good show on netflix and get your cutting on! If you do individual letters–You will have to line them up yourself.
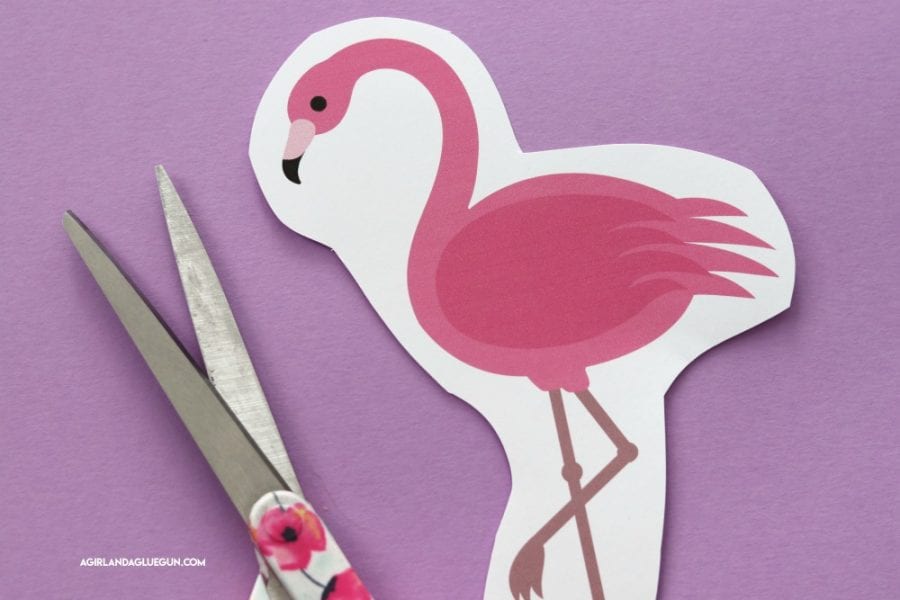
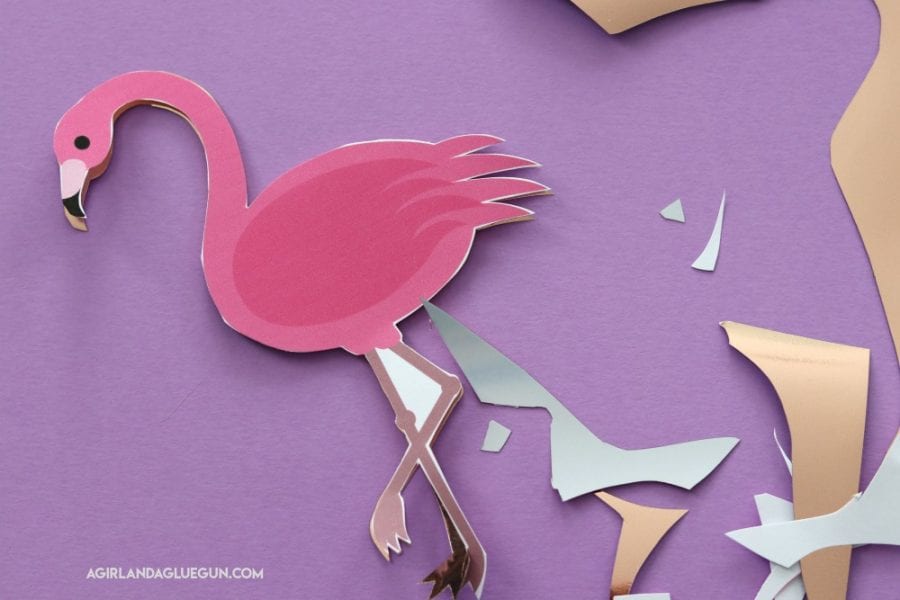
So for sanity sake..I picked a flamingo. Just found a free clipart of one that I liked and printed it out. I cut out around it to get rid of all the white space.
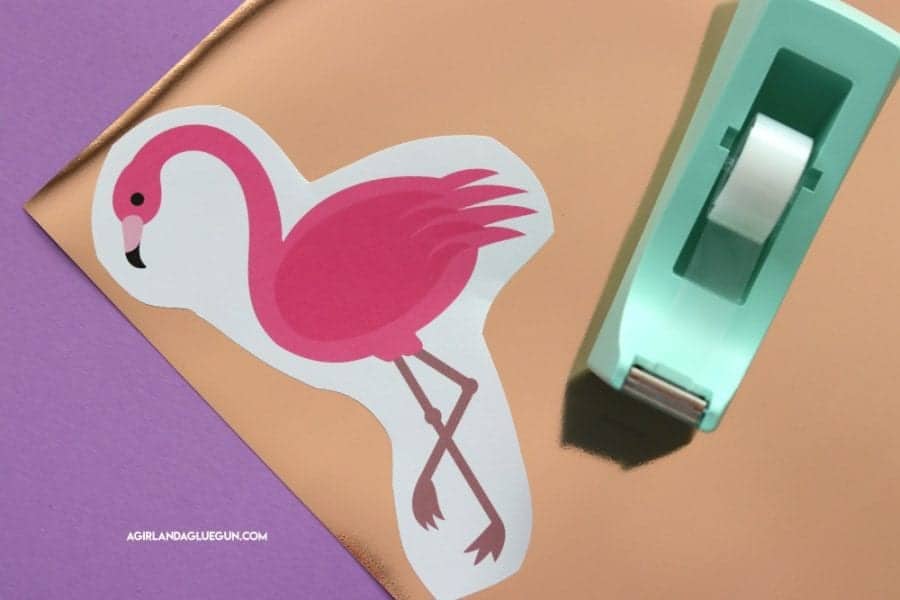
Then I took some tape and taped it right on my heat transfer vinyl. We are cutting through ALL layers…so I didn’t flip it or put it on the back. I taped it right under the big pink body so as I trimmed, I wouldn’t cut my tape and get it to fall off! If you are doing a word-you will need to tape behind each letter!
Then started cutting. ![]()
and cutting. You can actually cut out the flamingo on paper all the way before you put on the vinyl…but then you just have to do it again–so as a time saver I cut both the same time.
You might need a little craft knife to get those hard spots!
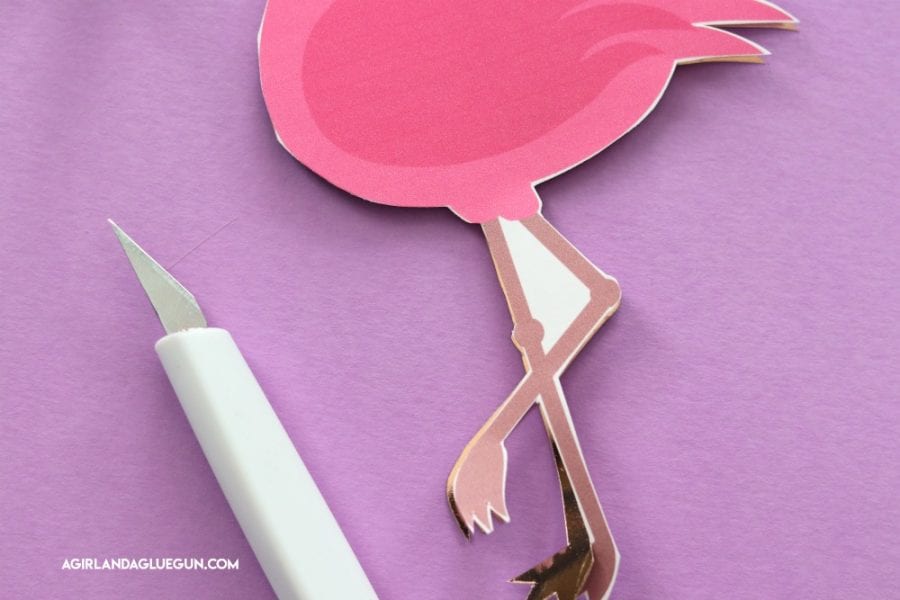
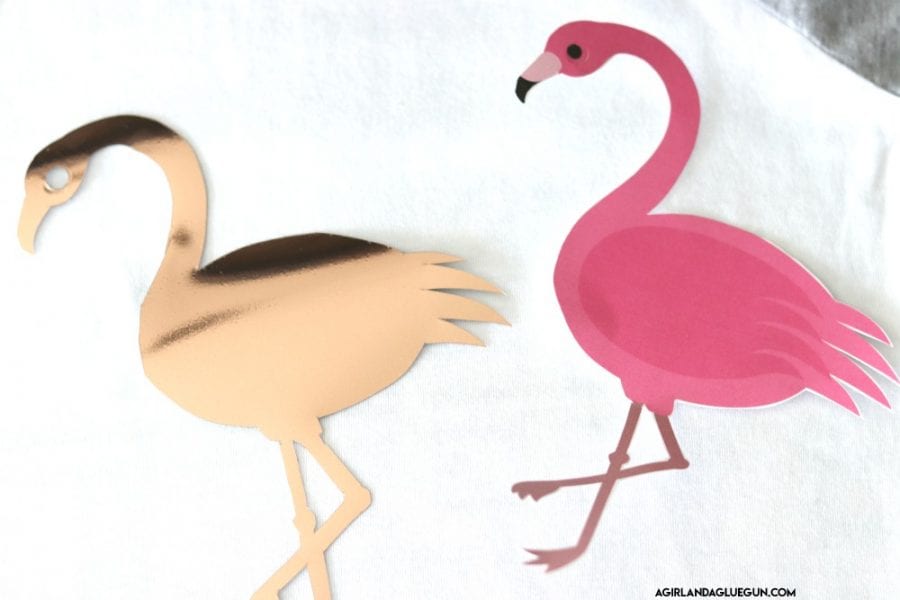
Once it’s all cut out..you separate them!
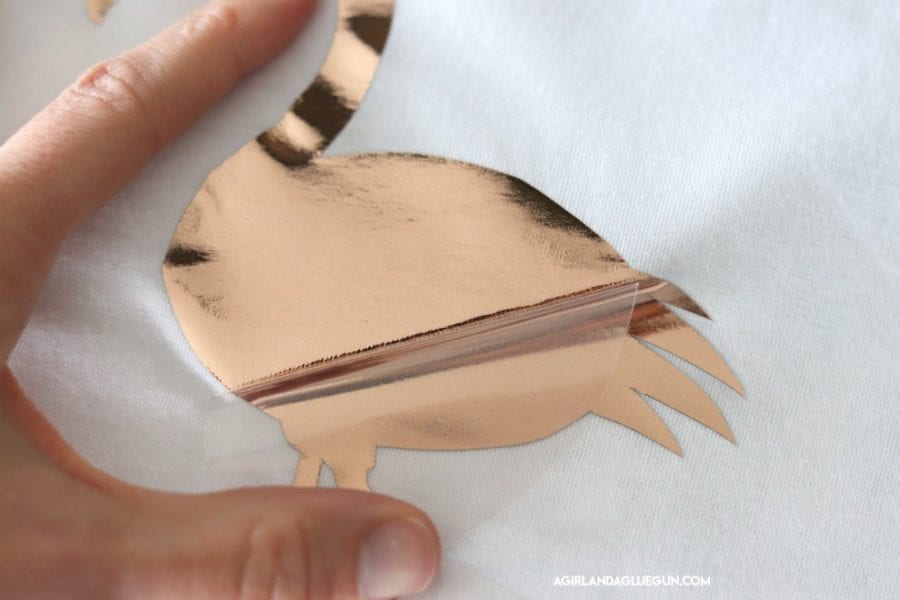
The ironing is the same basic ideas as above–pressing for 15 seconds.
![]()
There isn’t any excess carrier sheet overhanging (like in option 1) because we cut it off-so you carrier sheet that you peel up will have the same shape as whatever you cut out!
 and there you go! A shirt you made without a fancy cutter! Just your scissors!
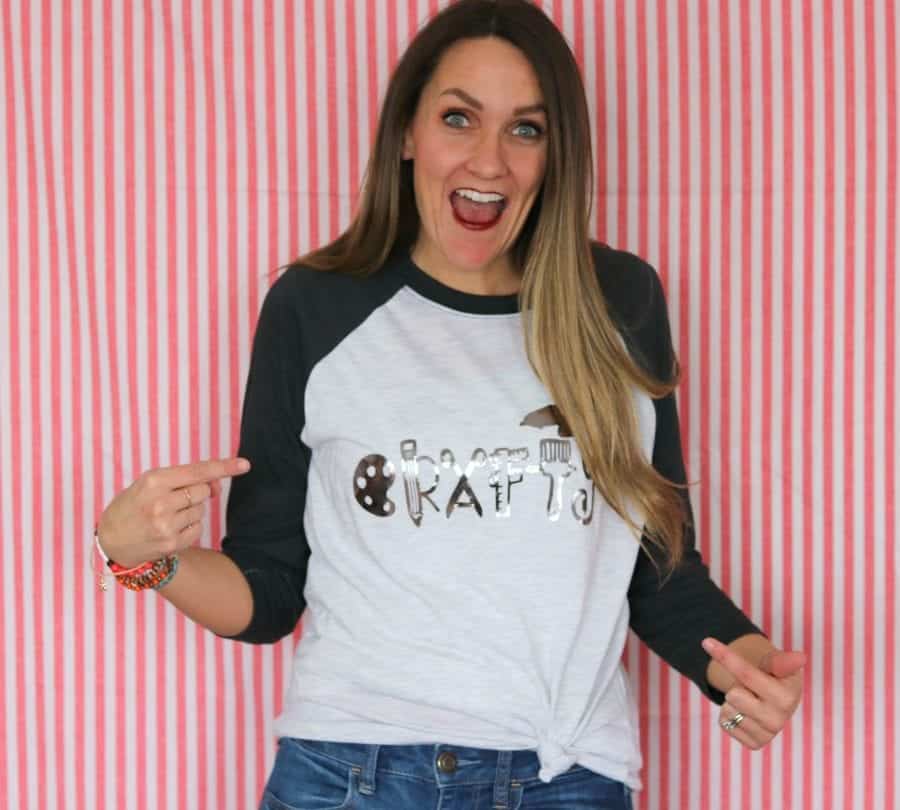
Okay! Have I inspired you to head to Hobby Lobby and grab your supplies and start DIYing your own awesome shirts? I seriously love wearing one of a kind shirts that I have made myself (because I’m CRAFTY!)
![]()
Mary Velardo says
I was wondering if you can put vinyl on a vinyl jacket? My daughter has a little pink vinyl jacket that she wants me to put the letter P with some fancy lines around it. I was going to go to a shop, but I’m all about saving money. Please help
Kimbo says
I’m not sure! Depends on the kind of vinyl. You might want to test a little piece to see if it can hold up to the heat of the iron!