
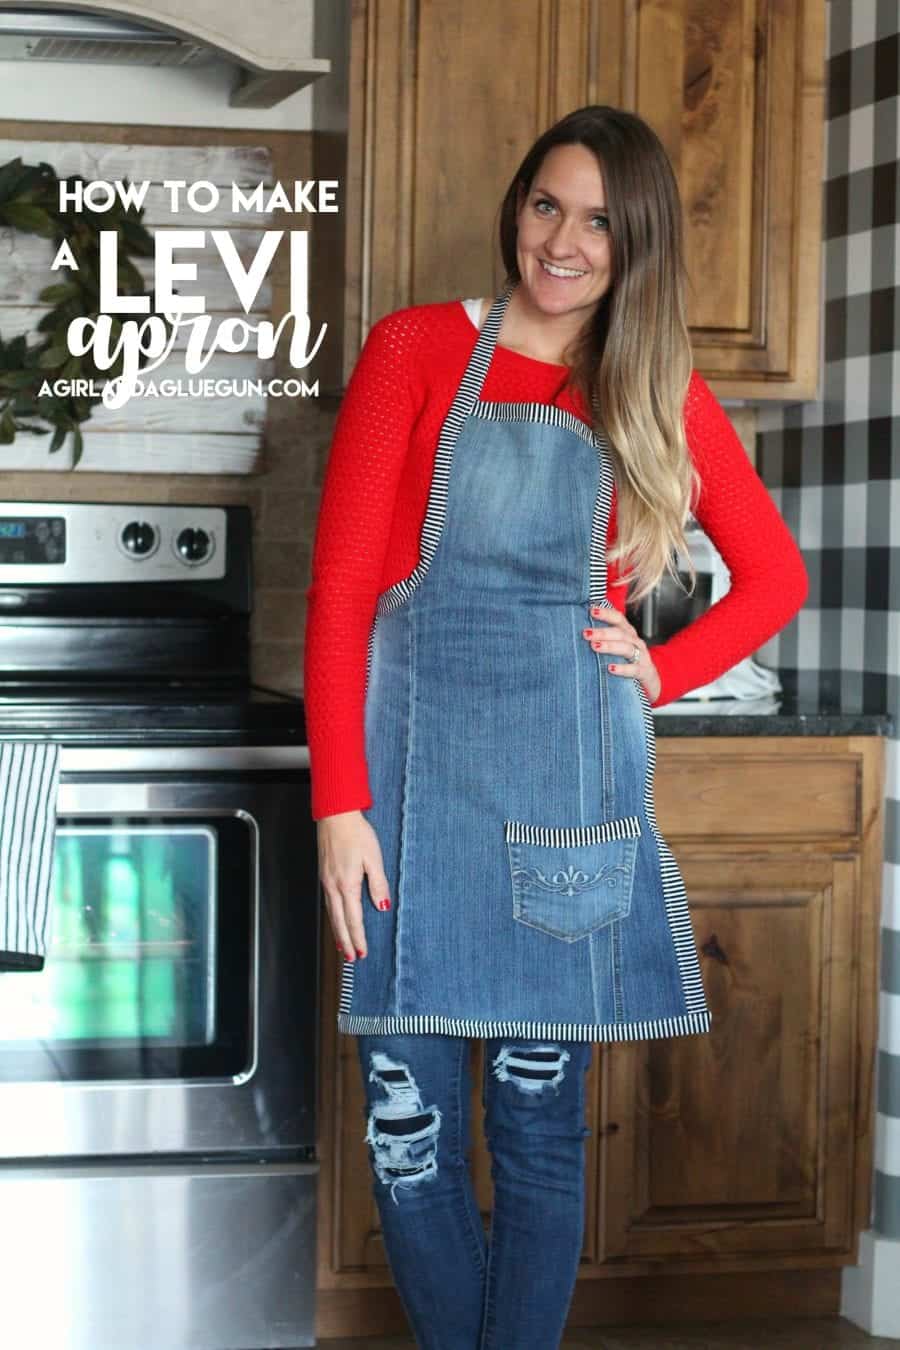
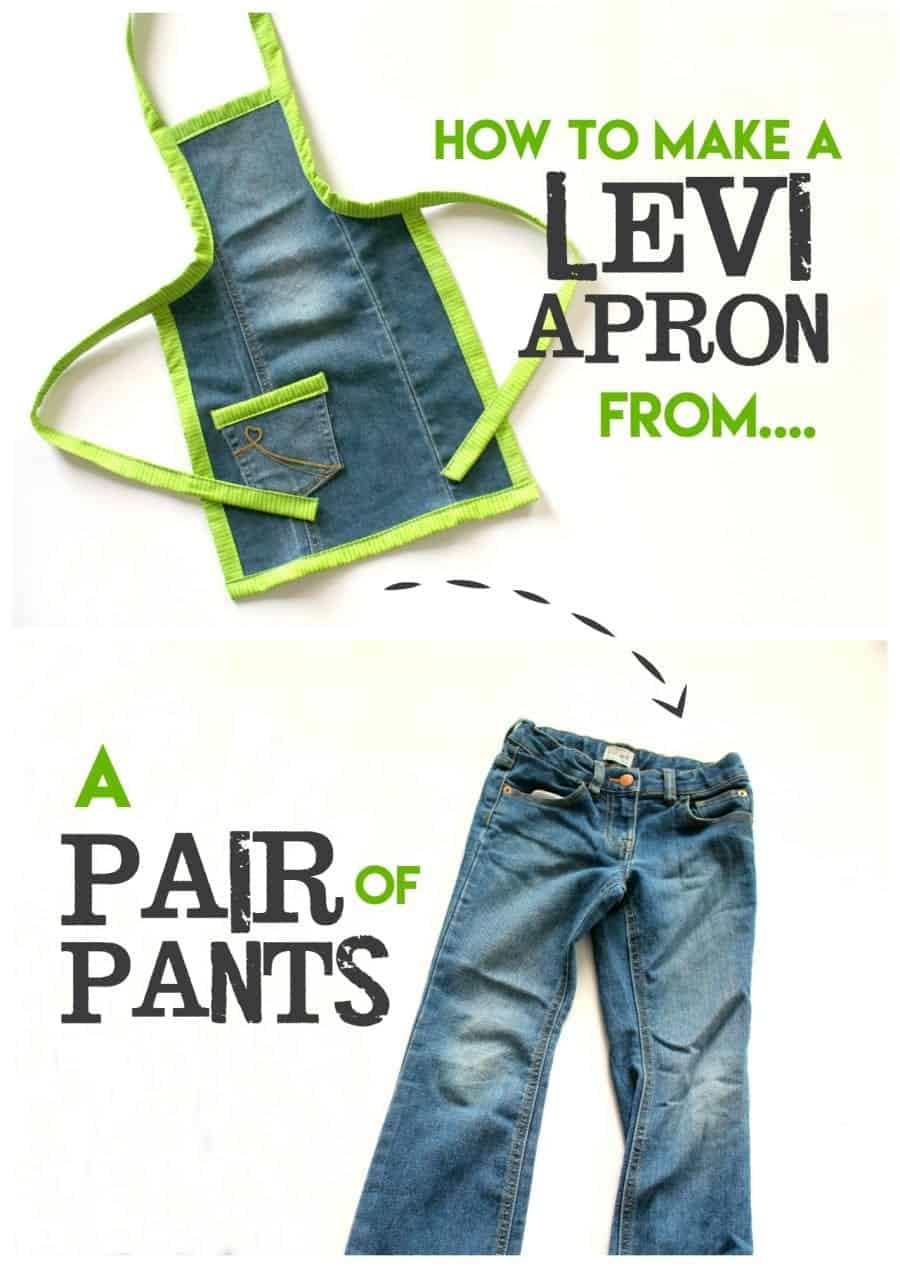
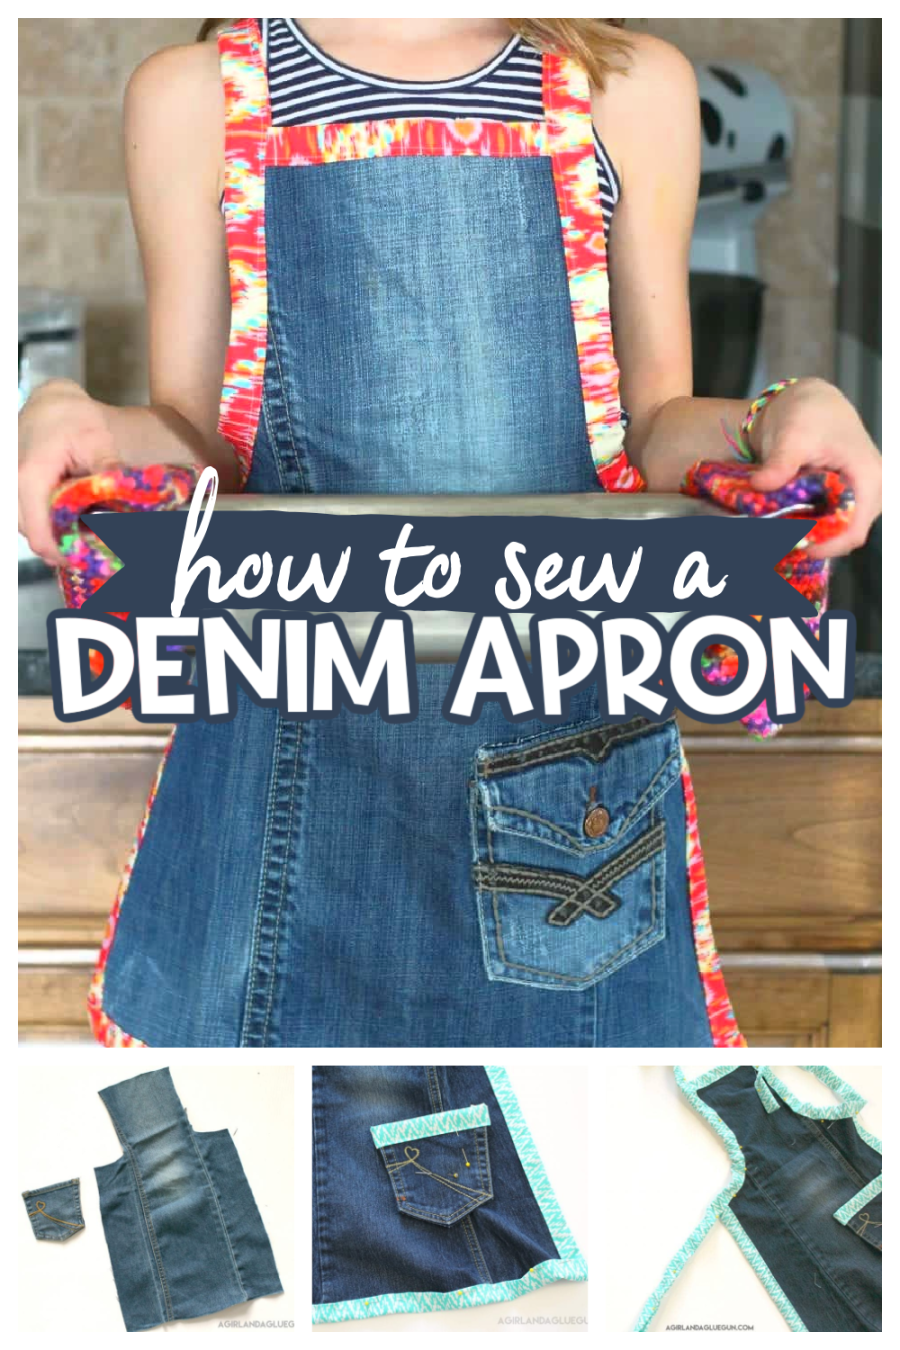
Looking for a creative upcycled sewing project? Turn an old pair of Levi jeans into a stylish and functional DIY denim apron! This easy sewing tutorial is perfect for crafters, gardeners, artists, grill masters, and anyone who loves repurposing old clothing into something useful.
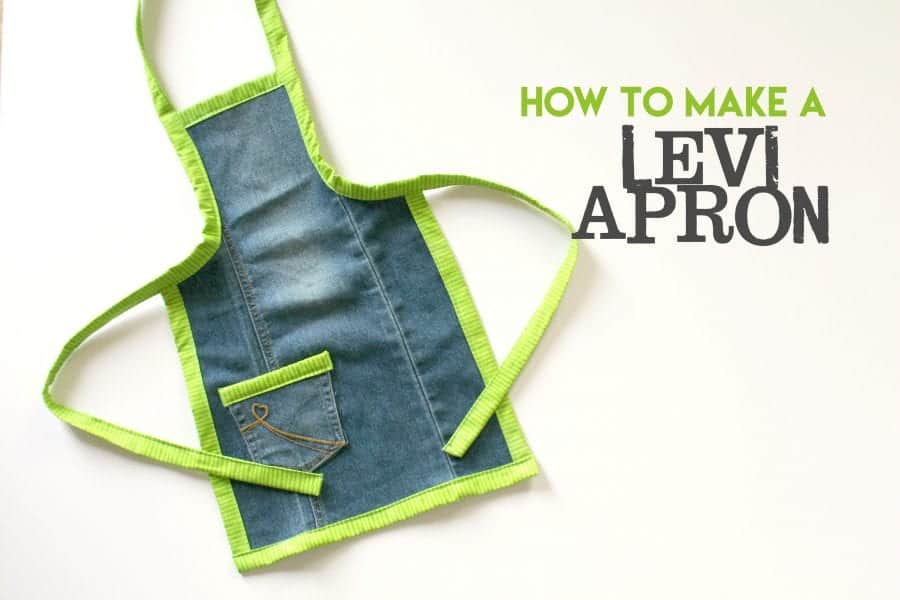
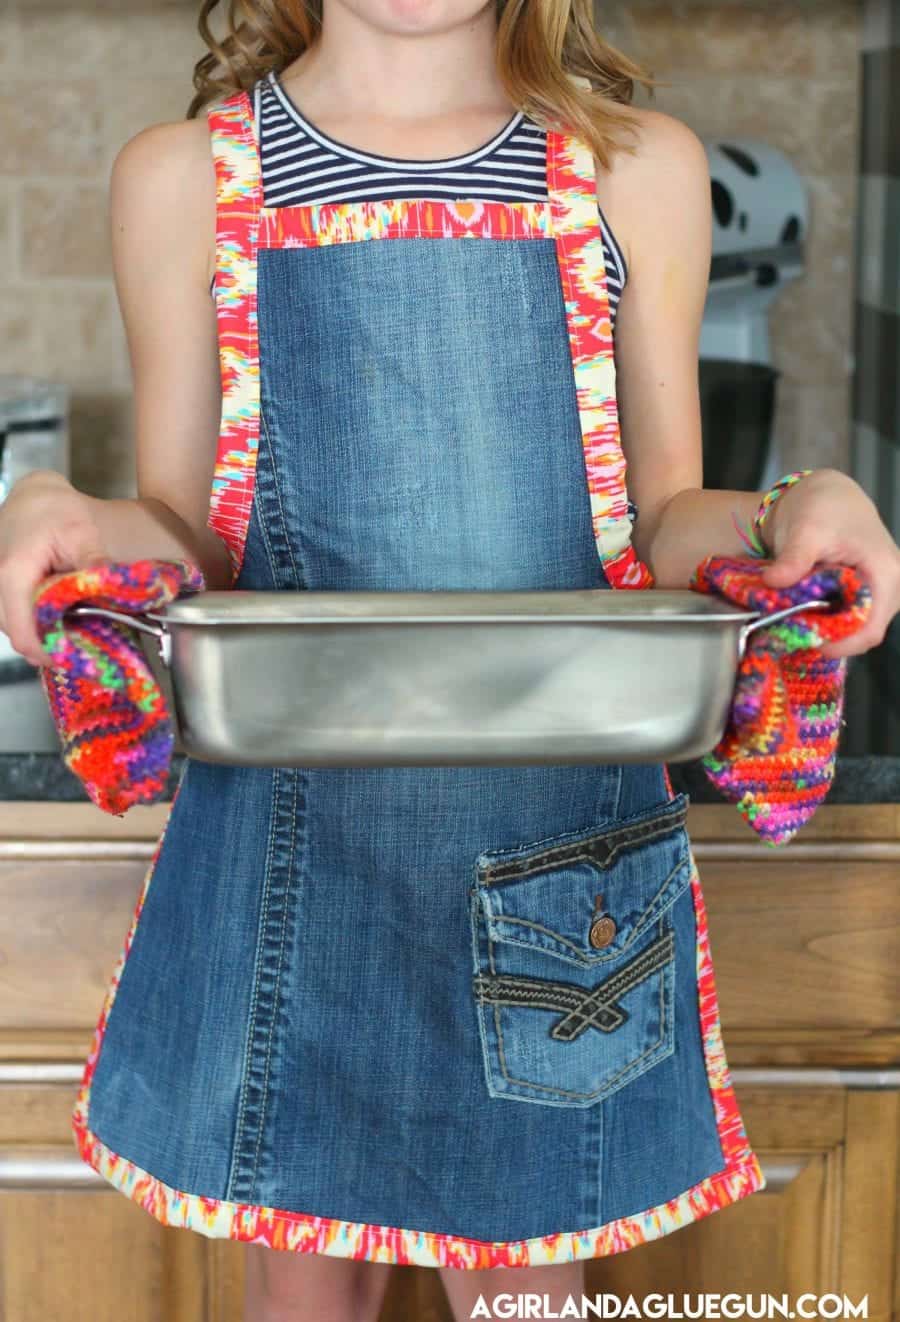
A homemade jean apron has the perfect rustic farmhouse look while also being durable enough for everyday use. Plus, the back pockets from the jeans make ready-made apron pockets for holding tools, utensils, paint brushes, or craft supplies.
If you have an old pair of jeans sitting in your closet, this is the perfect beginner-friendly sewing project to give them new life.
I have been making these for years! So many fun gifts that are easy and useful!
Why You’ll Love This DIY Jean Apron
- Great upcycling project
- Durable denim fabric
- Functional built-in pockets
- Beginner-friendly sewing tutorial
- Perfect handmade gift idea
- Budget-friendly DIY craft
Whether you’re sewing for yourself or making a handmade gift, this denim apron project is both practical and stylish.
What Can You Use a Denim Apron For?
A DIY jean apron is perfect for:
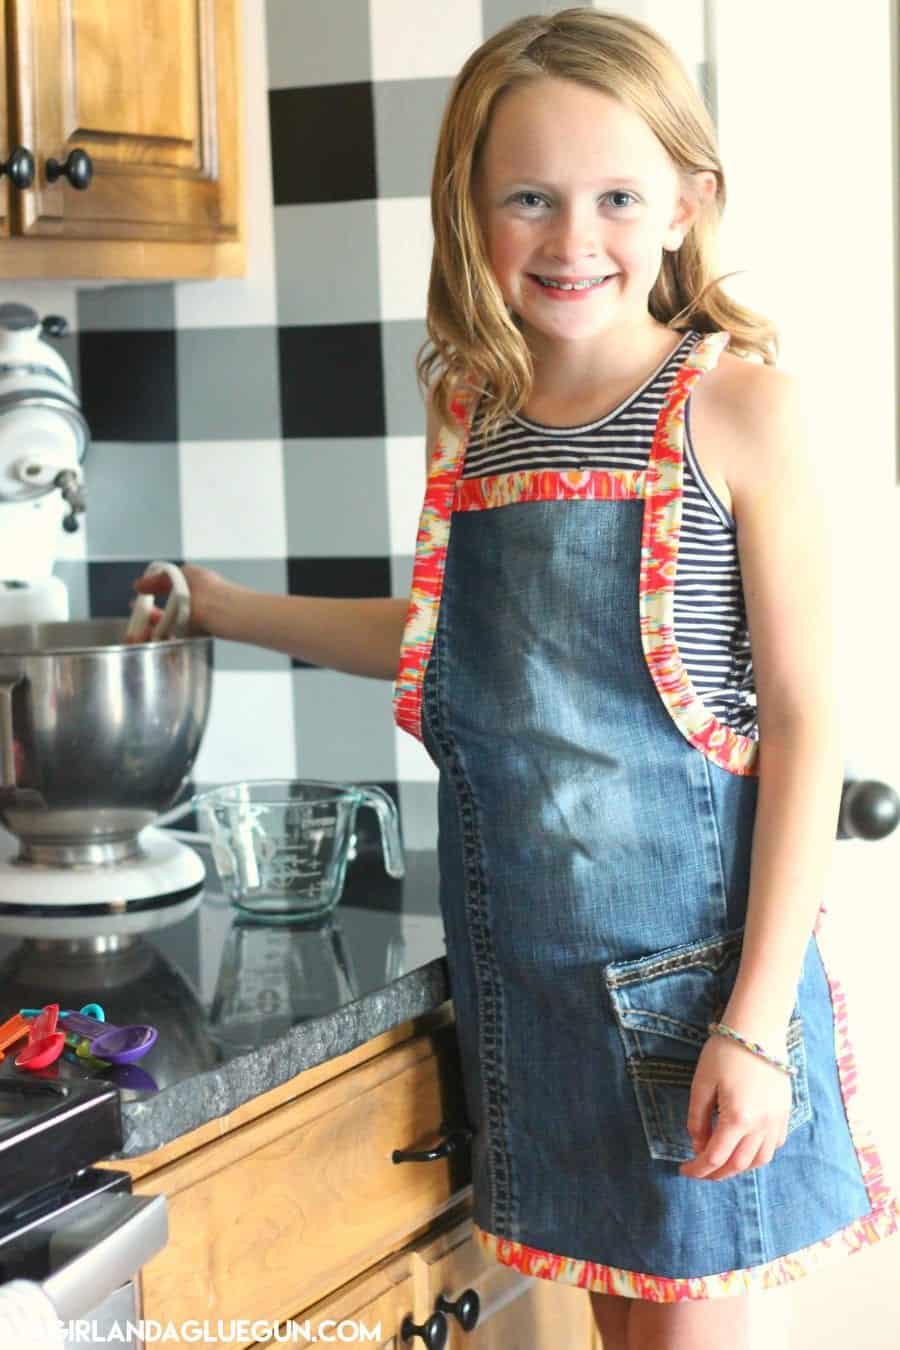
- Cooking and baking
- Gardening
- Painting
- Crafting
- BBQ grilling
- Workshop projects
- Pottery
- Teacher art aprons
- Mom and me aprons
It also makes a thoughtful handmade gift for Father’s Day (It’s heavy duty for grilling!), birthdays, housewarming gifts, or holiday presents.
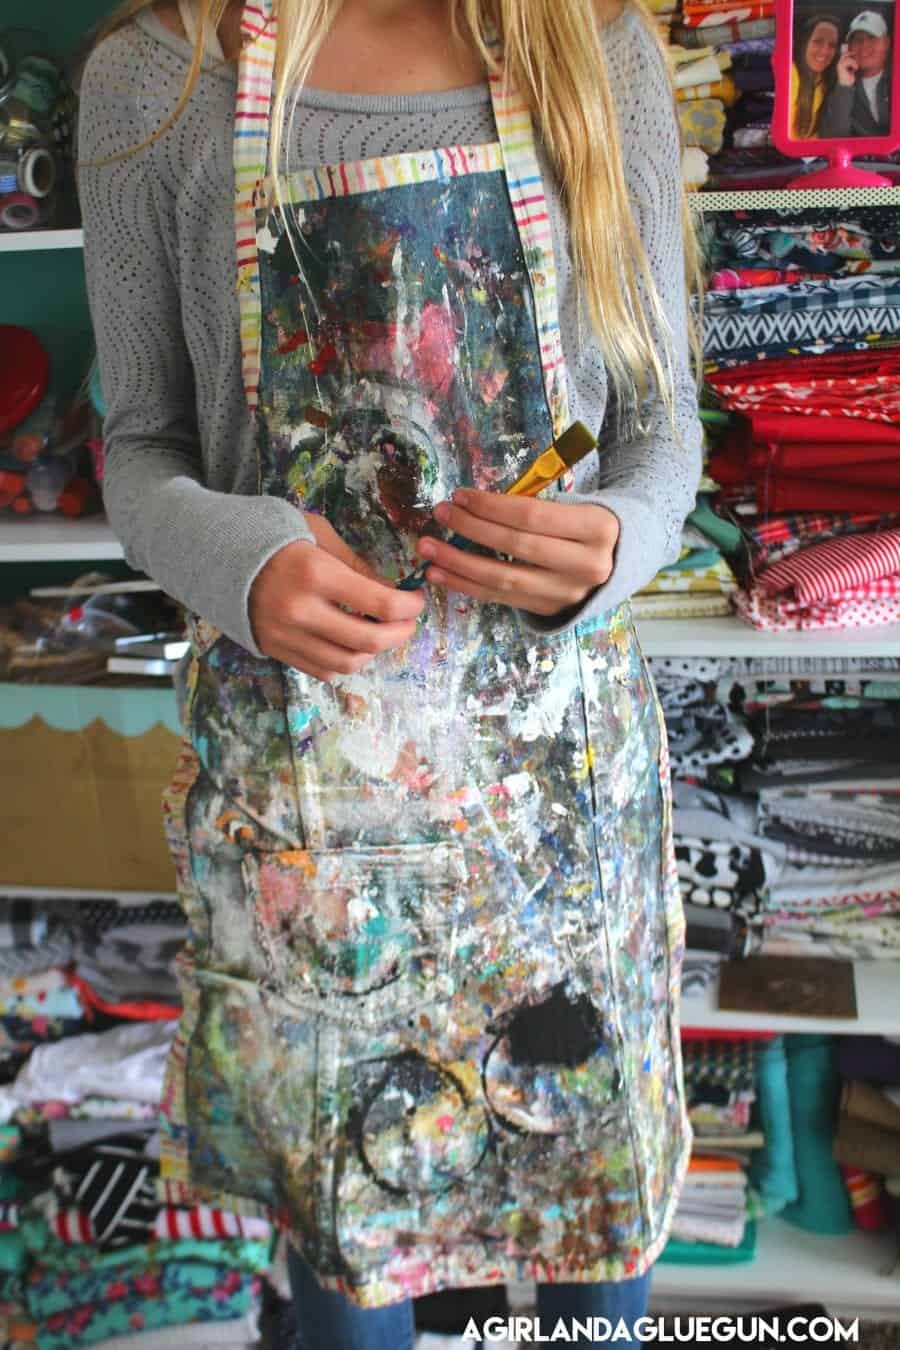
These aprons are my FAVORITE. FAVORITE! They are heavy-duty, and let’s be real — I paint way more than I cook, so I love them for paint aprons!
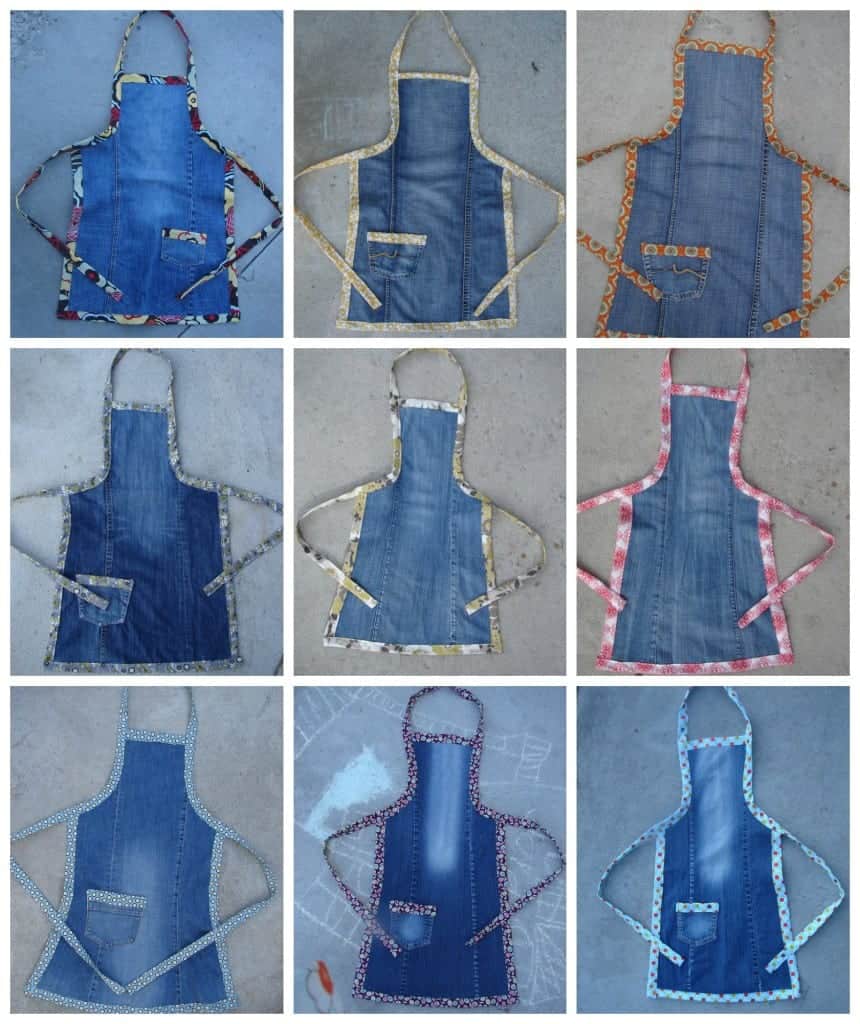
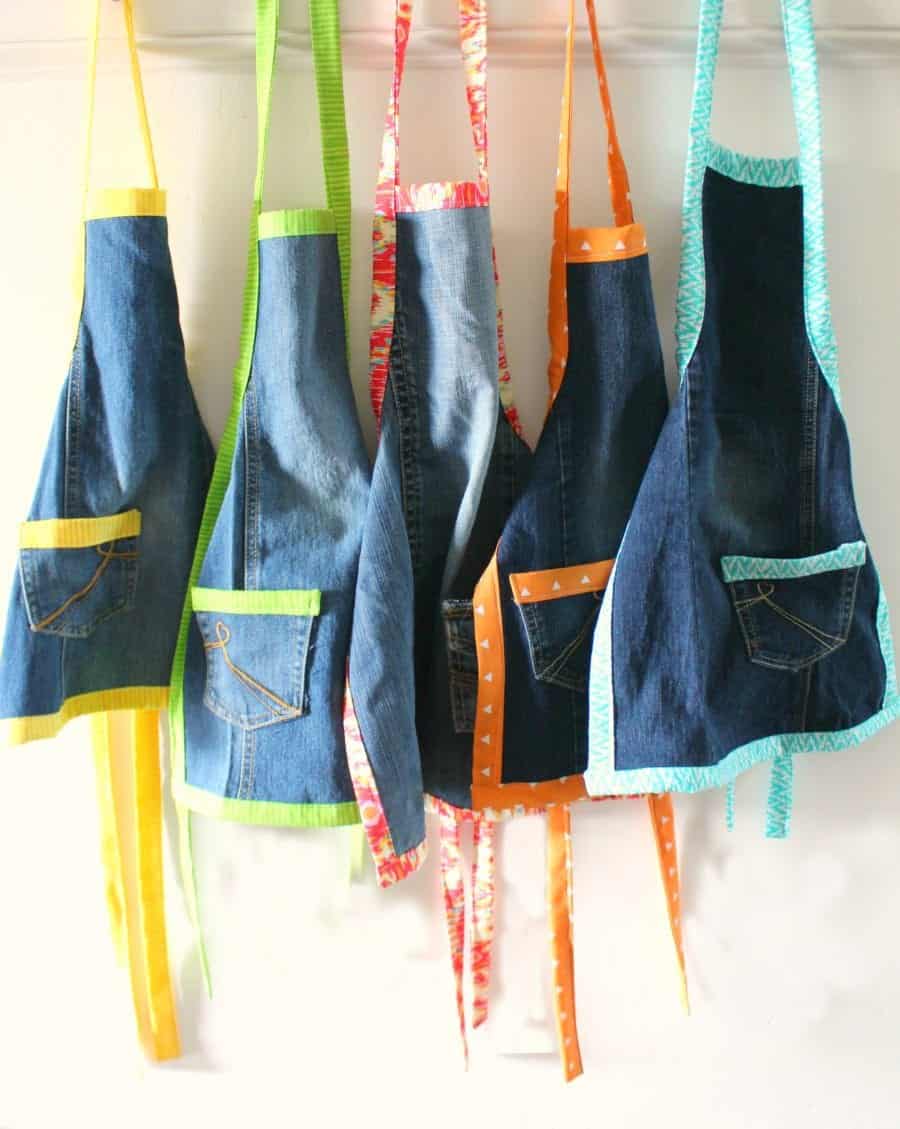
You can make them big or small and add whatever color you want for the binding to match the personality of the person you are making it for, or to match your kitchen decor!
Watch how to make a Denim Apron
I’m a visual learner- So if you want to watch as you sew, my Youtube might be helpful!
This video will help a lot but I have photos down below!
Supplies Needed
To make your own Levi apron, you’ll need:
- An old pair of Levi jeans or denim pants (no holes in the knees)
- Fabric scissors
- Sewing machine
- Thread
- Pins or clips
- Binding or DIY your own with 18 inches of fabric.
- Iron
You can use any denim jeans, but you need to avoid any with major holes. A little distressing is okay.
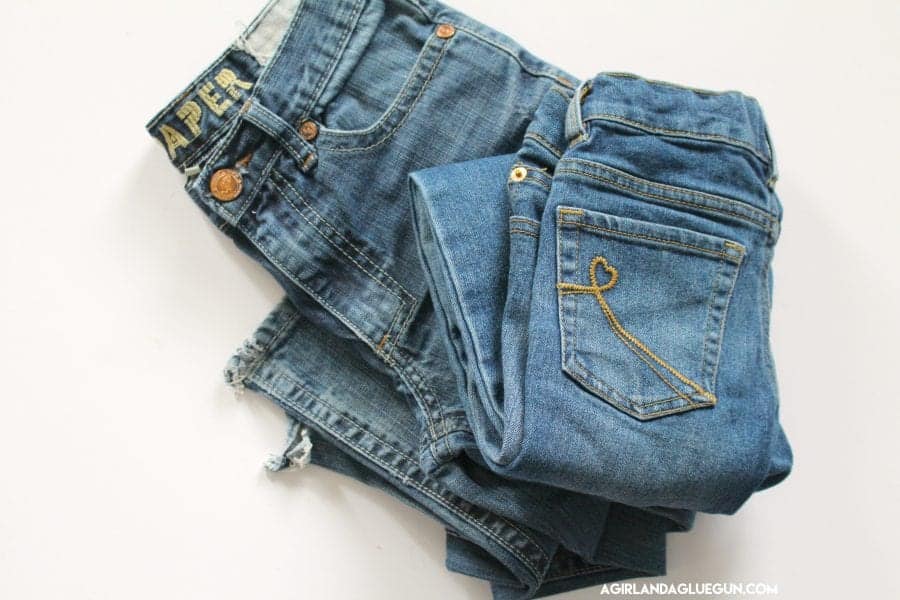
If you are making them for your daughter who wears a size 8–you would use around a size 8 pair of pants. I do like to size up so they can wear it as they grow. If you are making it for your grandma who is a size 16–around a size 16 pair of pants. And one pair of pants will yield two aprons.
How to Make an Apron from Jeans
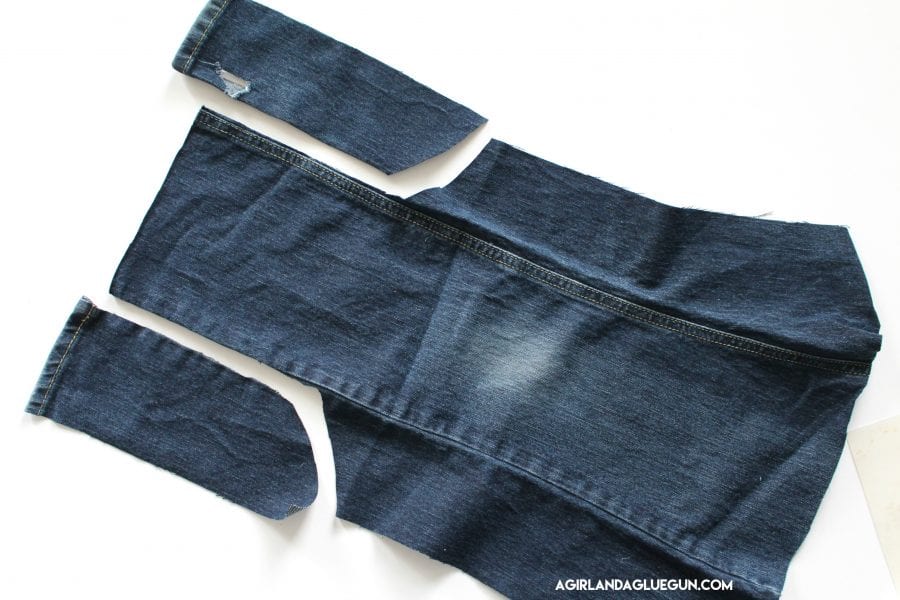
Step 1: Cut the Jeans
Lay the jeans flat on a table. Open up your pair of levis and cut off one leg. Cut up one pant leg along the inseam so you can open the denim into a flat piece.
depending on the amount of fabric you have.
If you want to keep the original back pockets, cut around the seat area of the jeans and incorporate that section into your apron design.
I trim off the bottom edge (I actually try to trim off most edges because all that bulk is hard to get through on your sewing machine.) You could leave this on and not add fabric since it’s already finished #shortcut

Step 2: Create the Apron Shape
Use chalk or a fabric marker to sketch your apron shape onto the denim.
Determine what side you want to be the main section of your apron and then cut straight up the back of the opposite side (seriously scroll up and watch the video!)
For a basic apron:
- Wider at the bottom
- Slightly narrower at the top
You will need to go about 2/3 from the bottom and snip these curved pieces off. This will be the part that sits across the chest. So if you are bigger in the chest area you can leave a bigger section of fabric. Cut one side and then use the template to cut the other side to make it even.
Carefully cut out the apron shape with fabric scissors.
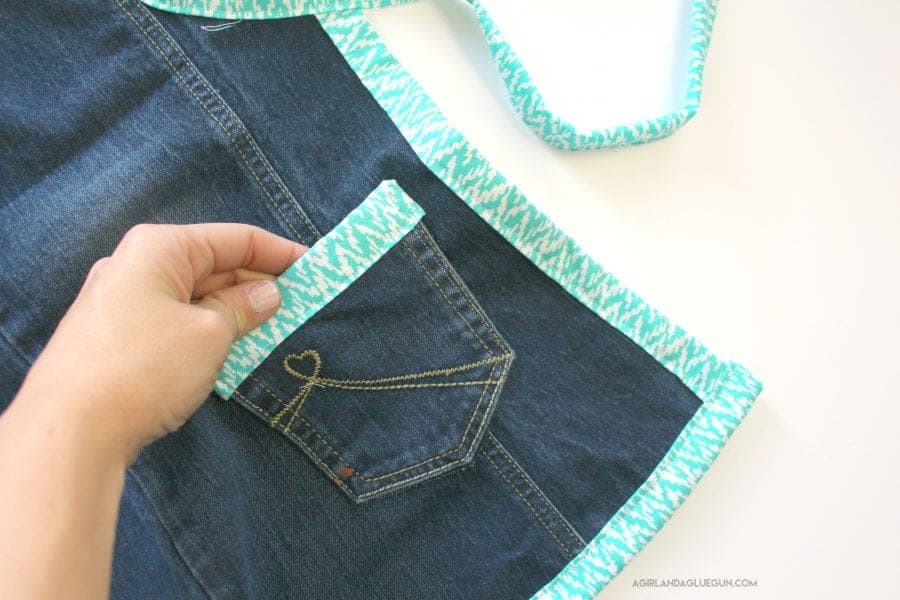
Step 3: Pocket
Cut off the back pocket.
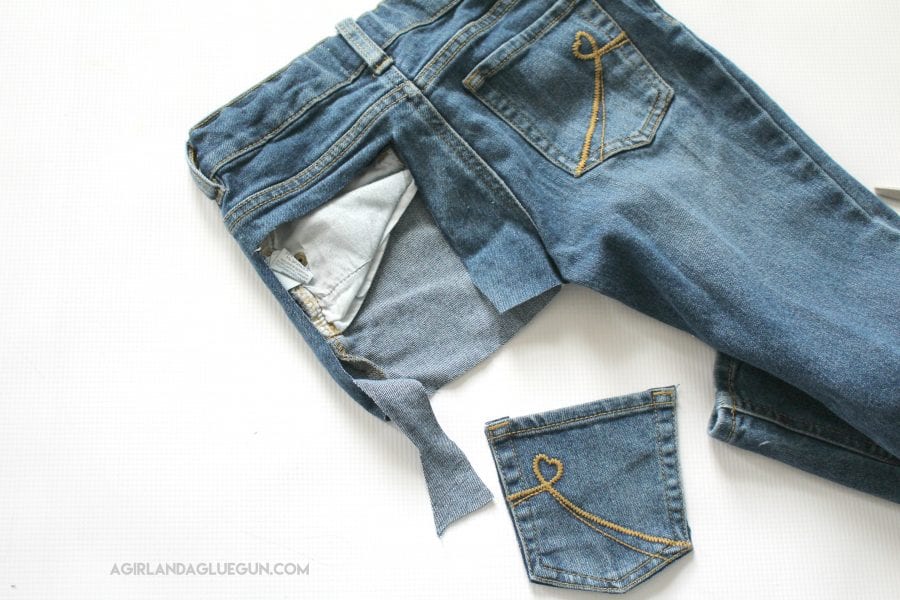
I only use one pocket on my apron, Since you get two aprons from one pair of pants- leaving one back pocket for each apron.
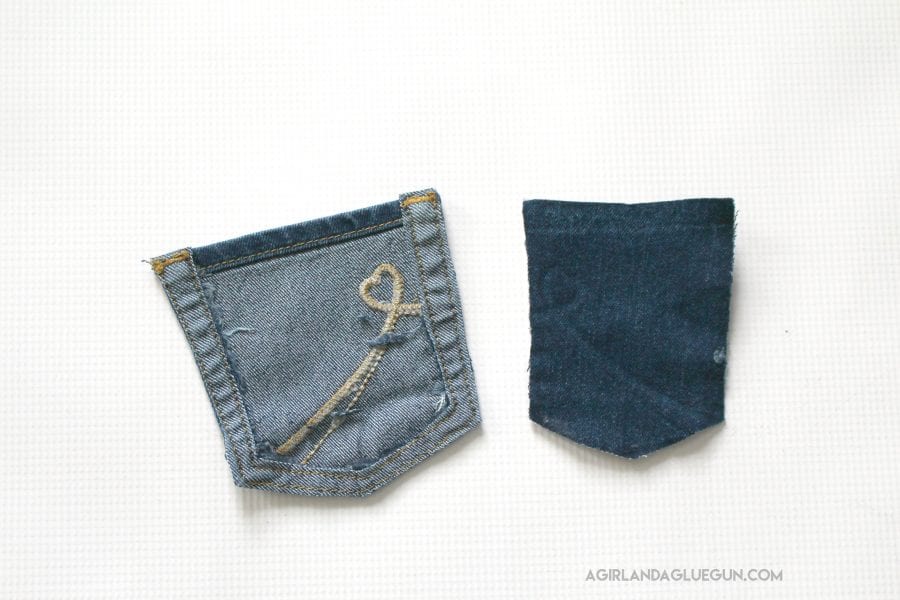
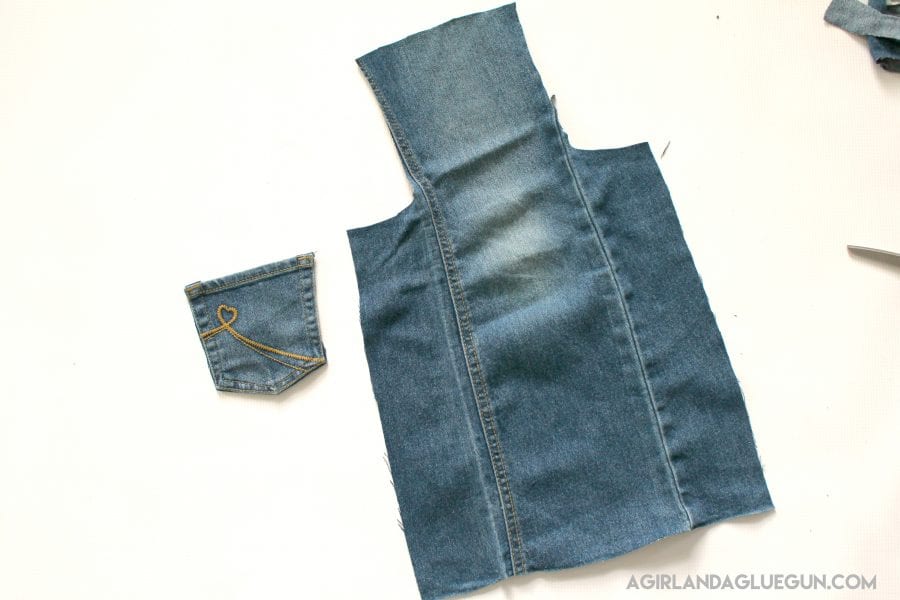
Flip it over and cut off the backing. If you cut it as close as you can to the edge it won’t fray!
Here’s your basic apron shape:
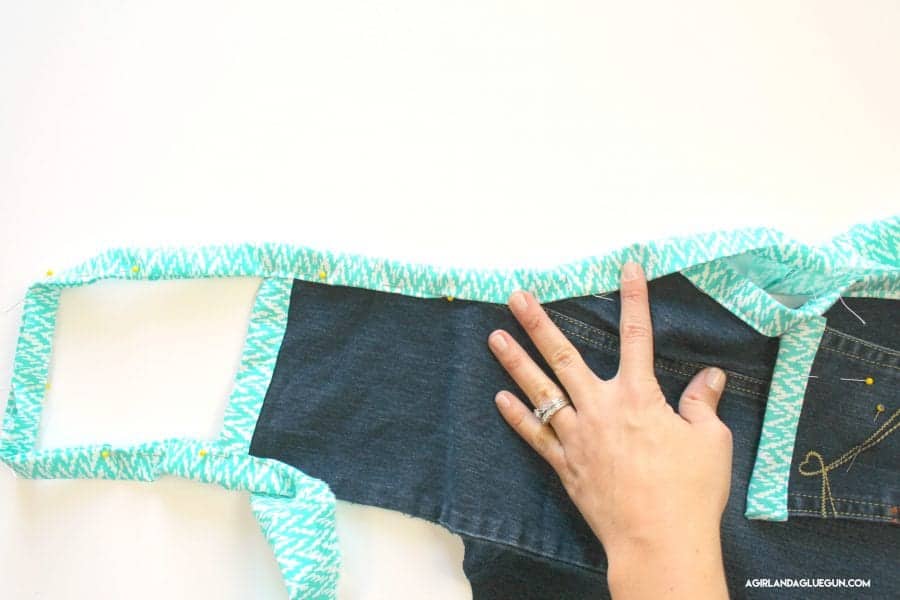
Step 4: Binding
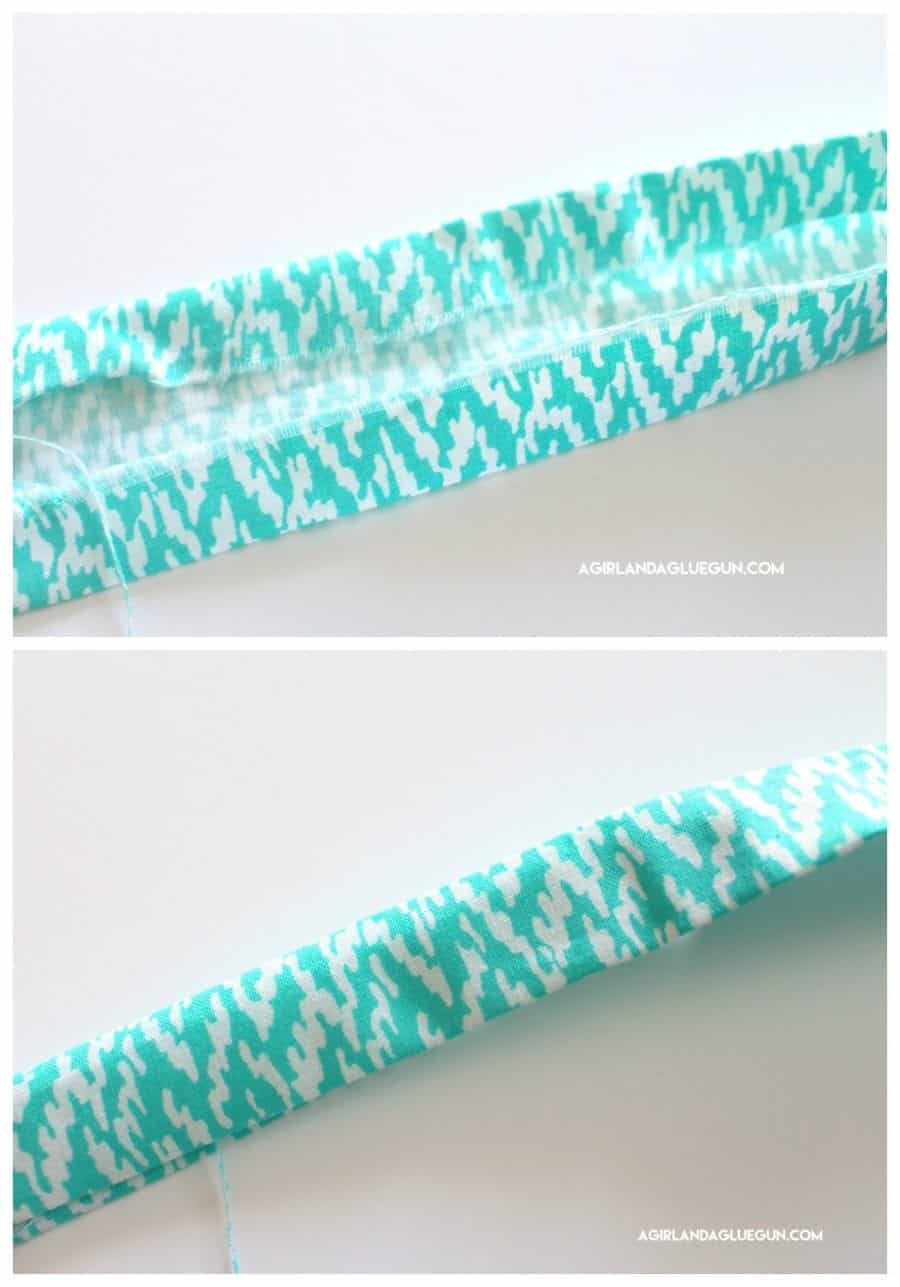
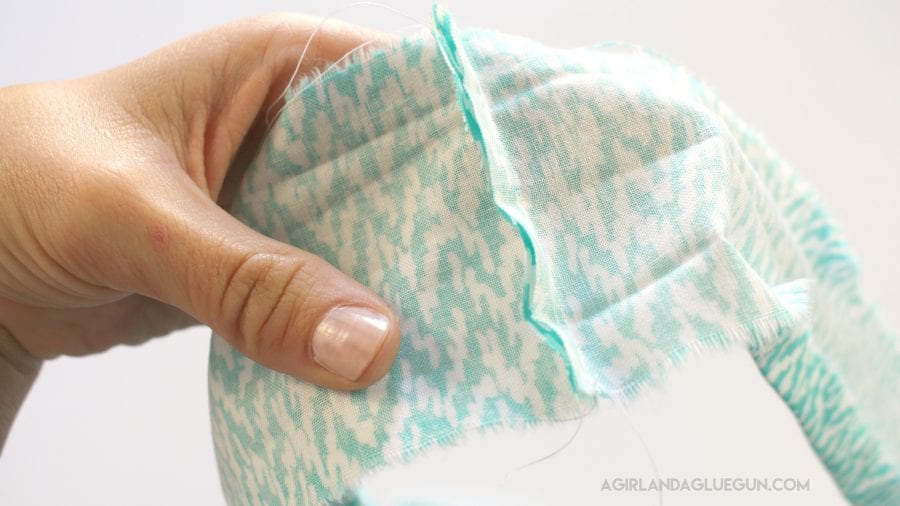
I cut my fabric into 3 inch strips. Using my iron, press in both sides and then fold in half, creating the binding.
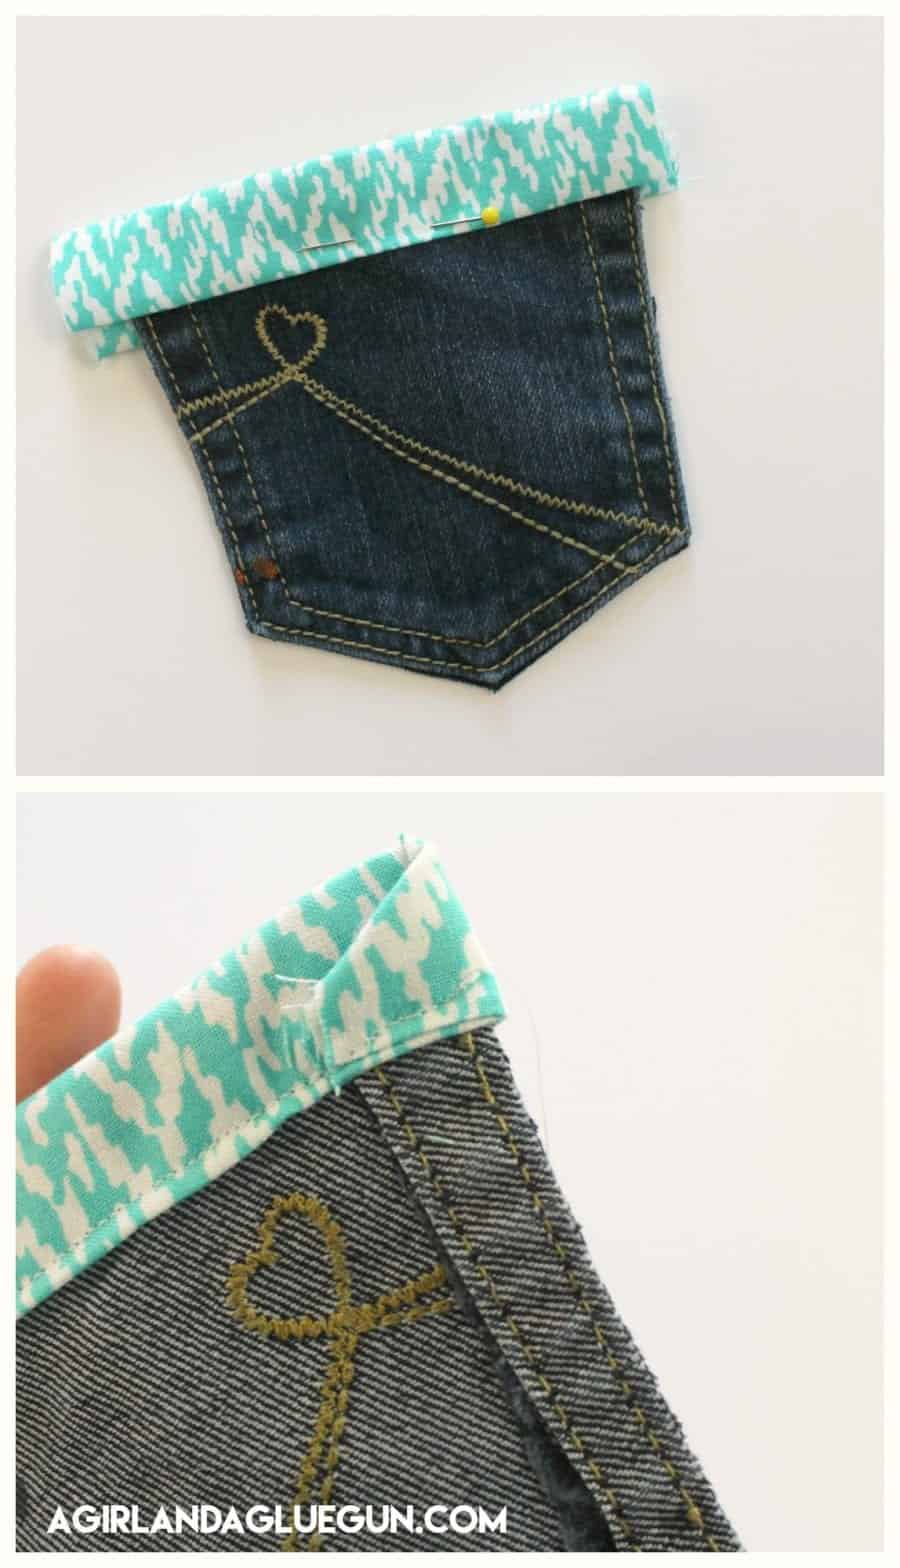
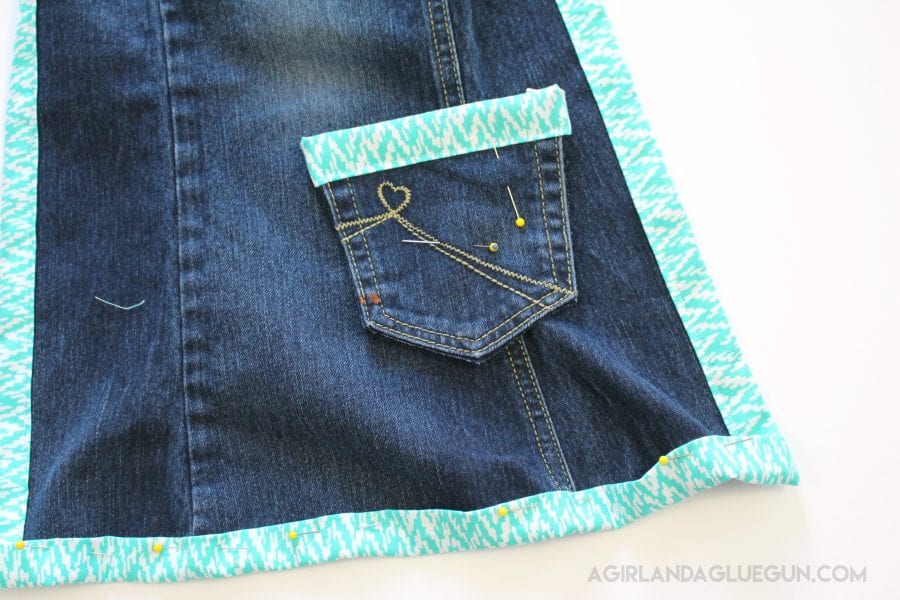
Pin around the apron sandwiching the binding around the denim. I start by doing the top and two sides (edges can be left raw). I also pin on some around the pocket leaving an extra inch one each side.
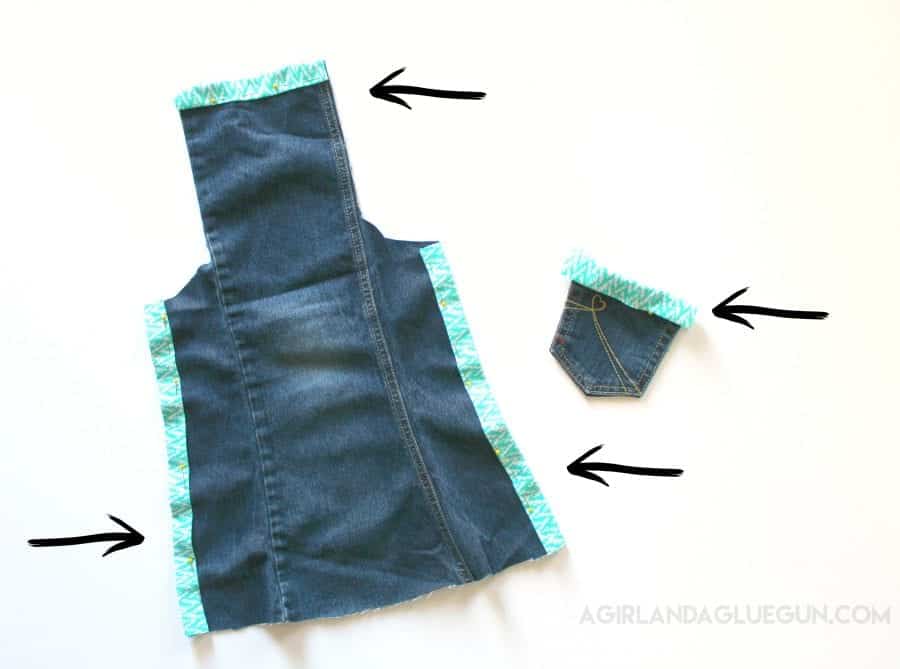

Sew around all edges using a straight stitch.
Denim can be thick, so sew slowly around bulky seams.
When I sew the pockets, I fold over the excess inch to finish off the edges.
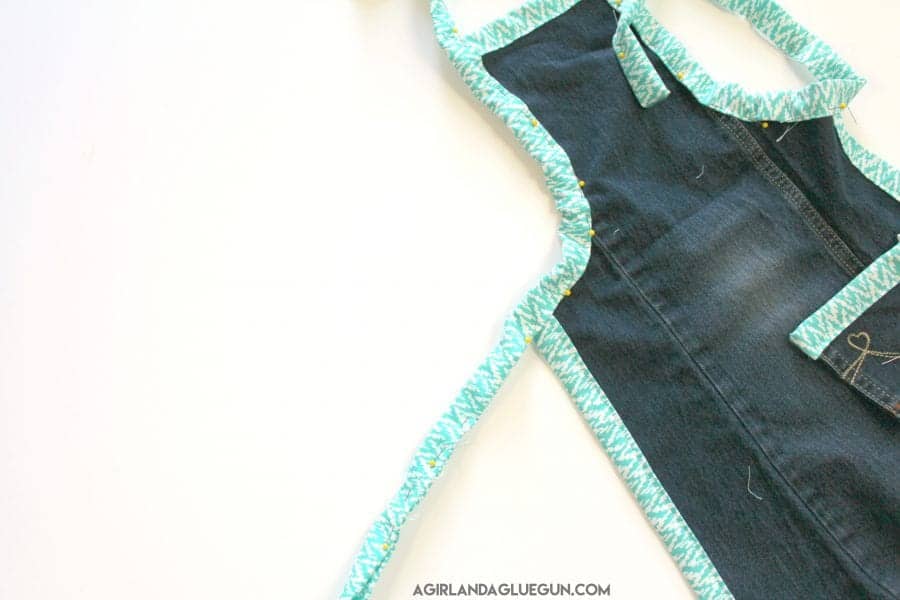
Step 4: Binding Apron straps
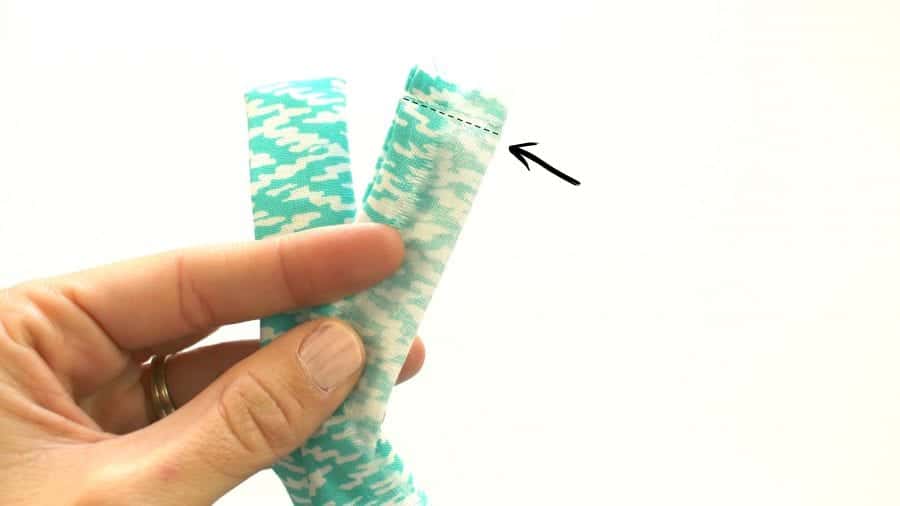
Once the first sections are sewn on, you will pin on the bottom. I like to finish them like this (as well as the ties for the apron). I turn the binding inside out and sew across the end and then turn them right sides out for a nice finished edge!
Pin the binding along the bottom of the apron covering the unfinished edges for the sides.
You can also attach where you want the pocket and pin in place.
After this point I take any long strips and sew them together, creating one big long strip for the apron straps.
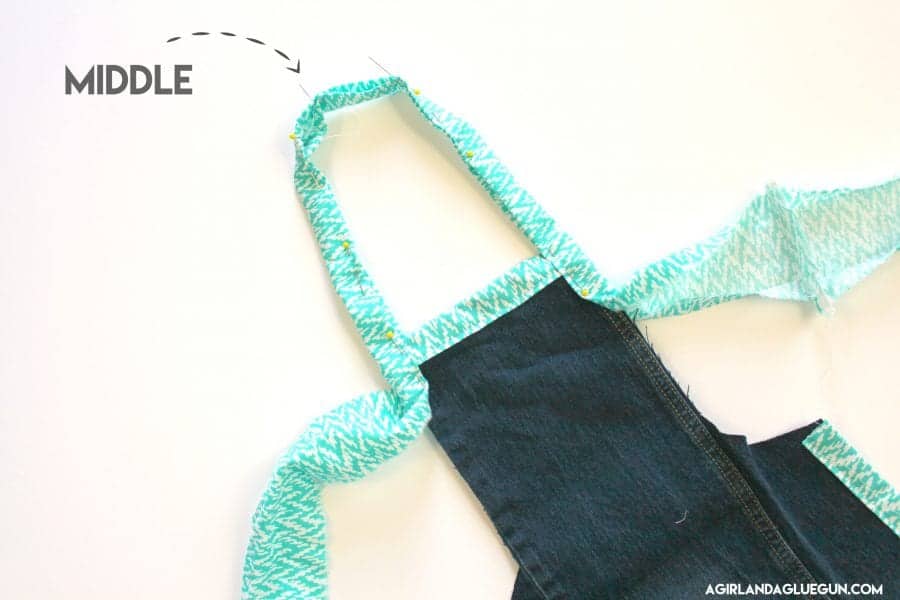
Fold it in half and find the middle of that long strip. This is going to be the piece that sits on the back of your neck.

This part is hard because everyone has different sized heads but around 18 inches is the amount of fabric that is around the top (not attached to the apron). I pin the binding together .
Then continue pinning down the sides. It helps to straighten out the curve of the denim as you pin.
You will cover the unfinished edge of the top section and the sides. Once you get past the sides, you will once again pin the binding together to create the ties that go around your back. If you want these longer, you can sew on more fabric. The length is up to you!
Then it’s sewing part 2! If you start at one end of the tie you can sew one continuous strip, down the tie, up the side, over the head piece, down the other side, and back down the tie! Sew on the bottom piece. And then attach pocket, making sure not to sew the top section closed!
Snip your strings and you have just made a cute levi apron!
Fun Ways to Customize Your Denim Apron
This DIY Levi apron is easy to personalize with:
- Iron-on patches
- Embroidery
- Fabric paint
- Lace trim
- Stencils
- Personalized monograms
- Distressed denim details
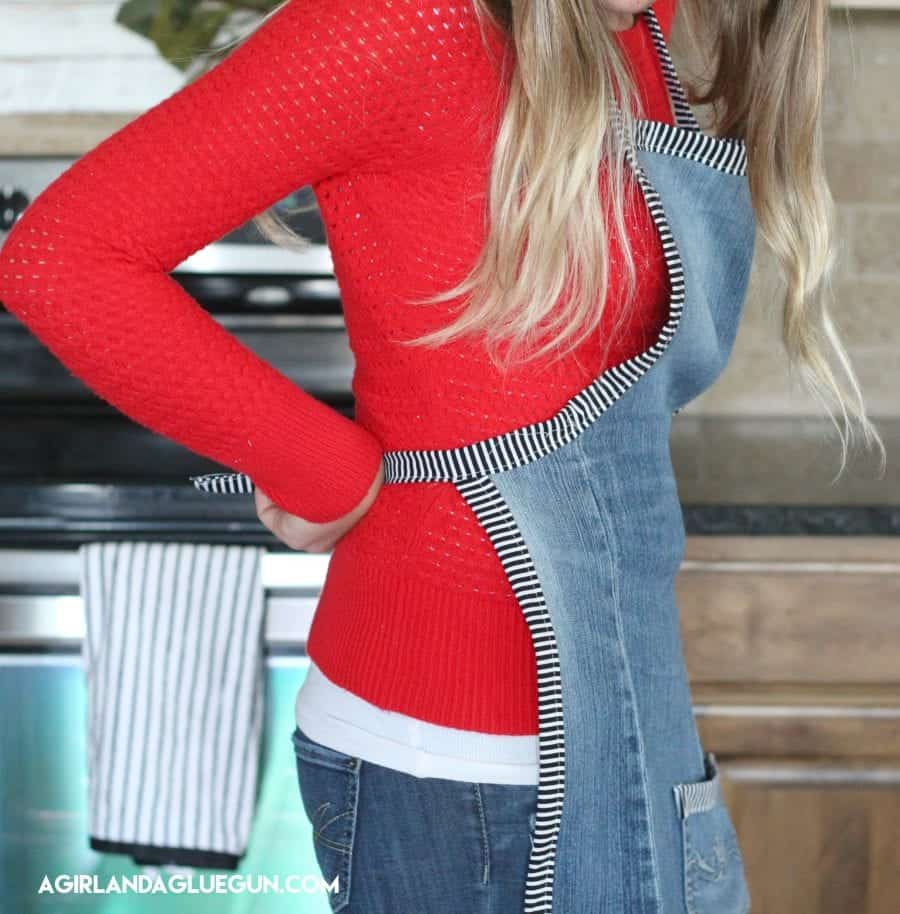
You can make your apron rustic, modern, vintage, or farmhouse-inspired depending on your style.
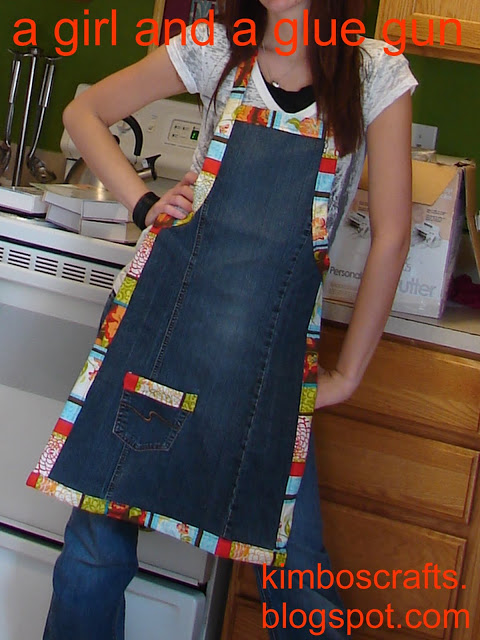
Perfect to tie around your waist and cook!
Tips for Sewing Denim Apron
Use a Denim Needle
A heavy-duty denim needle works best when sewing thick seams. The Trickiest part of the apron is the bulk on the pockets.
Sew Slowly Over Seams
Take your time when sewing over bulky areas to avoid breaking needles.
Pick your fabric wisely
Only an inch of fabric is being seen so make sure to pick something with a small print!
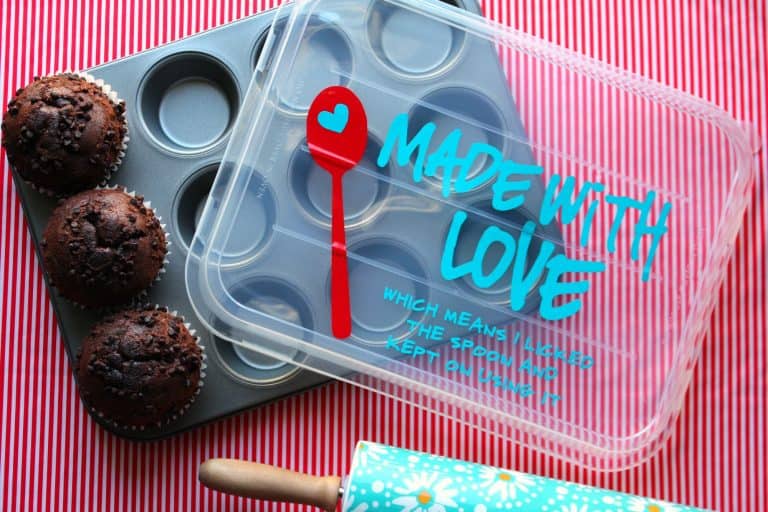
Gift Idea
I love giving them as wedding presents with a cute kitchen basket
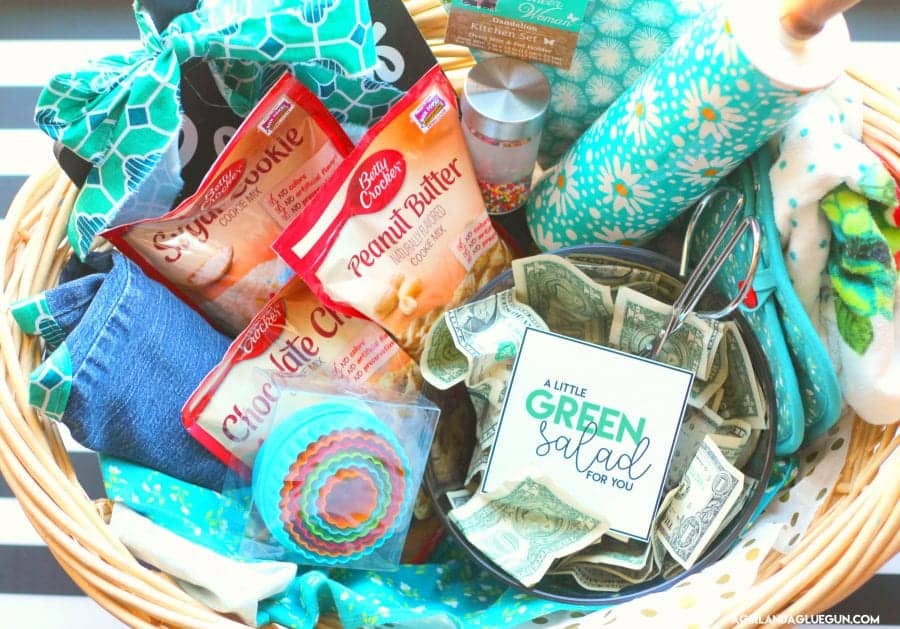
You could include this fun muffin tin
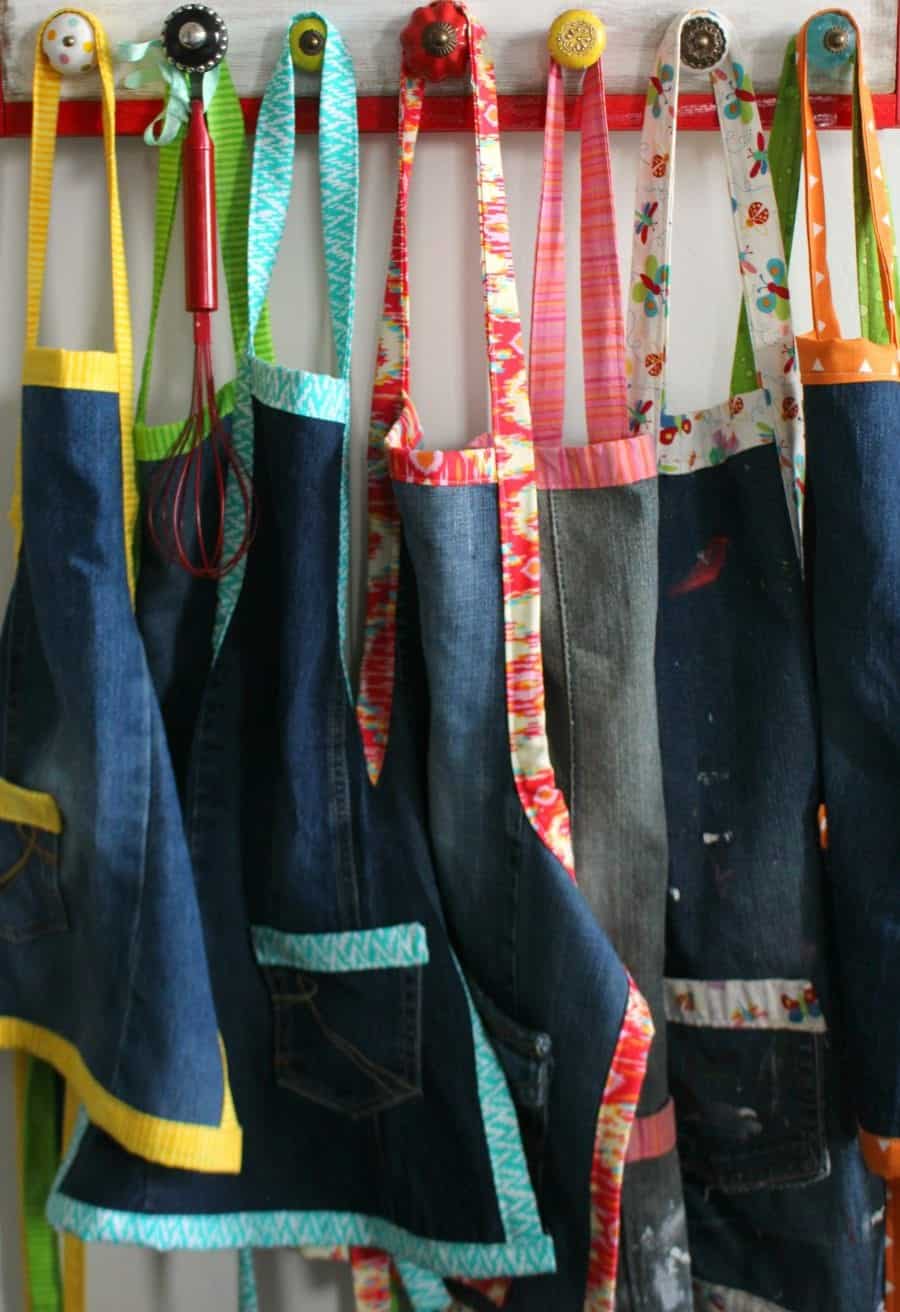
Make sure to whip up a cute apron holder to hang all these beauties on!
Save for later
Too busy to get crafting today? No problem! Pin this post to remind yourself about this project later! Sharing my projects helps me reach more people, allowing me to continue sharing free content!
Final Thoughts
Making a DIY Levi apron out of old jeans is such a fun and practical upcycling project. Instead of throwing away worn denim, you can create a durable handmade apron with tons of character and charm.
This easy sewing tutorial is perfect for beginners and makes a unique handmade accessory you’ll actually use every day. Plus, every pair of jeans creates a one-of-a-kind apron with its own vintage denim personality!
Mikala says
Amazing ideas!!!!!
Great video.
Thank you.
Darlene says
What a simple way to make an apron. I will be making one for my brother since it’s made from blue jeans! Great job and such easy instructions. KUDOS!
Corrine says
Thanks for sharing this fun, simple idea! I’ve made many aprons for wedding gifts and thank you gifts to friends and family! I made 4 matching aprons for a granddaughter who married a man who already had 2 children. She was kind and sent a video of them cooking in their aprons! Precious! I provide aprons to the volunteers at a local charity that makes wooden toys for children around the world. Everyone who helped in the kitchen for a regional single adult conference received an apron. EVERYONE lives their aprons.
Kimbo says
Oh! This is the best kind of comment to get! Thank you!