
This post has been in the works for YEARS. WHY? Because Faux chenille blanket is TIME CONSUMING! So years of making these blankets just so I can show you all the ins and outs and hold your hand…BECAUSE–even if they are time-consuming…these blankets are the most amazing things!!!
![]()
I popped on a facebook live and showed you live in action…but I will break it all down for you below!
I’m going to go into depth of how to sew this chenille (and troubleshoot problems) down below. But let me give you the basics so this fabric portion makes sense.
What is a faux chenille blanket?
Faux Chenille is layers of fabric (4-5) sandwiched together. Sewed together into strips and then the strips cut apart and washed and frayed up to reveal the chenille texture. It’s a beast of a blanket to sew. BUT…when you wash it! oh! It will be all worth it!
![]()
supplies to make a blanket:
- 4-5 yards flannel fabric
- binding
- sewing machine
- lots of thread
- scissors or chenille cutter.
What kind of fabric to buy
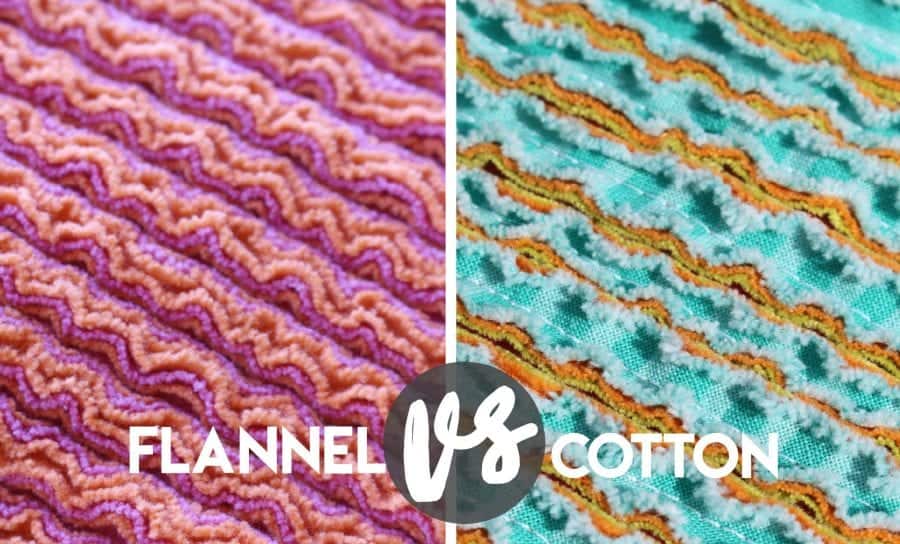
Okay first up! You need LAYERS of fabric. I have made blankets cutting through 3 layers and cutting through 4 layers. I literally can’t tell you what I recommend. I will tell you this…Flannel is important. I have made a few with just cotton. They work… but nowhere near how pretty and soft the flannel is! See the comparison below. So if you are using flannel…3 layers should be plenty. If you are using regular cotton. I would get 4 layers for your backing!
So 3-4 layers of backing–plus the front layer. This front layer will get stitching through it…but you won’t cut through it so it can have a cute pattern!
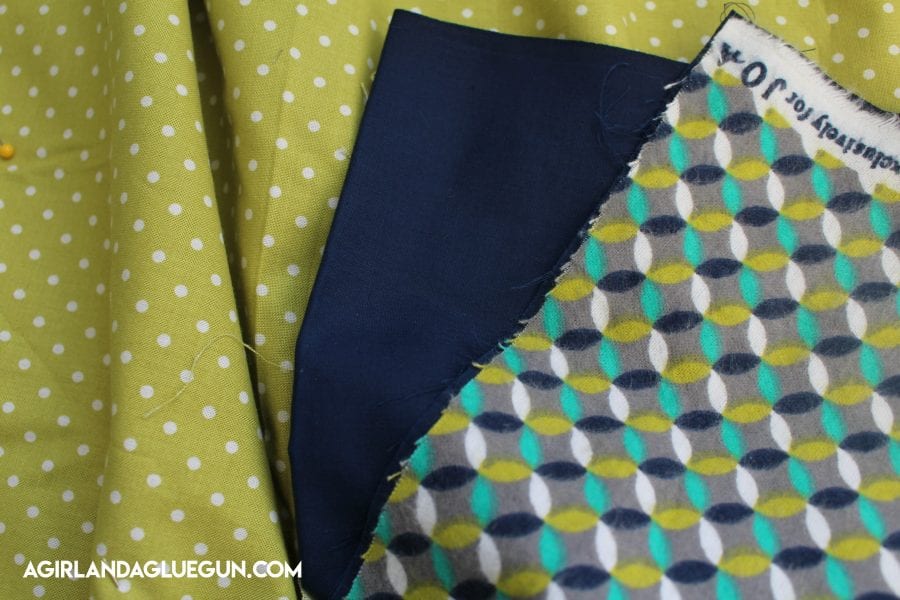
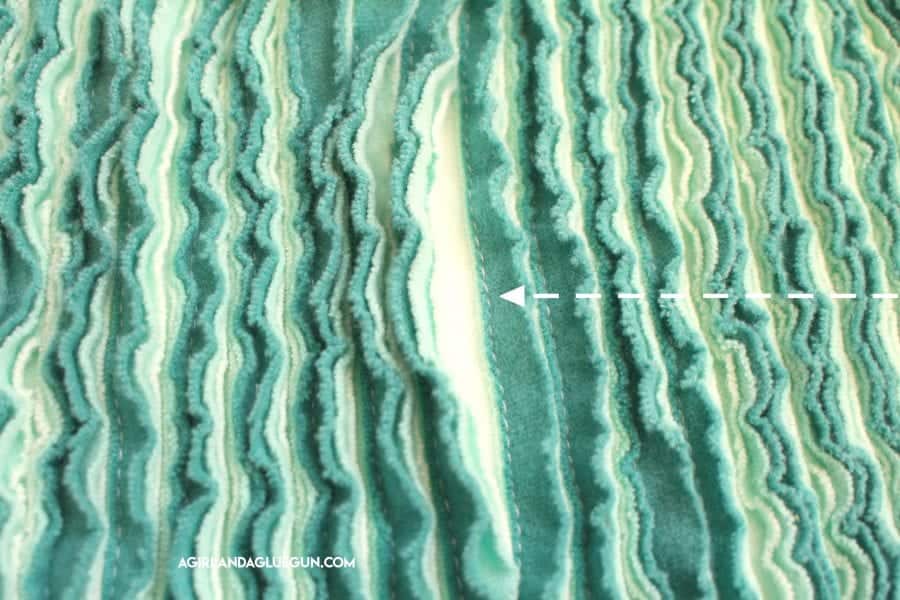
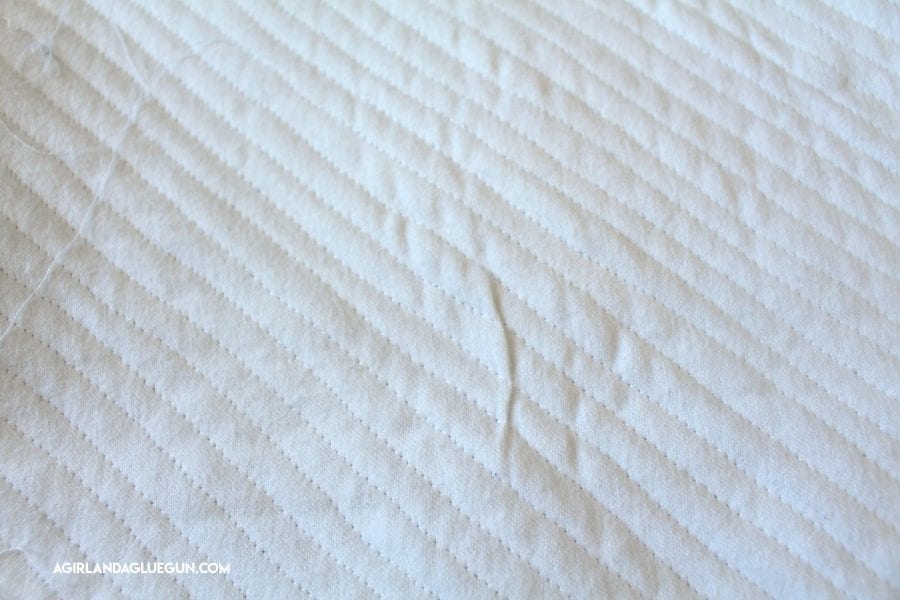
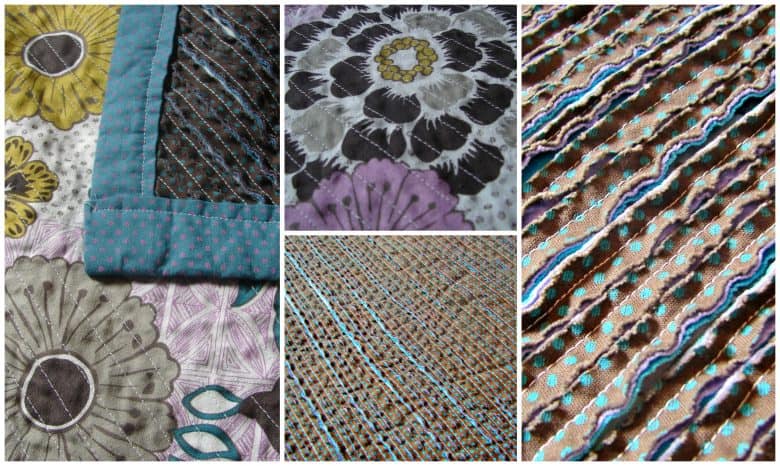
Another thing to note is this…sometimes you can see the back of the front layer of fabric! The polka dot fabric is my top layer. But you can see that the back is a dull gray/blue. I didn’t want that–so I added a blue backing. So this blanket has 5 layers. a front. a back to the front and 3 layers of fabric to cut through.
![]()
(see how the blue pops through! That’s the backing fabric layer I put on!)

Which brings me too:
What color should I do on my blanket
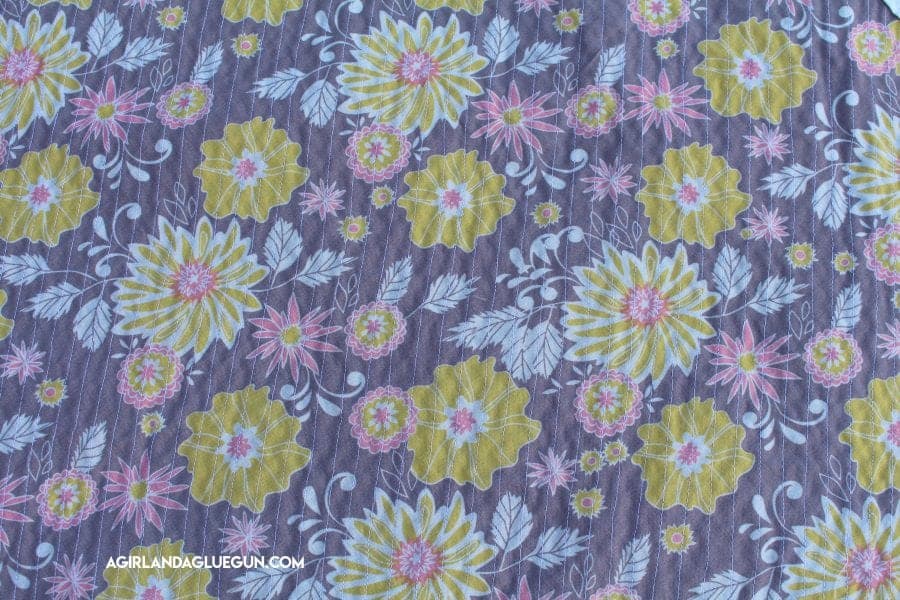
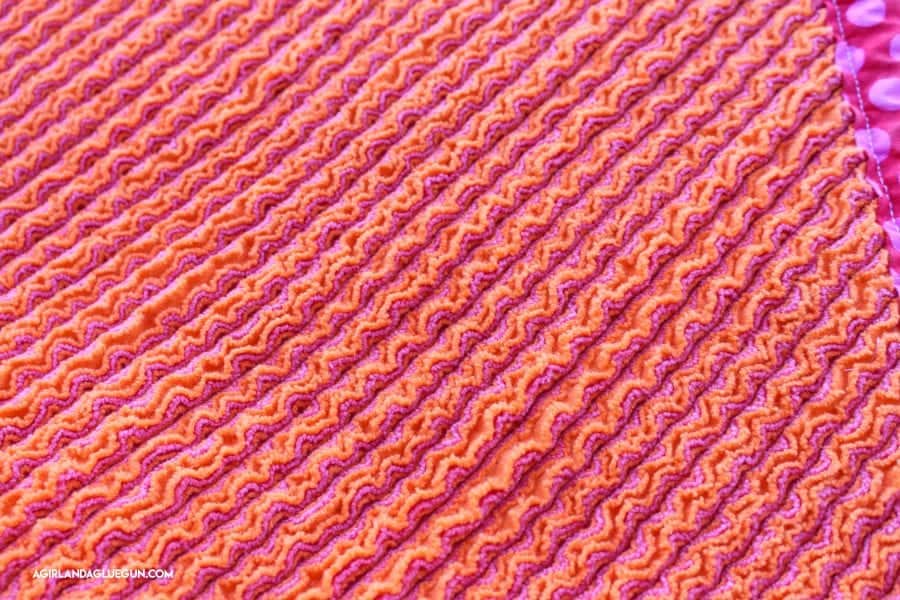
I’ve tried all sorts of fabrics! They all give such a different look! The picture above I just used one color! I loved how pretty it looked! I’ve done totally fun colors (below) I usually just pick out my front fabric first…and match the layers to it!
![]()
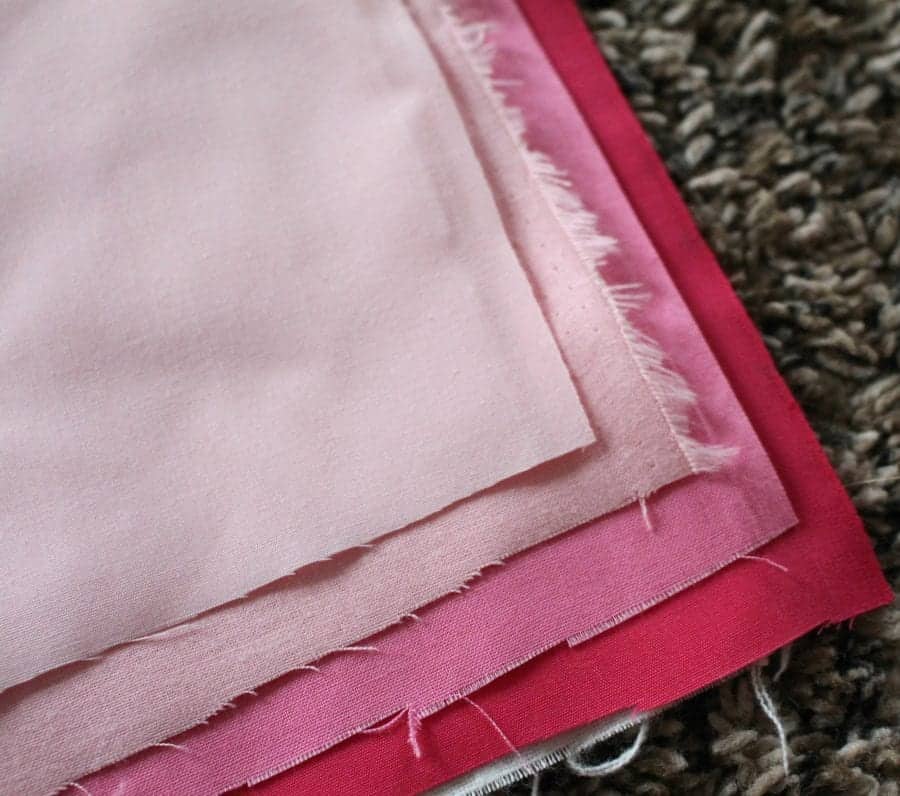
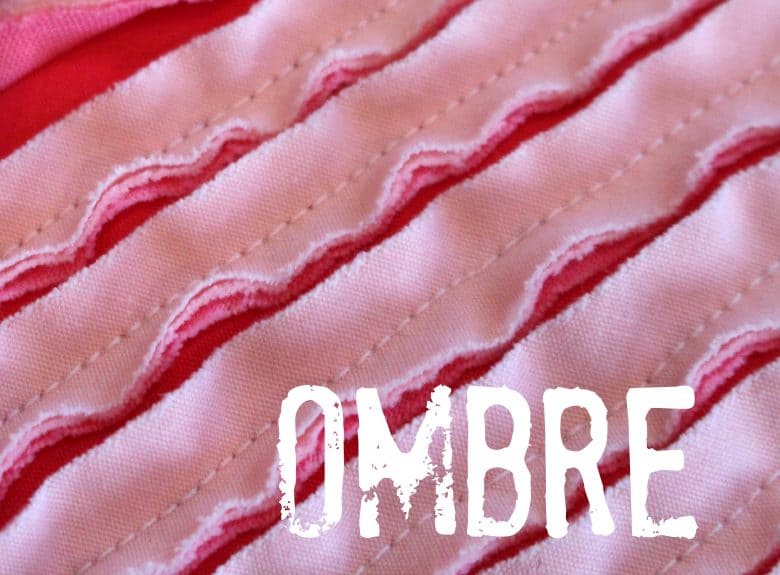
I’ve also done a couple ombre ones–They are pretty! 
![]()
The pink layers are subtle…but as you wash the blanket they will become more noticeable! ![]()
It really doesn’t matter if the fabric backing has a print on it. You wouldn’t really be able to see this after a couple more washes! So just get a nice solid color that has the color on both sides)
![]()
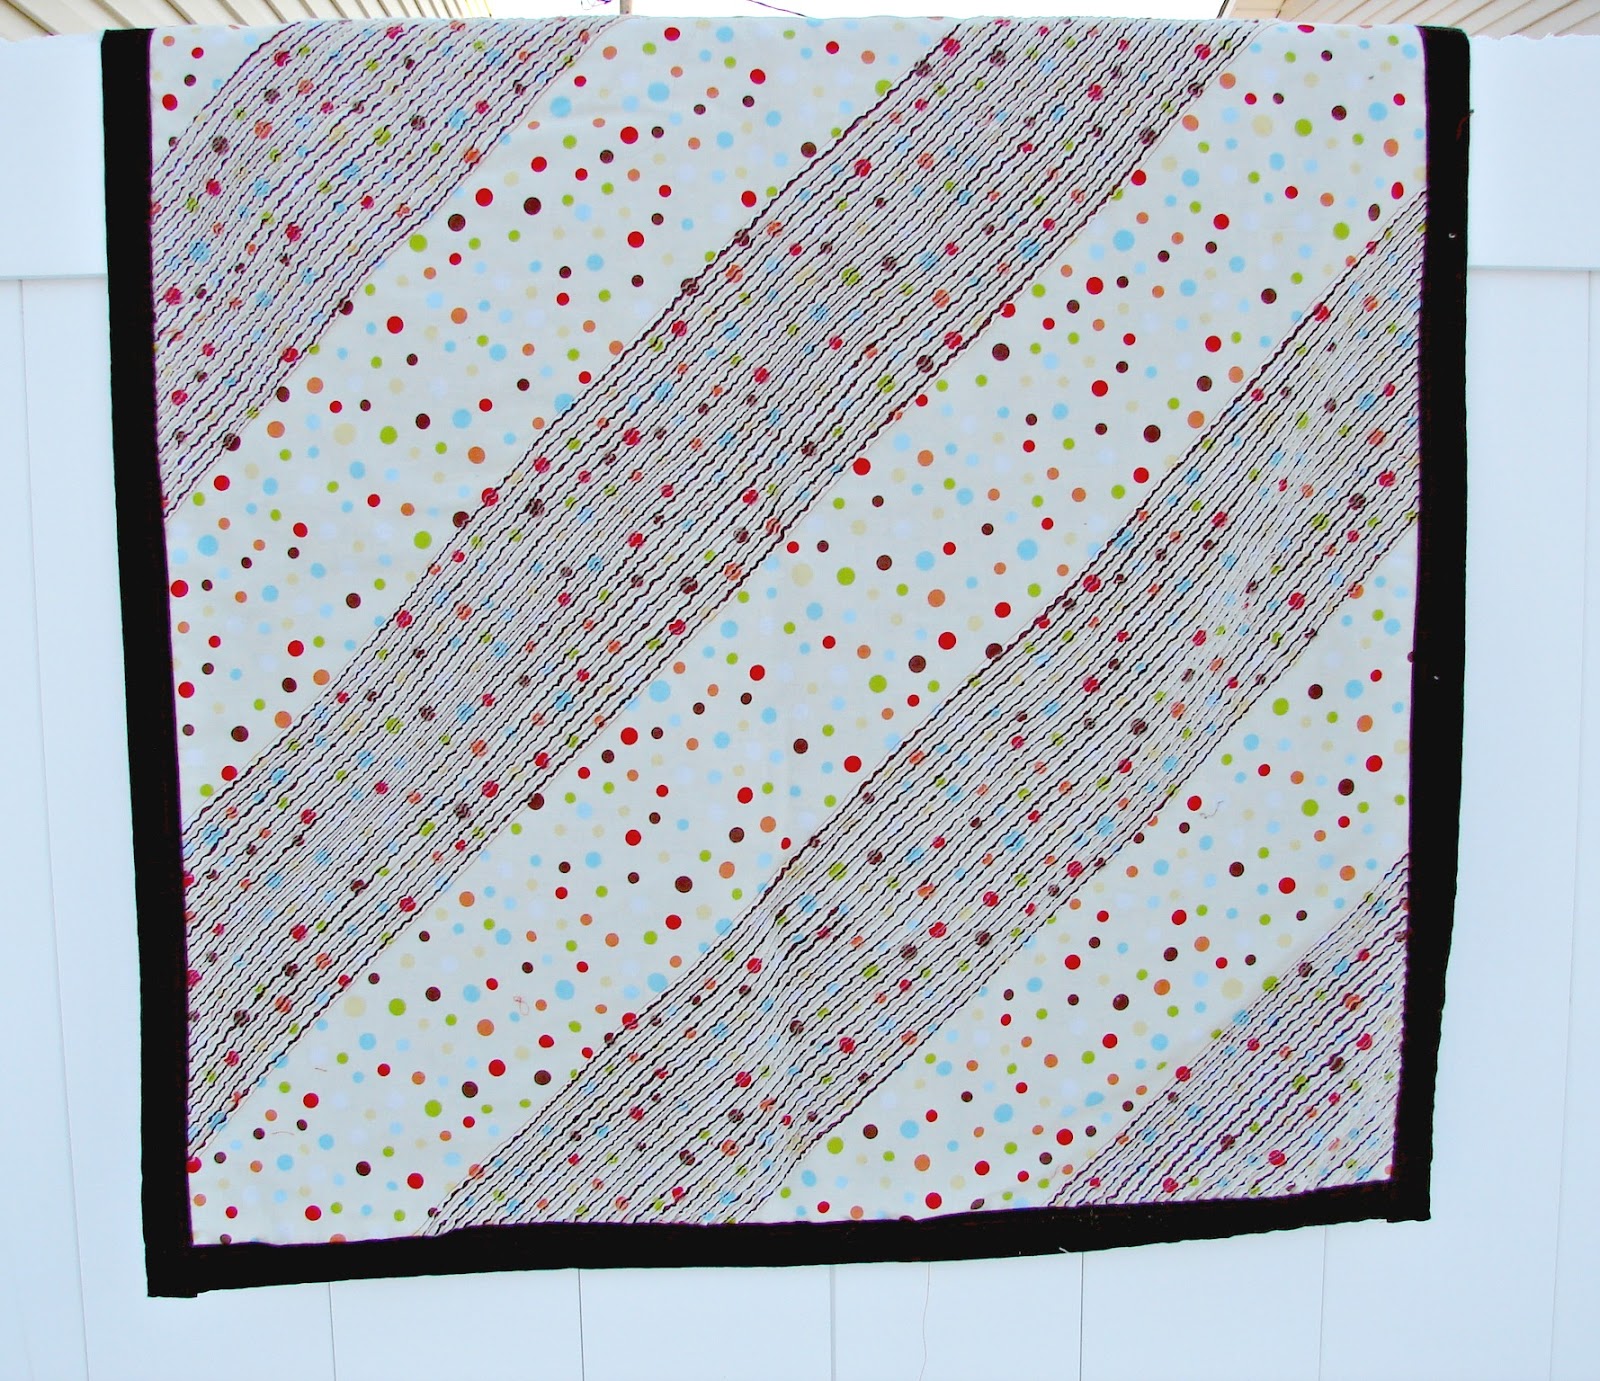
I did get a nice polka dot and the stripes lined up perfectly and it was a great guide!! (it was purely accidental…but a happy accident!) 
(I usually buy a yard of each fabric!) Perfect baby blanket size!
How to layer the fabric:
Okay! You bought your fabric (hopefully on sale!) Unless you are doing all one color–how you lay out your fabric is going to change the look of your chenille. These two have the same fabrics: the one on the left has the lightest blue at the bottom and the one on the left has the darkest color on the bottom 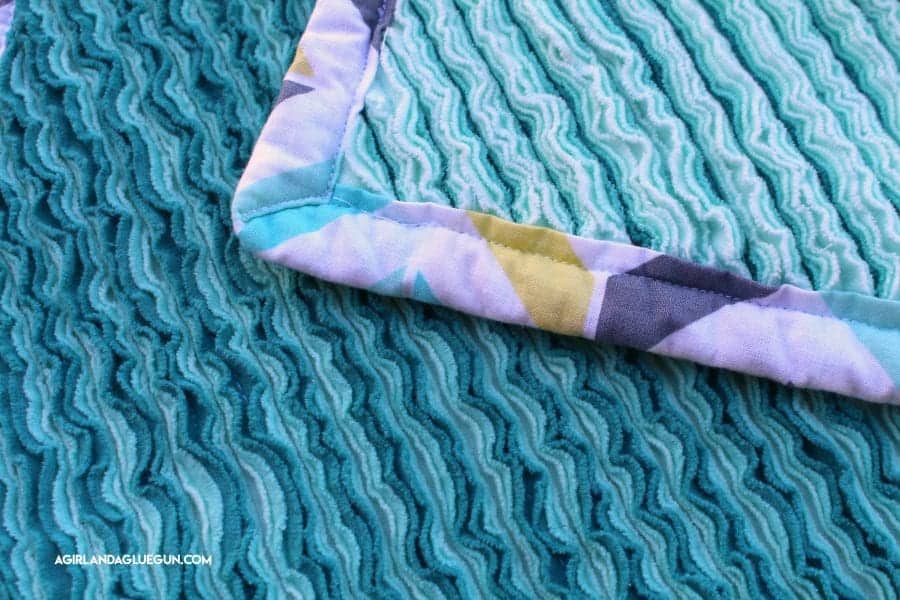
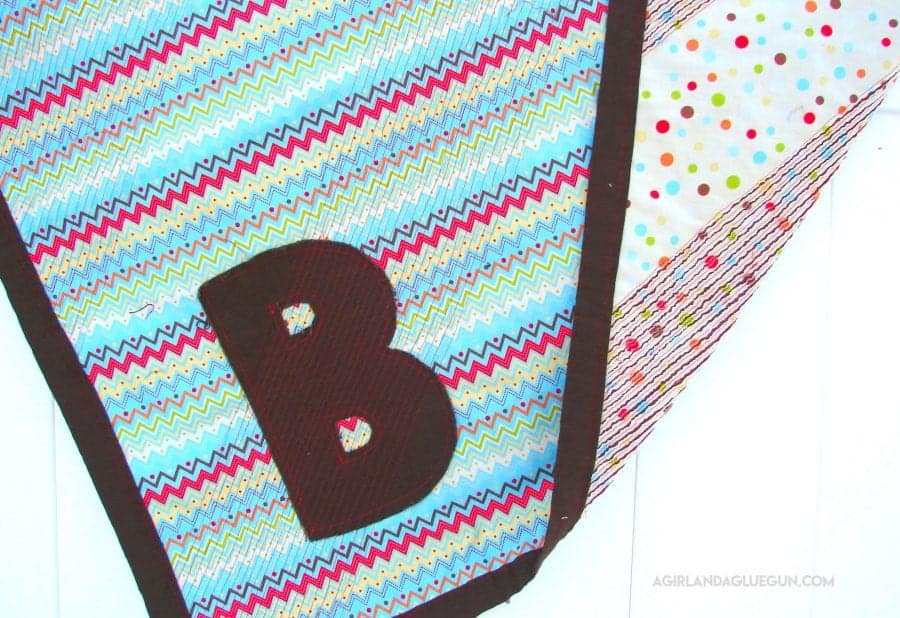
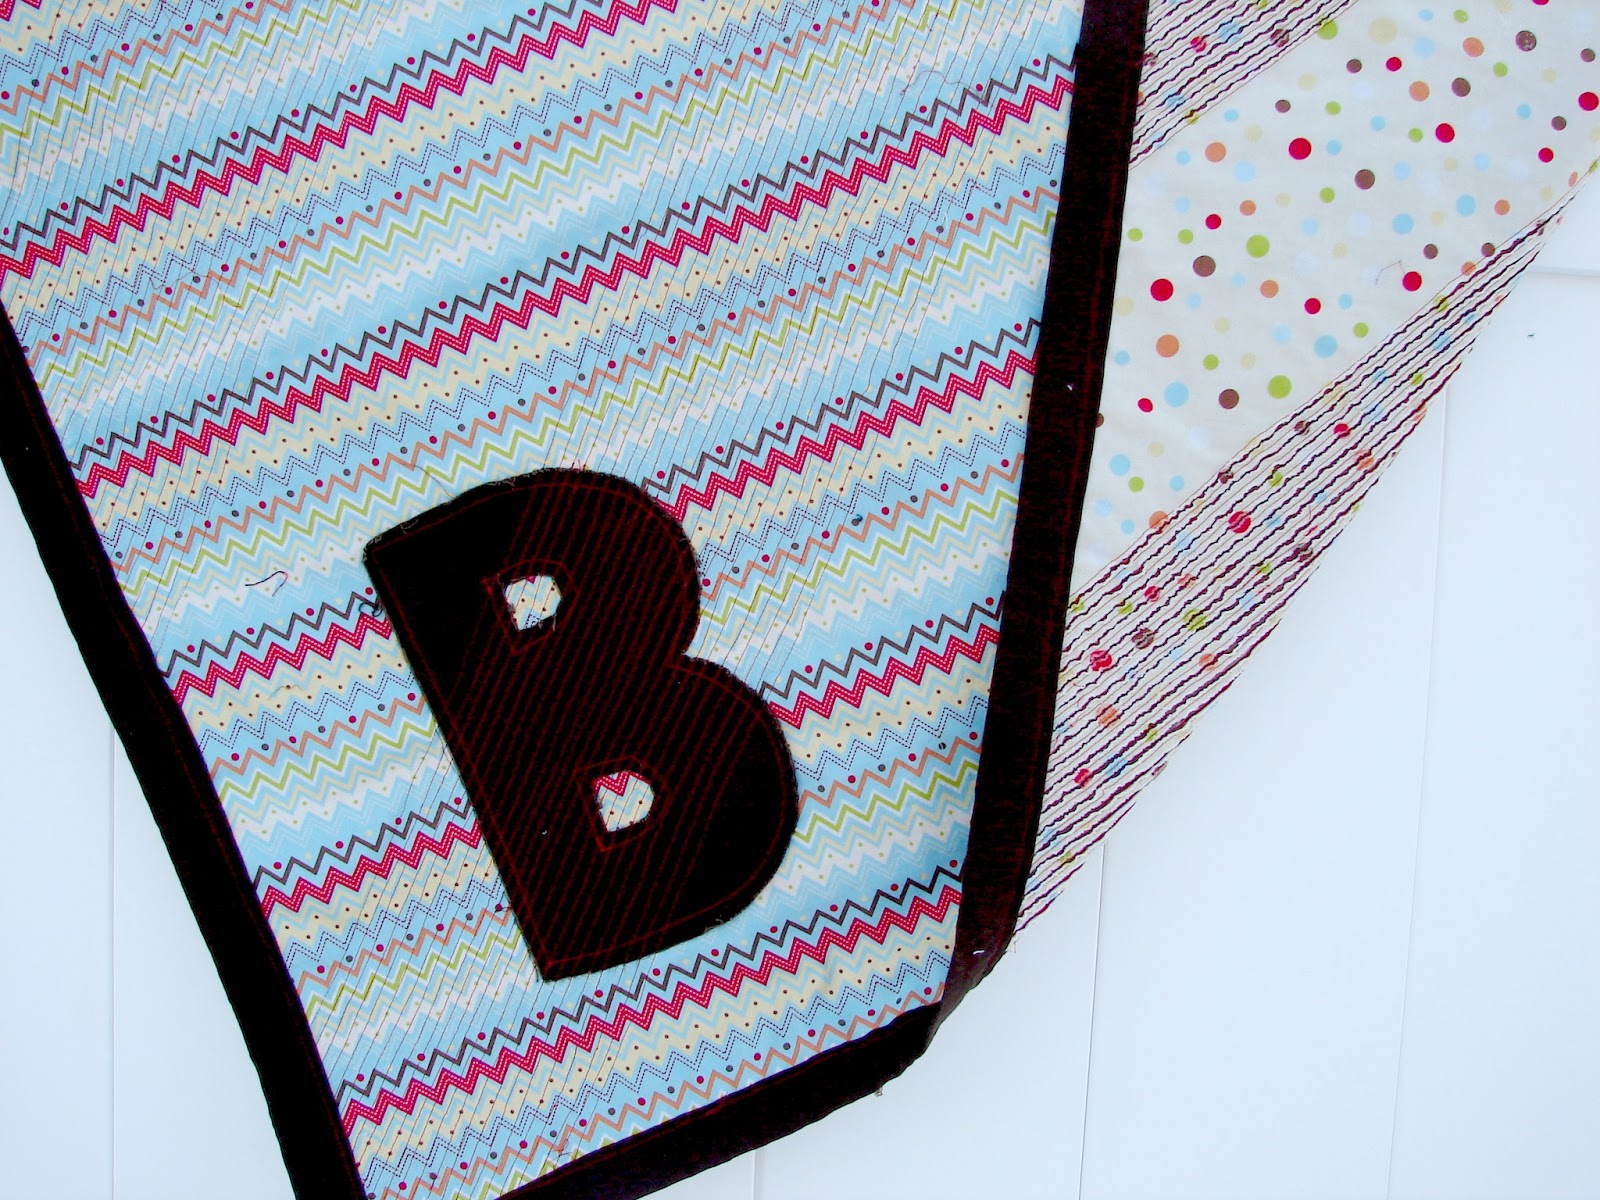
Also–if you want to add a decal or initial on the front–that needs to be sewed on beforehand! You will have stitching through it!
![]()
Assembly of fabric blanket!
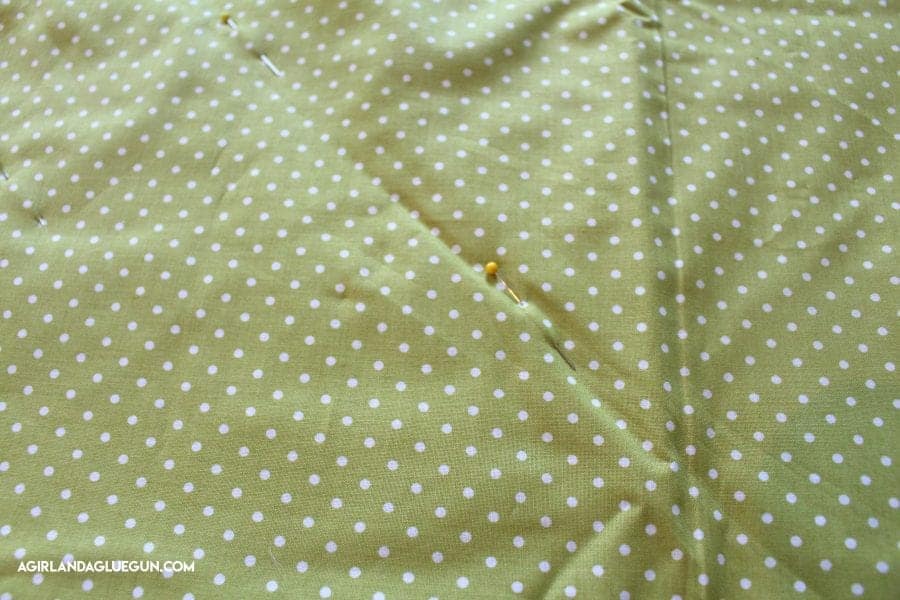
You lay out all the pieces. I lay out the top piece–right side down. Then all the other pieces will go right side up (if they have right sides! the solid colors should be solid on both sides! Now! An important thing to remember is THIS BLANKET HAS TO BE SEWN ON THE BIAS. To do this…after I had it all laid out, I fold over the side and get a nice angle. 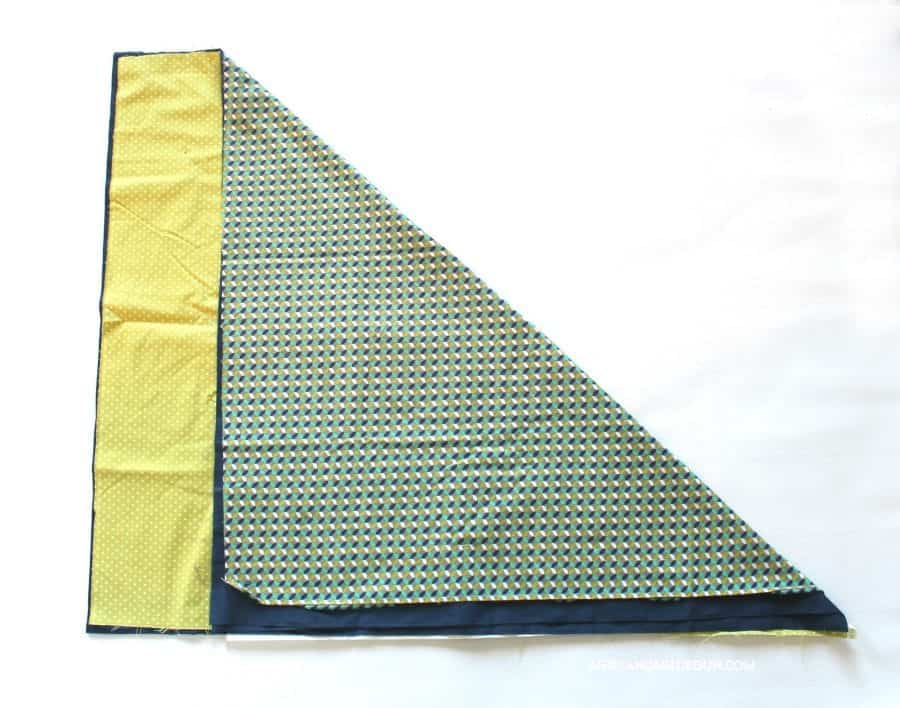
I pin along that crease and that is where I start sewing!
Let me show you my sister’s blanket when she sewed not on the bias
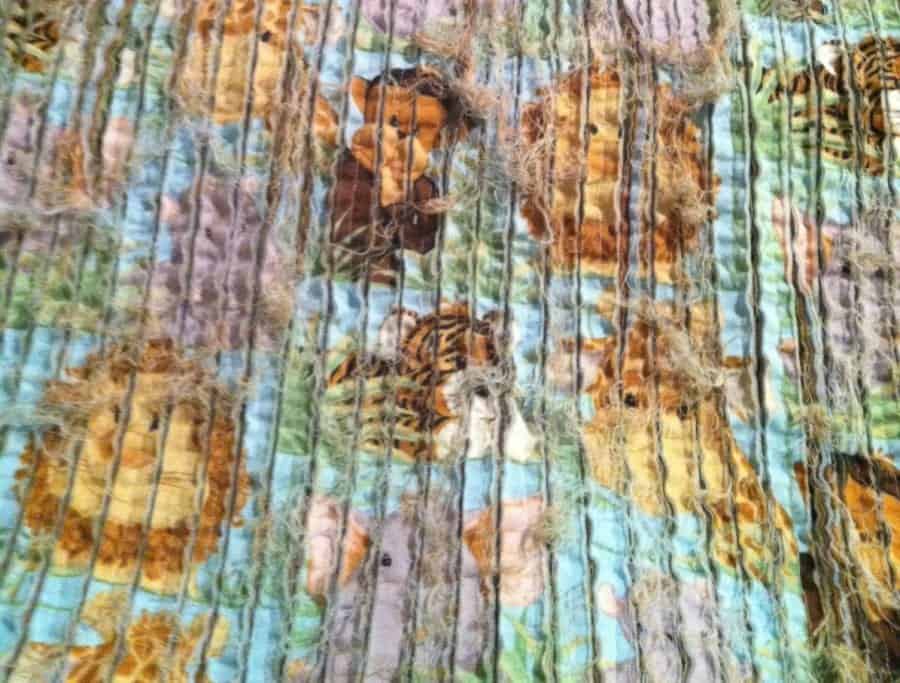
It doesn’t fray up. It strings up. So many strings! So sew on the bias!
SEWing the faux chenille blanket !
Now is the time to grab a good netflix series and get comfortable. This sewing portion can be tedious! You are going to sew and sew and sew. One stitch right next to each other. 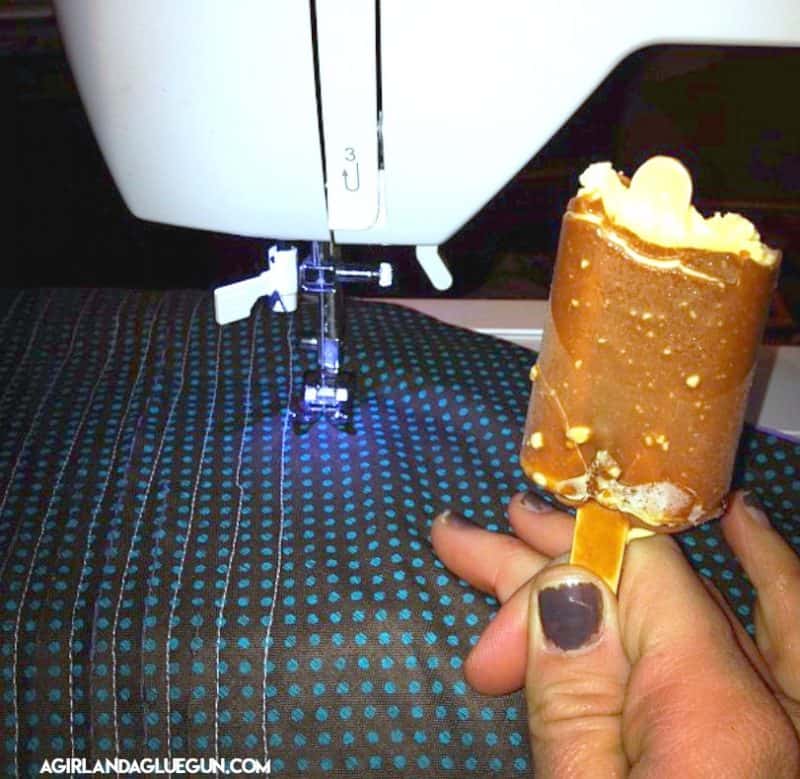
How far apart to sew the blanket
The spacing between the stitches isn’t an exact science. I usually just line it up with the edge of the sewing machine foot. But too close and you will have the hardest time getting the scissors between the lines to cut.

and too wide and it won’t fray up quite as good. I shoot for about 3/4 of inches wide.
Another thing to keep in mind is that it’s a lot of fabric..and with all the layers it’s heavy. It can pull when it’s all hanging off the side. I usually fold it up and pin it. Just a little tip to help keep it in place. ![]()
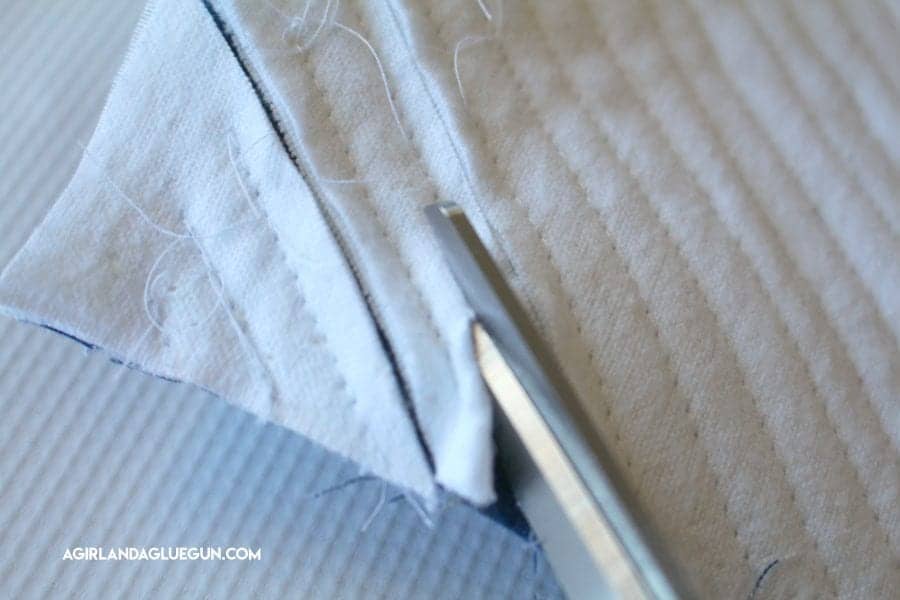
cutting to make the faux chenille
Okay. After all the sewing is done…time to cut. You are going to cut it right between the stitches. If you cut it too close to the stitching it won’t have the nice frayed up edges on both sides! Just right down the center.
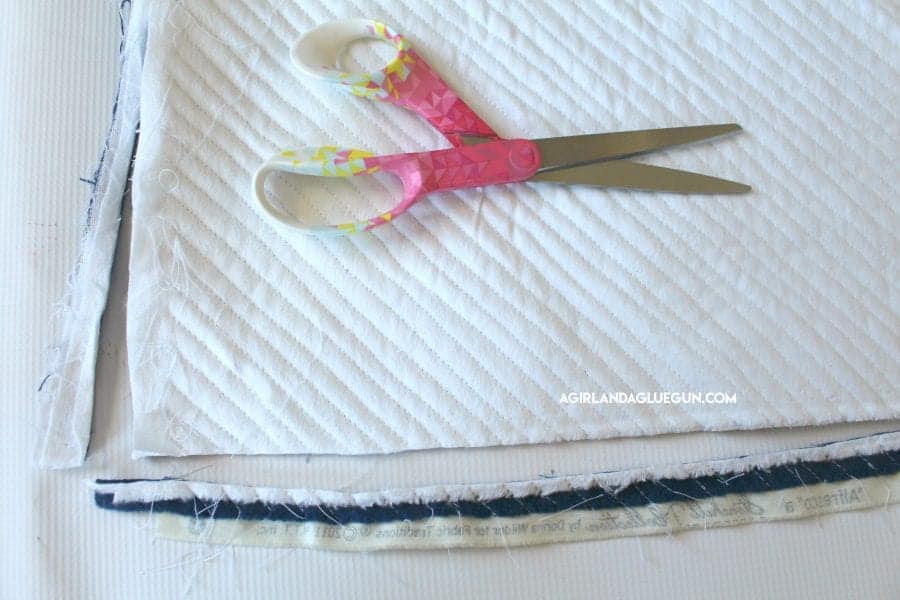
Now. You can cut these blankets with scissors. and I did for MANY blankets.
My husband kept telling me…there has to be a better way than scissors. (it was a little time consuming)
![]()
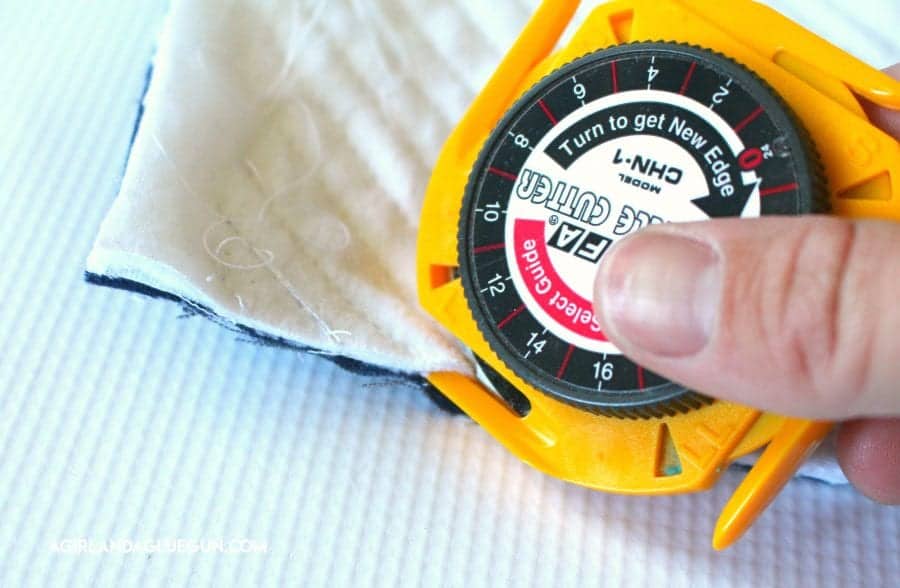
Then my husband found this ofla chenille cutter. Guys. I’m cheap. But this is worth its weight in GOld! Seriously. go buy this now. I’ll wait.

You just hook the yellow edge in between the stitches and it just glides!!! So much easier!!!
For your viewing pleasure:
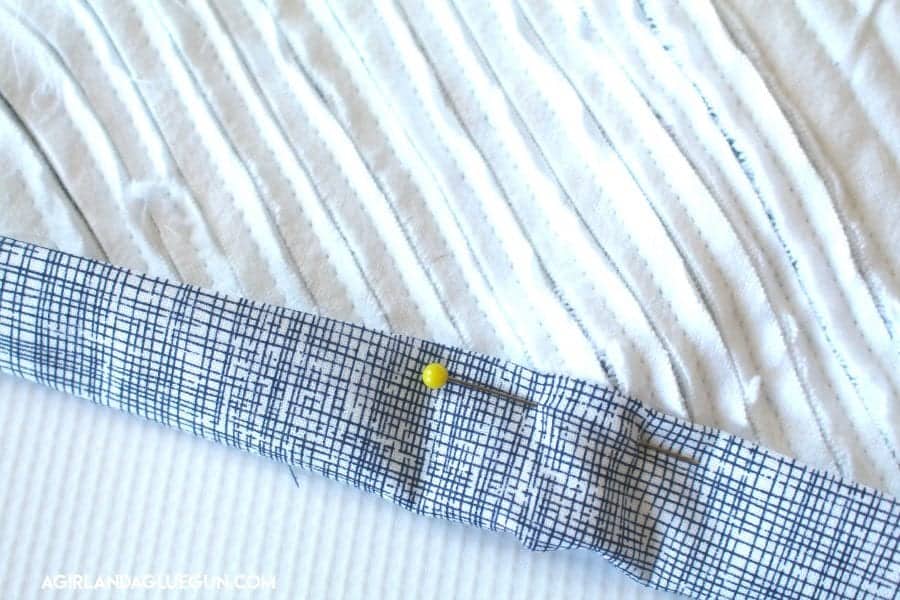
Adding binding to the blanket
After all the cutting is done-It’s time to add the binding around the blanket. (you might need to trim the edges of the blankets to make it all even and nice)
(you can go HERE to check out how I make my bindings. This one is for an apron but same concept! Cut strips. Iron into a binding and sew on.
![]()
![]()
You will want to make sure to add the binding before you wash it. After you wash and dry it, the chenille will pop up and the binding is hard to sew on with the bulk!
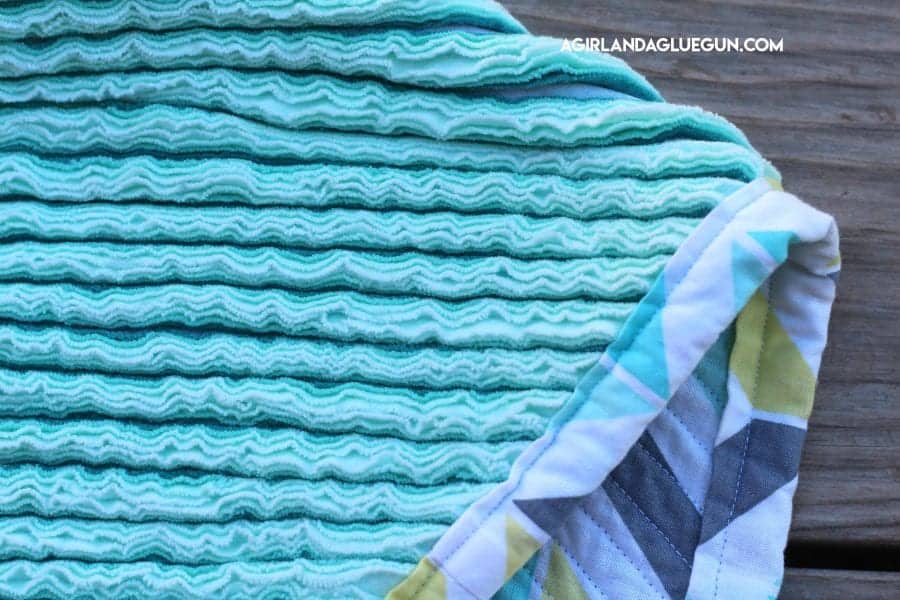
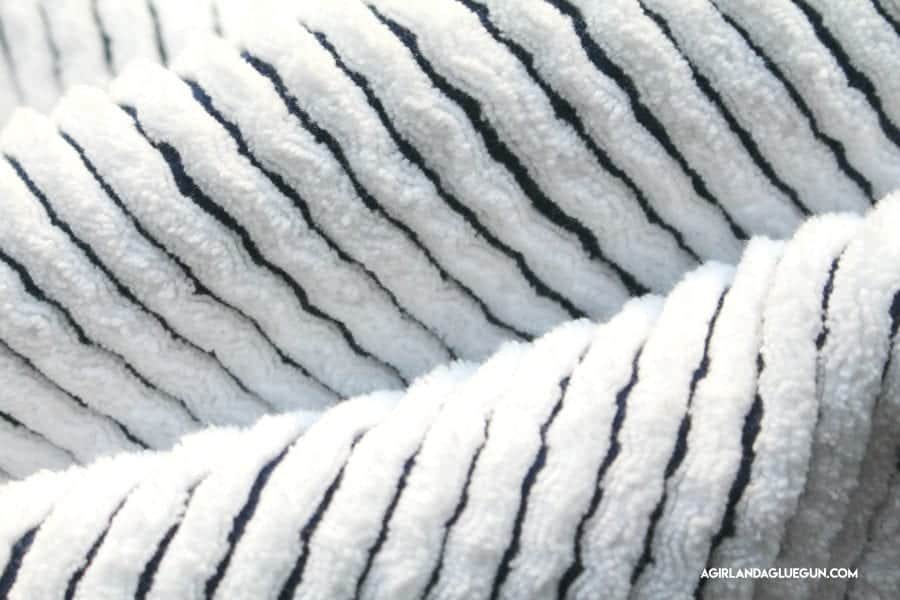
After you sew on the binding…it’s FINALLLLY time to wash and dry it. This is when the magic happens! It’s seriously so amazing to see how it fluffs up!

![]()
Troubleshooting
A. wrinkles. Sewing all those lines–sometimes there tend to be gathers of fabric! Don’t fret! Once you cut between the stitches you can trim any long pieces of fabric and you will never notice.
B. Crooked stitching. The only place where you will see crooked stitches is on the front…and there isn’t anything you can really do besides let it bother you (unless you want to unpick it and sew it again) But don’t let it bother you. When there are 100 stitches across a blanket, they all tend to blend in and you can make out the crooked mess ups! ![]()
Faux Chenille experiments!

Shirley says
I love the chenille blankets! I’ve got to try it! Thanks for the instructions!!!