
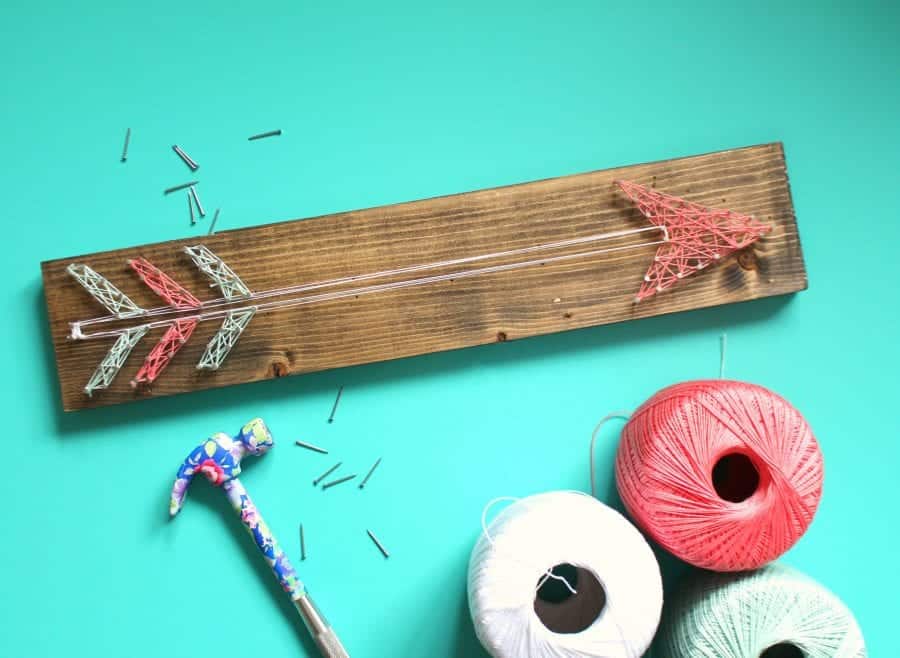
I put on a craft night every month….and I got this great idea to do string art. I thought it would be pretty easy and relatively cheap. And I thought arrows would be so fun. Seemed like a simple enough design…and arrows are popular.
Keep in mind that I have never done string art at this point.
So before all the ladies showed up I decided I should probably figure out the best way to do string art.
and I hurried and made one.
Guys. I hate string art. I totally do. I like fast and easy crafts…and this is not one. It needs to be precise. It takes time to hammer in all the nails. The string takes a long time. I literally had a whole bunch of fun projects I wanted to make using string art. I barely got through this one (just keeping it real! ha!) I know people LOVE IT…and I do have lots of tips and tricks to help your string art go as smooth as possible!
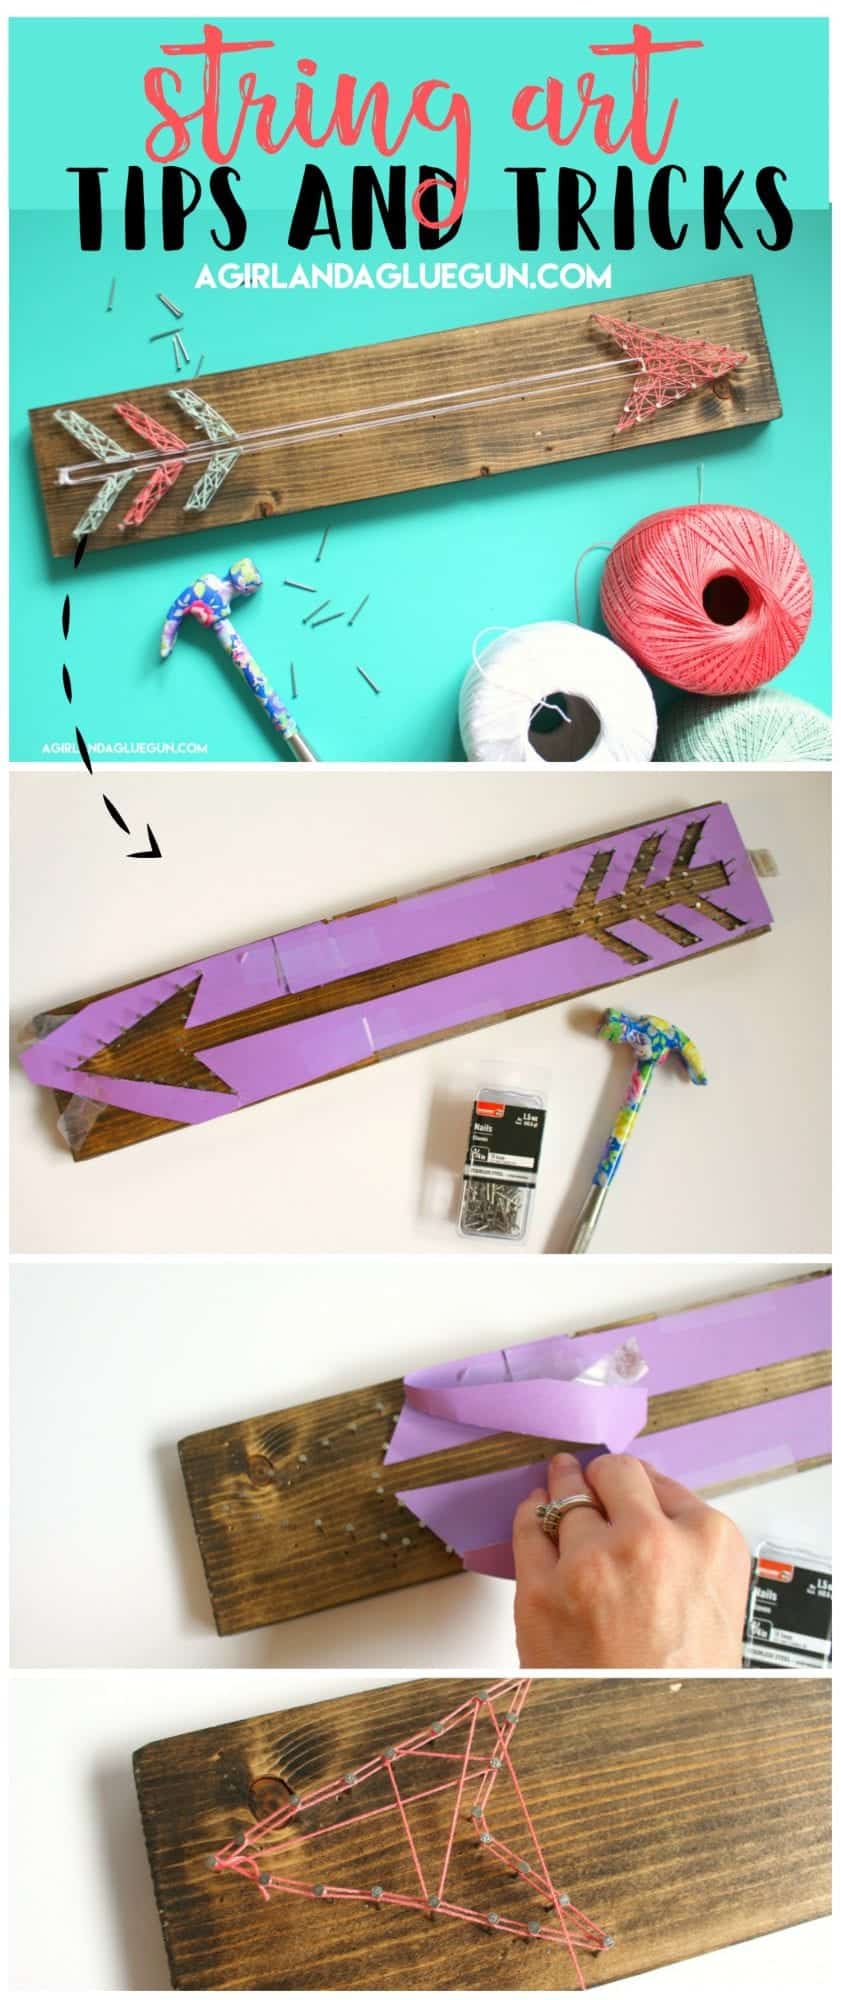
First up. Paint or stain your board.
After it dries….A pattern is the easiest route to go. I made a few arrow patterns cut with my silhouette cameo that people could reuse. But you can find a design you like and just print it out and lay it across the board. OR if you are really talented…you can free hand! Pencil on light wood…or chalk on dark wood. Keep in mind….erasing pencil after all the nails are in will be totally time consuming!
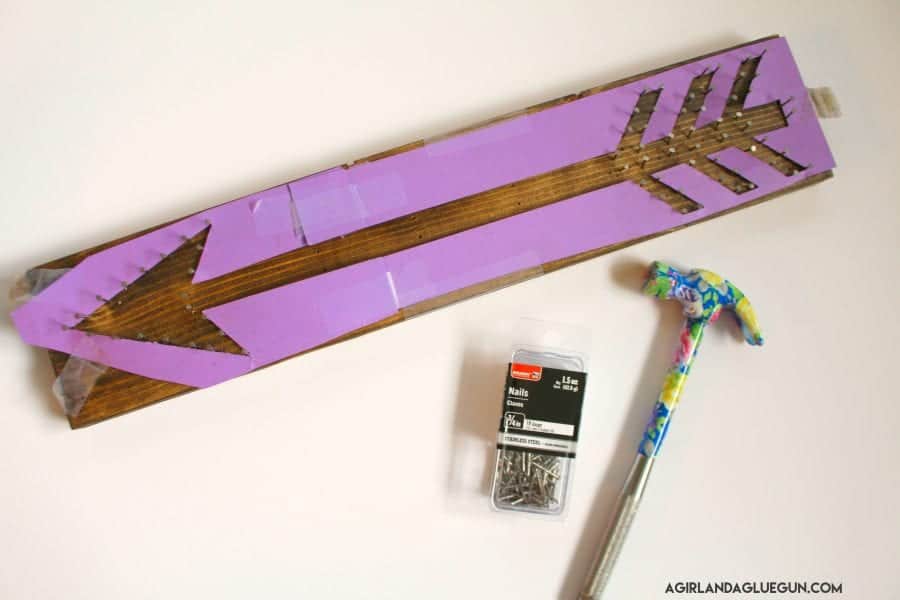
Then using the template…nail those nails in. This part is a PAIN!
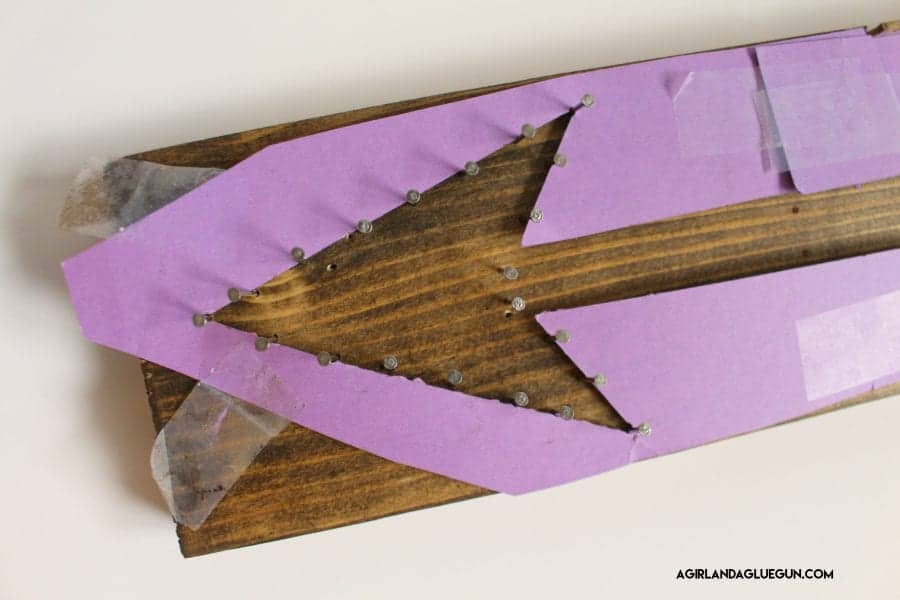
- Keep the nail lines straight– I picked the arrow because I thought it would be easy…but guess what. If you didn’t hammer in the nails in a straight line, when you wrapped the string it’s pretty noticeable.
- How far apart to set you nails–The more nails you have…the more full your string art will be. If you only have 2 nails on one side, you won’t be able to criss cross as many times as you would if you had 10 nails. You also don’t want nails too close together or you won’t be able to get the string around the nails. We aimed one centimeter to 1/2 inch.
- Start from the inside out. It’s hard to hammer over nails.
Here is a fun trick that one of the girls found on Pinterest…use a comb to A. help hold the nails and B. perfectly space them apart! 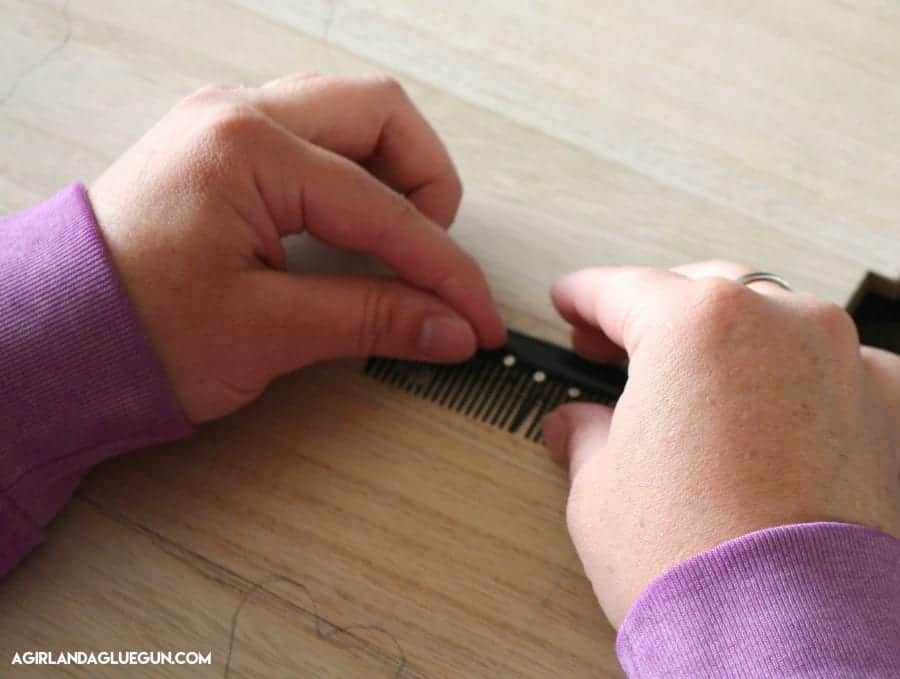
- Keep nails level–Another thing to keep in mind is that you want them all to be level with each other. You don’t want one hammered in too deep and one not deep enough. My friend used a guide that she held next to each nail and stopped hammering when the nail was level with the handle she was holding.
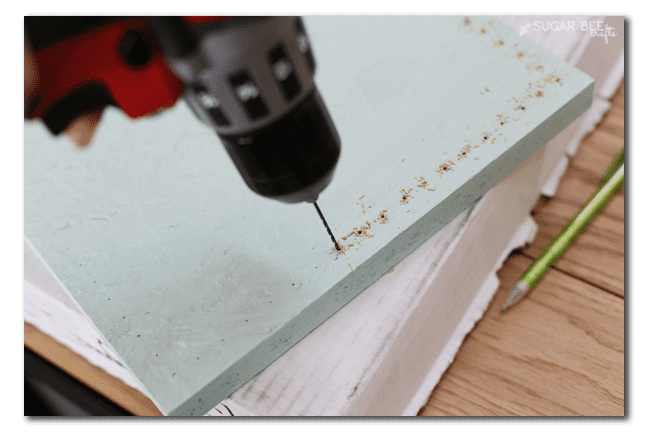
- Mandy from Sugar bee Crafts suggested predrilling the holes-which I’m sure will totally help keep the nails going in straight!
- I found a smaller “craft hammer” was a little easier to wield than a bigger one (floral handle totally optional-)
After it’s all hammered in…tear or remove the pattern.
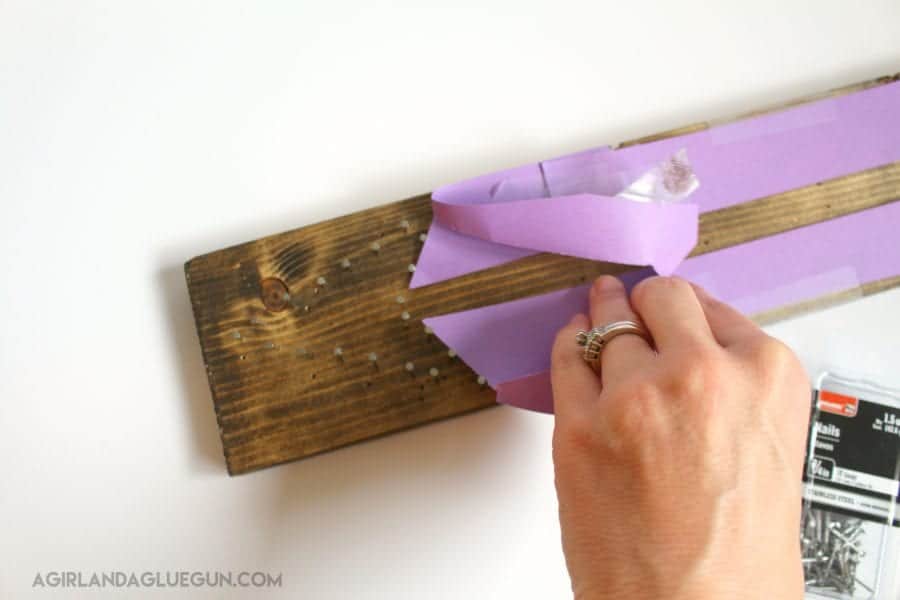
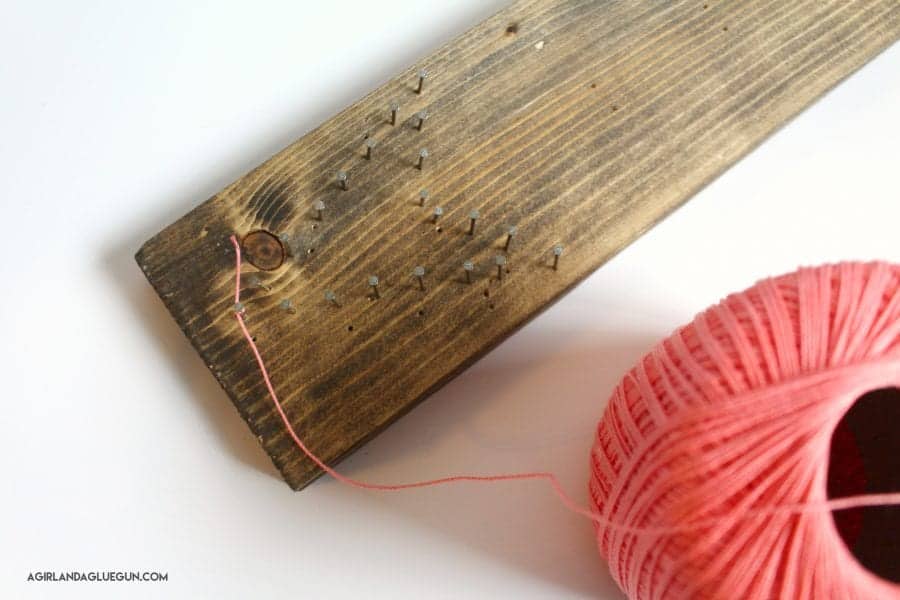
Figure out what color of string art you want to use- and tie a knot around a string. You can do criss cross first and then outline…or outline first and then do criss cross. If you are outlining in a different color I would suggest doing the outline last to make it pop.
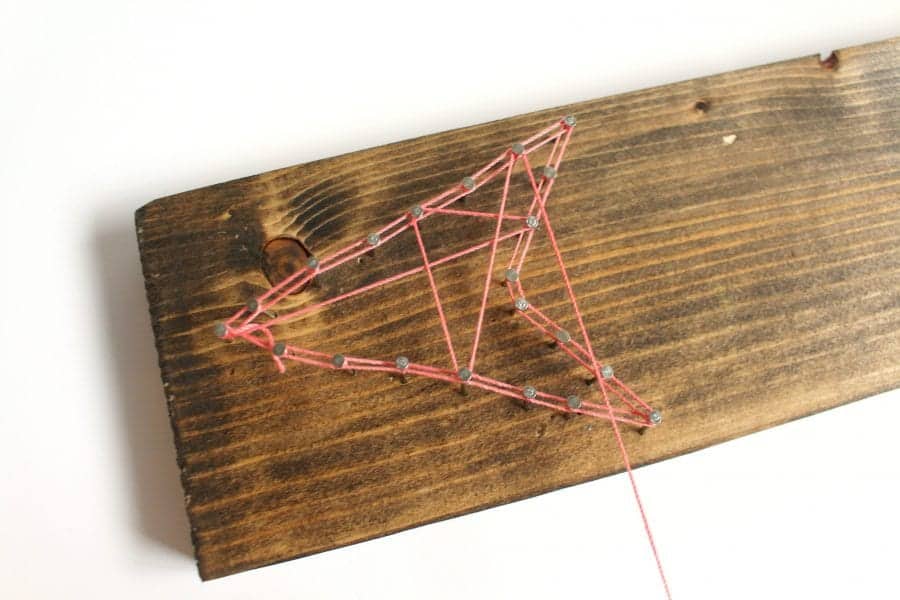
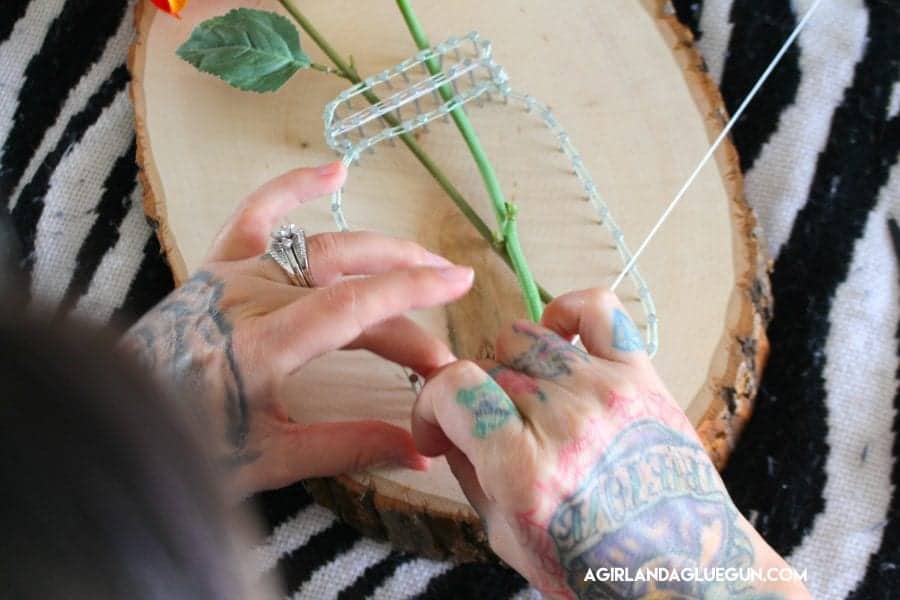
I did the outline first. I wrap the string around each nail and go around the whole section. THEN I wrap the string around each nail the opposite way and go around again. That is how you get the double string around the outline.
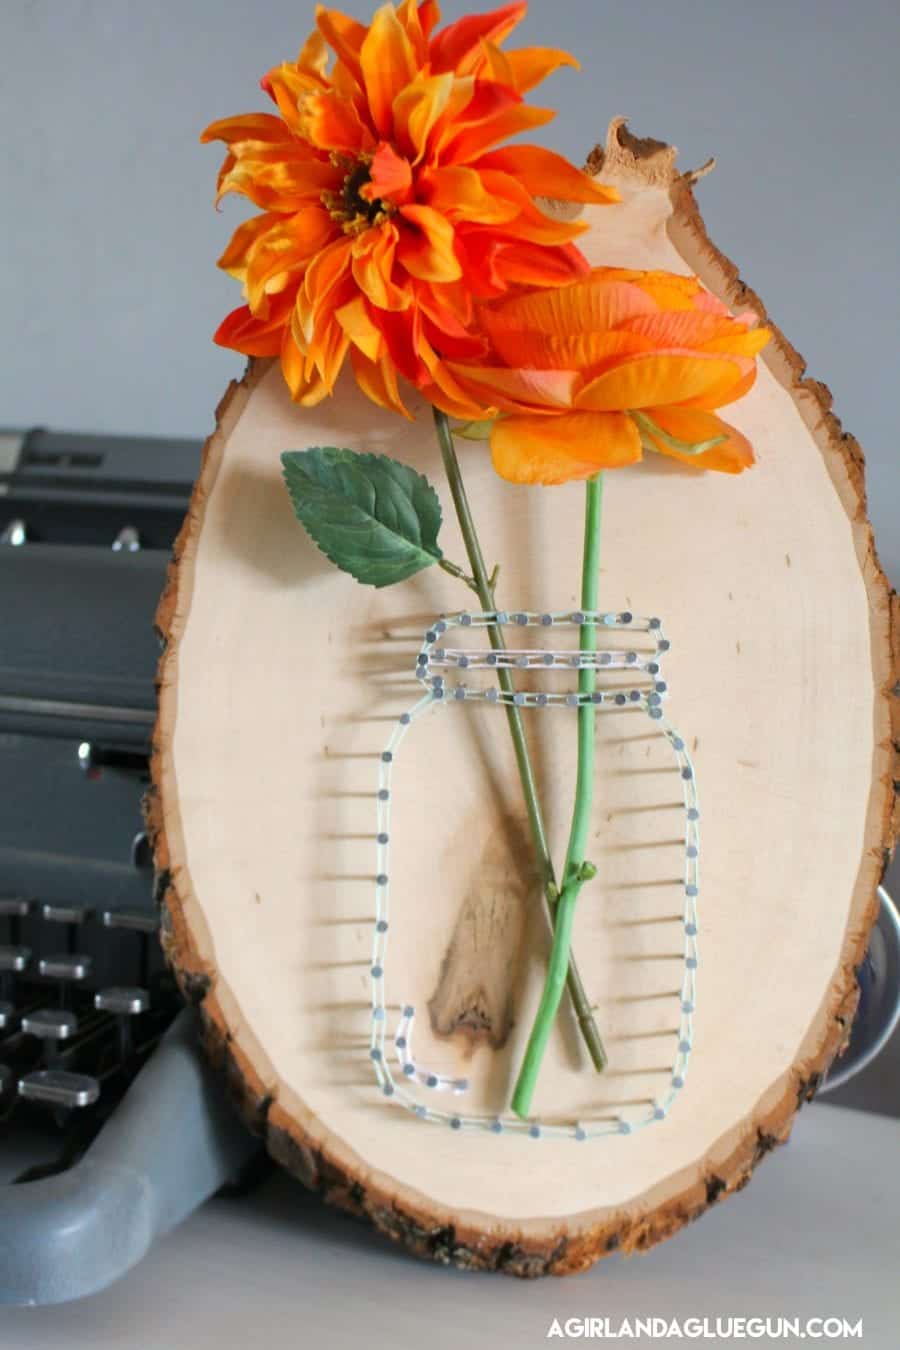
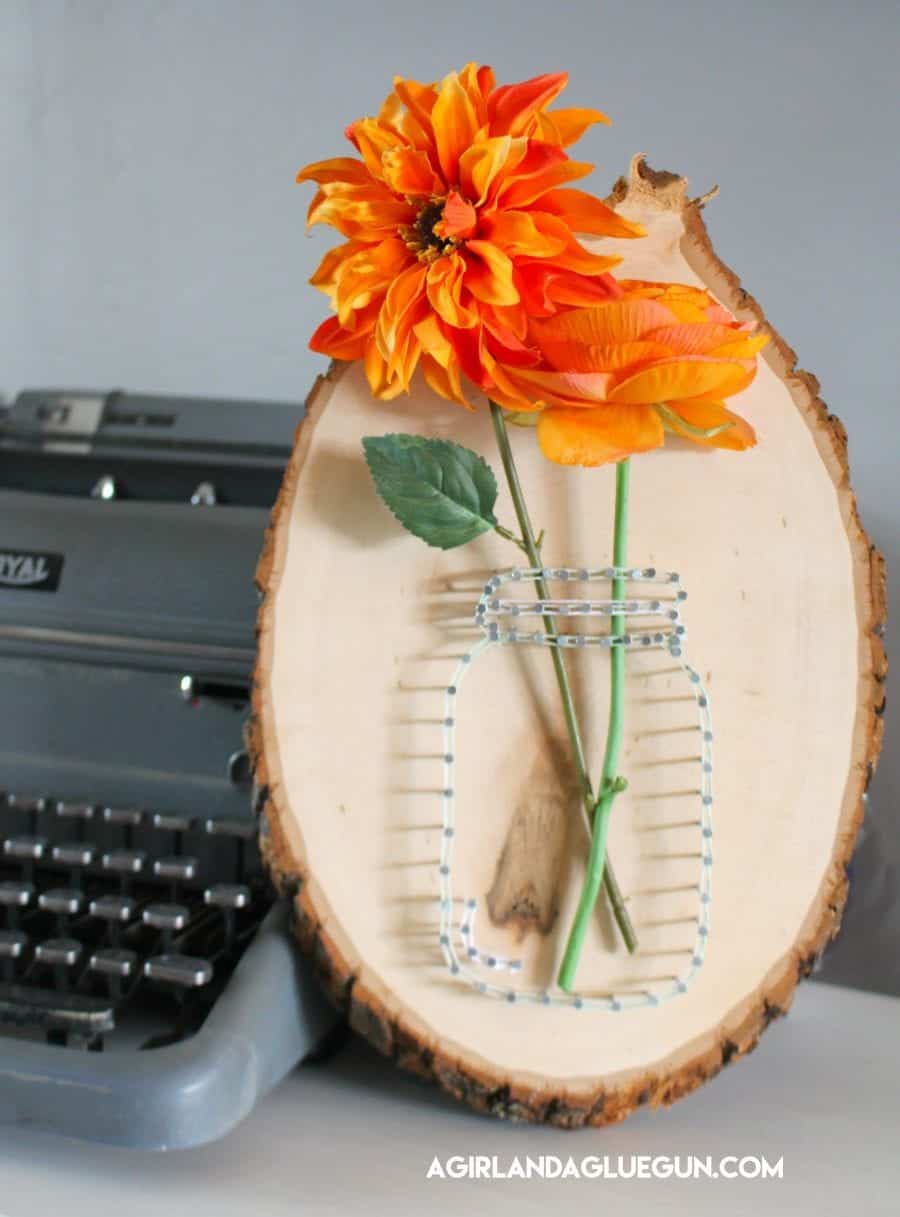
My friend Tanya made this super cute mason jar one…Where she only did the outline and no filler…the double string really makes it pop!
 Keep in mind that if you aren’t pulling the string tight…the minute you give it slack it will unravel. If you are doing big pieces sometime it’s easier to tie off onto a nail every little bit.
Also–pay attention to how non straight the end of my arrow is! I was not made for preciseness! 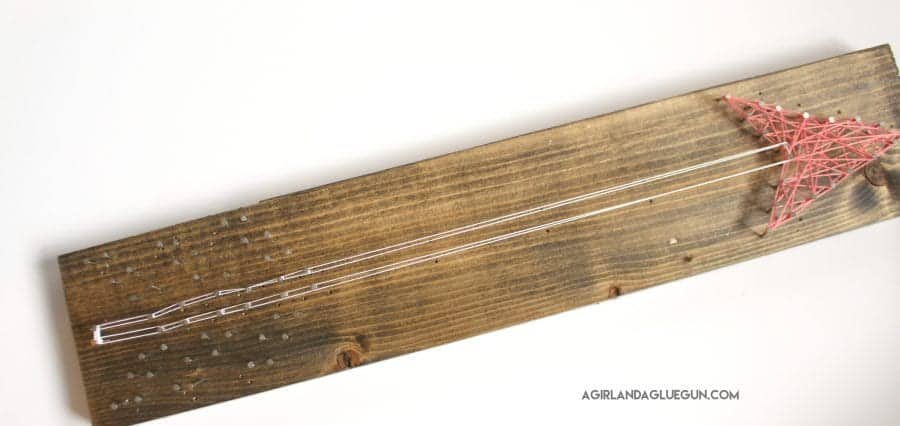
Then you just power on and on and on! Until you have said quite a few bad words. And you are done!!!
So that’s the basics. But keep in mind…you can do this on any fun wood shape…like a wood slice.
You can go big. you can go small. You can go colorful. You can go neutrals.
This is another one my friend made…it’s her anniversary! and she free handed with chalk! so cute! 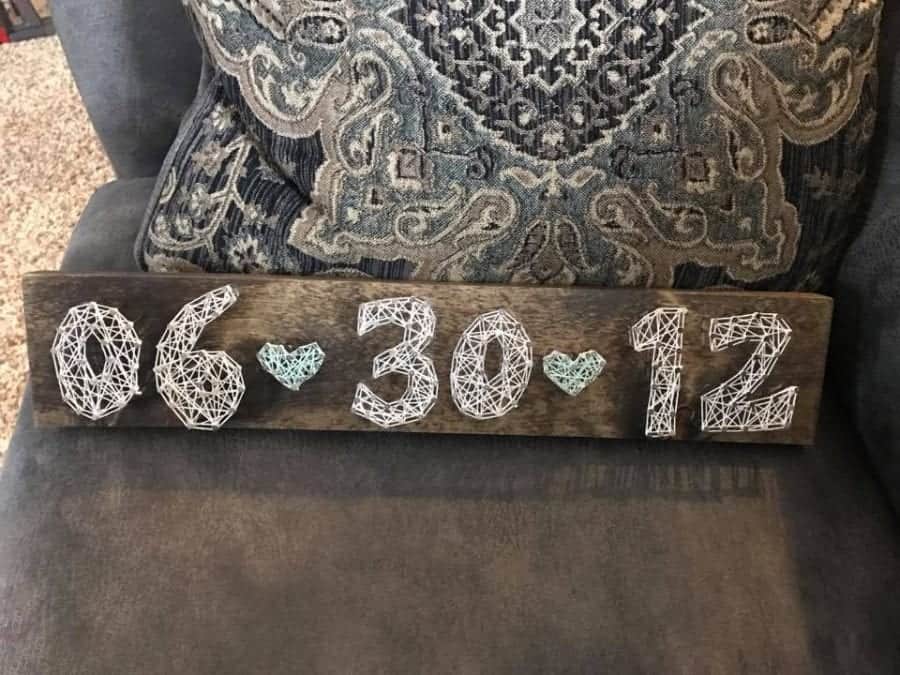
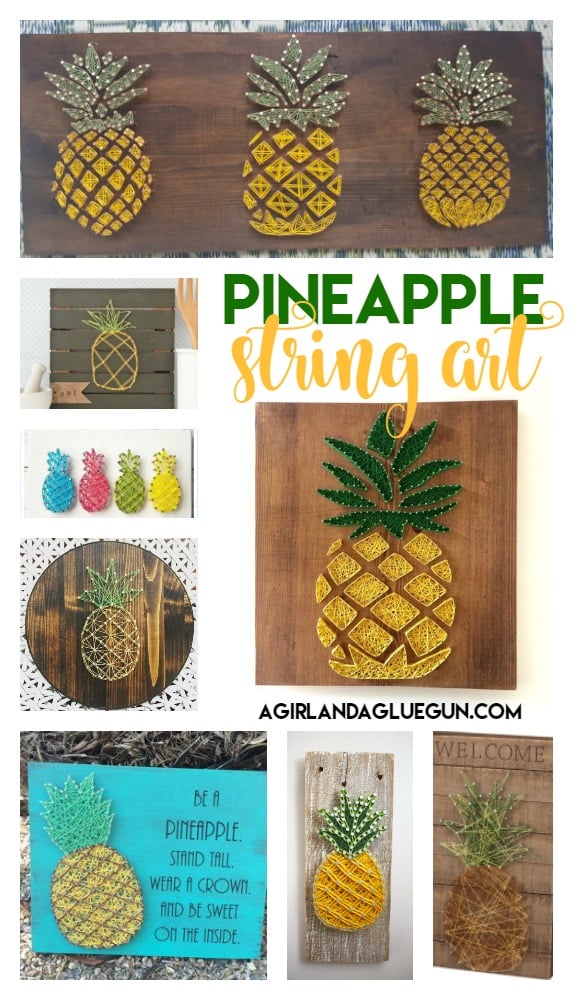
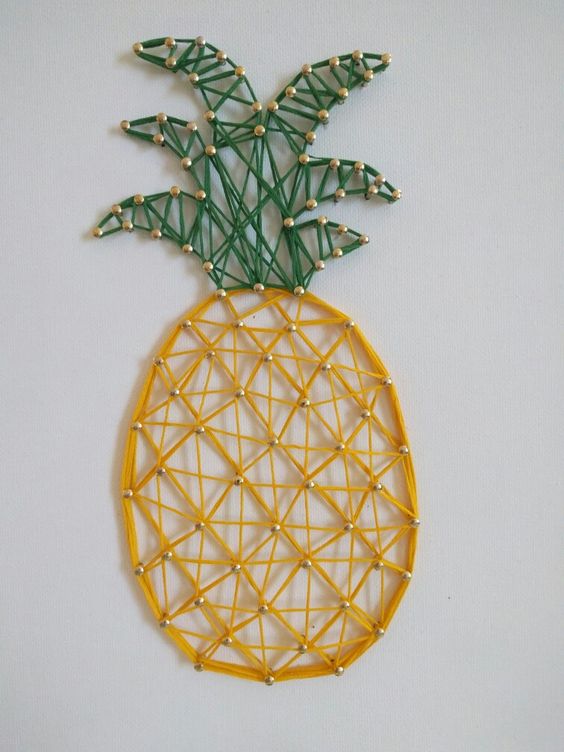
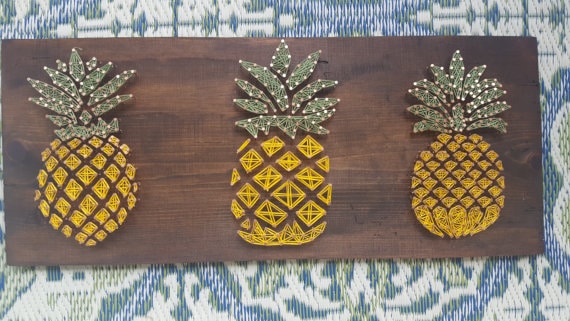
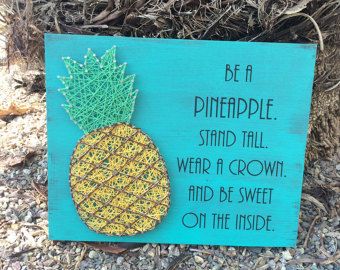
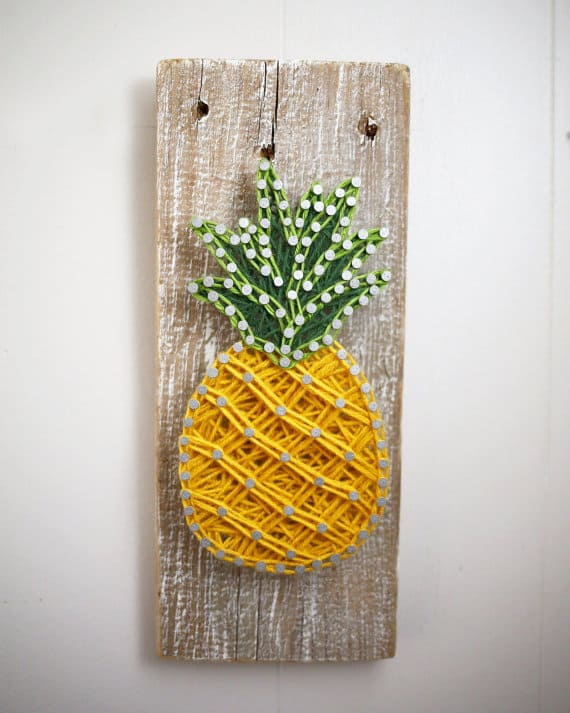
Now that you know how to do string art… I want to show you about a bazillion different ways to switch it up! I’m going to show you using PINEAPPLES!
Are you ready?
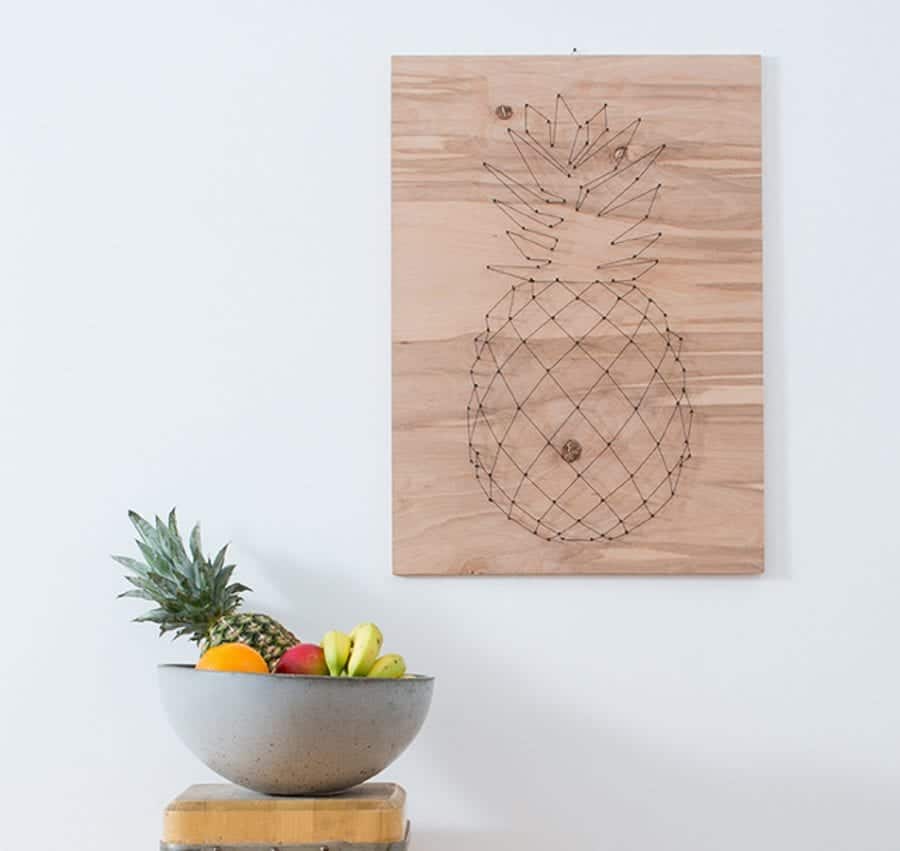
How about minimalist.
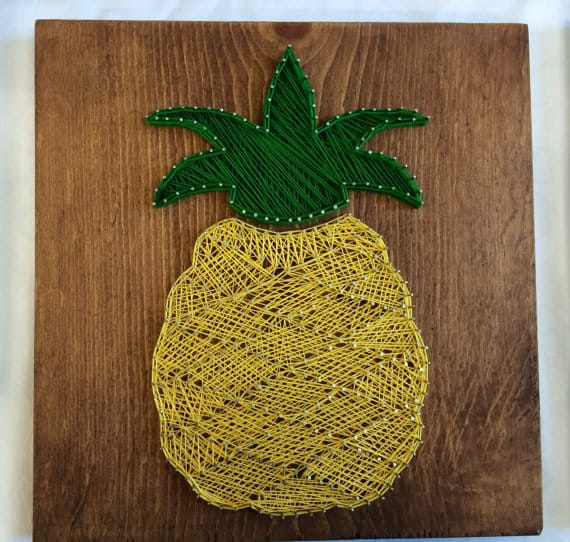
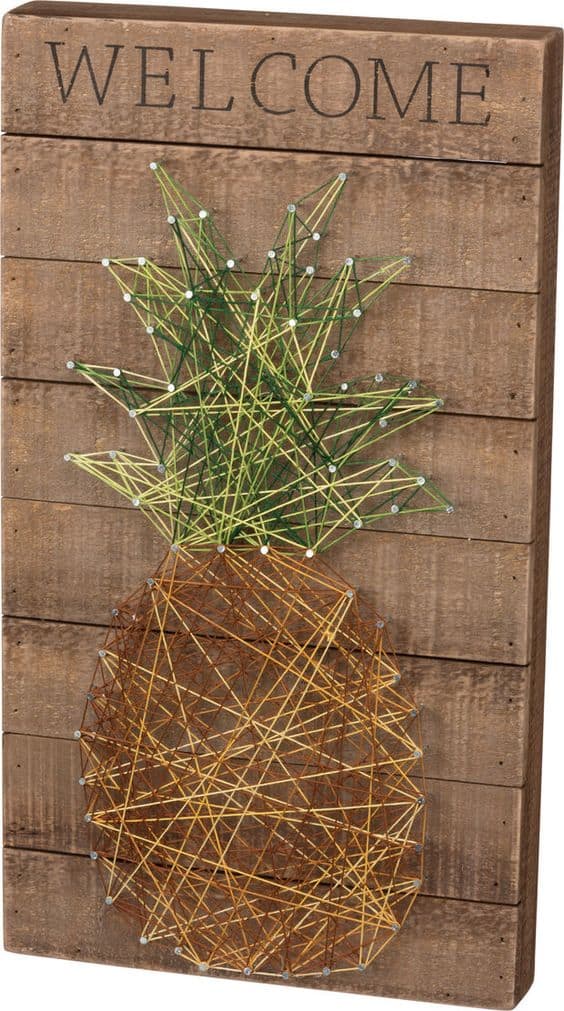
Or go the other way…and fill the it completely

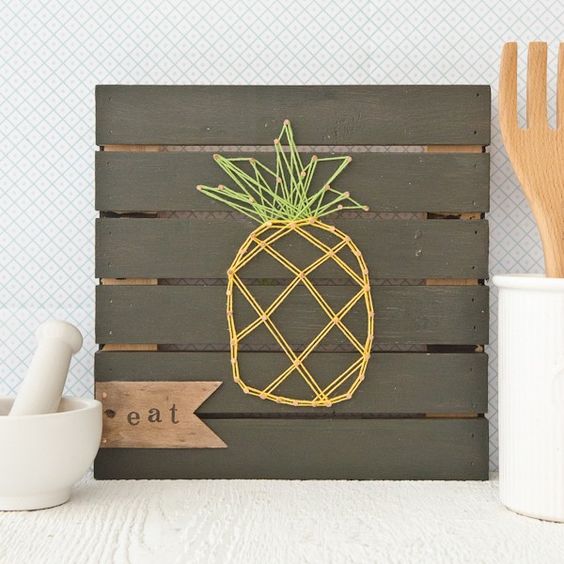
or an in between!
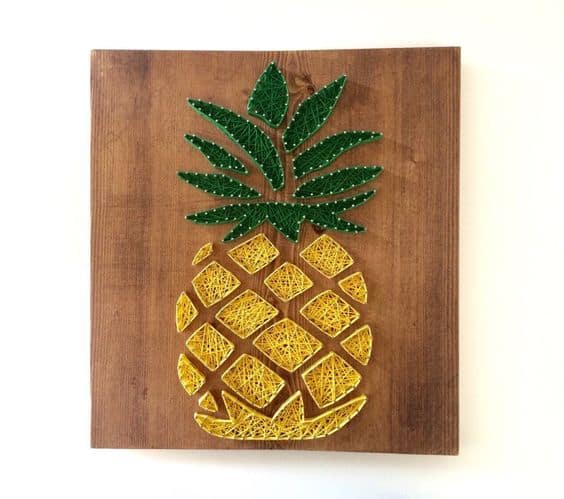
This one doesn’t have an outlines in different colors
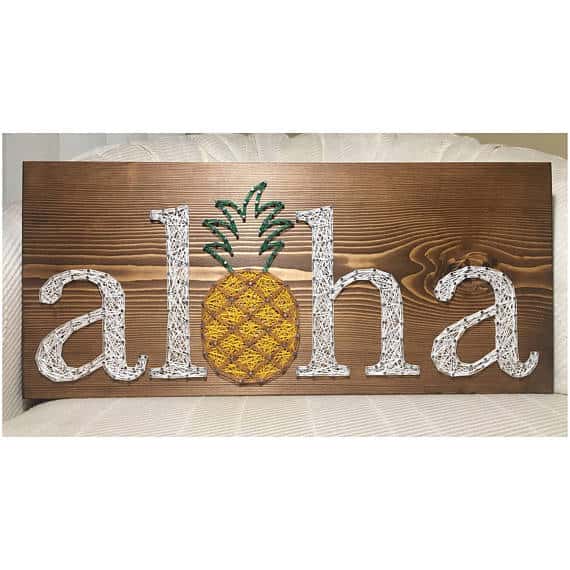
and this one has a great use of negative space
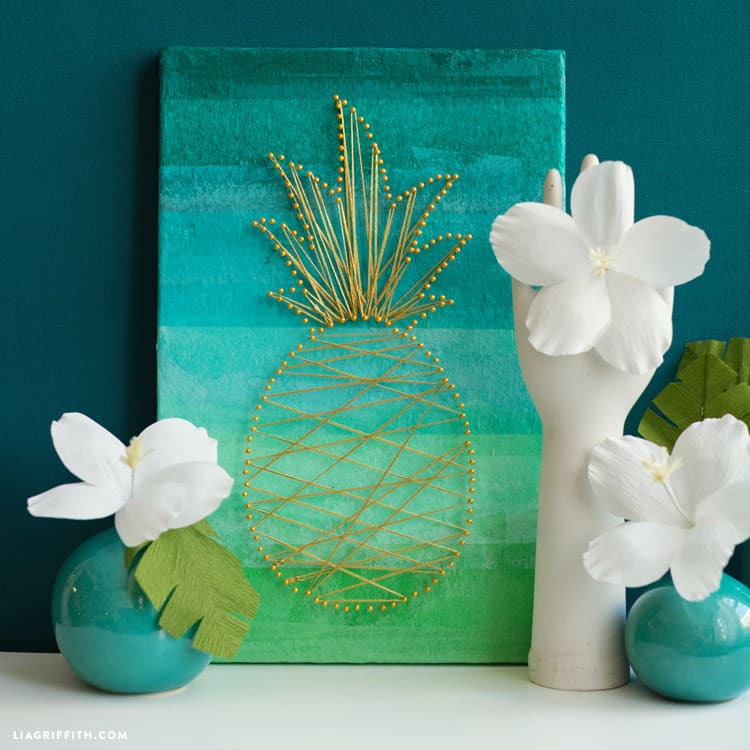
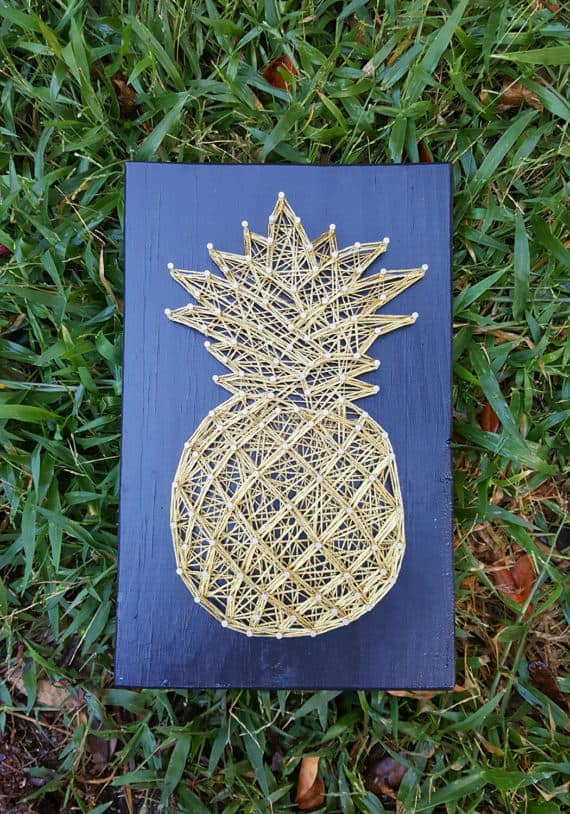
What about painting the back a different color for a fun pop
Adding hooks to make it functional (think keys or jewelry!)

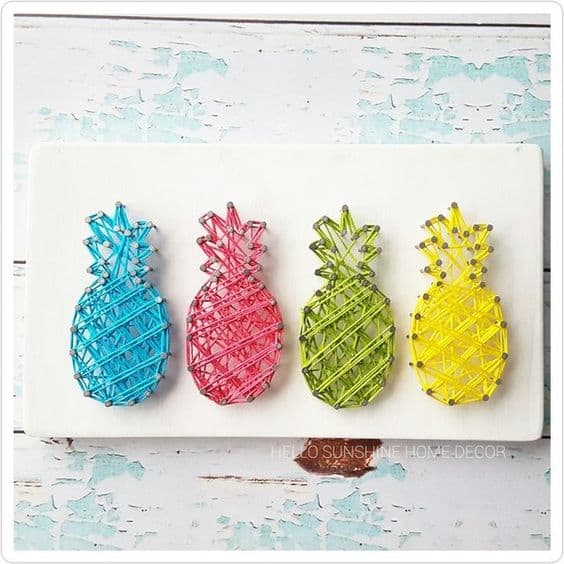
Look at the difference nail placement and the fun effects
Different colors for a totally fun pop!
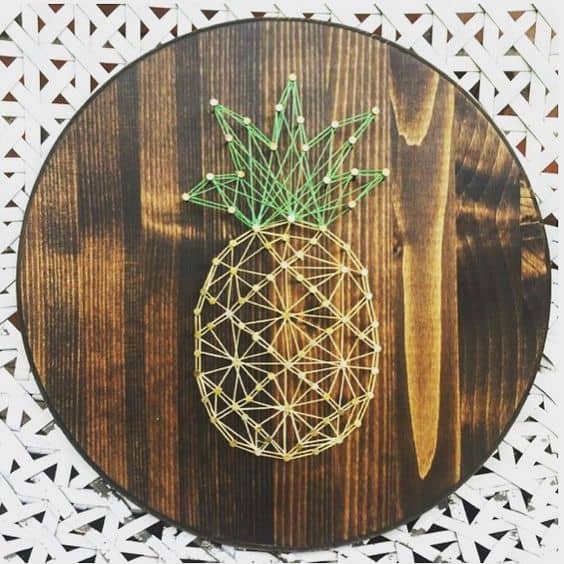
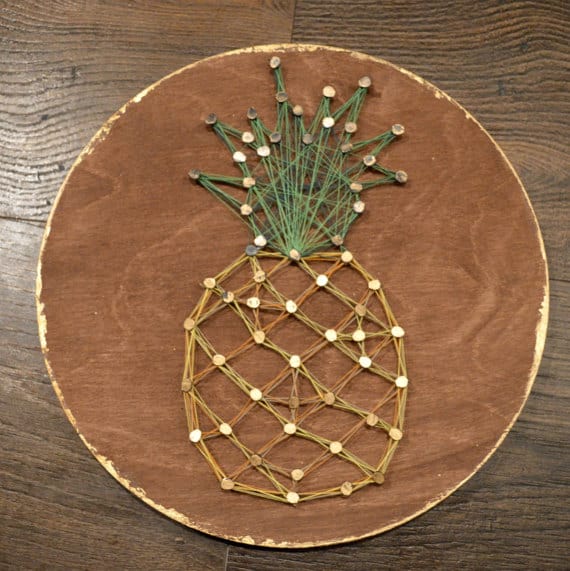
or check out this gold version
You can criss cross at total random

or nails in the middle to help the design along (also love the round wood!)
You can also put it on wood slats! You would just have to plan out the nails a little bit!
and look what a difference it makes to use large nail heads!
or a few nails

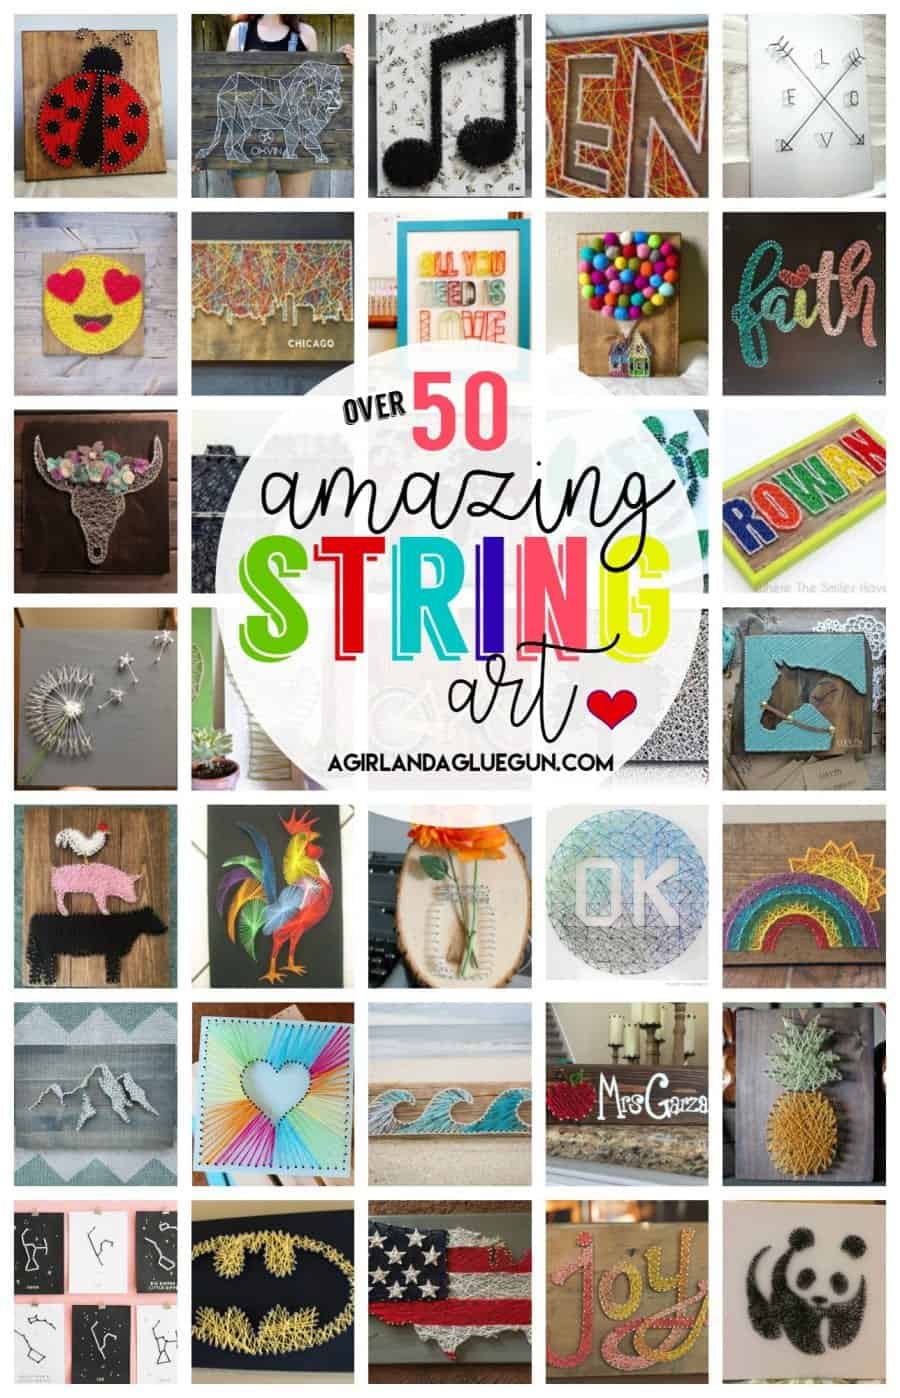
You can head here to see 50 amazing string art designs!
Suzanne says
Thank you. Your candid post cured me of my desire to make one of these. 🙂 some projects are better left to the experts.
Kimberly Curtis says
I hadn’t been on your blog in forever and was refreshed with your sense of humor. Lol glad that I read this post as well. I’ve seriously contemplated this cute and easy project idea of string art. Hahahahahaha
Not saying I’m cured, but I will approach it with much caution!!
Thank you! Have a great day!!