
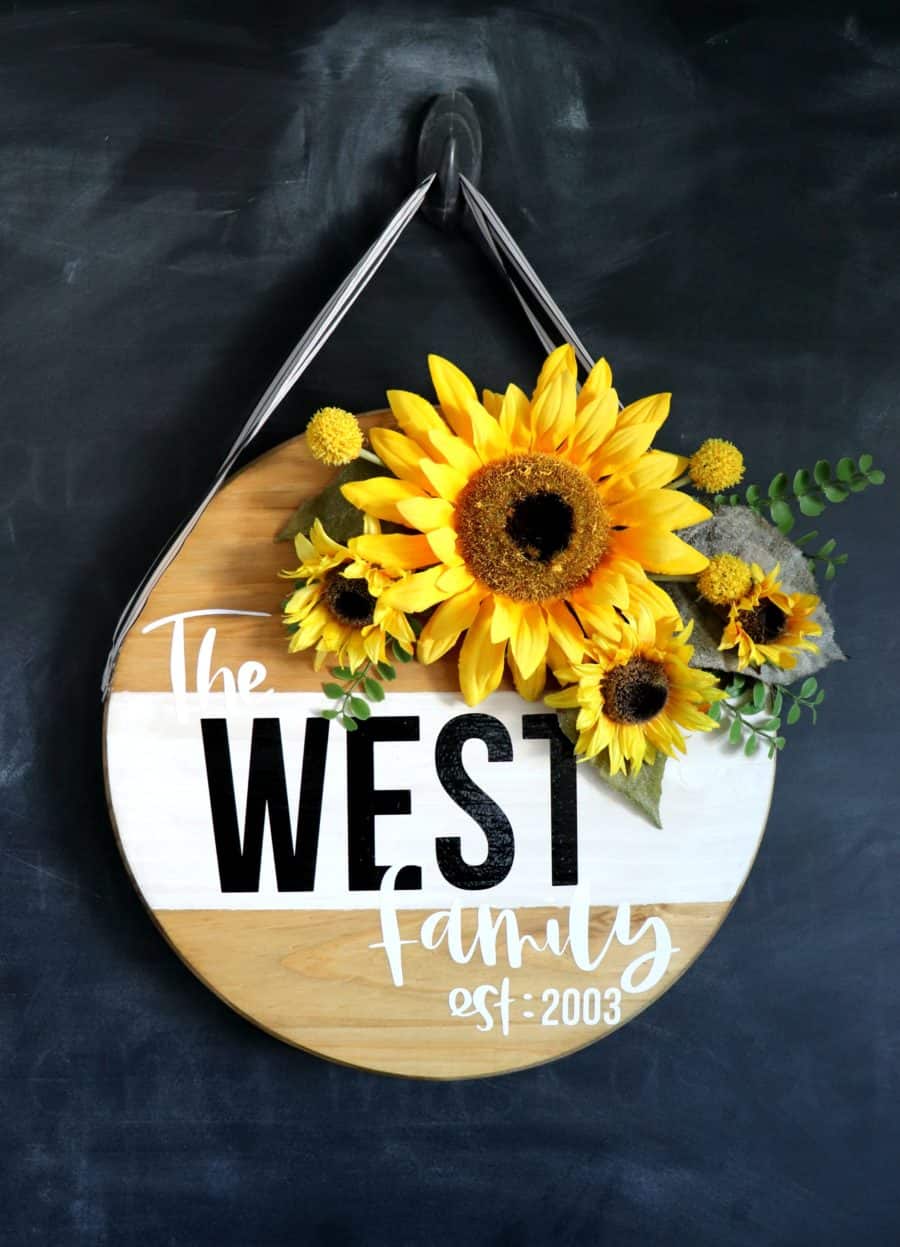
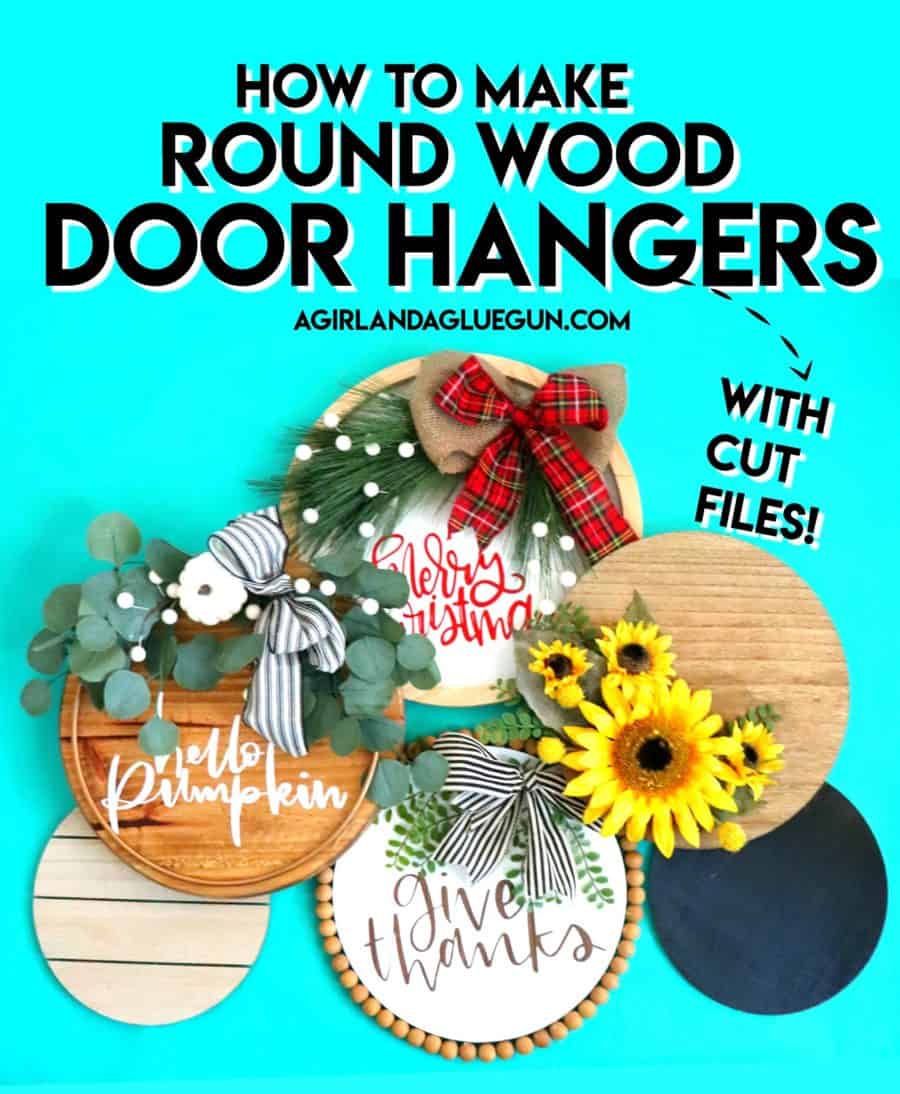
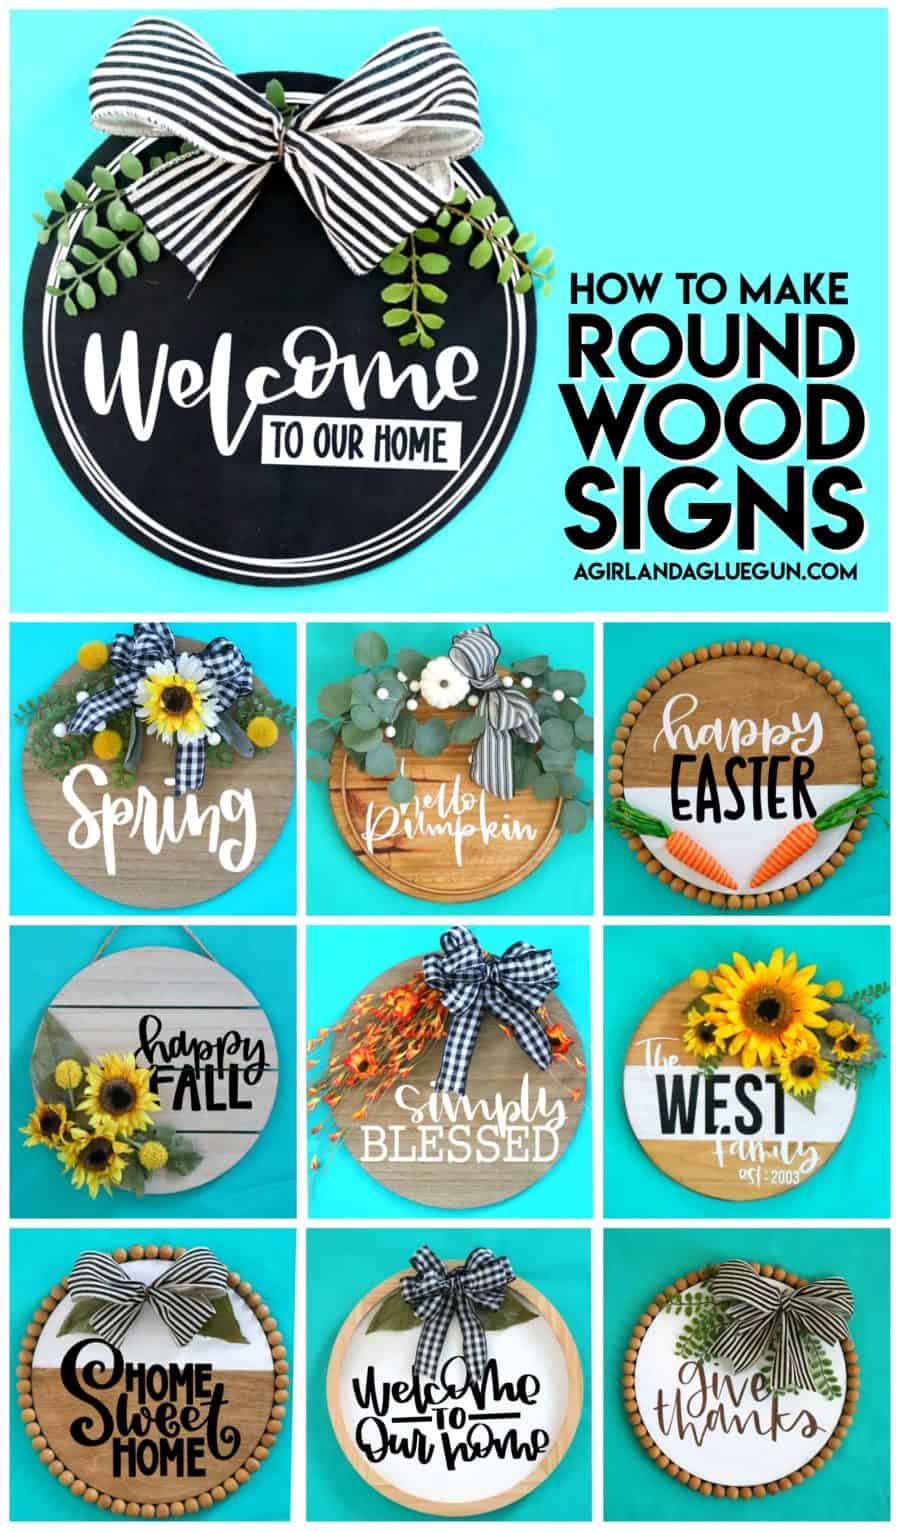
These wood round door hangers have been a hit on facebook- so I sat down and wrote everything you need to know to make your own round sign- with cut files!
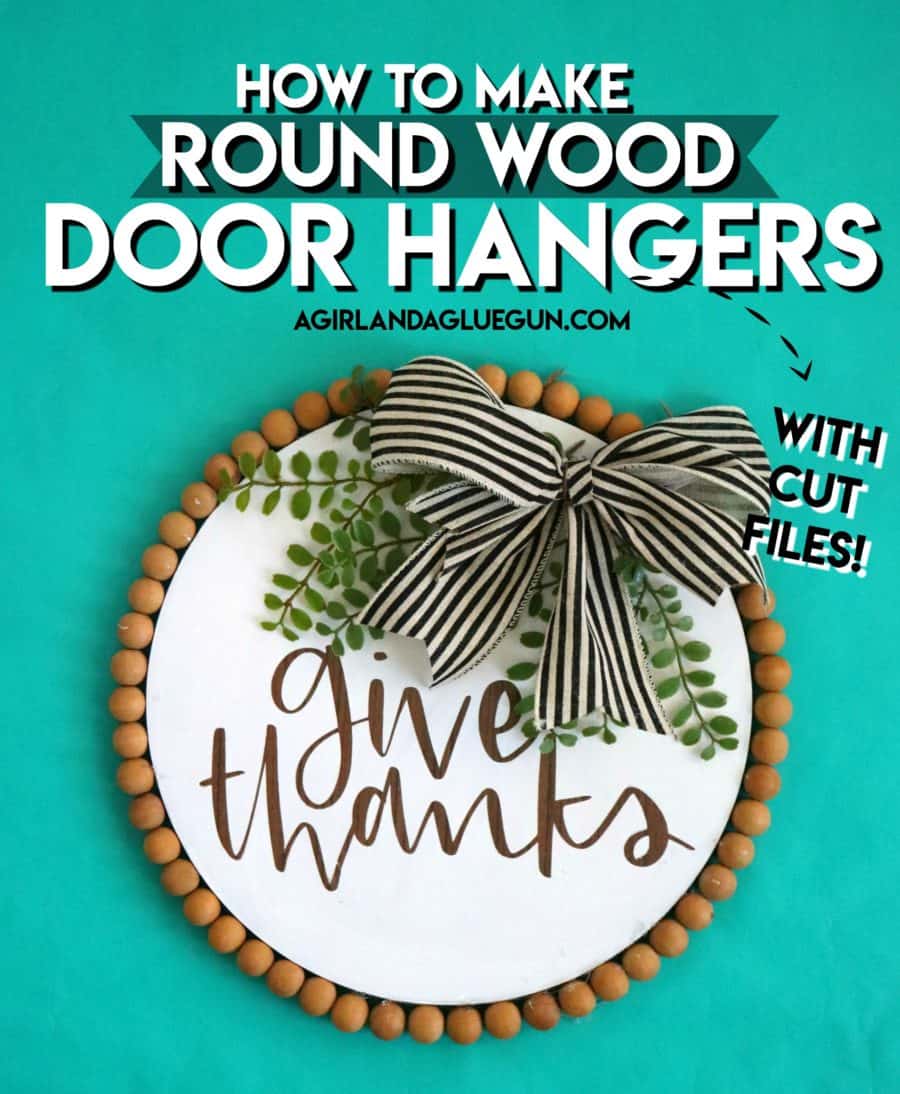
You guys. Don’t start this project unless you have intention of making 100. They are so fun and addicting. It would actually be a fantastic craft day with your friends! Lay out all the supplies and let the creativity flow!
I actually walked you through how to make it on video- I go over everything in the video- but I will link everything down below (as well as the cut files!)
This post may contain affiliate links. If you purchase something through the link, I may receive a small commission at no extra charge to you.
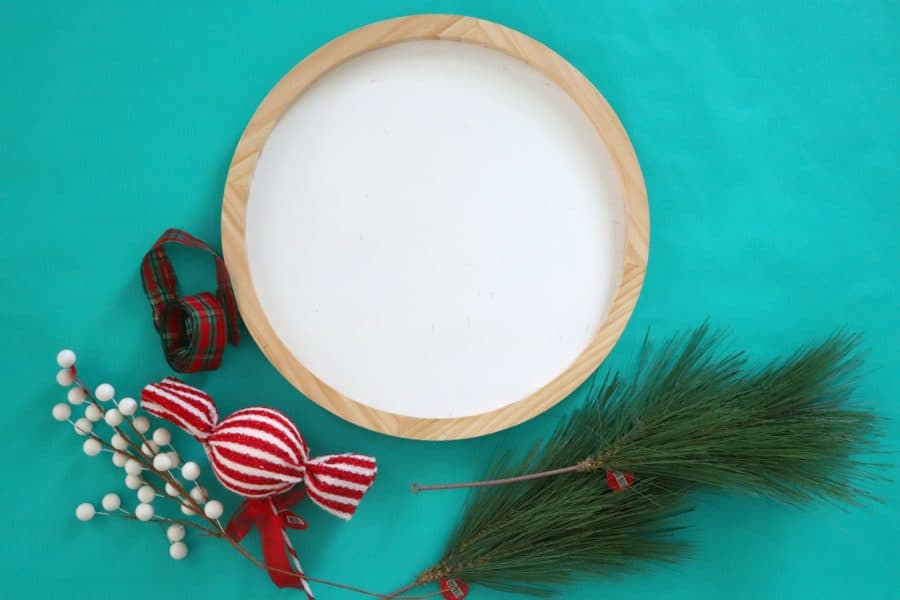
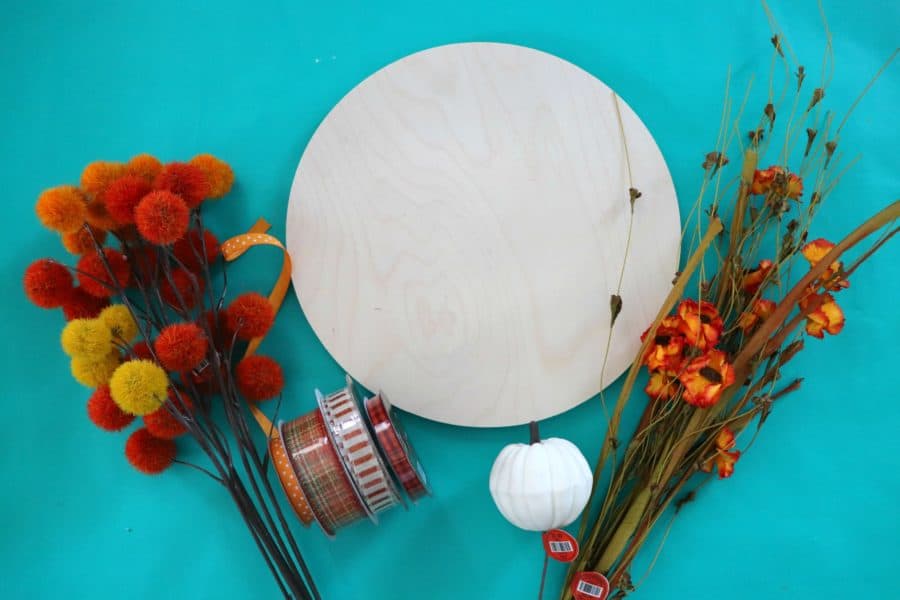
Here is what you need to make the wood rounds
I will go into more detail about each item- but if you are just quickly gathering up supplies- here is the list
- Wood rounds (18-24 inches if you want to hang them on a door)
- Stain or paint
- Sealant so the vinyl sticks
- Ribbon
- Flowers
- Any fun doodads- leaves, berries, ornaments, buttons etc.
- Craft Vinyl
- Transfer tape
- hot glue
- zip ties
- floral wire
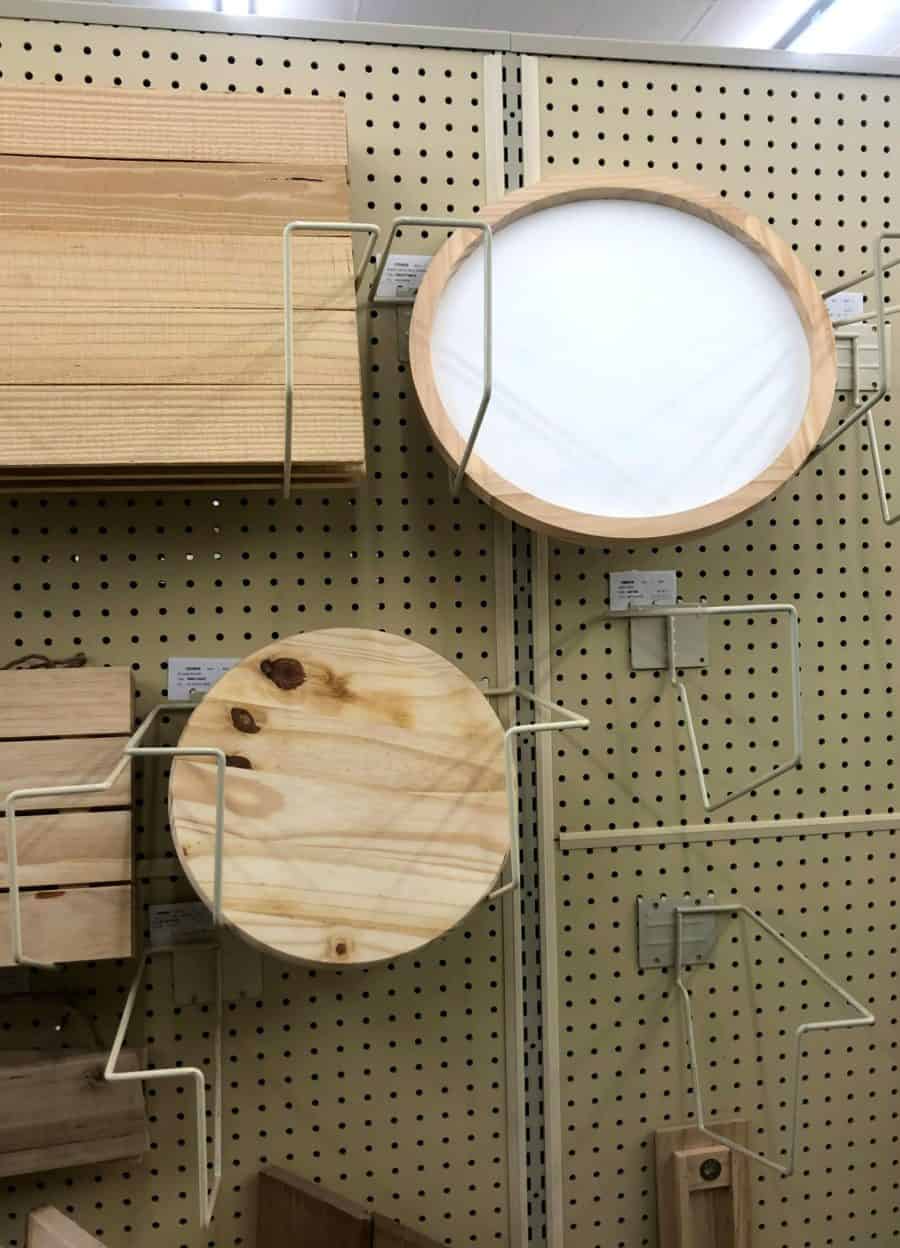
Where to buy the wood rounds
One of the most asked question! Where to snag these boards at!
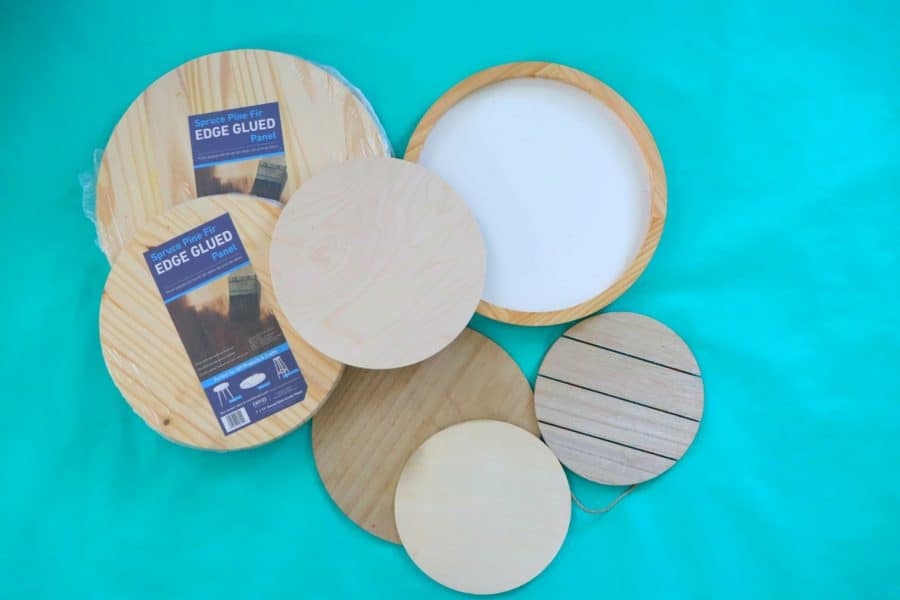
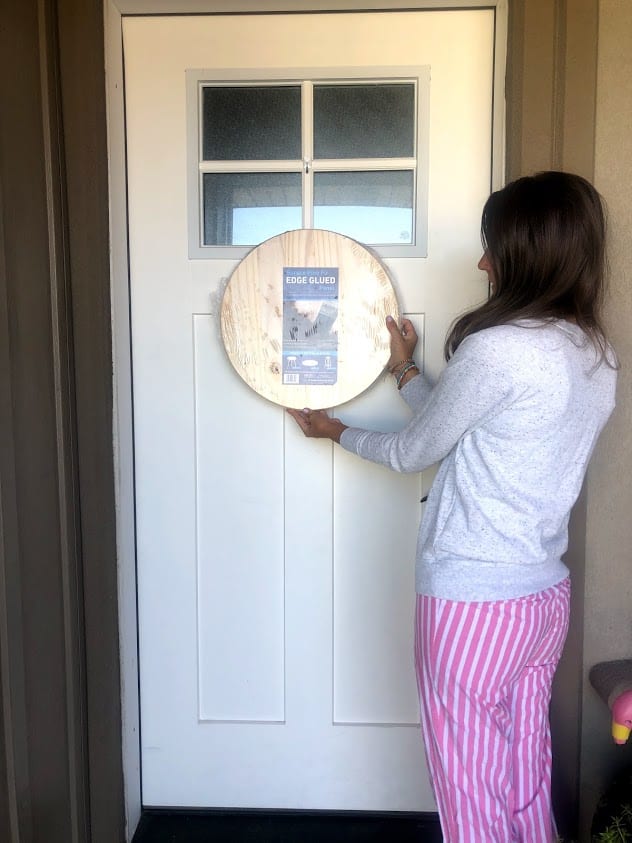
There are lots of places to snag these wood rounds- I’m going to list some of my favorites that should be close in proximity to everyone. They are all priced around the same- Depending on coupons and sales you might find them for cheaper! I personally think the 18- 24 inch is a great size for the door (keep in mind, the bigger they are, the heavier!) This one I’m holding up is 18 inches! You are welcome for the awesome mullet outfit viewing!
Lowe’s
I have found that lowes is cheaper than home depot! They also have smaller sized 15 inches and 12 inches!
Home Depot
2 foot wood round – I couldn’t find an 18 inch but they do have a 3 foot one!
Hobby Lobby: The white wood sign I used in the video is from Hobby Lobby- They also have a 12 inch round there! Make sure to download the hobby lobby app so you can use the 40% off coupon if it’s not sale!
Target dollar spot– These are hit and miss- but I found some wood chargers and blanks there – it’s worth checking out if you are there!
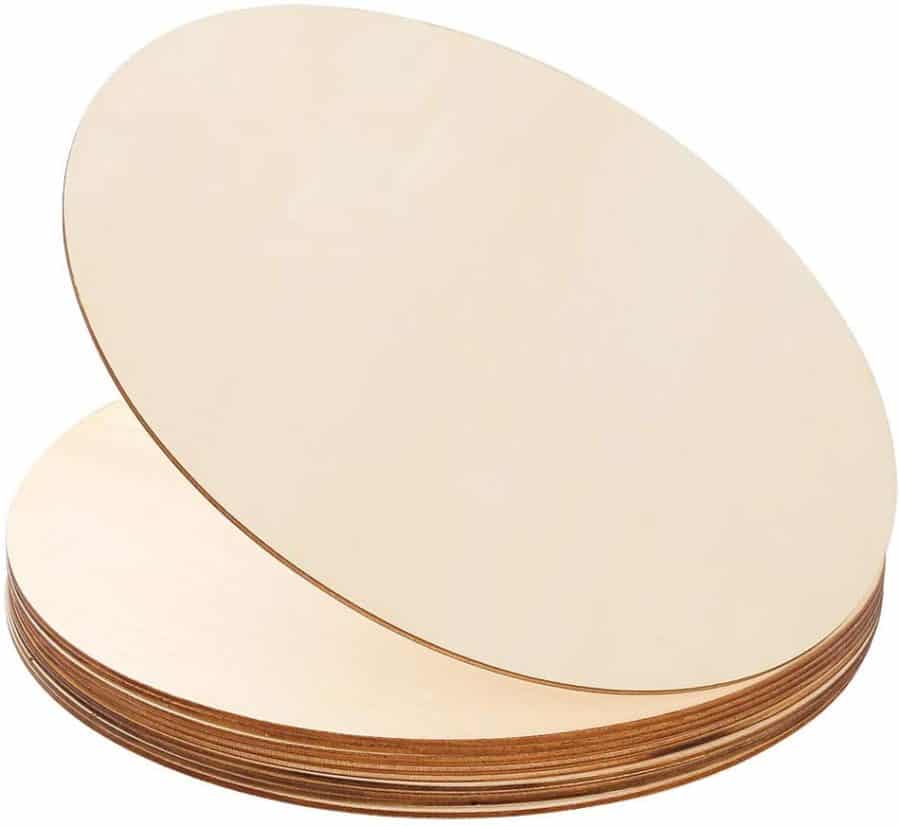
Amazon
The thick 24 inch wood rounds are more pricey on amazon- but they do have some!
They have some slim round 12 in wood– This would actually be really cool if you decorate one and then place it on a big green wreath
Paint and stain the wood rounds
What I like about the ones I linked- they all look great with stain or paint! There are so many fun ways to add paint. Add stripes, paint half one color and leave the other half stained. Keep in mind the vinyl you are applying and what looks best with it!
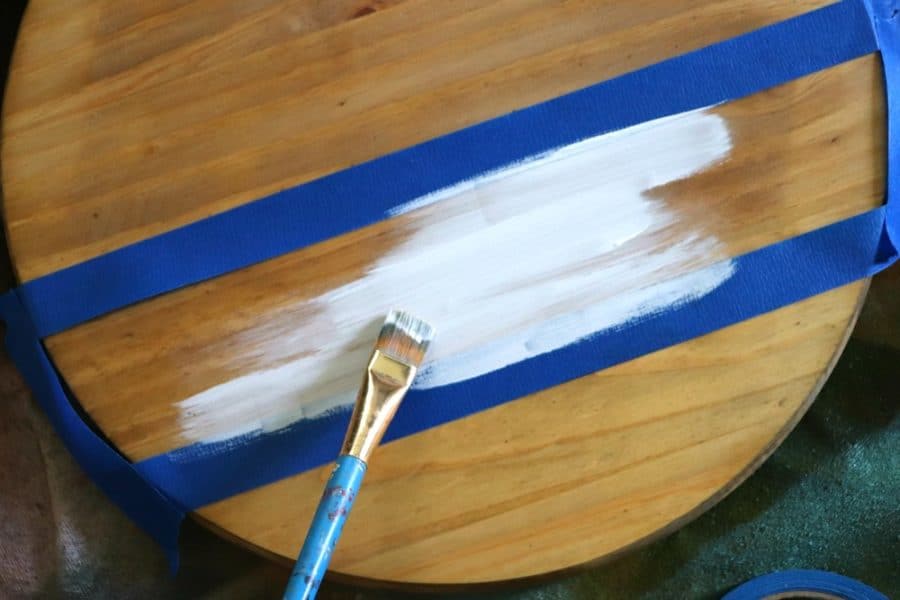
The color of stain I used is Espresso– I put it on very light though- You can get more heavy handed with it if you want it darker!
The paint is just acrylic paint from DecorArt!
REMEMBER! If you are using stain- it’s greasy- and that makes it so hard for the vinyl to stick. You need to add a coat of polycrylic to seal it in. (polyurethane will yellow!) I also used this awesome clear matte spray paint that is so much easier and faster to apply! Worked like a charm!
![]()
When it’s all dry- it’s time to add the
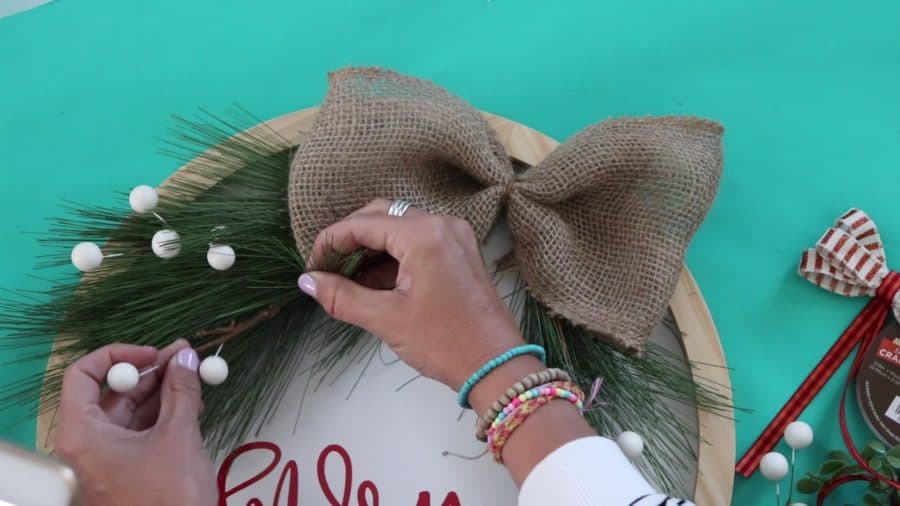
Embellishments!
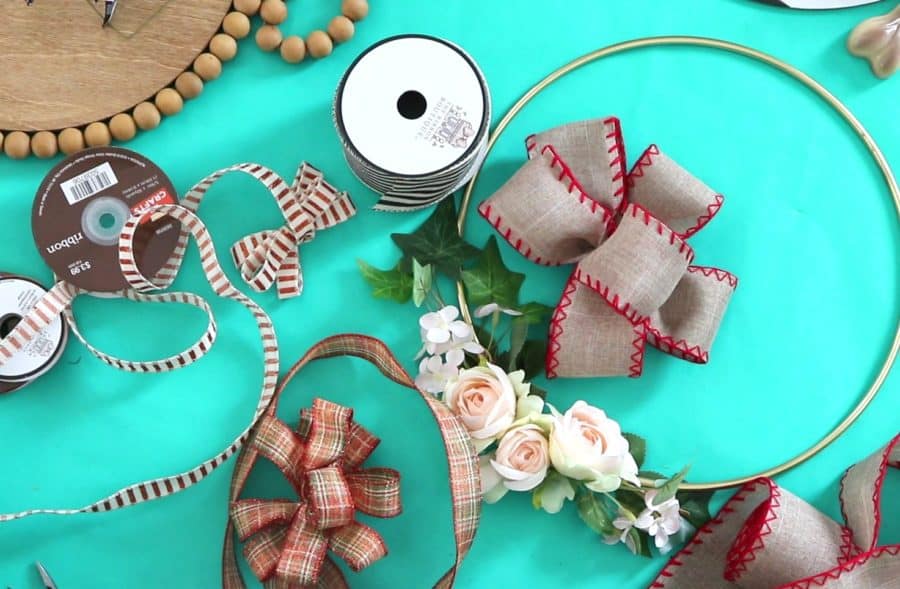
This is my favorite part! Playing around with all sorts of craft supplies to make something fun! I just gather them all up and lay it out and assemble it into something I liked!
- Ribbon
- flowers
- (you can even add some paper flowers)
- Leaves/ greenery! (I stated in the video that buying a garland and cutting it up can be way cheaper)
- succulents
- pumpkins
- ornaments
- berries
- floral wire or zip ties to keep the flowers together
I learned how to make a good big bow from THIS youtube video
In the video I mentioned that the ribbon that works the best is at least 2 inches wide and if it has wire in it-it will hold it’s shape so much better! At this point I literally just lay everything out on top of the board but I don’t glue anything on.
Vinyl and cut files
I used vinyl from Expressions Vinyl– You can use removable and permanent- They both will work for this! I cut mine out with my Silhouette Cameo-
Make sure to measure the wood so the vinyl fits -not too small not too big! Weed away the vinyl and add transfer tape to apply it on your sign!
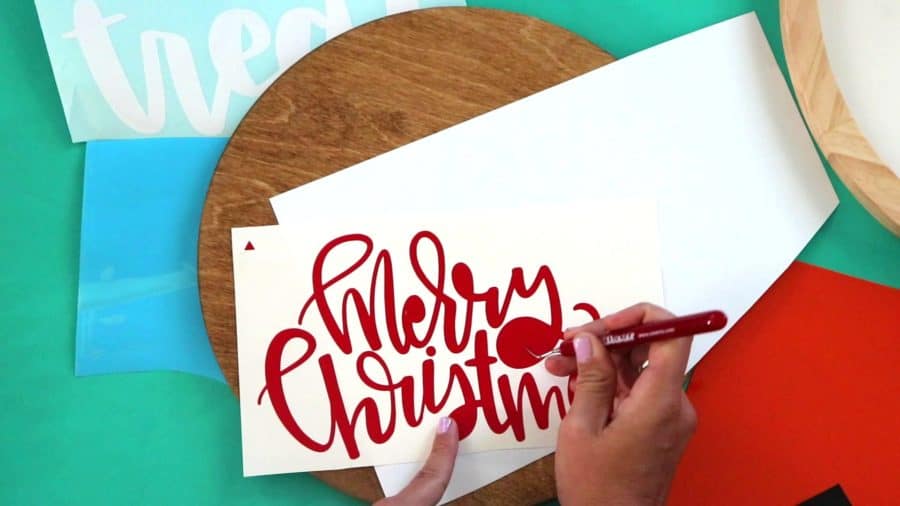
When I’m adding the vinyl- I have the ribbon and layout on the board so I could make sure it all looks good.
If you notice- some of my vinyl is put more on the side because I have my flowers and ribbon on the other side. You also don’t want it to high!
![]()
I do have all the cut files you will need for this project- over 26 of them in fact! I tried to get all the major seasons-
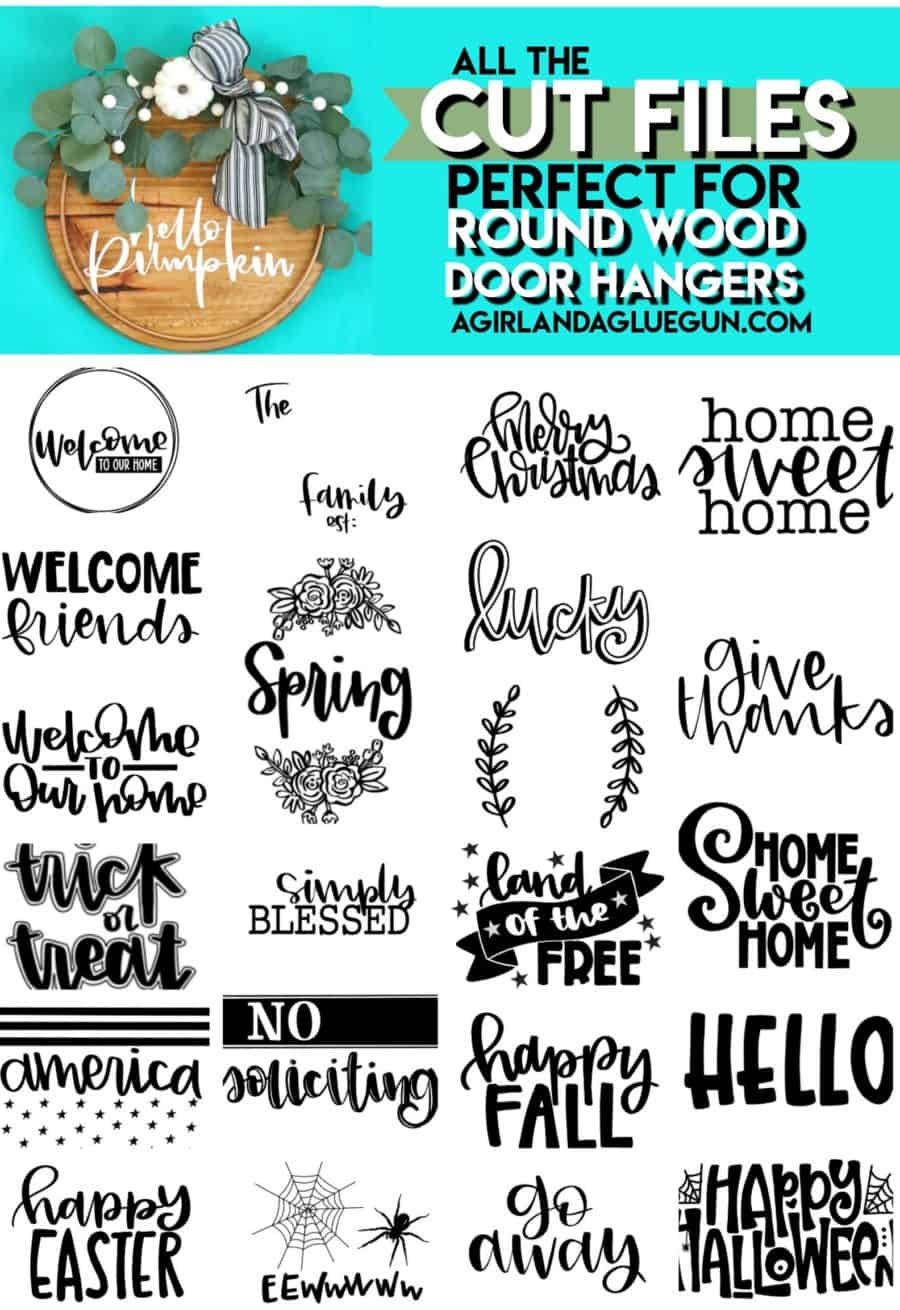
It’s all in one big bundle! and they are 75% off with code WOOD for a limited time!

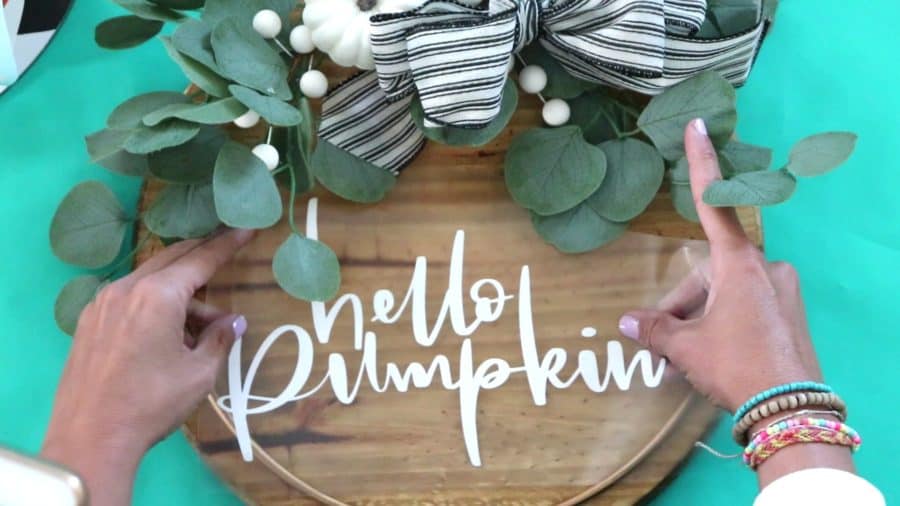
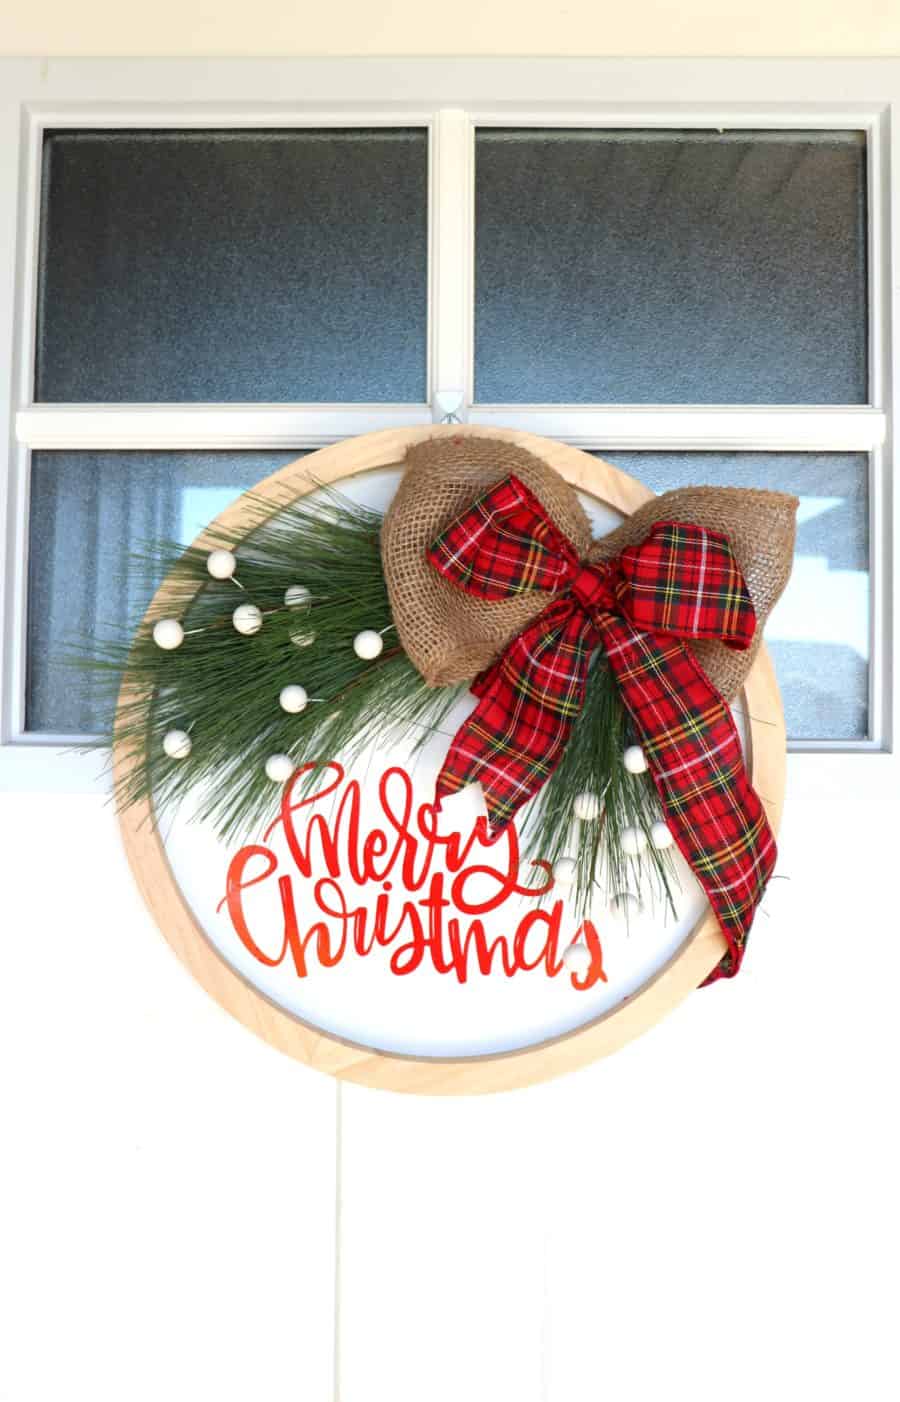
Putting it all together
Once the vinyl is on- It’s time to commit and glue it all together. I just use my hot glue gun to attach it directly to the board! I did think you could try to make these double sided- attach all these to a piece of felt and add velcro- then you could peel off and remove it and flip it over and utilize both sides! Just a fun idea!
The bigger the board- the heavier the board- I added some ribbon with hot glue to the sides to hang- It might not be enough to hold up the whole board- You might want to add a door hanger to the back- You can screw these in. You can also do some command strips-
Command strips will also keep it from banging against the door as people come in and out.
You also can just prop up your wood sign on your mantel or front porch too! It doesn’t necessarily have to be a door hanger!

Then you just keep making and making and making! There are so many holidays and that means each one needs a cute round wood door hanger!
Susan G Reed says
Love these
Kimbo says
Thank you so much!
Penny says
Are the rounds you use the thin ones or the thicker ones?
Taylor says
How do you attached the little round beads to the edges of your round on the “Home Sweet Home” and “Happy Easter”? Love these!
Kimbo says
hot glue!