
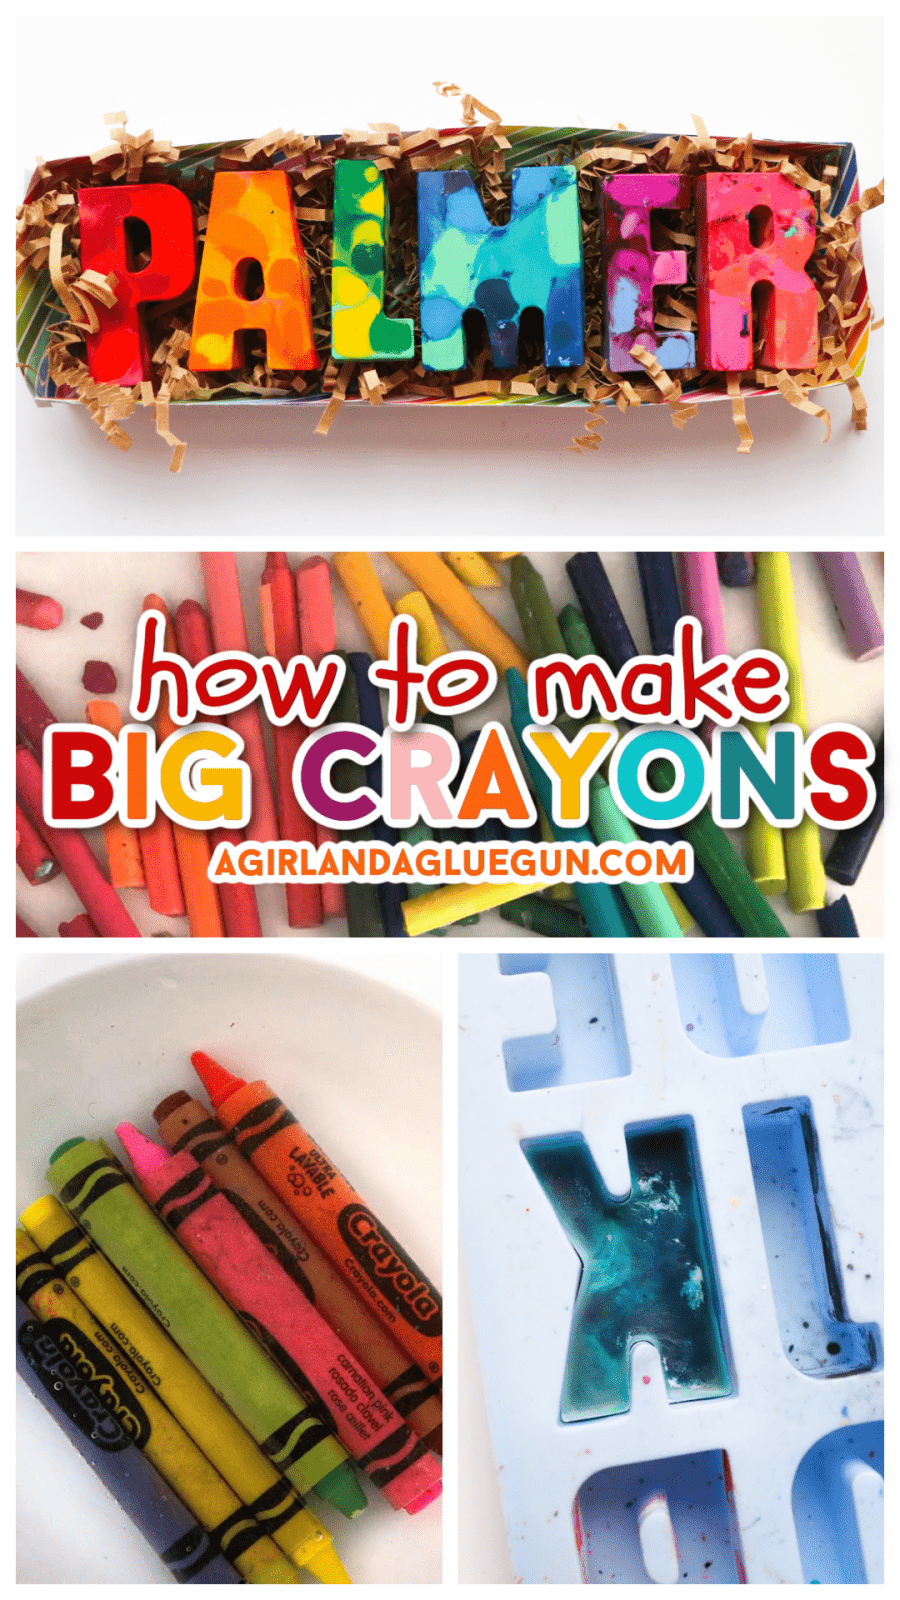
Grab all your old crayons and some fun molds and create this cool melted crayon alphabet! Perfect for little hands!
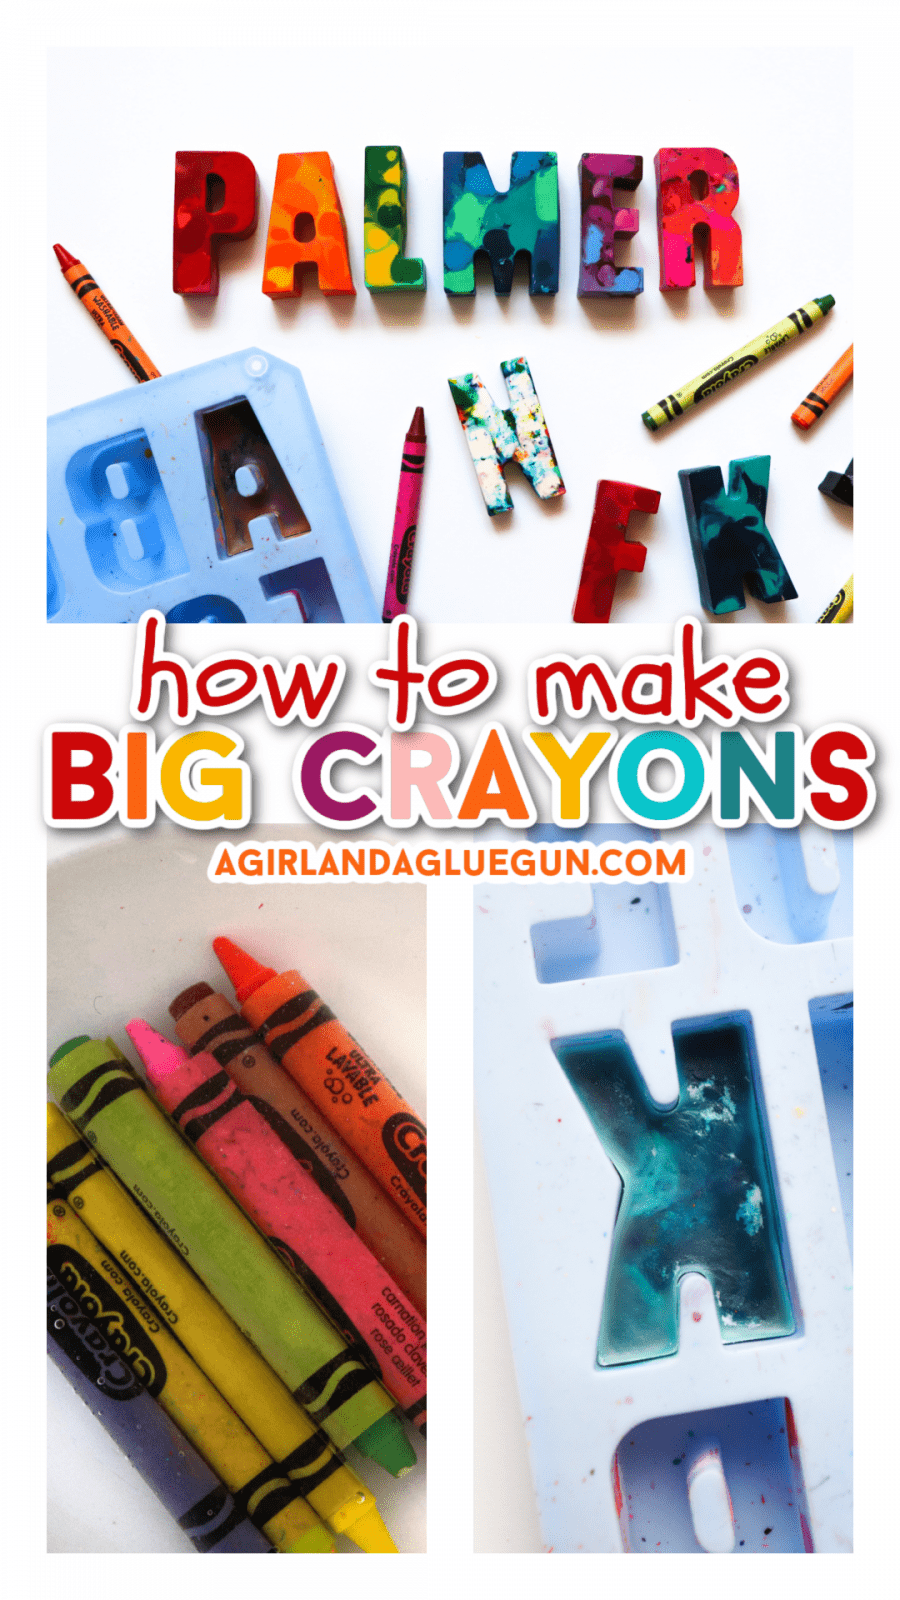
I was just making this because I thought it would be so fun- AND for some reason we have crayons. SO MANY CRAYONS! I shared on my Instagram and I had so many questions on how to unwrap, what temp to melt the crayons alphabet on and the link to the mold-So I’m writing up a post to show you all the melty details!
Watch it here on instagram!
View this post on Instagram
If you make some in each color scheme- it would make the perfect St. Patrick’s Day gift! You can THIS color printable to it!
Supplies to make alphabet Crayons
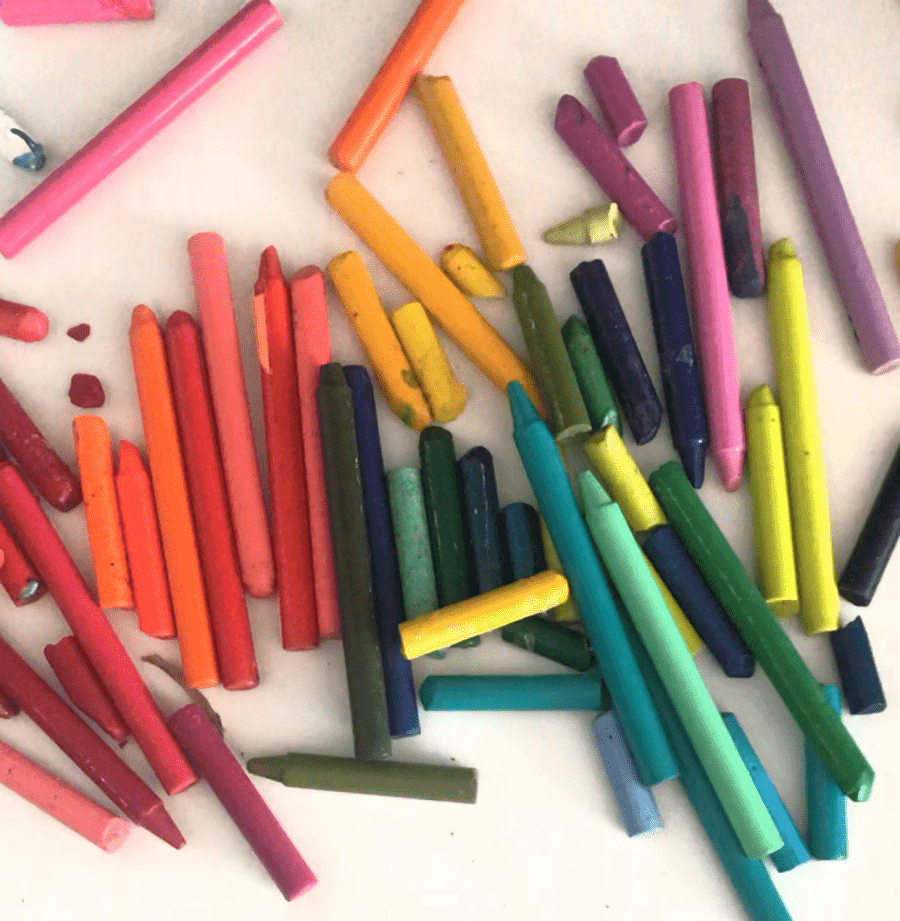
- Crayons- Old broken crayons work perfectly for this! Crayola is the best!
- Silicone Alphabet mold! I bought this one– It can withstand the heat!
You can also make cute hearts ones (here is a mold!) Perfect for Valentines! There is also a puzzle mold– a unicorn mold, emoji mold, or a lego block mold! Lots of cute options!
How to make alphabet crayons
Step 1: Unwrap
There are two easy ways to unwrap and take off the crayon pieces!
First: This crazy handy tool.
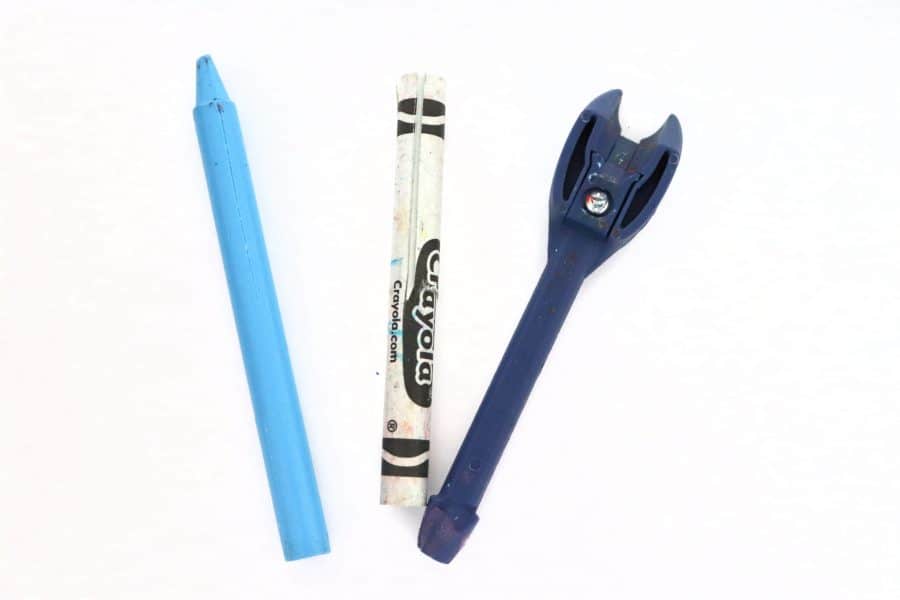
It has a little sharp piece that slices it right down the middle. and then you peel it right off.
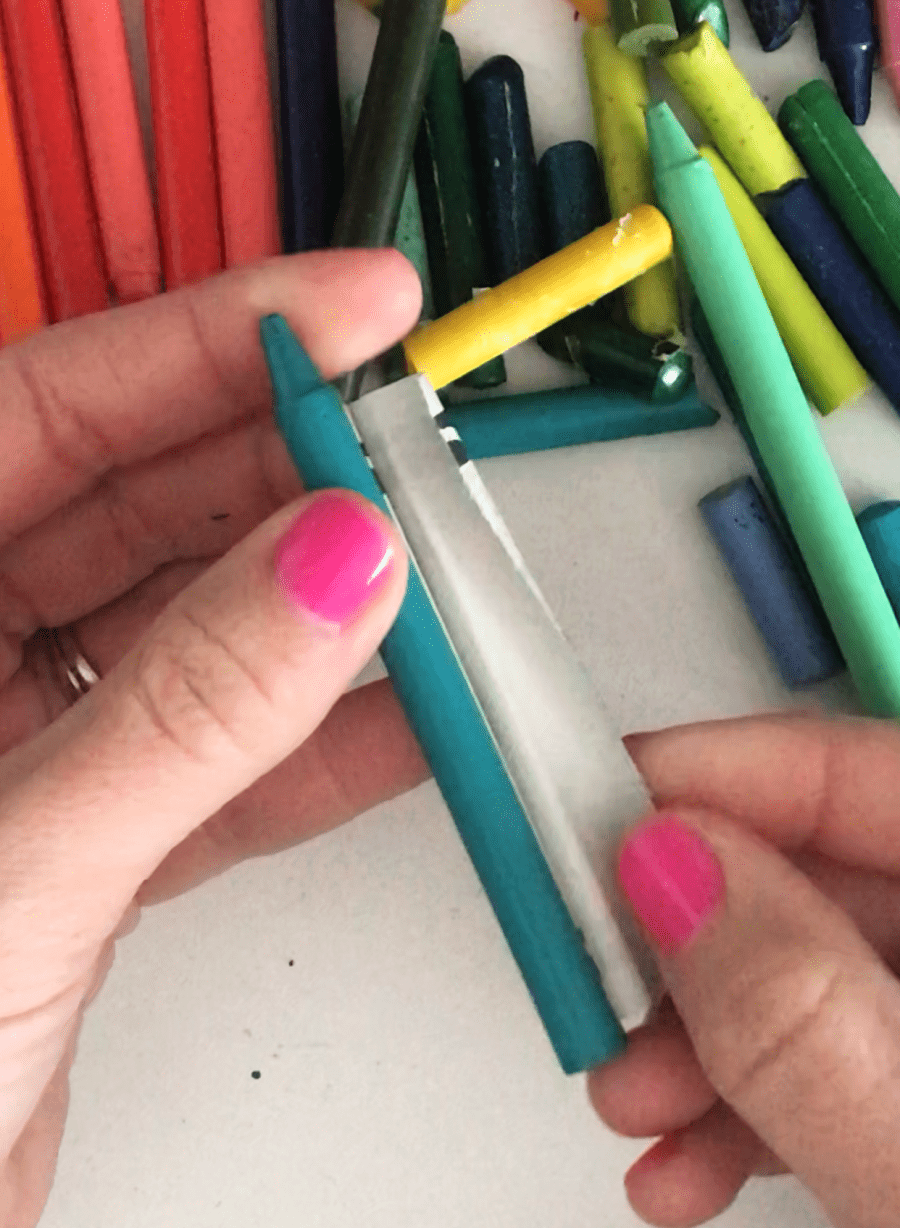
It came in this crayola melting kit. I haven’t found it online by itself- but Crayola should 100% sell them separately!
If you don’t have access to this tool….This crayon unwrapping hack is the BEST
Grab a bowl of warm/ hot water. You don’t want it to hot. You should be able to put your hand in it an not burn it. Then throw in your crayons
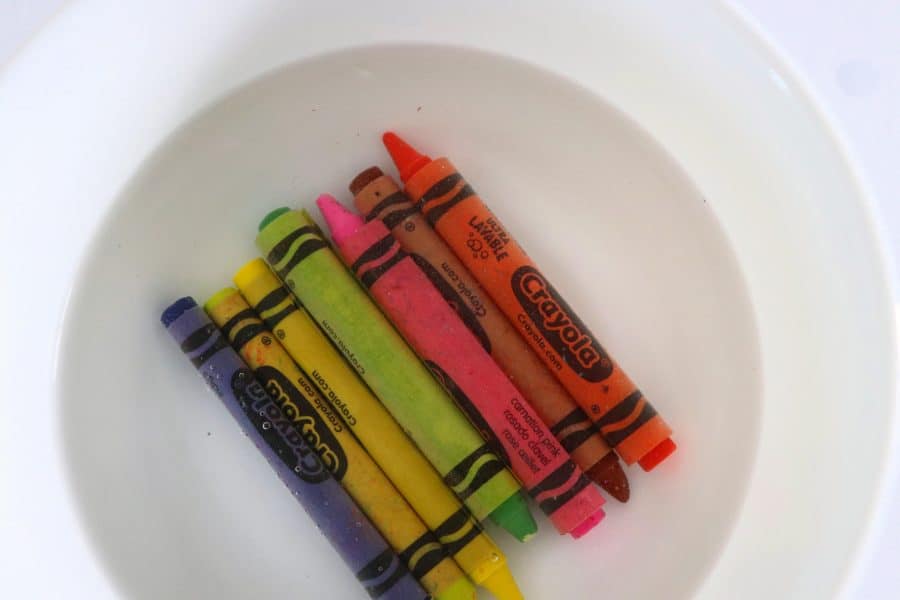
After about 15 seconds– they literally start coming off. Notice the green crayon. The paper is just unrolling. You pull off the paper and the crayons on a paper towel. If you leave the crayons in to long they will start getting wax on your hands. Let dry on the paper towel! It’s seriously THAT EASY!
Here is an image if you want to pin it and share it for later:
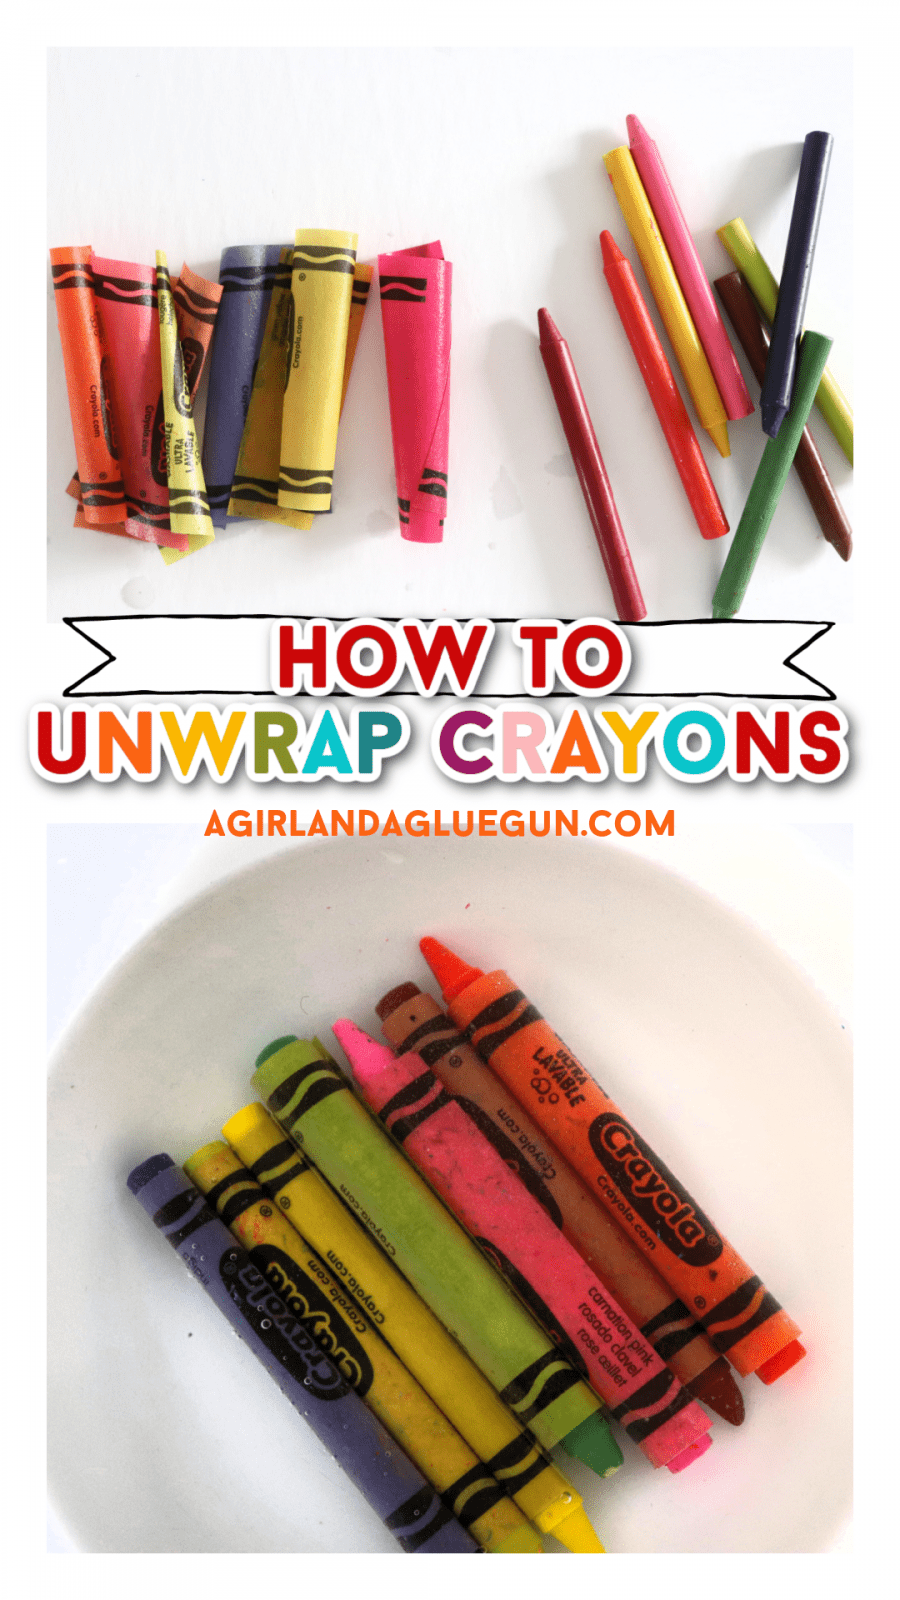
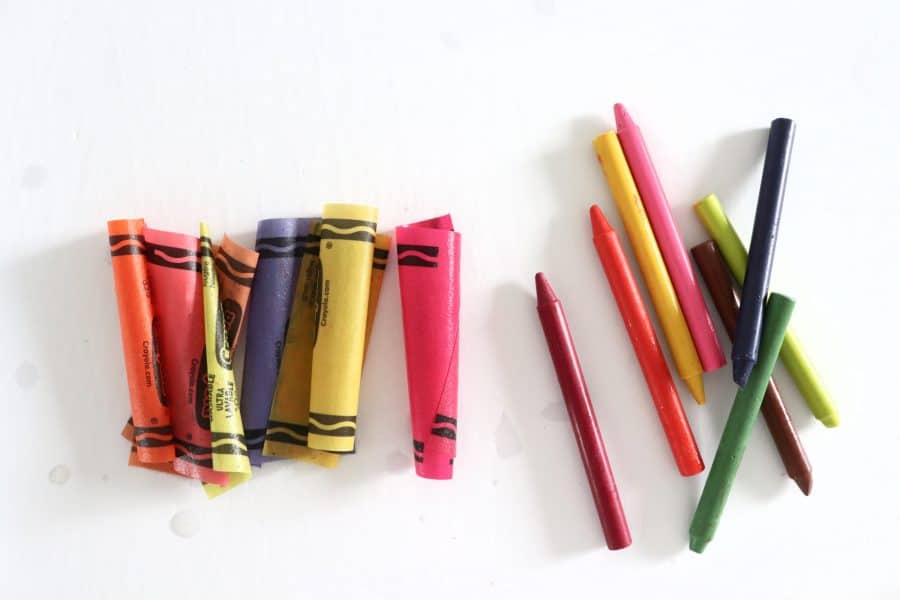
Step 2: break up in small pieces
Once you have them all unwrapped- time to break the crayons up! You need lots of small pieces. If you have little kid helpers- you might want to put all the same colors in a sandwich baggie and let the kids pound away at them!
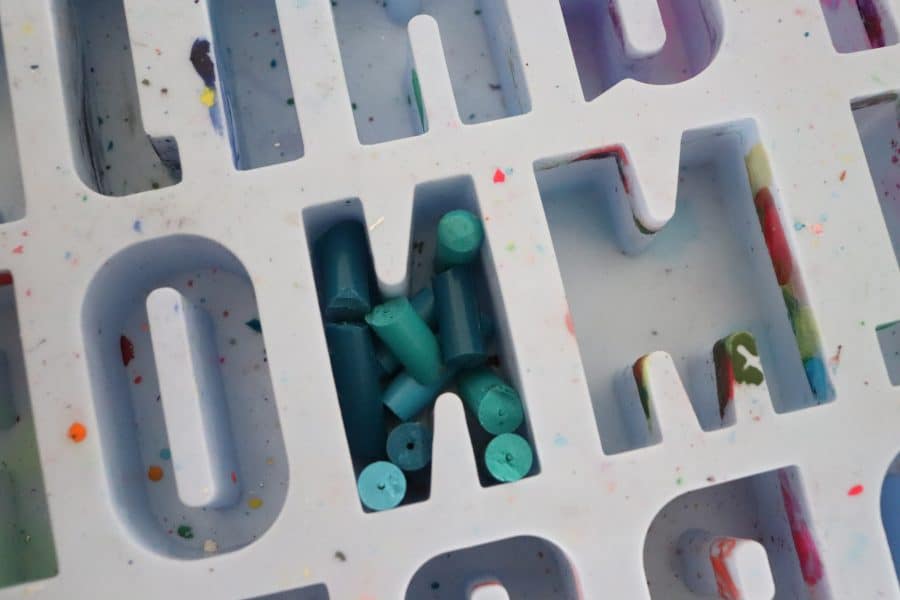
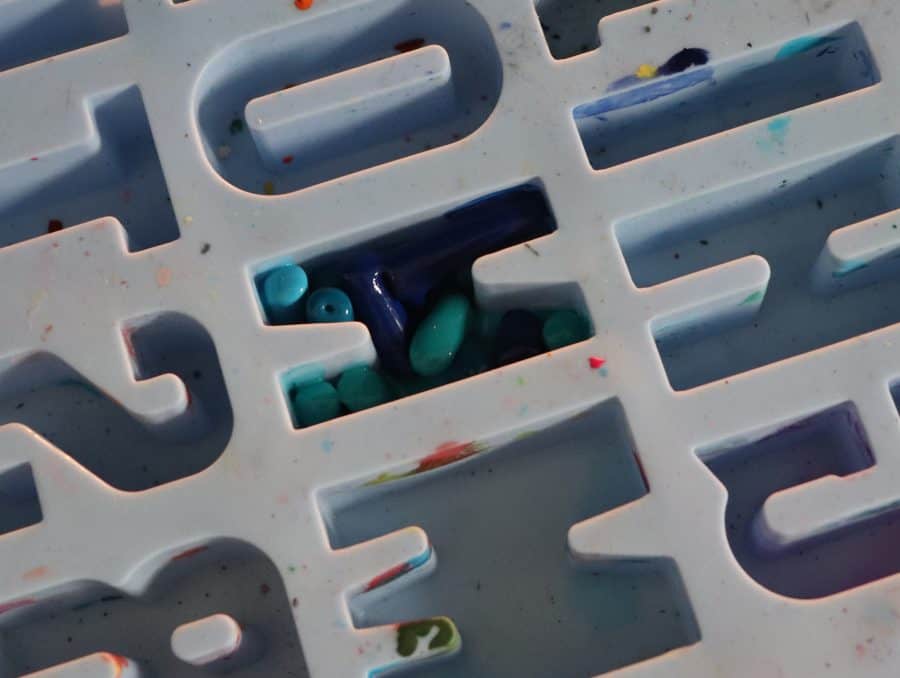
Step 3: stack in the Crayon mold.
If I want it to be really colorful- I try to stand them up. If you want bigger color blocks- lay them down! There are also lots of gaps between the crayon pieces- so I stack it as high as I can and then when they melt down they are still only 2/3 full!
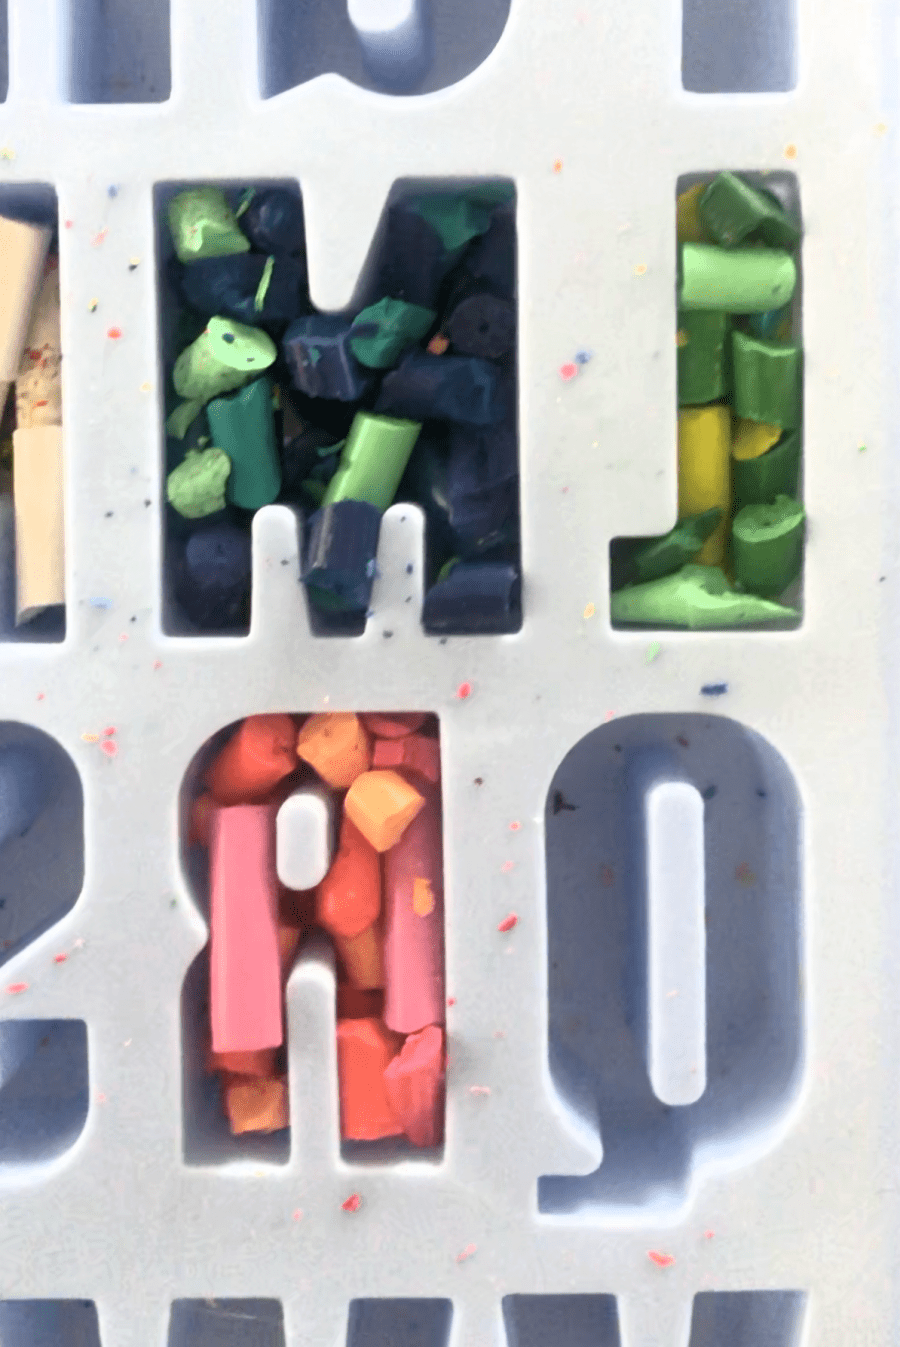
You also need to be mindful of what colors you are using. Some look better together- I did rainbow and it turned out great and didn’t turn into a brown blob!
Step 4: Put in Oven.
I place the mold on a cookie sheet to stablize it a little bit better. I had my oven at 300 degrees.
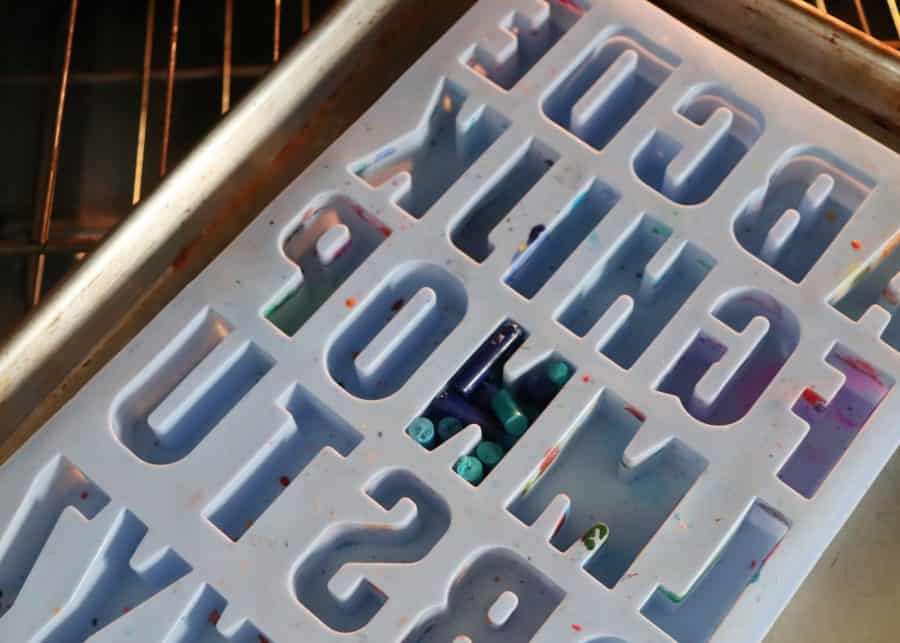
Step 5: Crayon melting
Watch it melt! It’s very satisfying. You want it to melt down so it’s nice and level in the the mold. I watch it and pull it out as soon as it’s smooth. (About 10 minutes.) Pull it out carefully so it doesn’t get the colors are mixed up!
Step 6: Cool
This step is important because if they aren’t cool and hardened all they way- they are very easy to break when unmolding! If they do end up breaking- you can easily place back in the mold and reheat it and melt it back together! 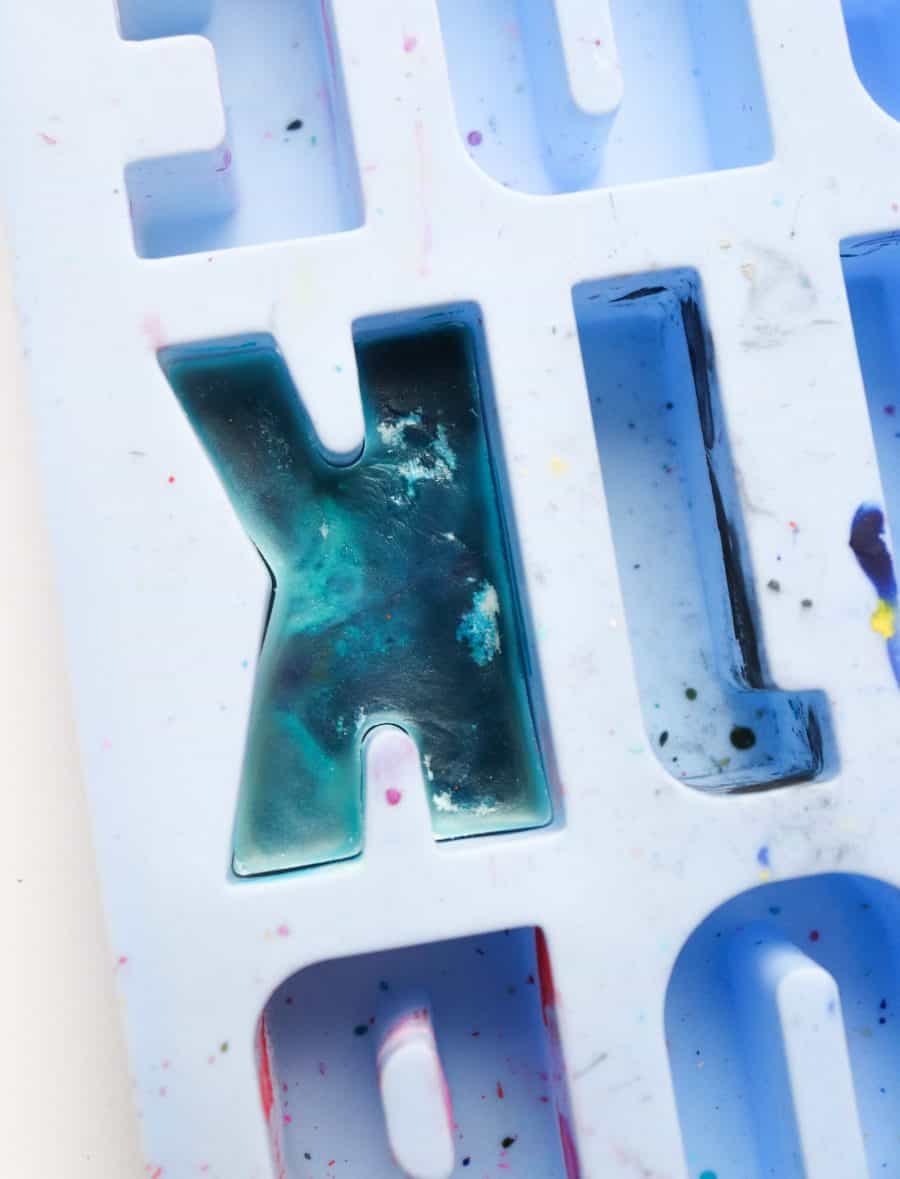
Step 6: Pull out of crayon mold
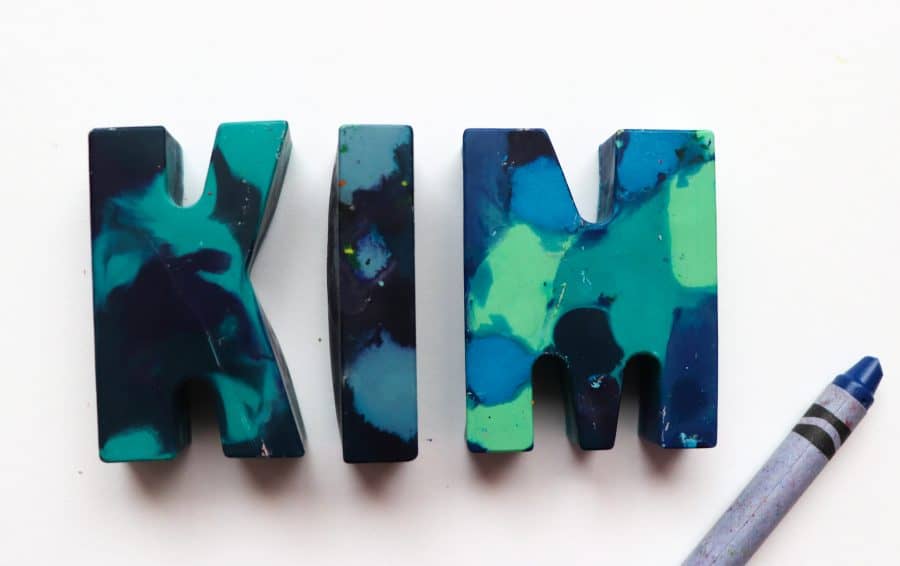
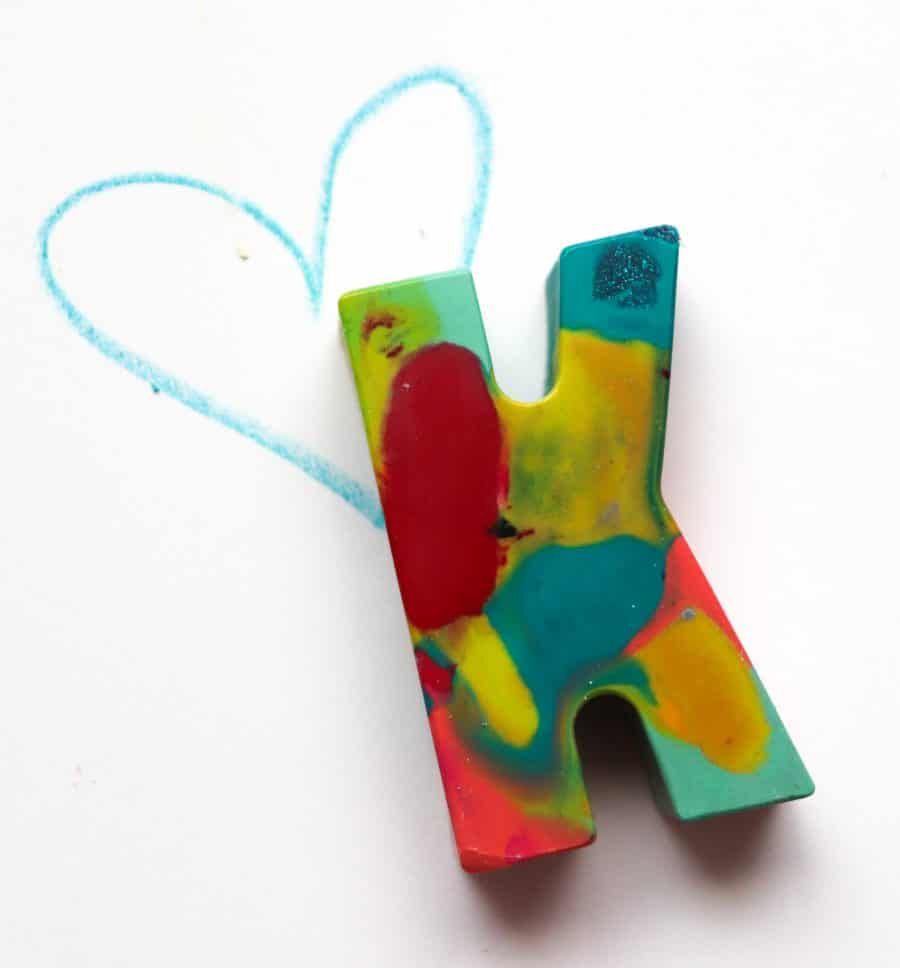
and color! they are fun because each corner could be a different color.
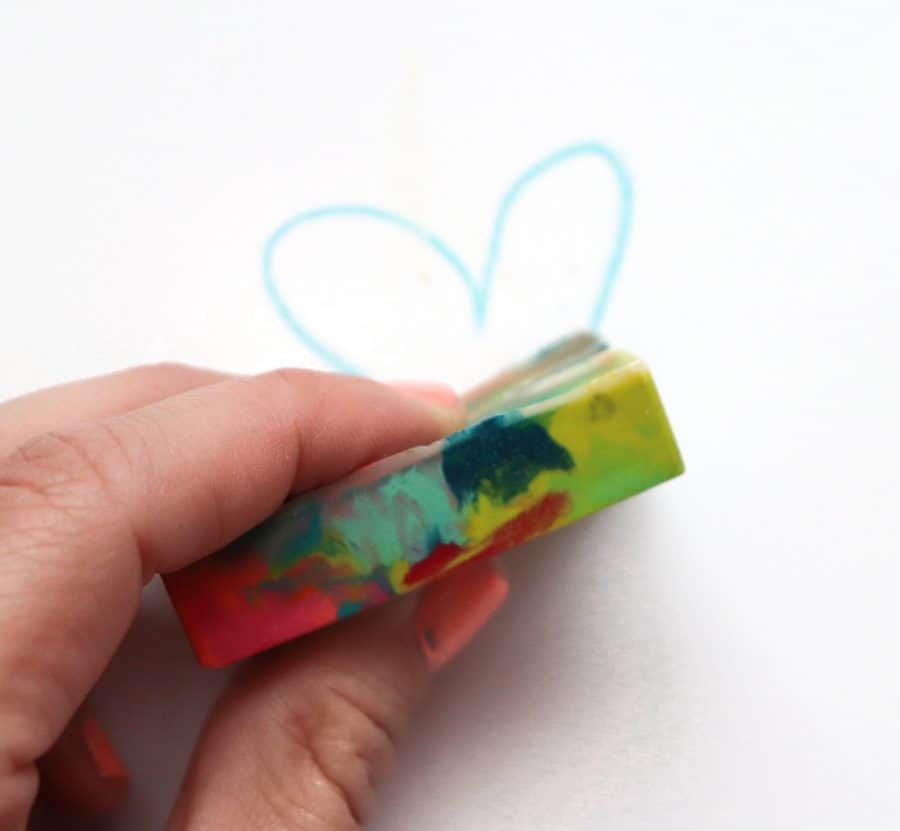
And since they are so big- they are so great for little toddler hands to use! 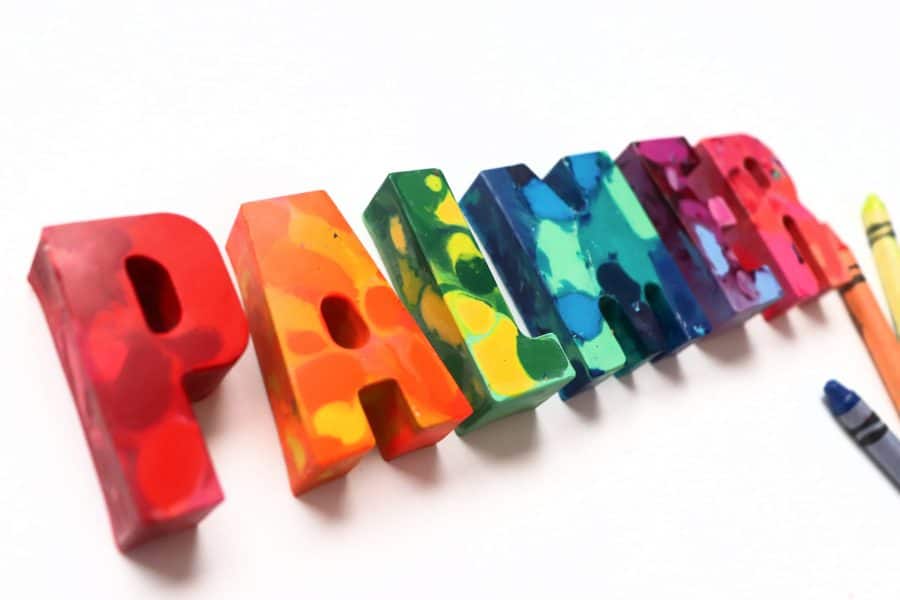
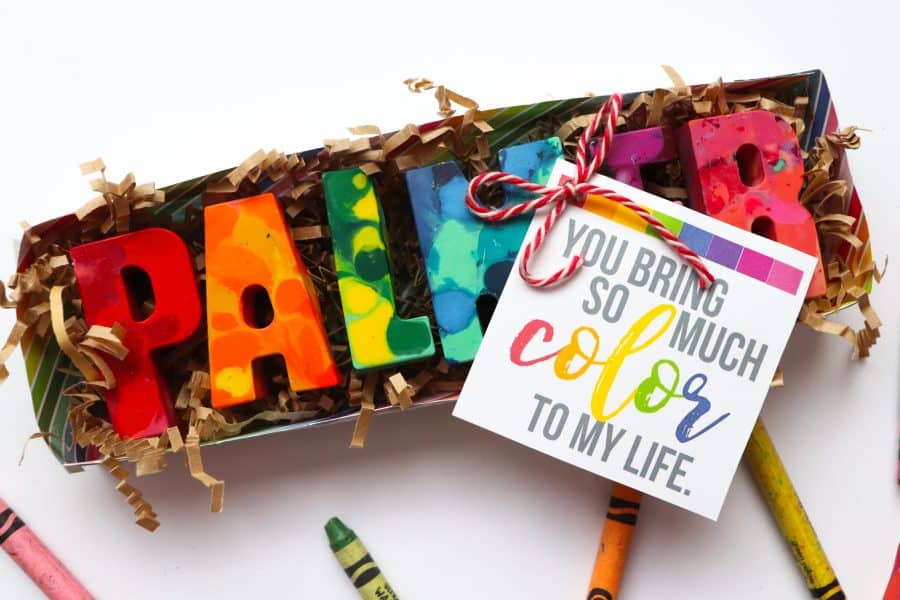
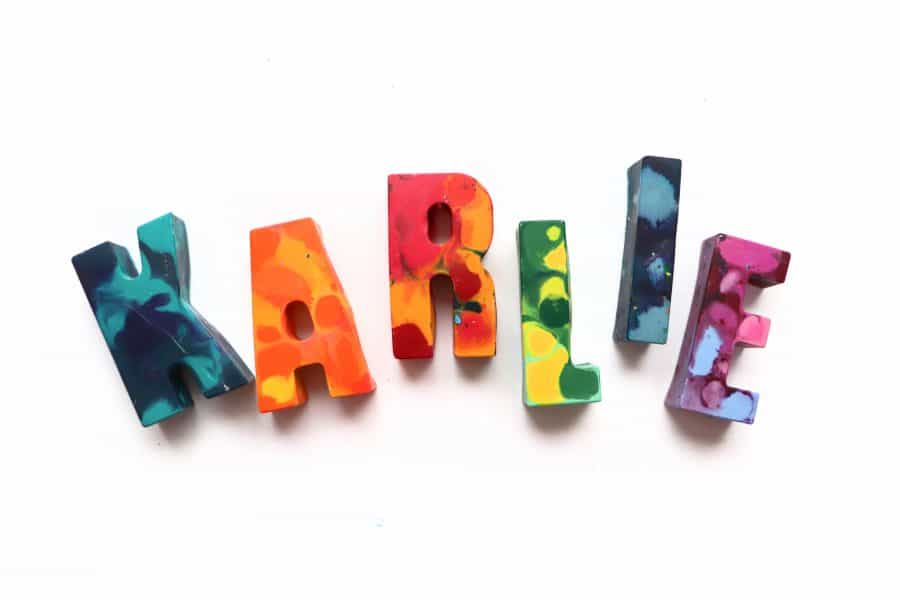
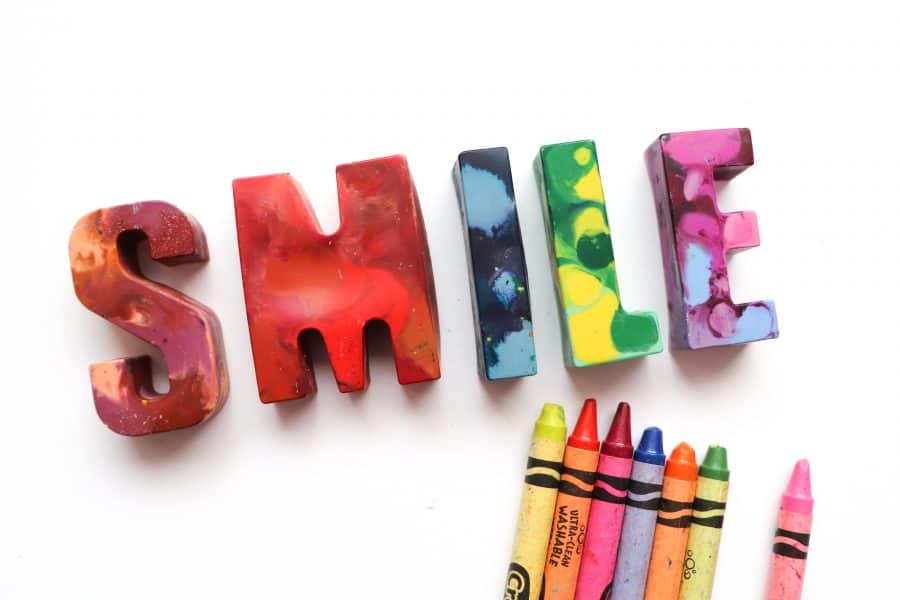
Phrases and names are especially cute when it’s in crayons
I created a little box to put the crayons in for a perfect gift!

If you like crayons- you have to try this super popular hot rocks activity
and this activity where you draw on a heated surface! It’s so fun!
Jessica cole says
Where did you get the box to put the crayons in? I’d like to find something to gift the crayons in
Kimbo says
I found a bunch of different cardboard box sizes in the bakery supply section at hobby lobby. I think these were meant for macaroons.