
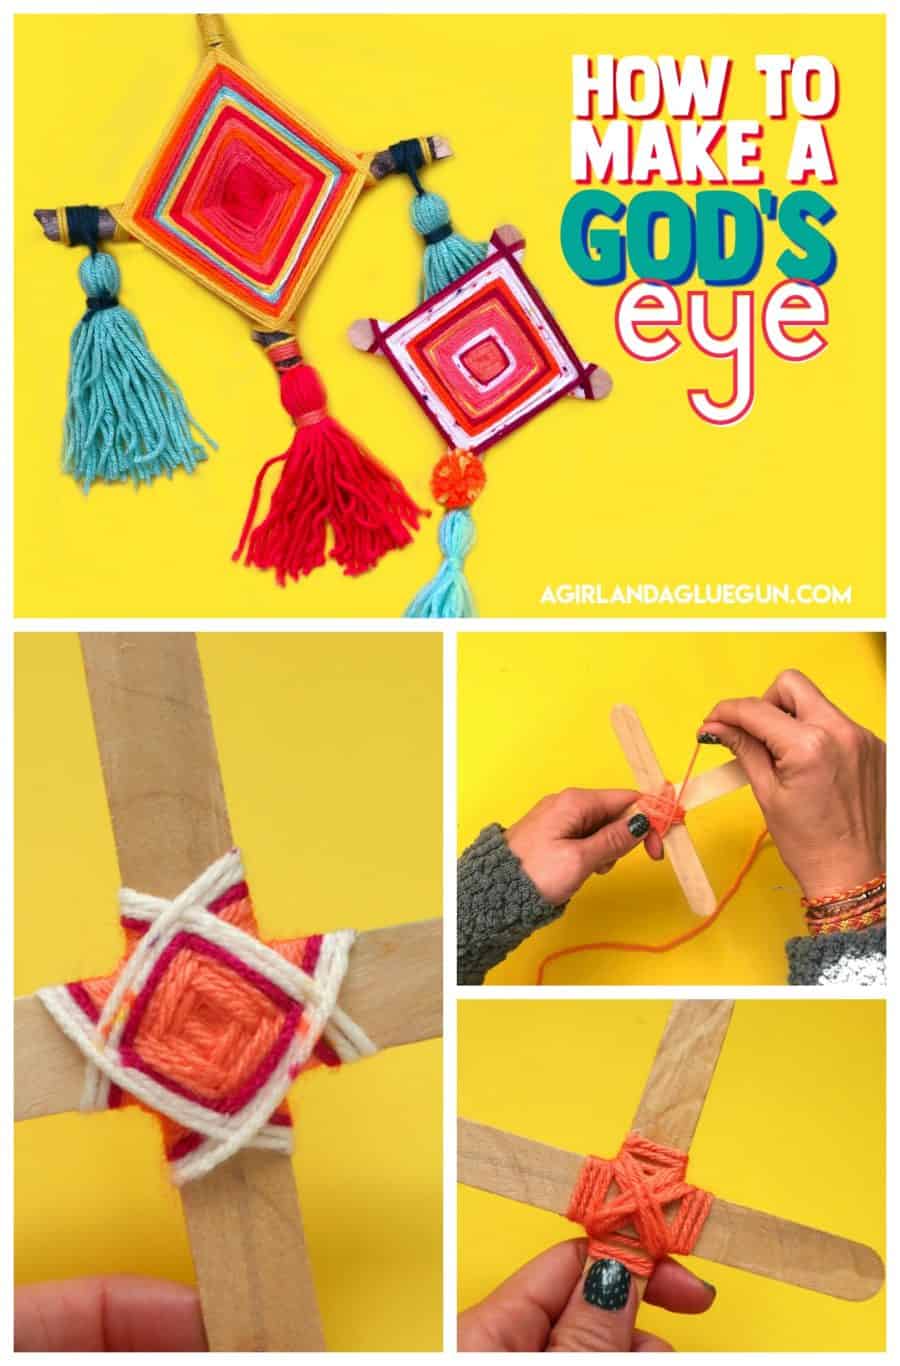
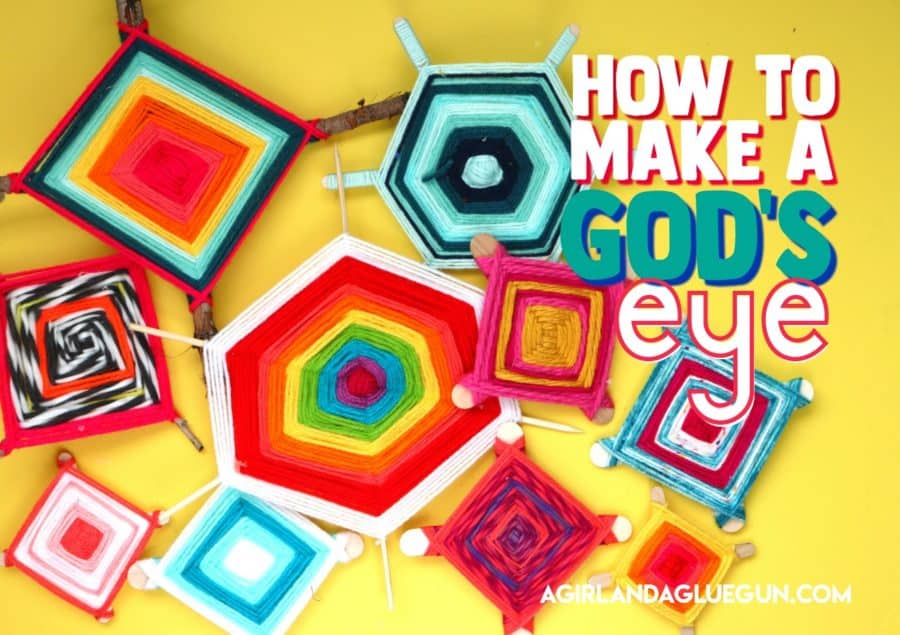
Do you know how to make a God’s Eye? It’s a weaving technique that looks super neat when it’s all done! And guess what? It’s way easy! Grab some yarn and sticks and let’s make one!
If you are wanting to save this post for later- you can pin this image!
In case you didn’t know, A god’s eye is made for protection from the uncertainties of the future, the Huichol sometimes made decorative, ceremonial shields with colored yarn and sticks. These shields were called god’s eyes because through them a god might keep a watchful eye over the people who made them. It’s a cool weaving technique using yarn that I’m going to show you how to do! Kids can create this but they are so cool that you might even make a few for yourself!
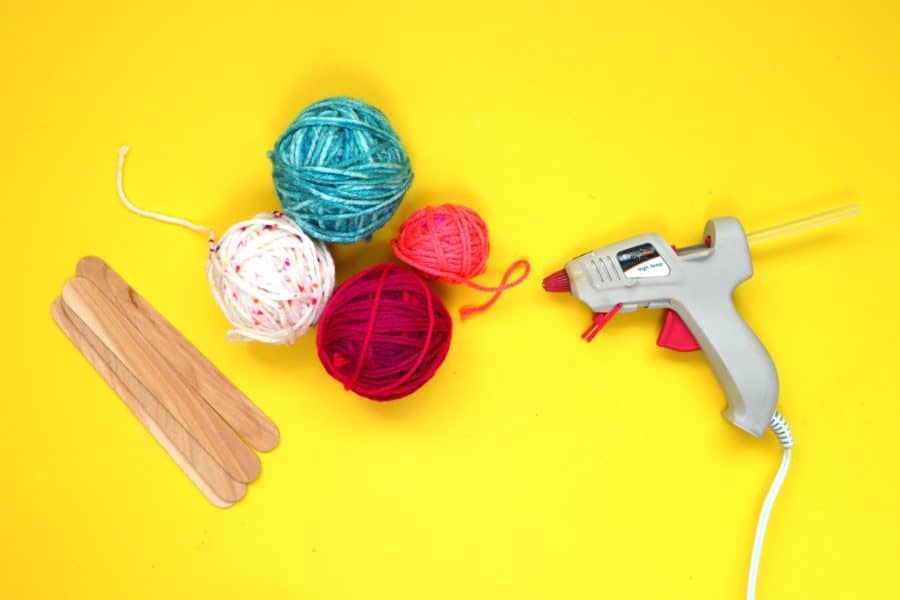
Here is what you need to make a God’s Eye
- Yarn
- sticks (popsicle sticks, branches, skewers, dowels)
- Glue ( I like hot glue but if you have little kids you might want to use regular glue)
I’m going to show you the general how to and then at the end show you some variations to jazz it up!
How to make a God’s Eye
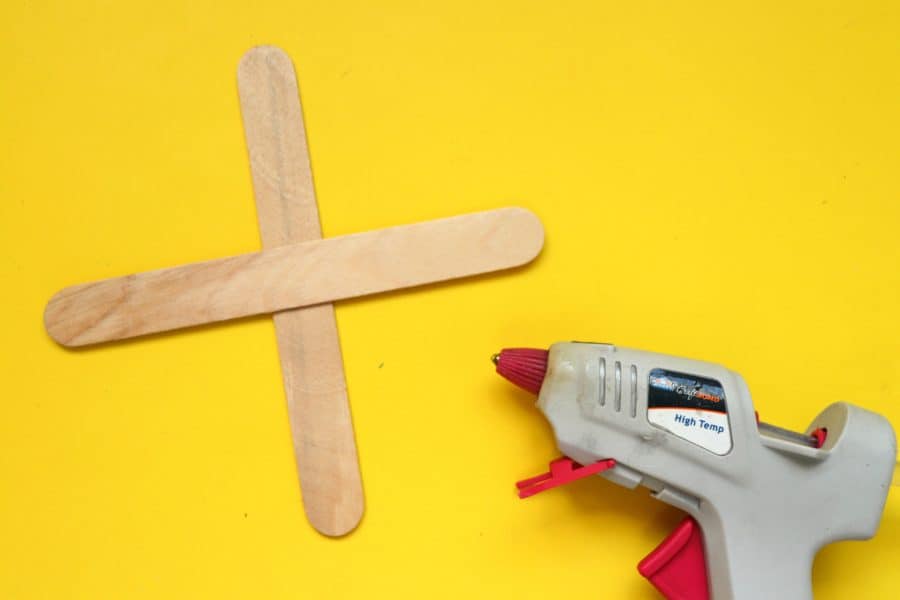
Take two sticks and glue them together
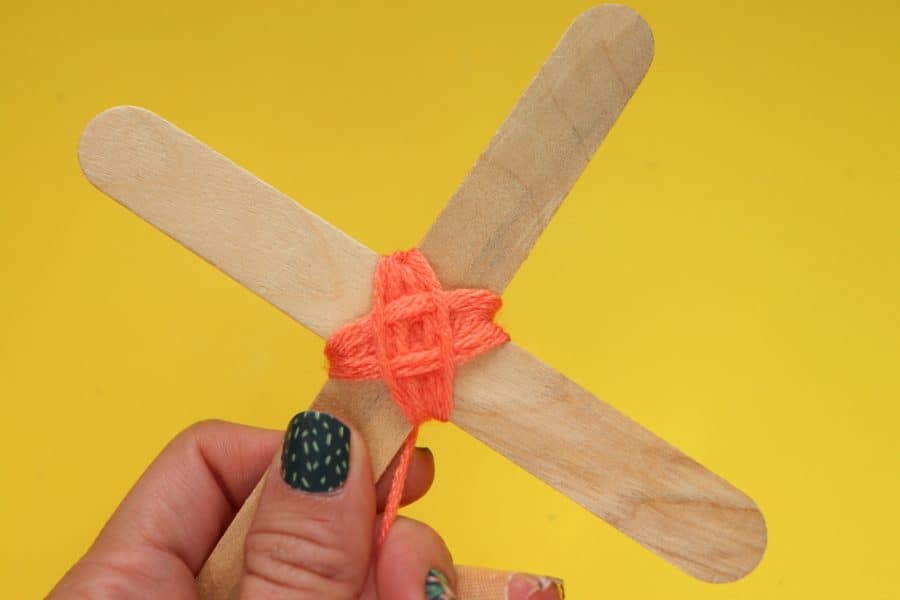
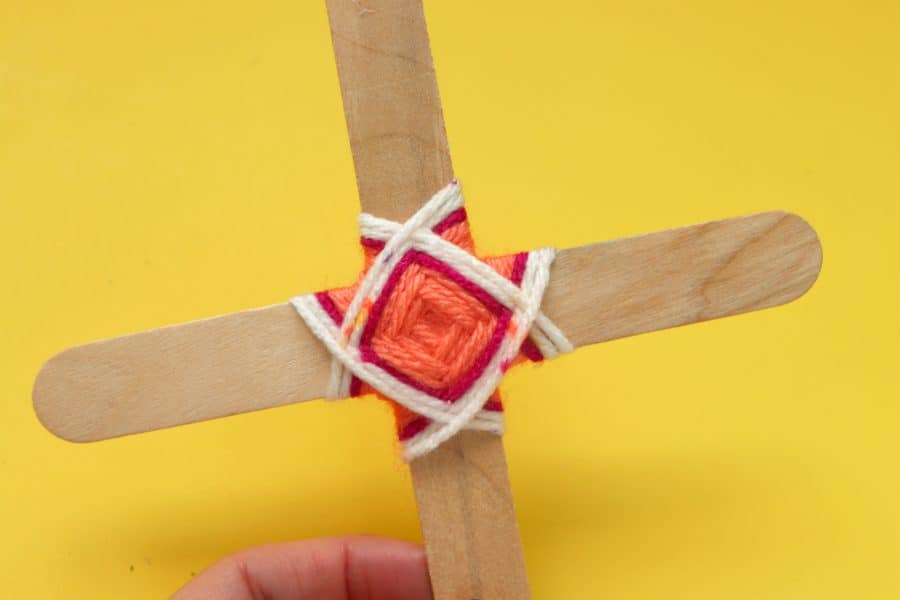
Add a little glue and put the end of the yarn into it to hold in place. Then you are going to wrap 3 times each direction in the middle to make an x.
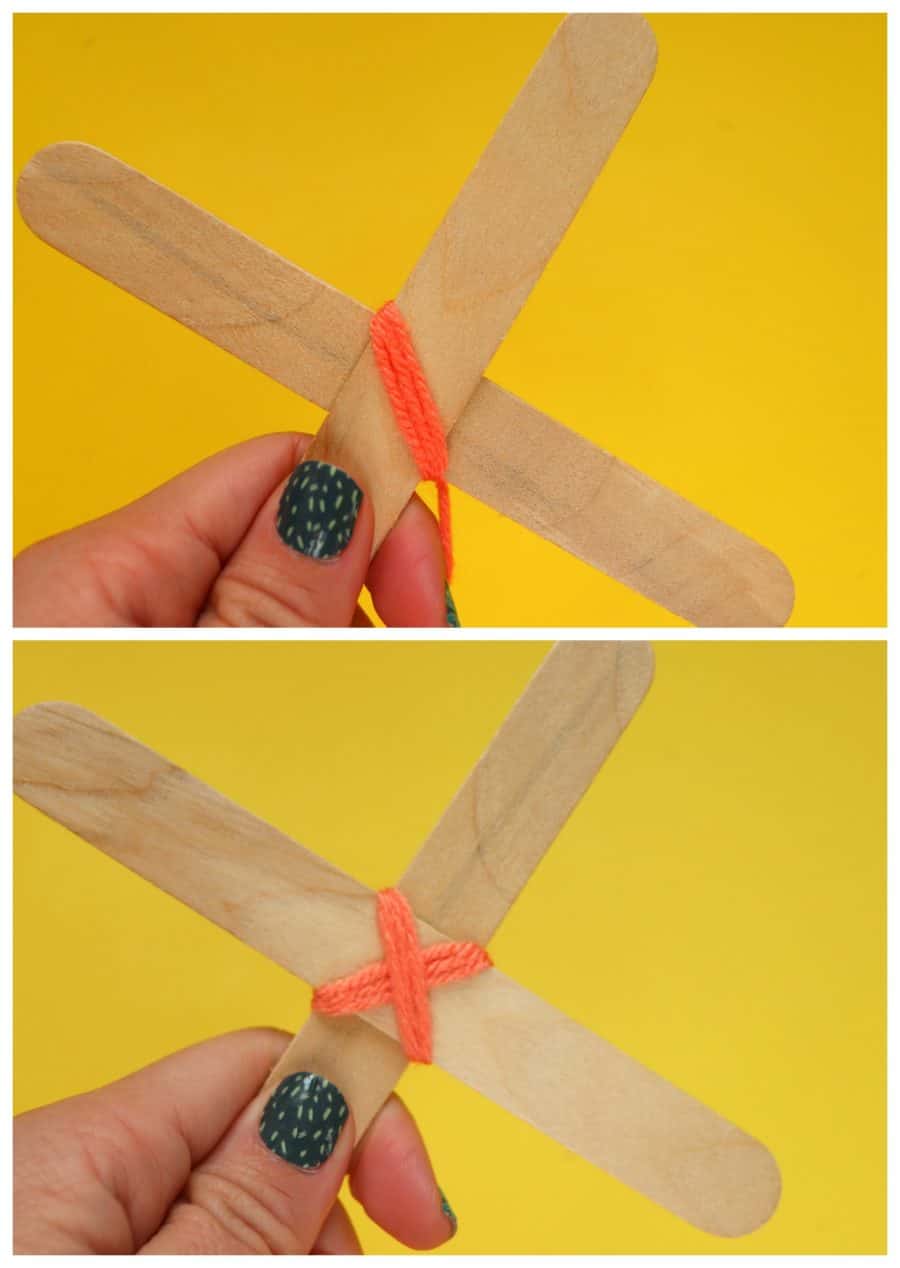
repeat. 3 wraps on one side and then turn and 3 wraps on the other side. The goal is to make the yarn wraps nice. You are going to side of each previous wrap. If you notice, the center looks like a square. (this is the eye)
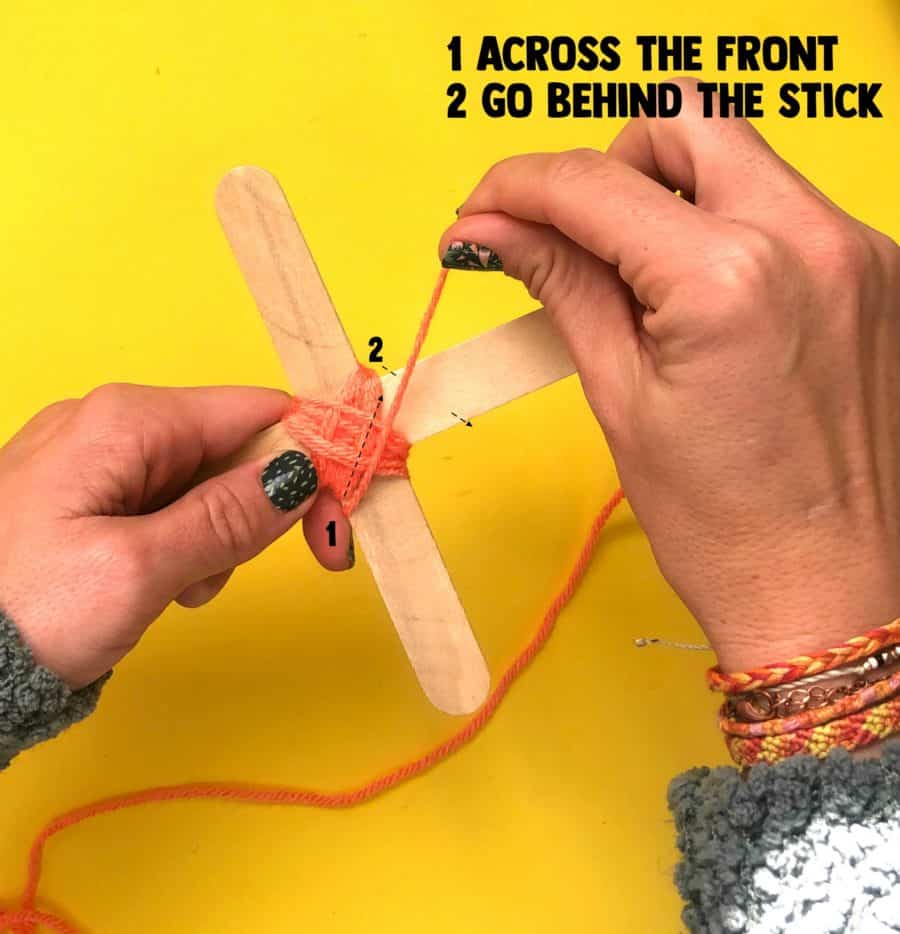
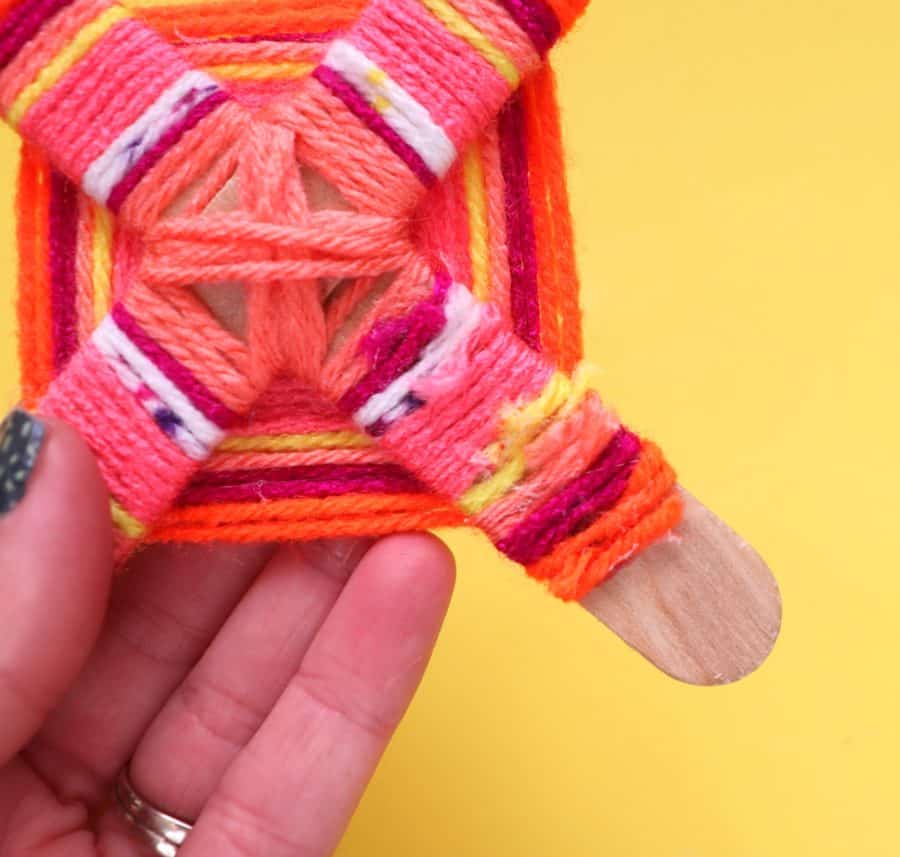
Once you have it built up enough it’s time to start the weaving. It’s two basic moves. Across the front to the next stick. go Behind that stick and then go across to the next stick. You will constantly be turning the popsicle sticks round and round!

Remember, you are trying to line them up next to the previous yarn to make it look nice.
When you are ready to change colors , you glue down the yarn you were using, snip it off and then add the next color right next to it so it’s continuous.
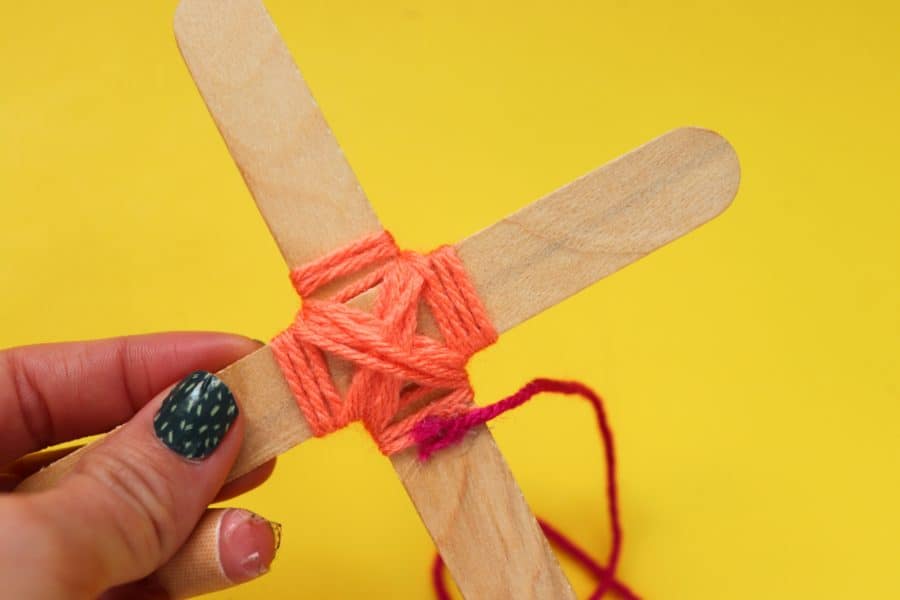
You pick up right where you left off.
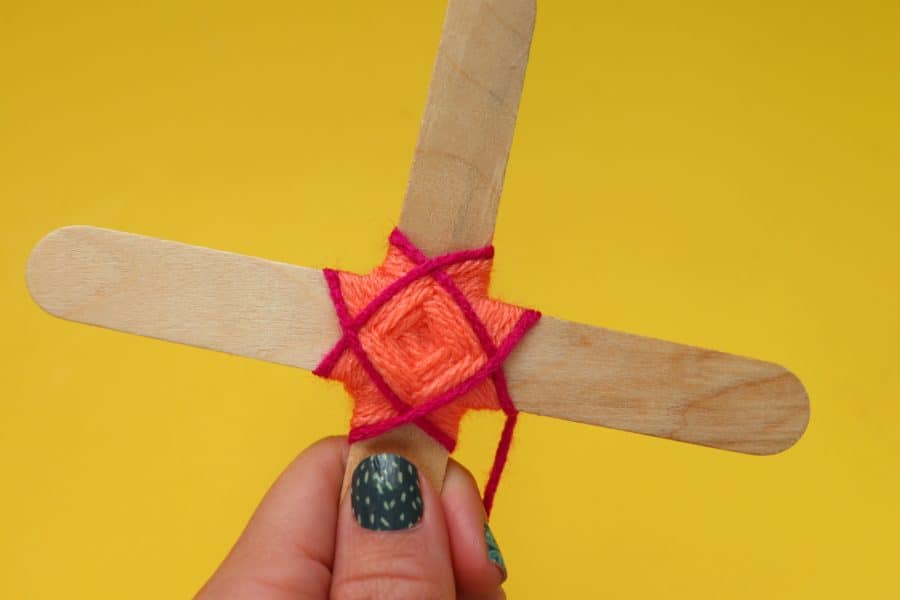
This is where you get to have a lot of fun and creativity! wrap a once time around, wrap 6 times around. change colors all the time, change colors twice. Each eye will have such a different look to it! When I change colors, I do always try to change on the same stick each time so the yarn weaving is even.
How to finish the God’s Eye
Once you have finished wrapping the yarn, (or reach the end of your sticks) I just glue the last piece in place and snip off!
Then you can add some embellishments. Pom poms, tassels, buttons. Decorate it up as much as you want!
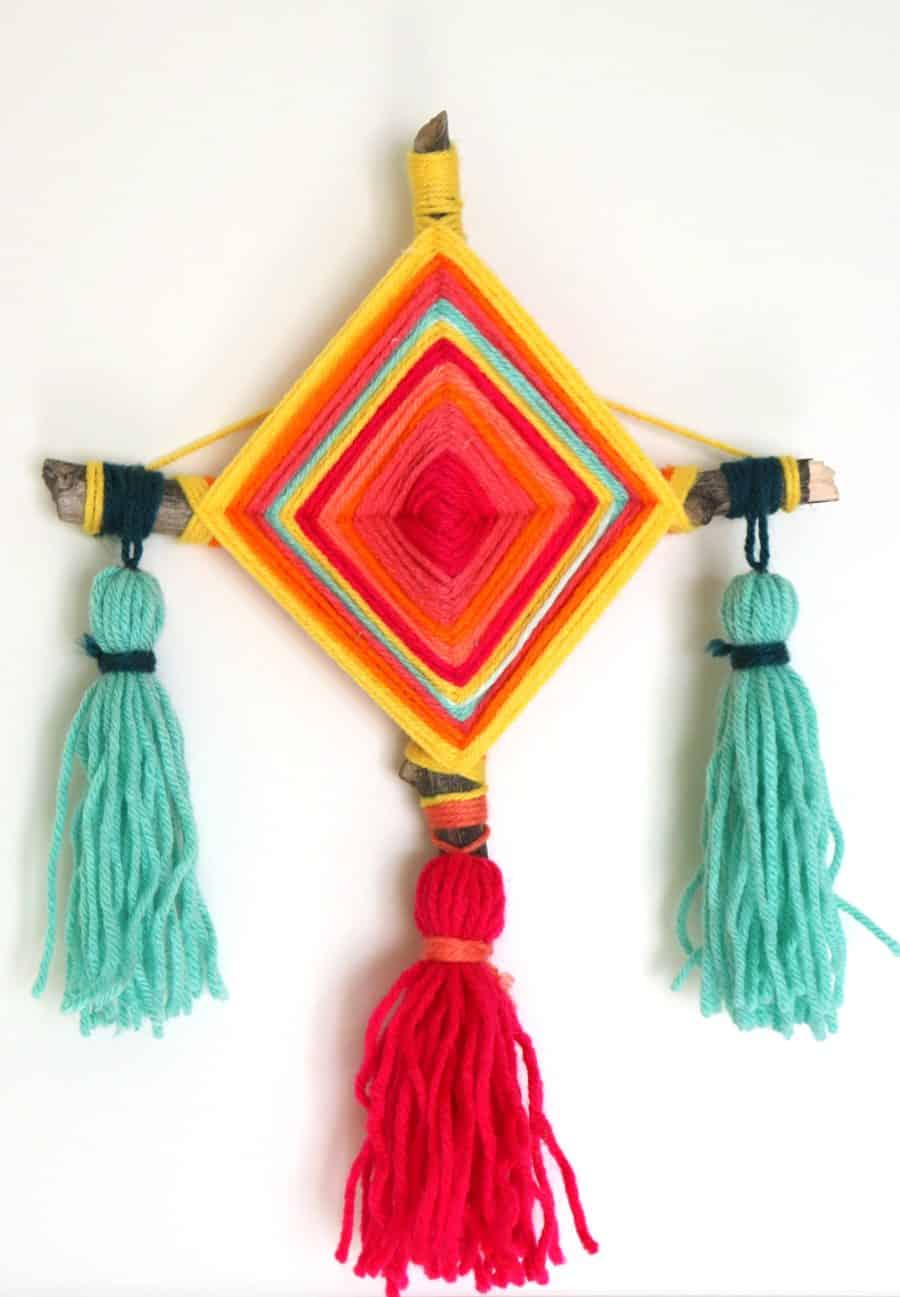
Hang up in your window or on your wall!
Different Variations of a God’s Eye
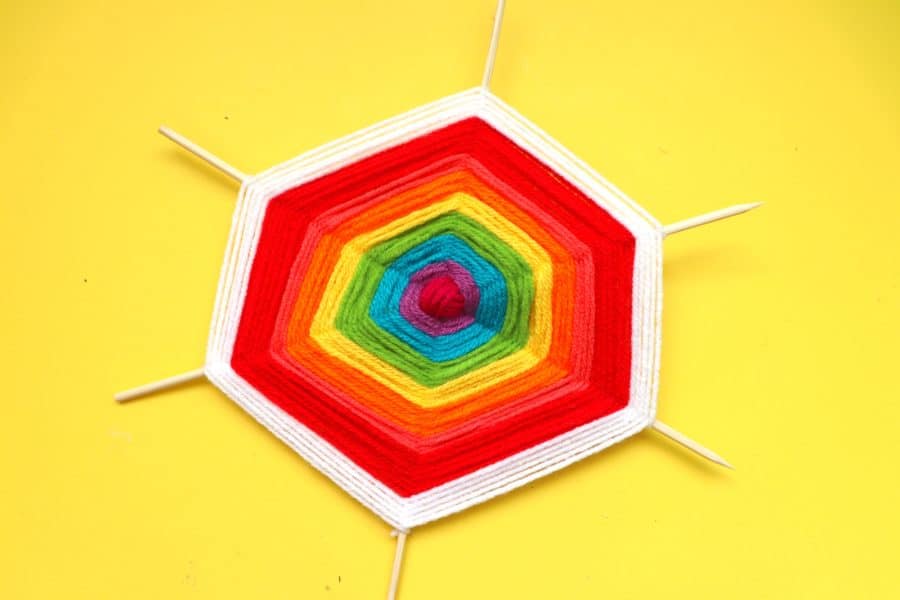
We tried big and small popsicle sticks, both worked great.
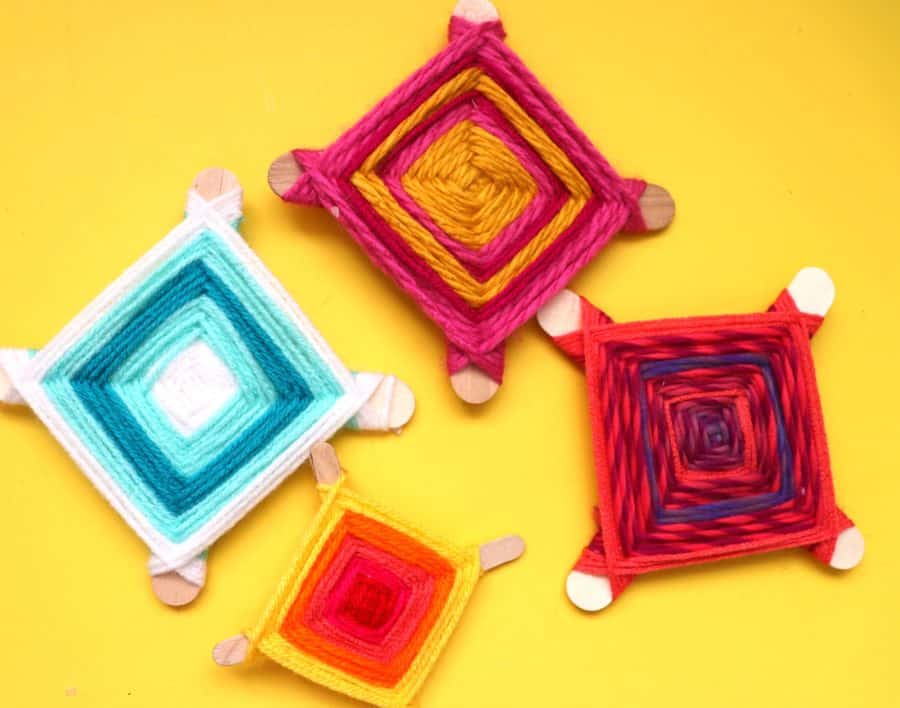
We glued lots of popsicle sticks together to make a bigger one
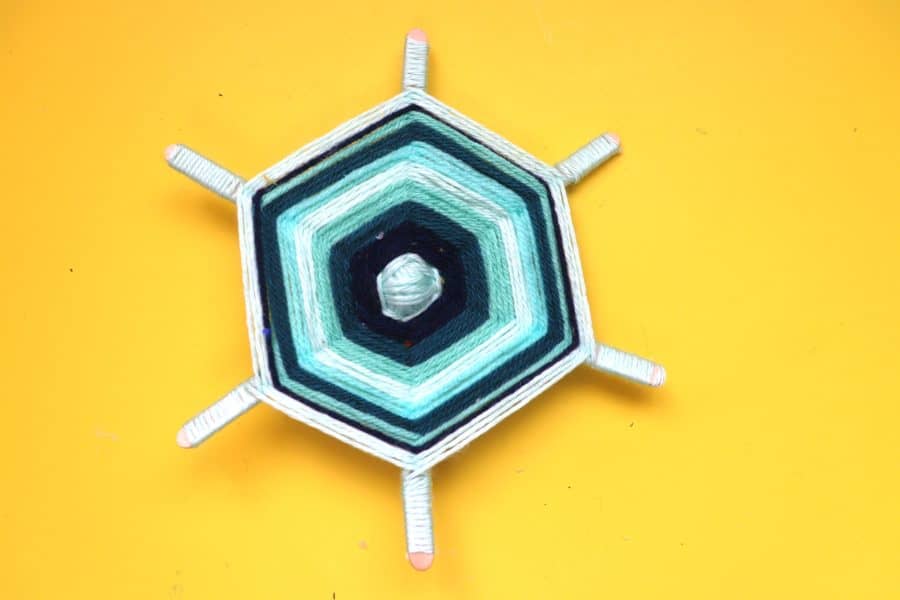
and we did more than just 2 sticks (or skewers) It goes slower when it’s bigger and more to wrap but the outcome is cool! I would recommend using a ruler to glue them together. I just eyeballed the skewers and you can see how uneven they are when it’s all wrapped up!
We also weaved the yarn on a branch. It’s got a lot more imperfections so I would recommend practicing first on the smooth popsicle sticks to get the technique down before doing it on a branch!
That is how you make a god’s eye! It’s such a super cool technique that you can find yourself making wayyyy to many that you don’t even know what to do with!
This post is part of my fun Kid’s camp series! A whole month work of projects that kids and adults alike love to make!
Leave a Reply