
Grab these Dollar store pumpkins in bulk because I have all the fun crafts and DIY to make these foam pumpkins look AMAZING!
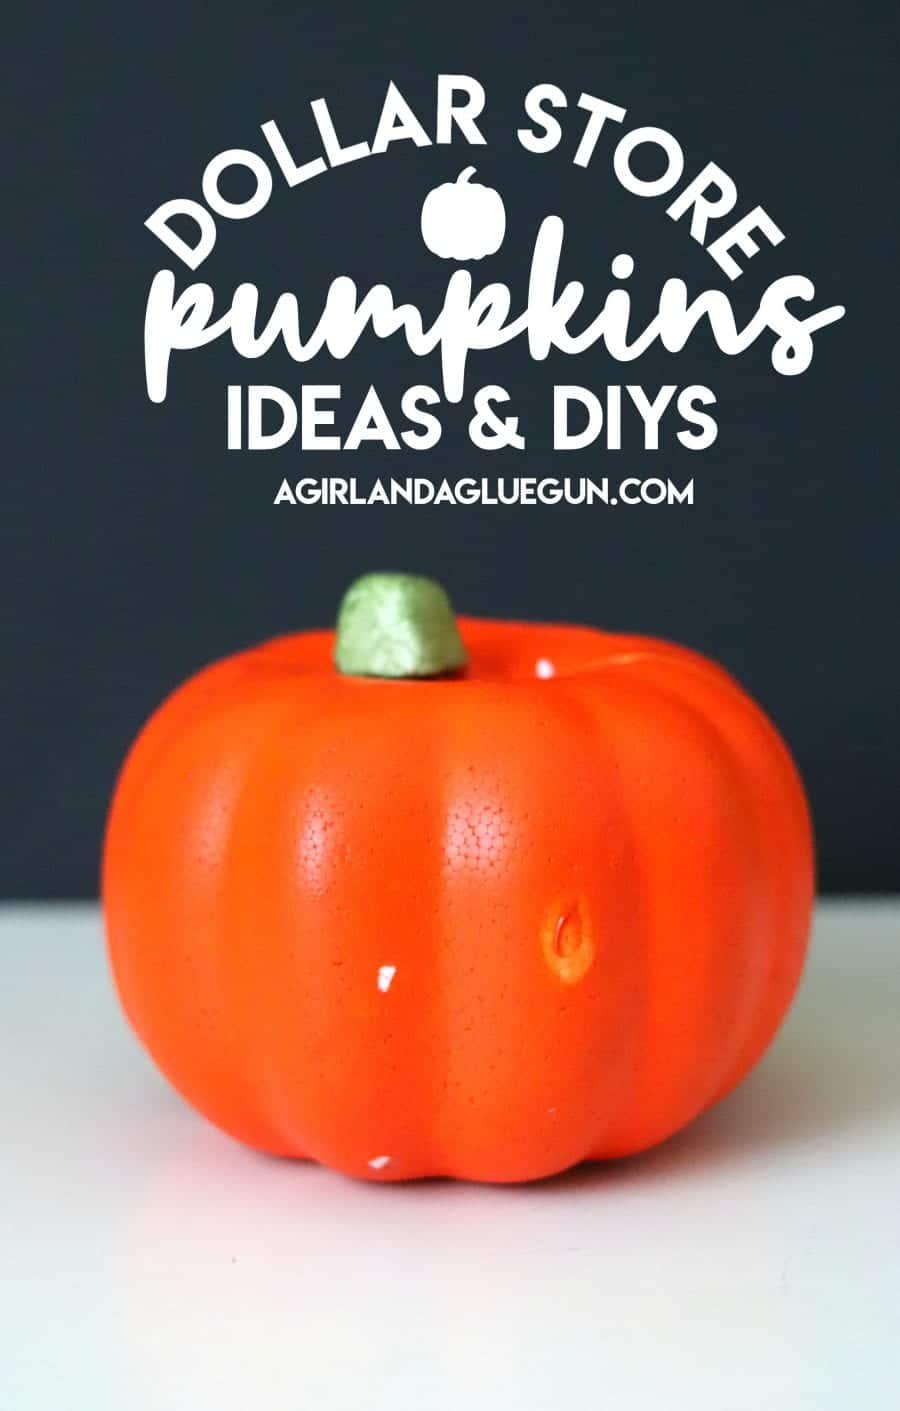
Are you looking for an easy and affordable way to make your home look festive and fun for the upcoming autumn season? DIY your dollar store pumpkins are the perfect solution! With just a few supplies from your local dollar store, a little bit of creativity and elbow grease, you can craft beautiful pumpkin decorations for your home – without breaking the bank. In this article, we’ll teach you how to transform dollar store items into unique DIY pumpkins, perfect for maintaining a spooky atmosphere for Halloween or creating a cozy Autumn space in your home. We’ll walk you through fun pumpkin craft projects, from painting pumpkins to making them from felt and more – so get ready to create a fall masterpiece!
Every time I walk into the Dollar Tree–I grab one (or 10) of these Dollar Store pumpkins!
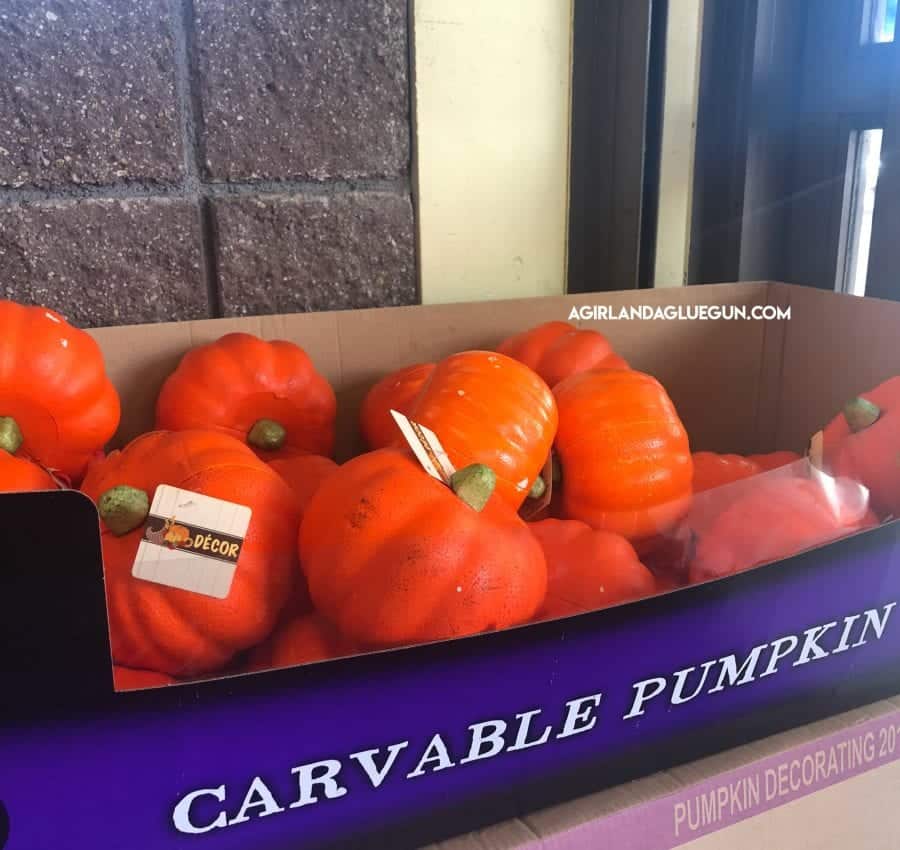
These faux pumpkins are just SO CHEAP!!! But–they are from the dollar store. So that means they aren’t the greatest quality. They definitely need to be razzled and dazzled a little bit more! So I’m going to show you some fun amazing and cool projects to turn those pumpkins into some jaw-dropping! I also have a great hack for making a cool stem! It’s such an easy tutorial! Let me you how to create these dollar tree pumpkin makeovers for the best fall decor ideas!
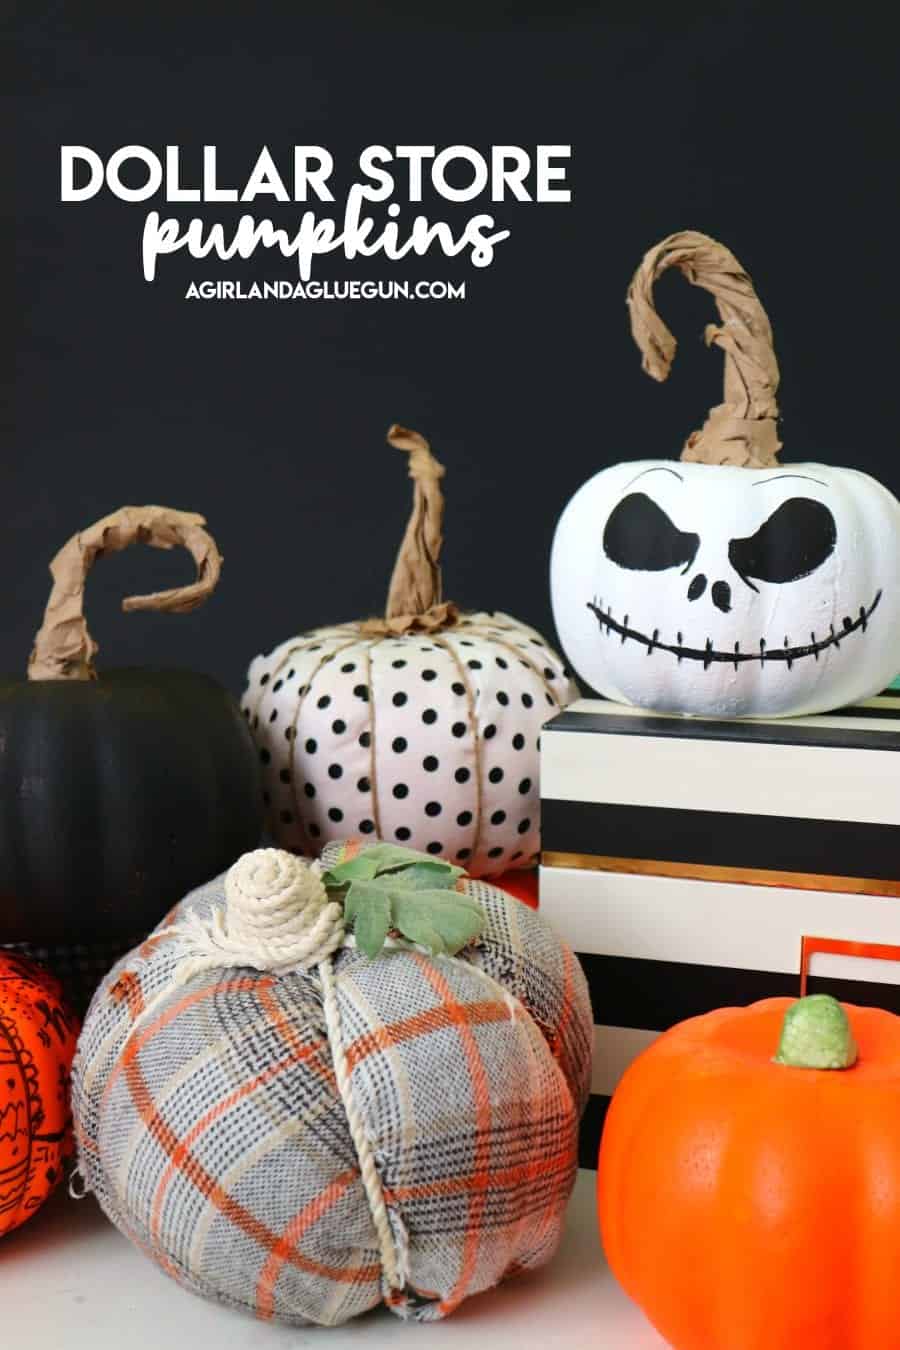
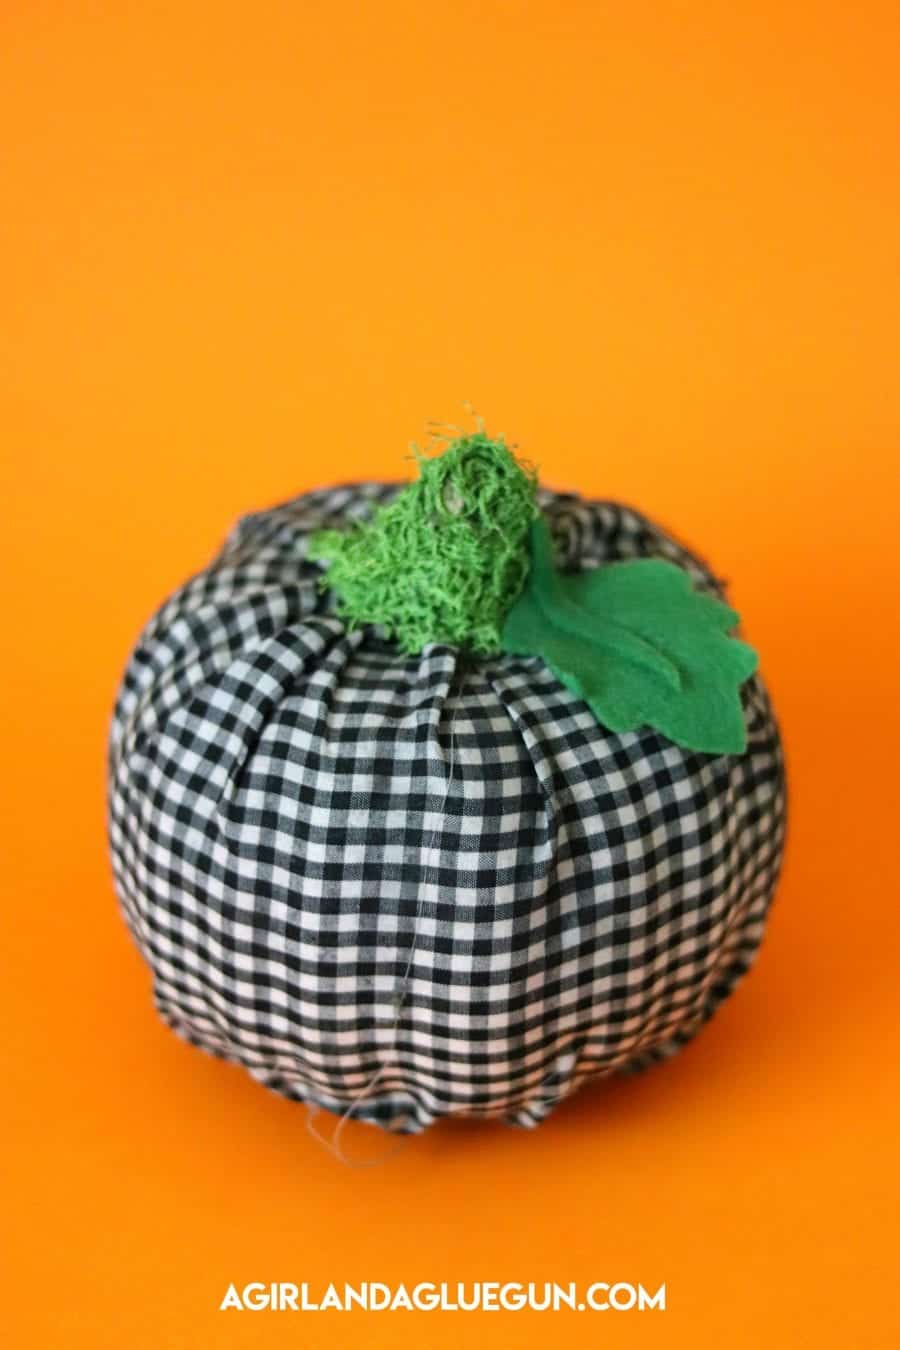
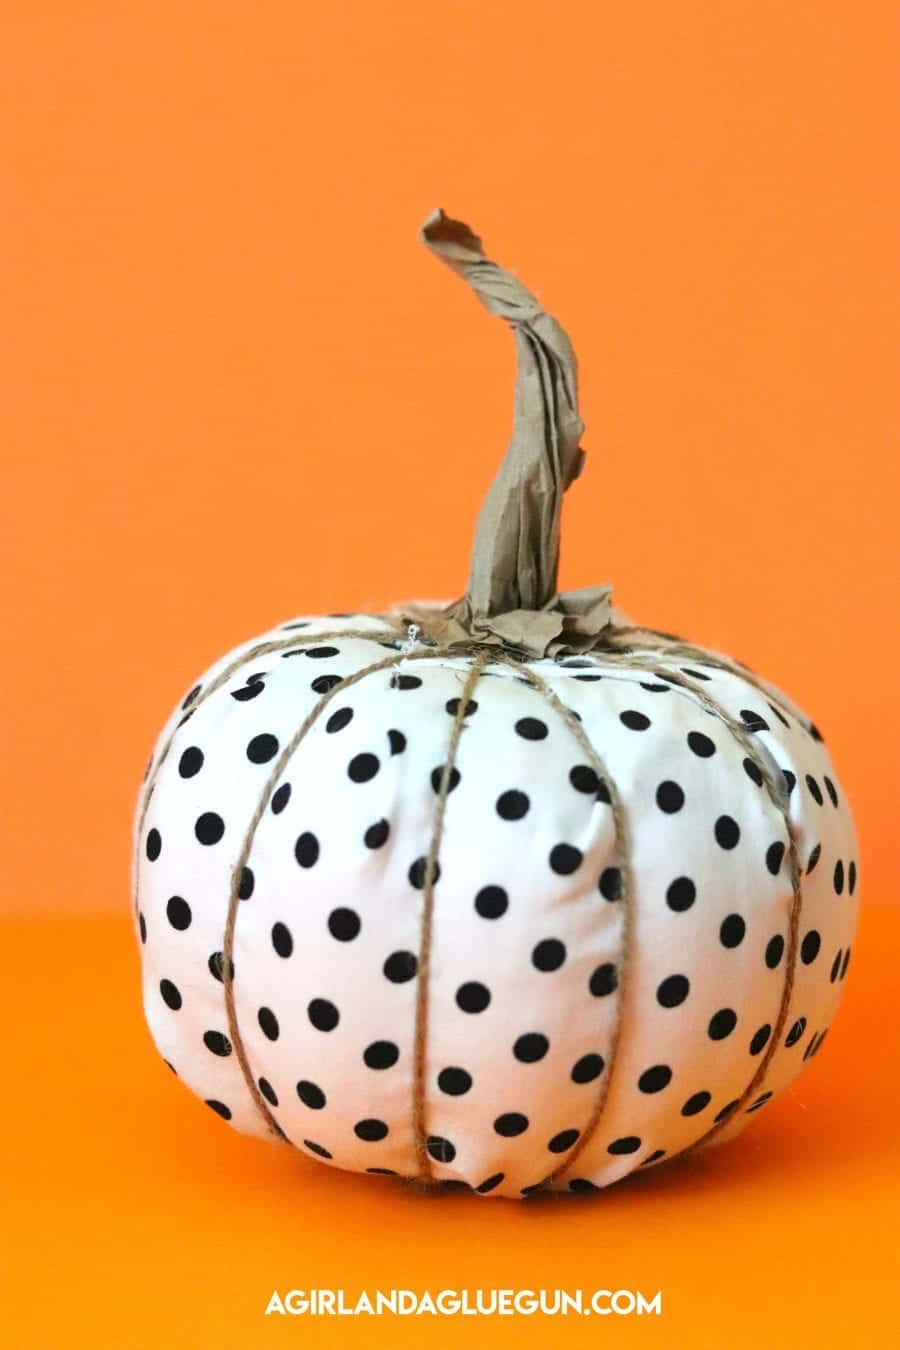
DIY Dollar store pumpkins with fabric
First up–fabric wrapped. I used three different techniques. They all turned out cute so you can just pick one to try!
1. Mod Podge
I took a strip of fabric and using a brush, added mod podged directly onto the orange foam pumpkin. I did all around the middle and as you work up or down, I just slowly folded and overlapped the excess fabric. You can trim off any extra. The stem hides any imperfections!
A few things to note: if you are doing a white or light colored fabric, I recommend painting the pumpkin first. You can kind of see the orange peeking through.
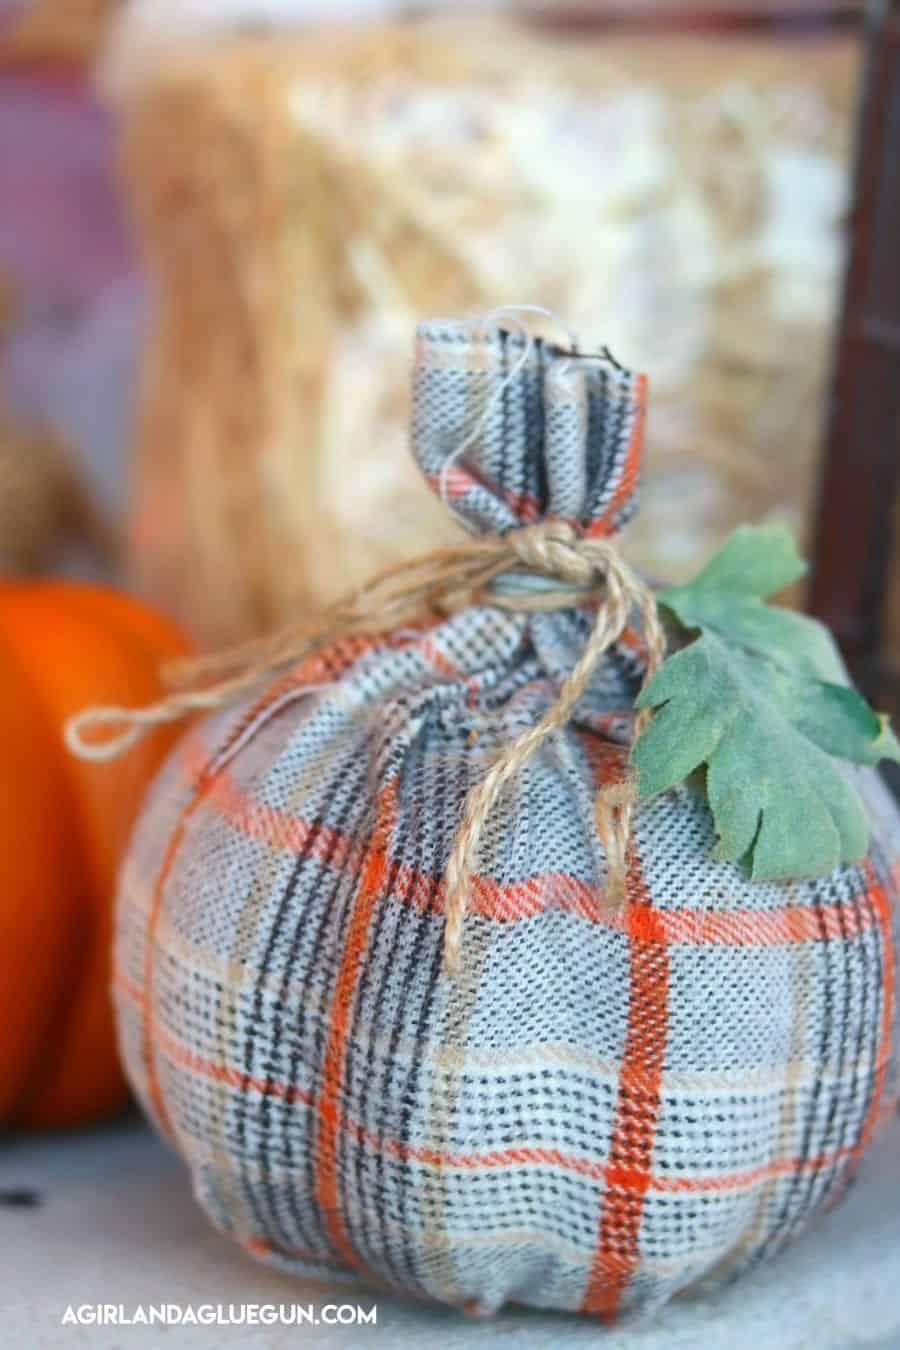
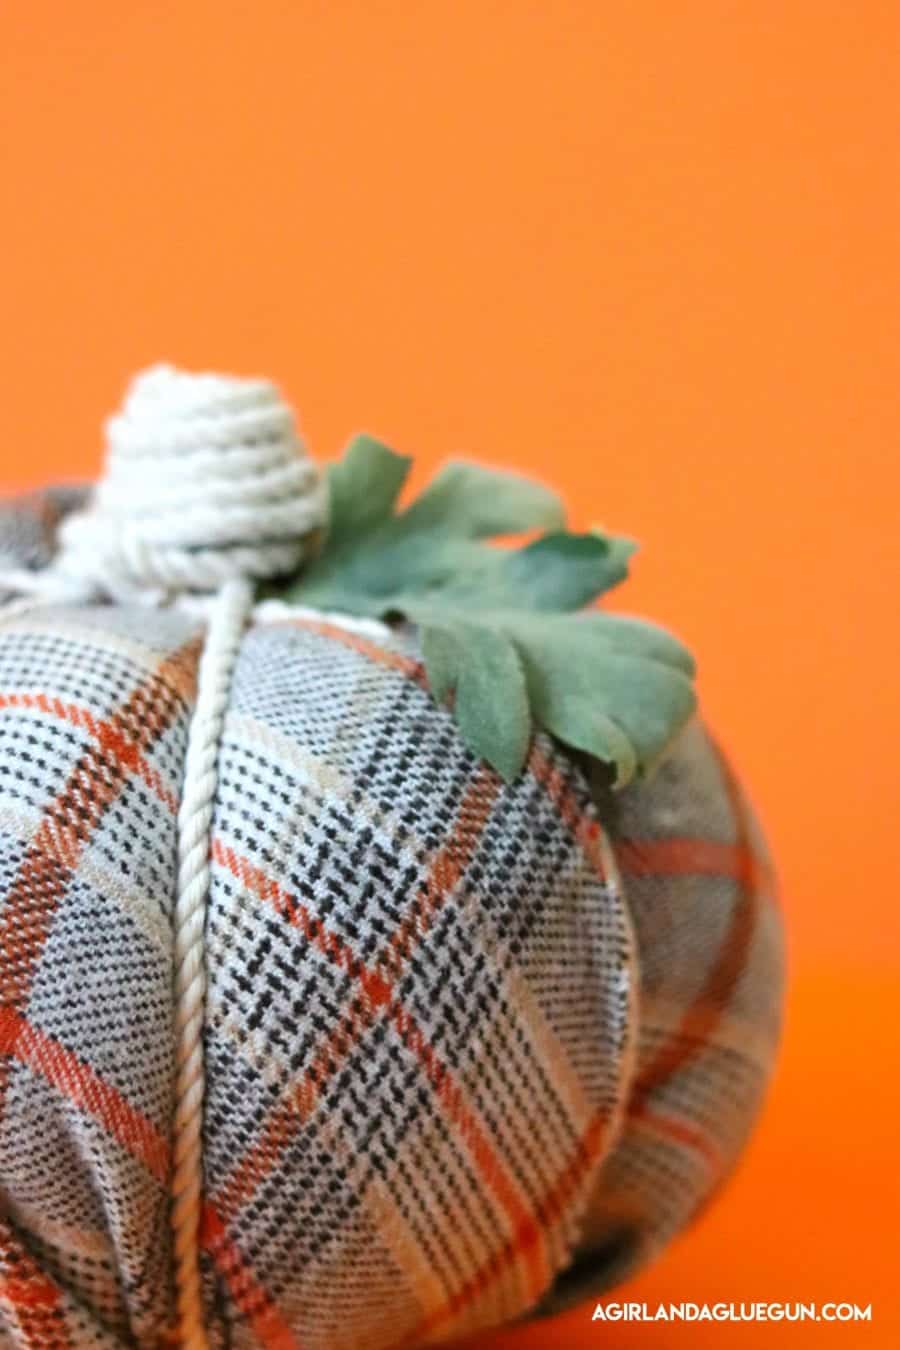
2. Batting and hot glue pumpkin
I wanted this pumpkin to look a little more plump. So I laid out some blanket batting and covered the pumpkin with it. I added a few dobs of hot glue around to hold the batting in place. Then I added the rectangle of fabric around. Just hot glue it in a few spots and then fold the top and bottom like the pumpkin above! I added some twine to this one for fun twist.
3. Hot glue with fabric stem
This one is pretty similar to the above ones. But instead of folding over the excess fabric on the top, I gathered it together to form the stem. This is basically a sleeve of fabric that I tied up at the top. I did hot glue the bottom so it could sit flat on your mantel or Thanksgiving decoration.
DIY yarn-wrapped pumpkin
I wrapped this Dollar tree pumpkin with just big yarn. Big chunky yarn is going to look better than your thin regular yarn since it will hide any glue and imperfections. It will also not be so time-consuming if the yarn is bigger! Just add a strip of hot glue at the bottom, wrap the yarn around, and repeat. (and repeat and repeat!)

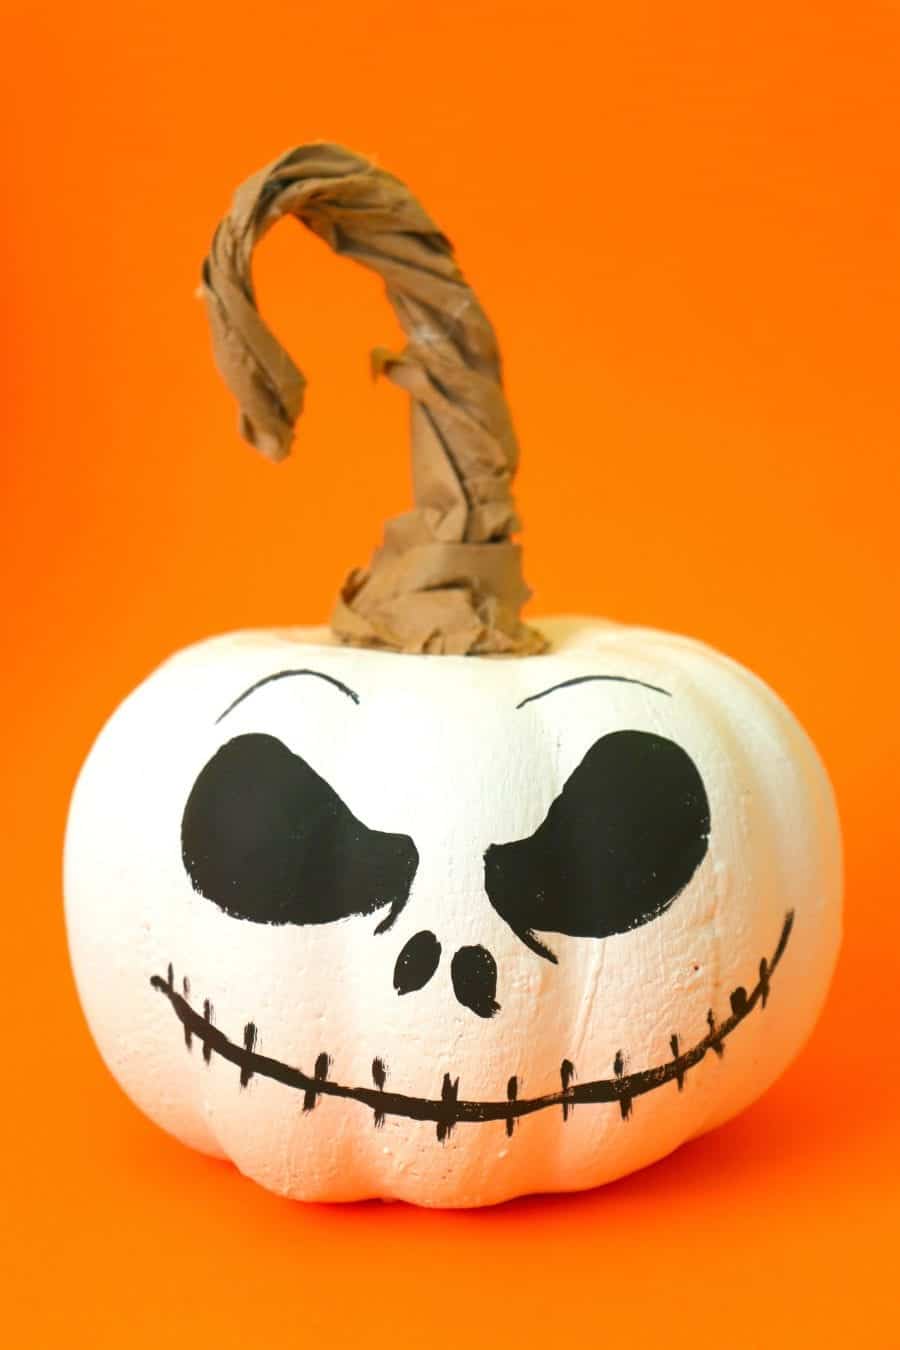
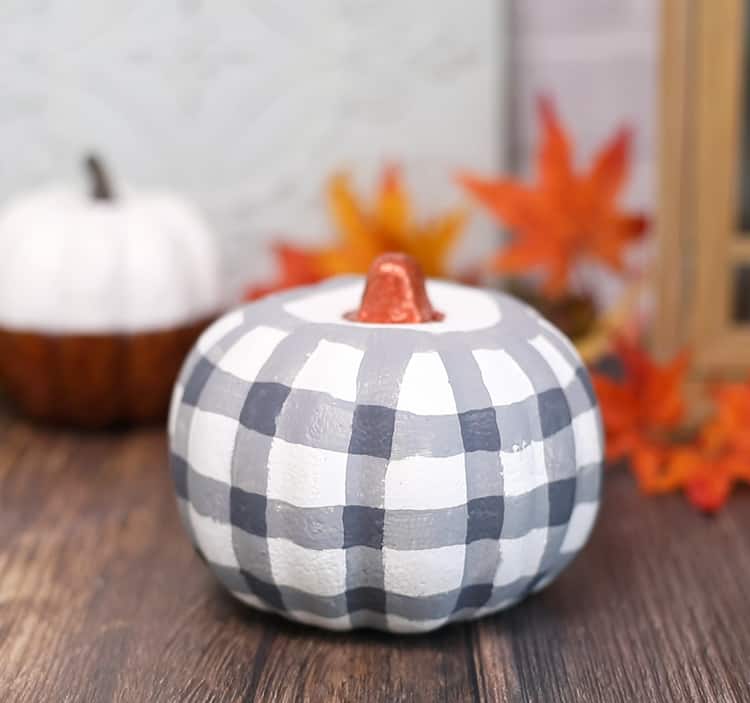
Painted dollar tree pumpkins
and of course, PAINTING the pumpkins is totally an option!! These pumpkins are totally paintable! Just nice light coats and you are good to go! So many options! I use acrylic paint but you can use chalk paint. I would stay away from spray paint since it will probably eat away at the styrofoam pumpkin.
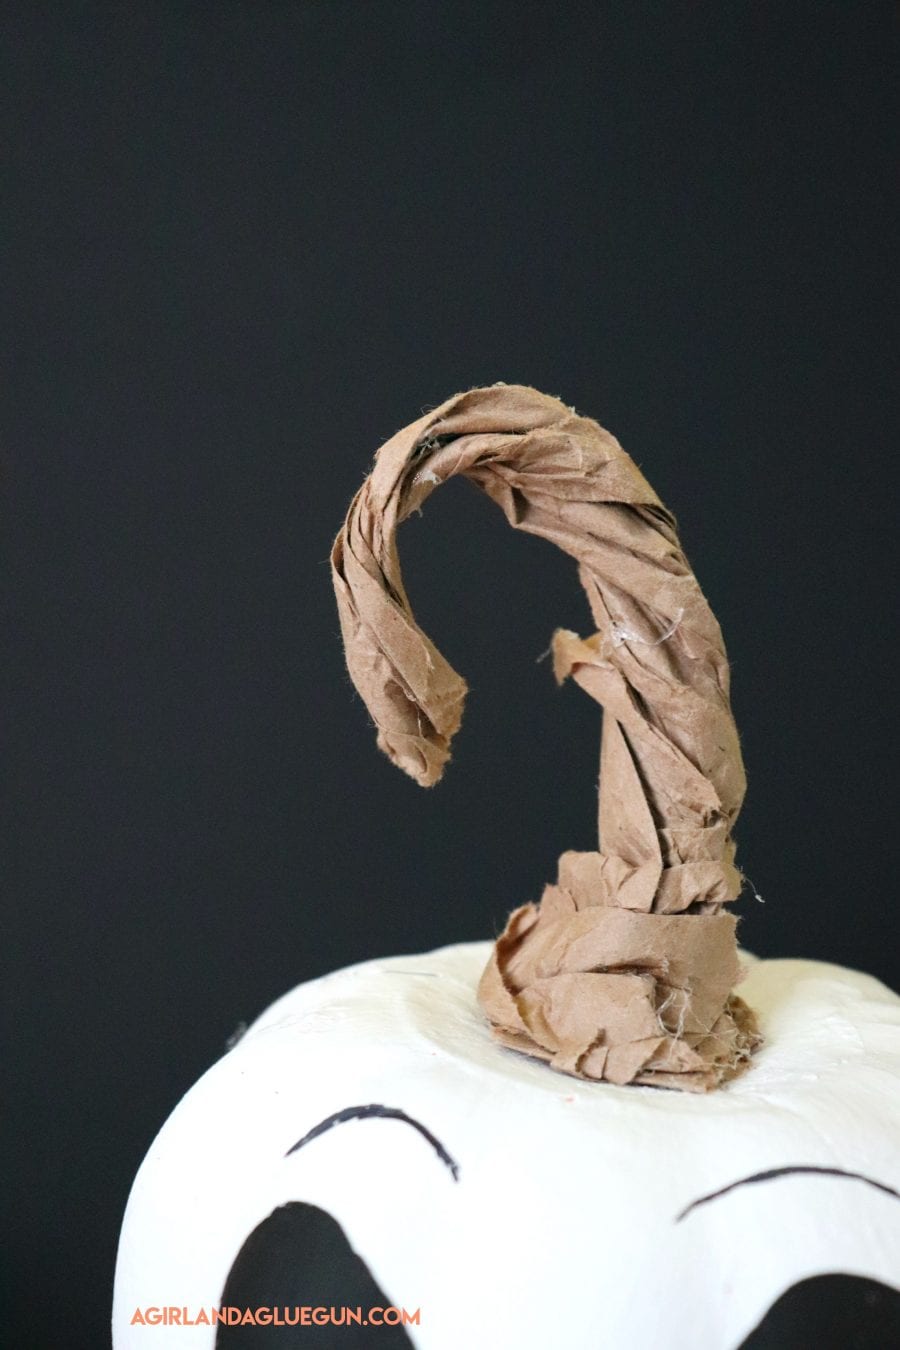
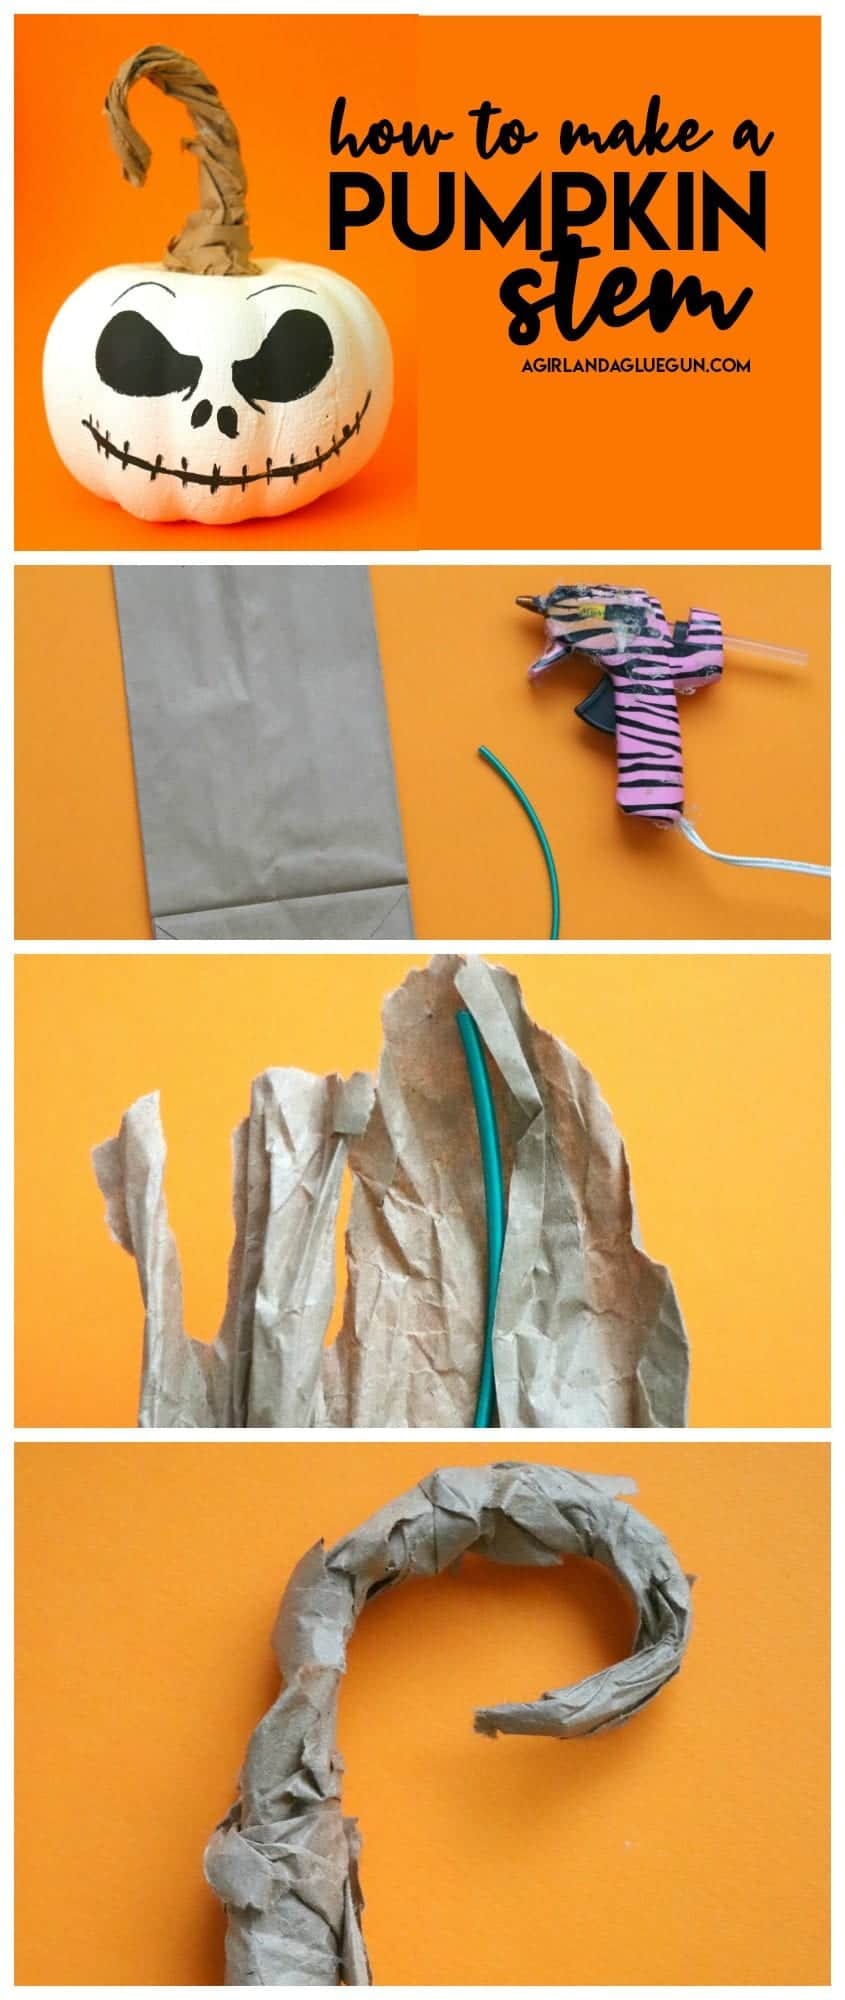
How to make a pumpkin stem
The stems that come on the dollar store foam pumpkin are little nubs that sometimes aren’t even glued on straight! The best way to elevate your cheap pumpkin is to fix that stem! So let me show you some easy ways to dazzle it up!
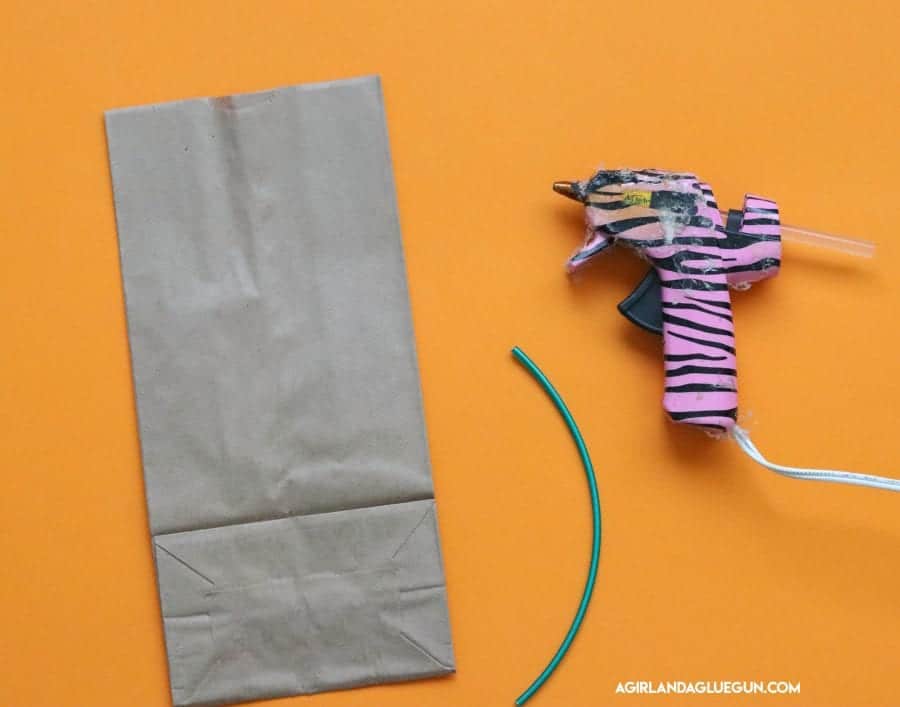
Craft Supplies to make a pumpkin stem
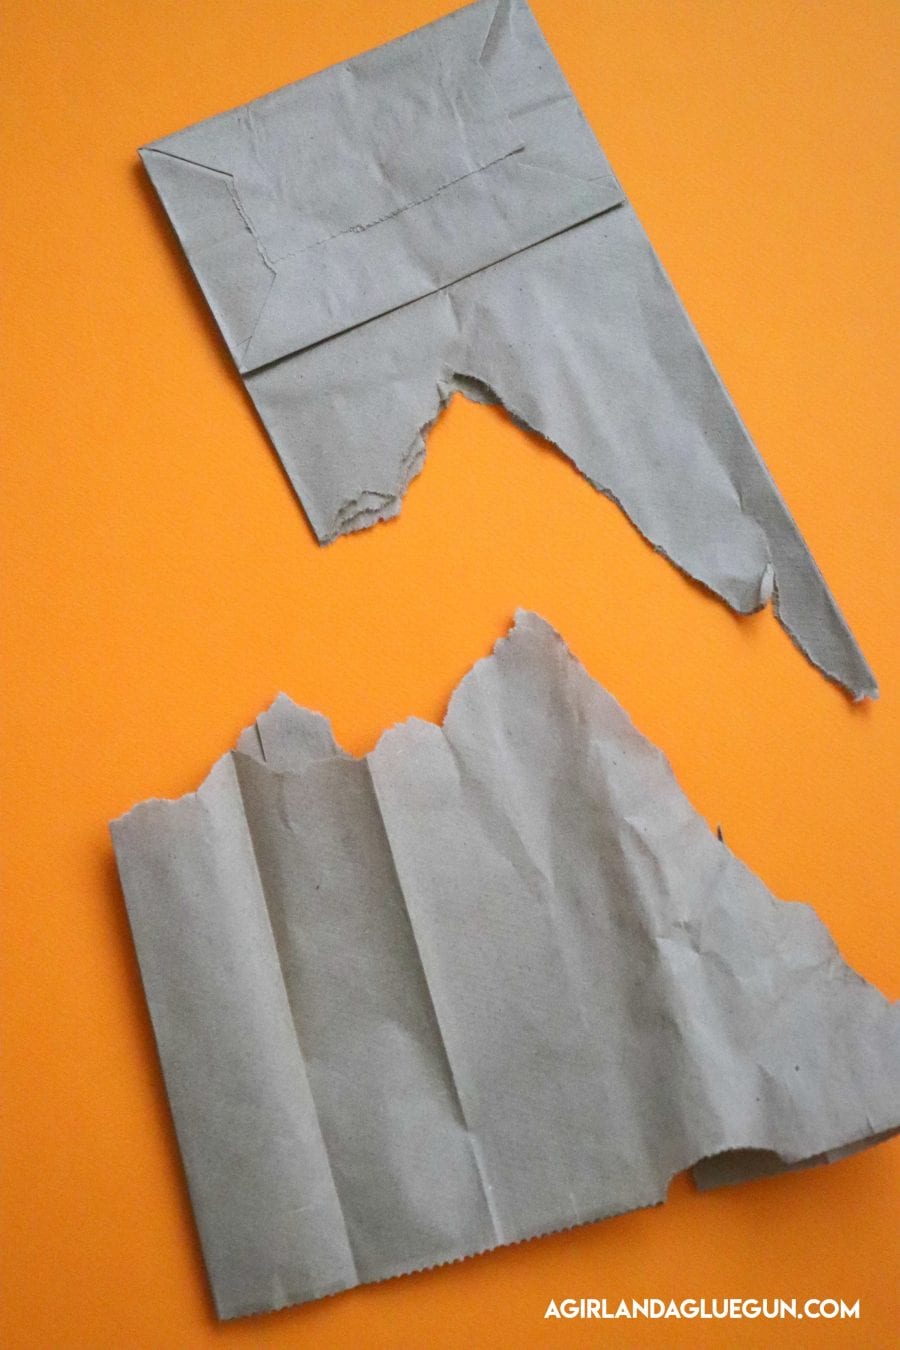
- paper bag
- wire
- hot glue
How to make a Pumpkin stem
Let me show you how I made this stem that you can bend into whatever shape you want!
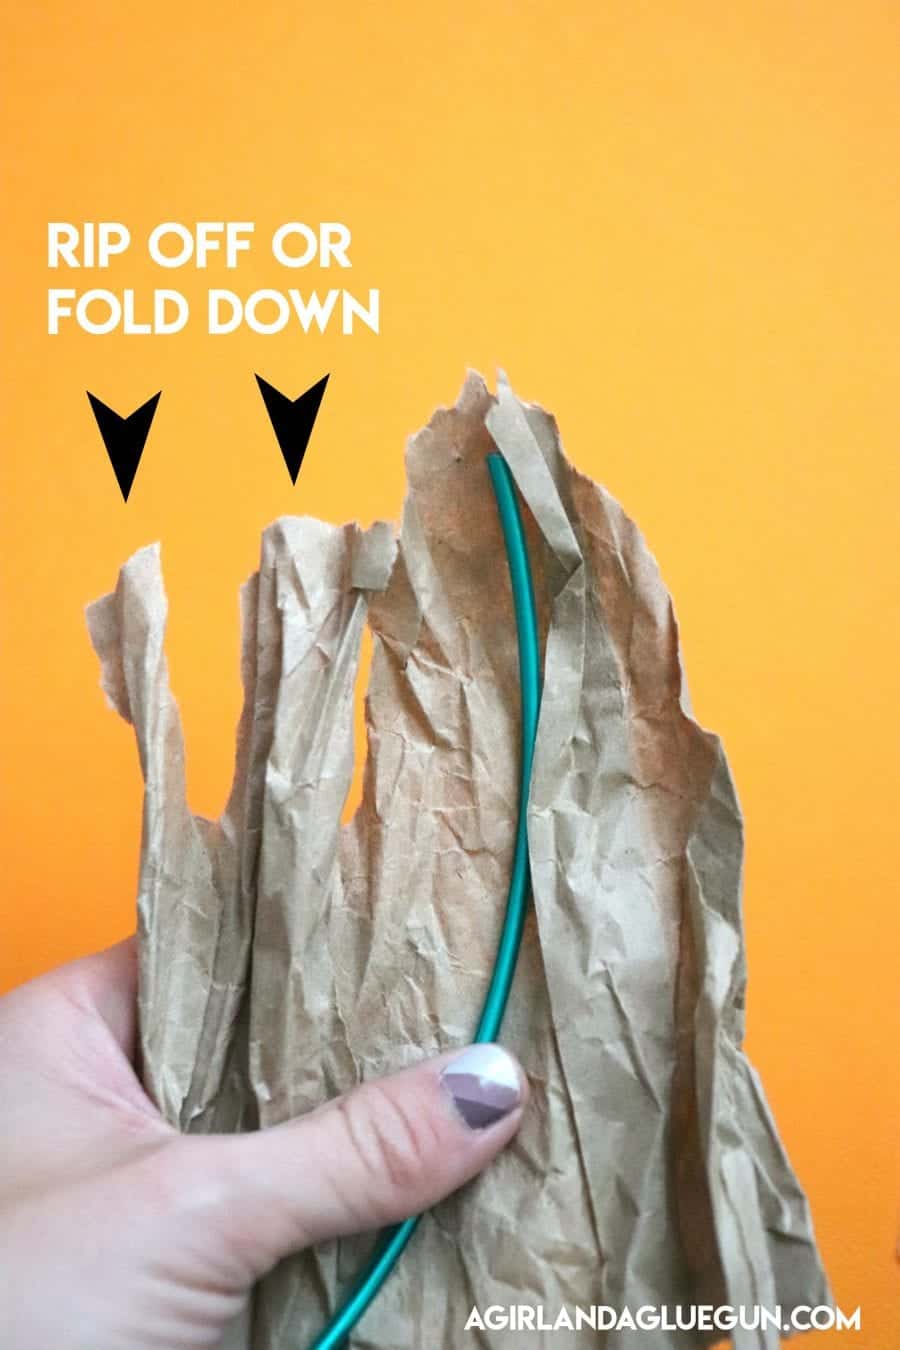
I rip the paper bag at an angle so when you go to make the stem it will taper like a real stem.
I crinkle it up and then start twisting it around the wire. The part with the most paper is the bottom of the step and when it starts tapering it and getting thinner, that is the top of the stem.
I use hot glue as I go to keep it in place. Don’t be afraid to rip off pieces or add pieces as needed.
You can also get it damp with a little water to help it press into each other. You just kind of twist and scrunch and add a little hot glue to hold it all together!
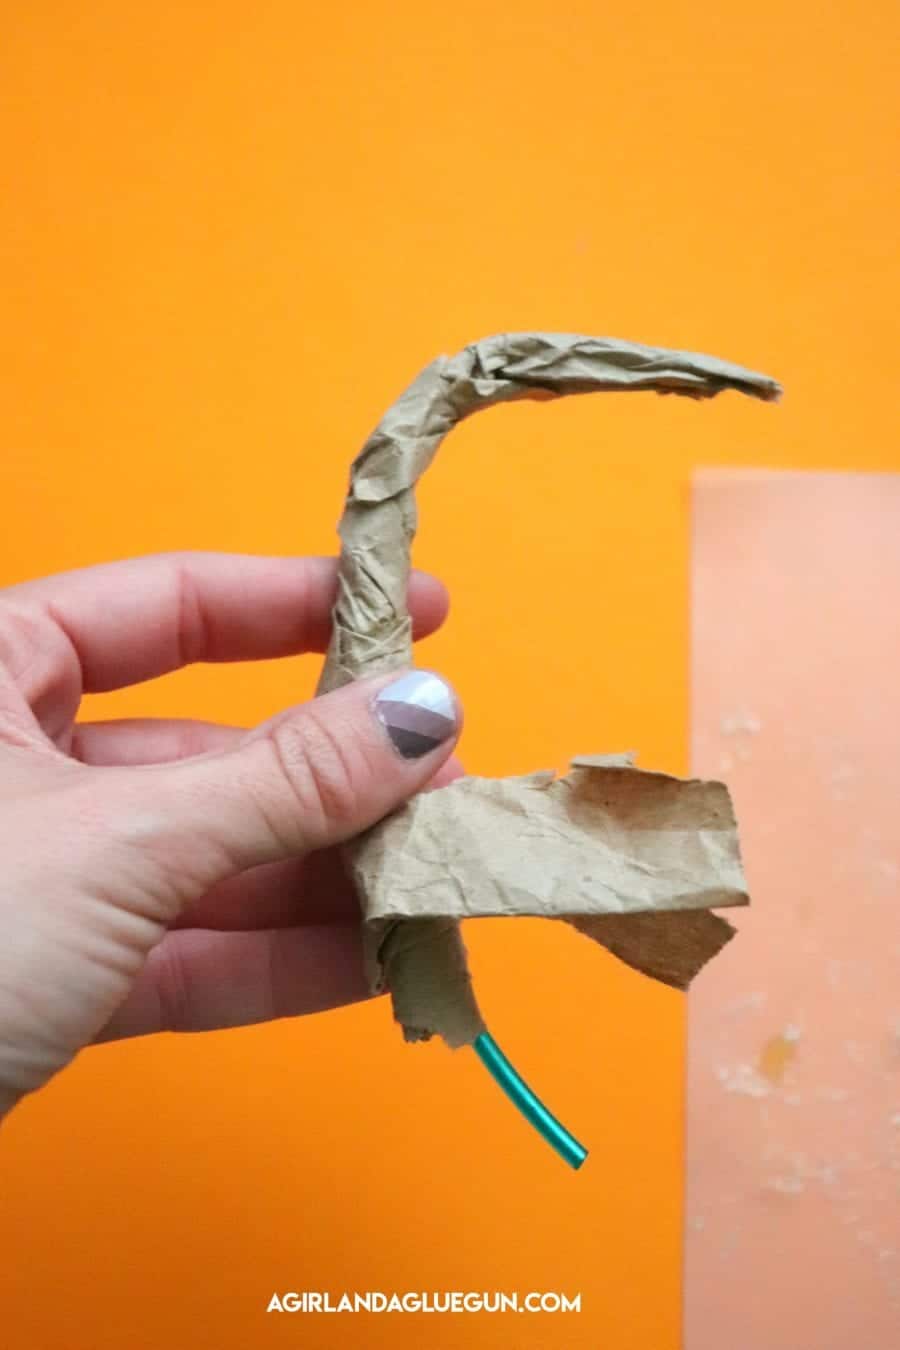
You can just bend it now to get the shape you want (the bonus of using wire!)
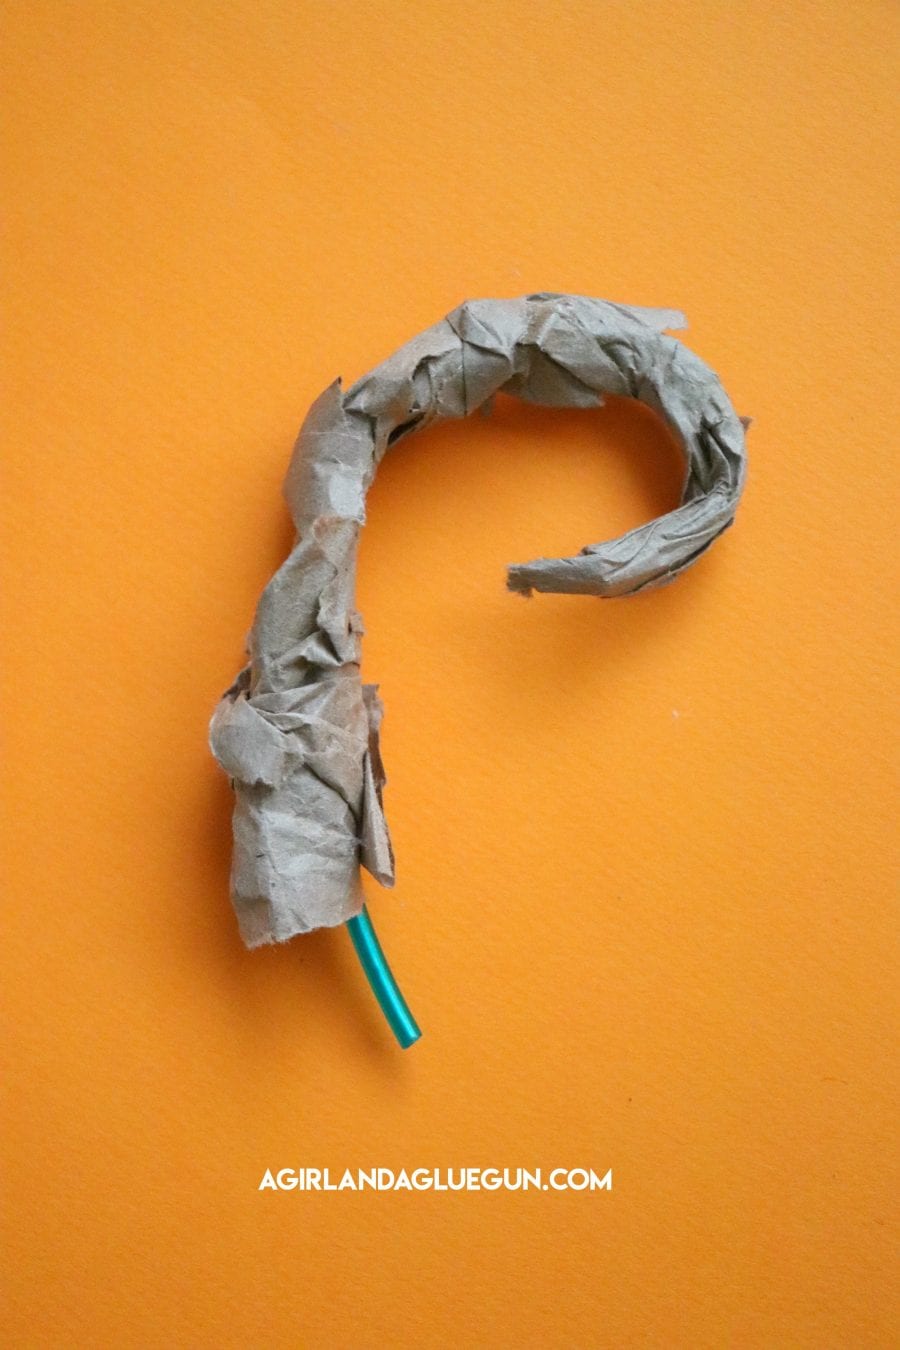
I just rip the stem right out. It leaves a hold and I put the wire stem that is poking out of my stem right inside! and then add hot glue to keep in in place!
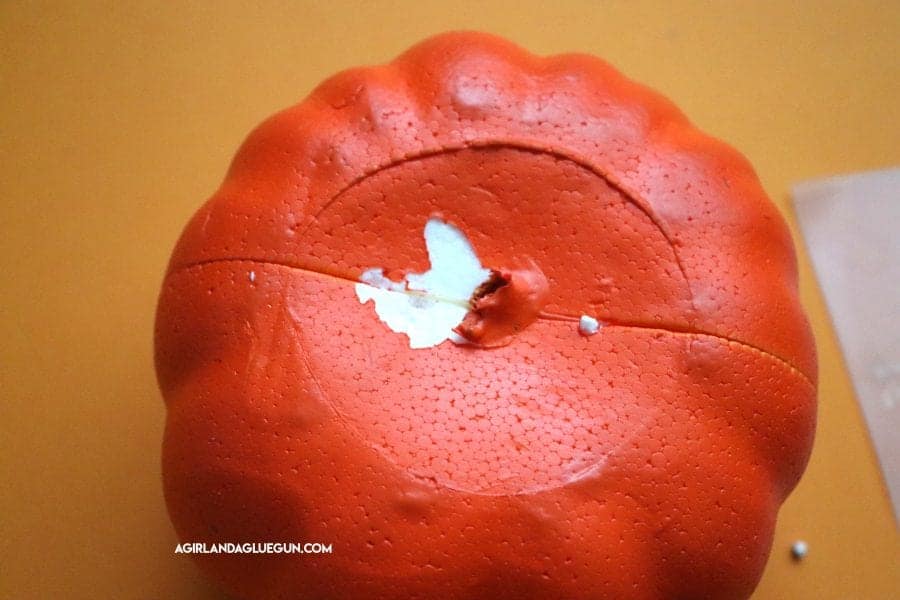
After it’s in the pumpkin, you can add another layer of brown paper around the base to make it look like part of the pumpkin!
Another pumpkin stem option
If you were paying attention, each one of my pumpkins from above has a different stem. I wrap yarn, rope, or fabric around them. You can also add in some twisty wire, twine, or faux leaves! You can also get a little air dry clay and create your own twisty stem like I did here!
Too busy to get crafting today? No problem! Pin this post to remind yourself about this project later! Sharing my projects helps me reach more people, allowing me to continue sharing free content!
Kids craft with dollar store pumpkins
Another fun thing we did with Dollar Tree pumpkins is a kid’s crafting challenge! I grabbed 3 pumpkins and gave one to each kid.
The challenge: decorate your pumpkin however you want! (I actually made you guys vote on my Instagram (come follow me! Agirlandagluegun)
It was super fun to see what the kids came up with. My oldest daughter sharpie doodled all over it. My youngest daughter painted all the Halloween things. My son hot glued gummy candy to make a face!
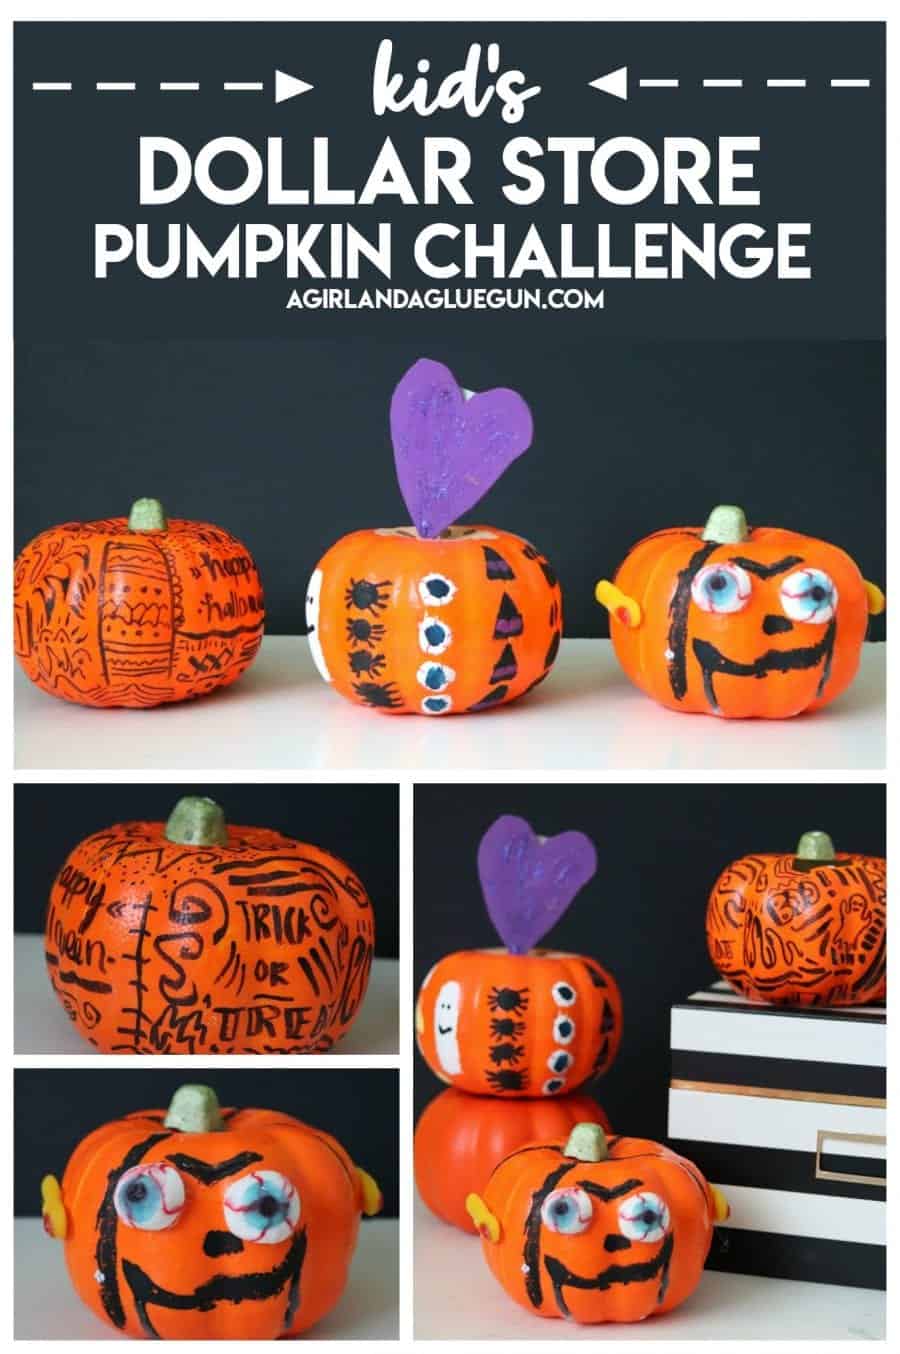
It was a super fun way to spend a Saturday!
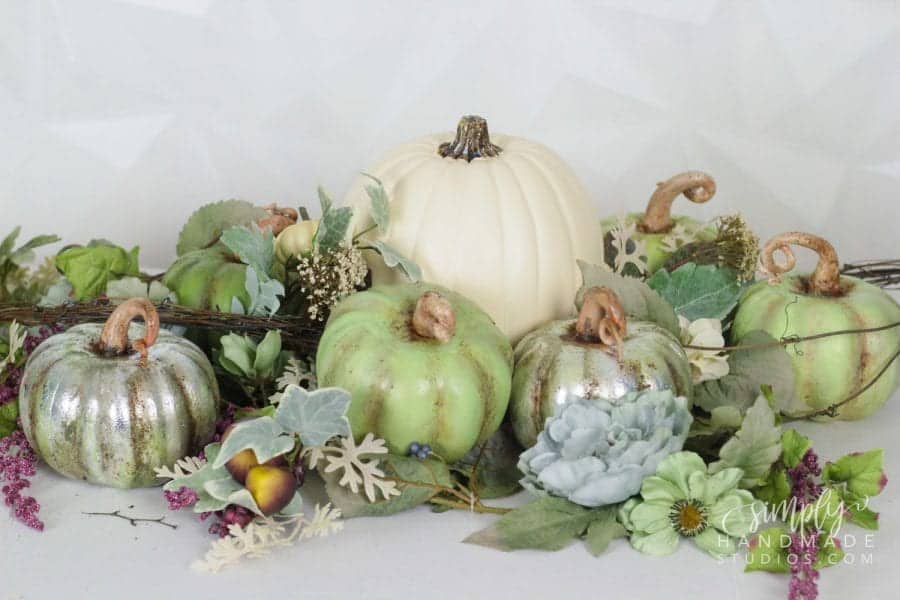
MORE Ideas on how to upcycle Dollar Store Pumpkins
Now, if I haven’t talked you yet into heading down to the dollar tree—well then here is a list of even more GORGEOUS and creative ideas that are perfect for all your fall crafts!
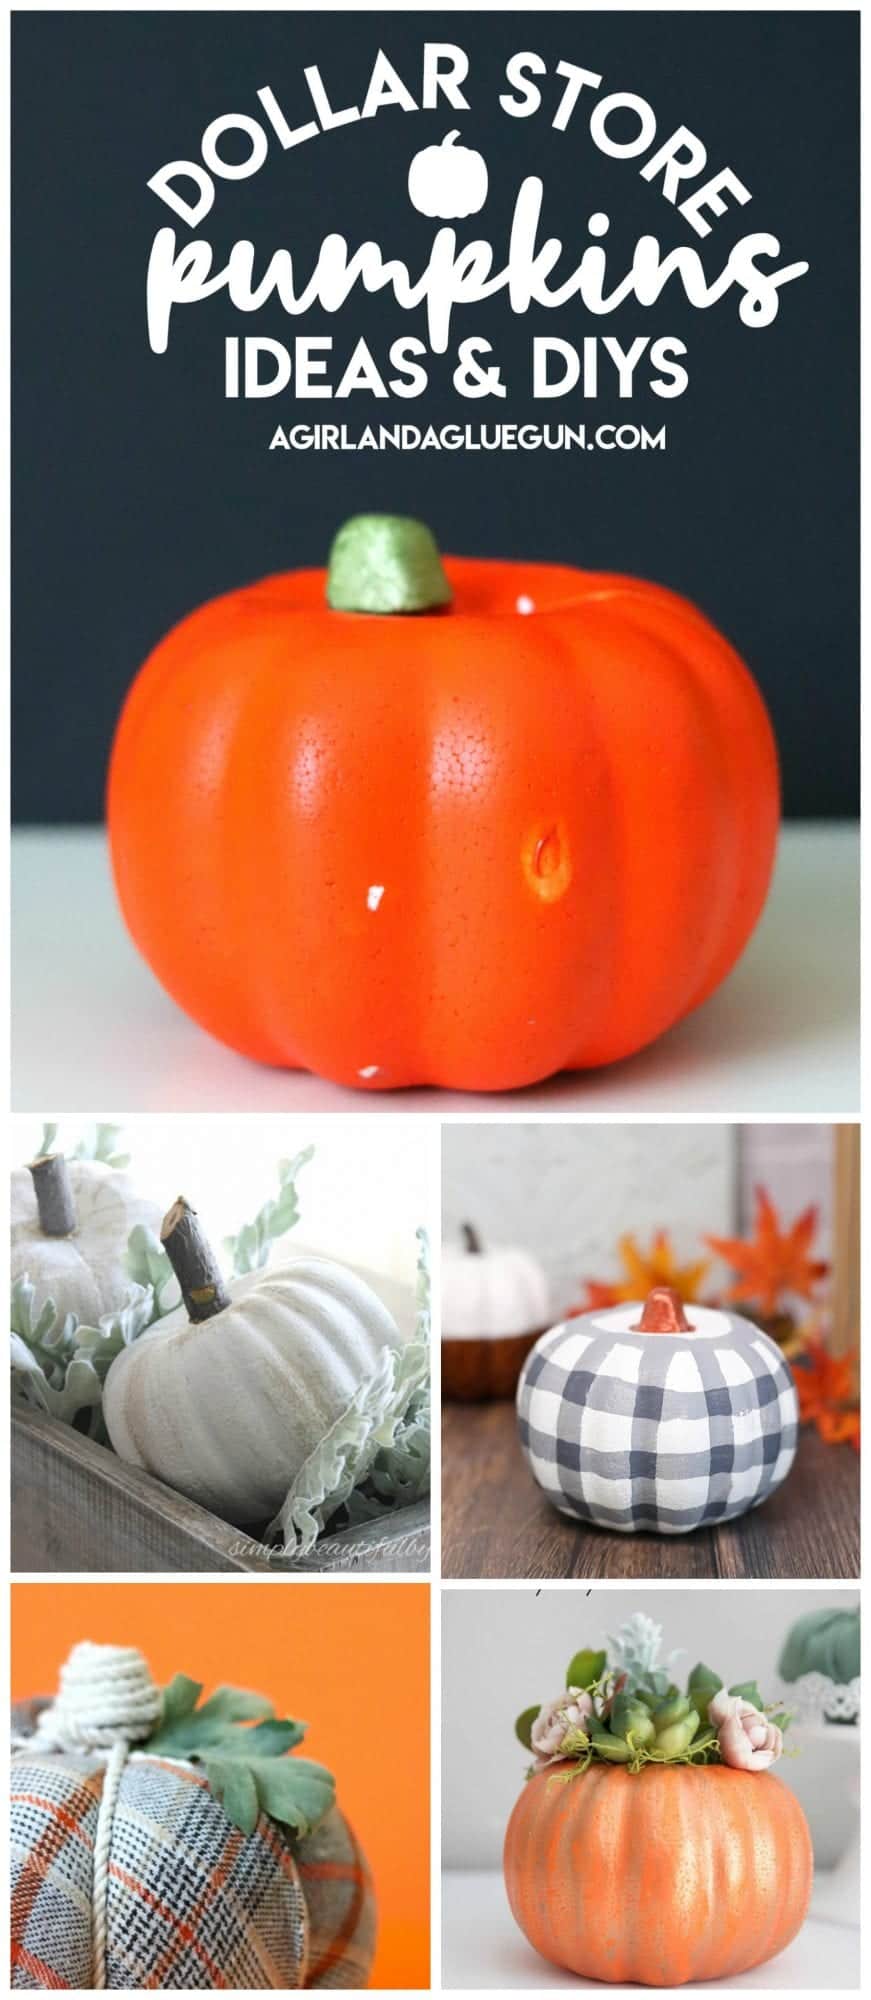
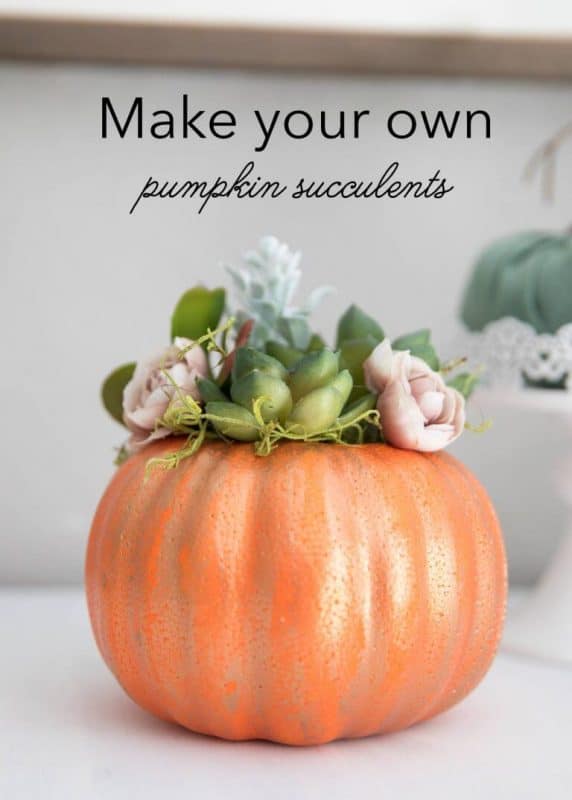
Dollar store pumpkin into a succulent planter gorgeous fall decor
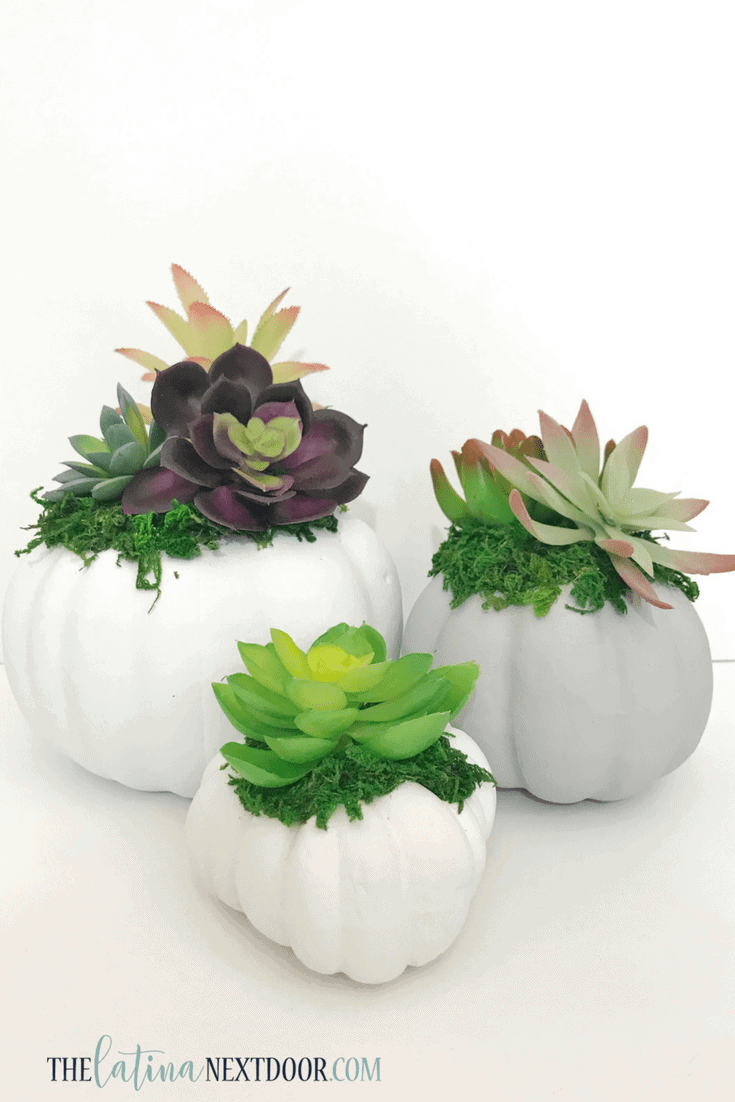
and a white version! These would be such a great centerpiece on the Thanksgiving table!
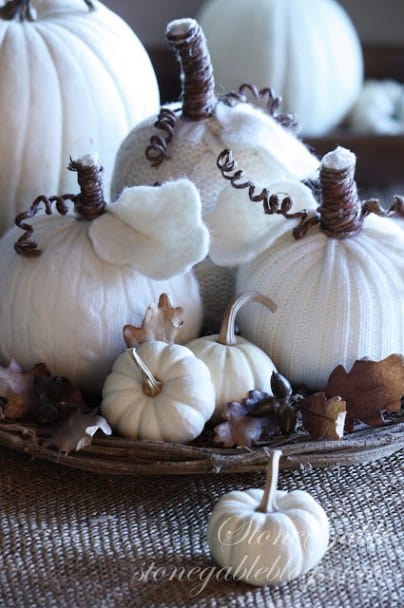
Sweater wrapped dollar store pumpkins! Gorgeous home decor idea!
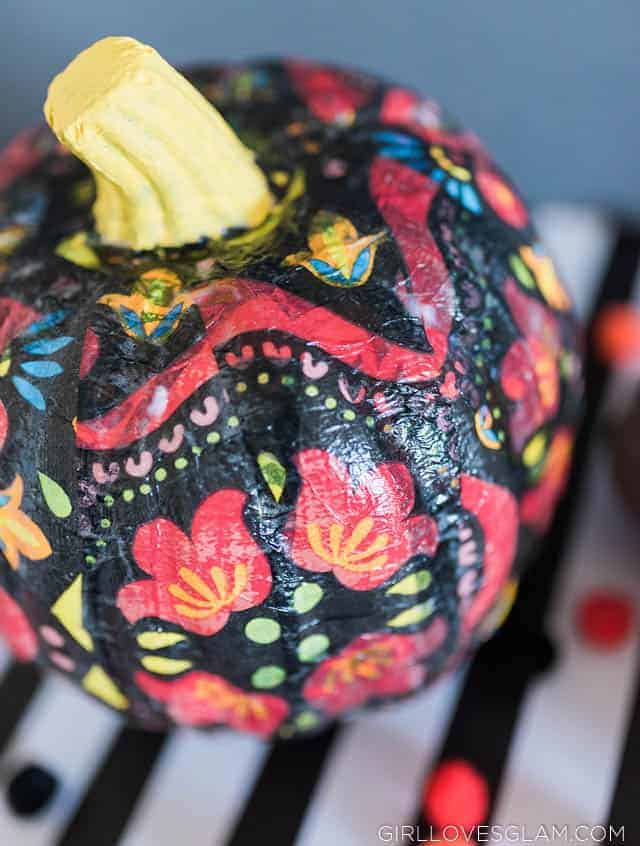
This one isn’t a dollar store pumpkin–but the concept can still be used! Mod Podge a fun napkin or paper on it!
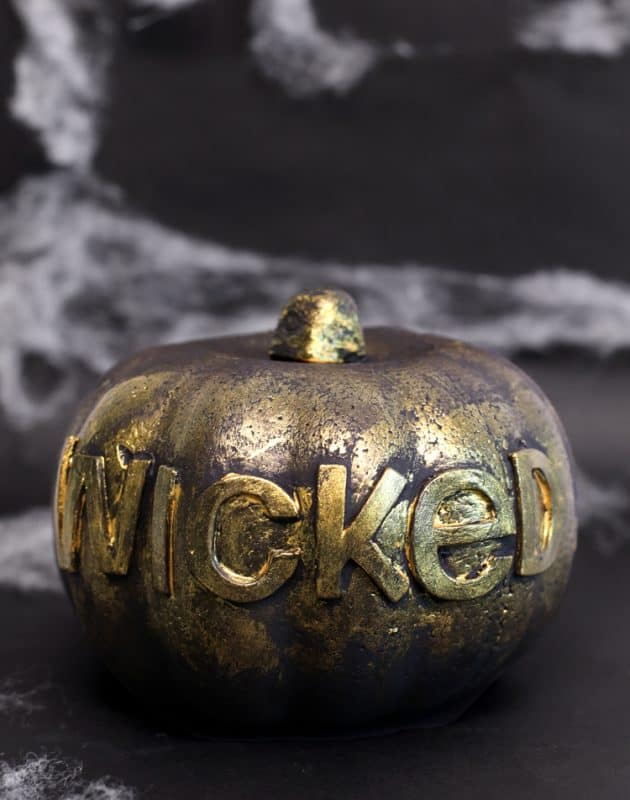
This pumpkin makeover is stunning! Plus check out her polymer clay stems!
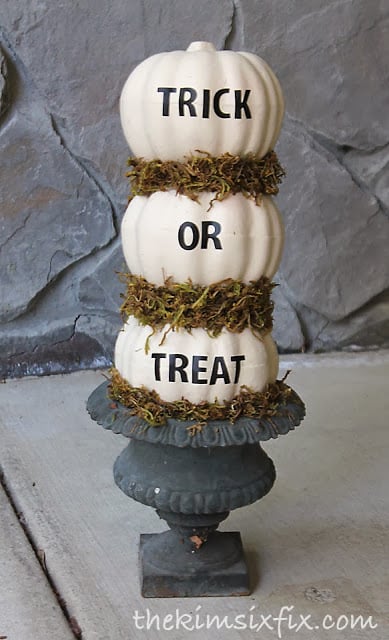
Beautiful pumpkins Topiary
I hope you enjoyed these dollar tree pumpkin crafts! Time for you to go get your creativity on!