
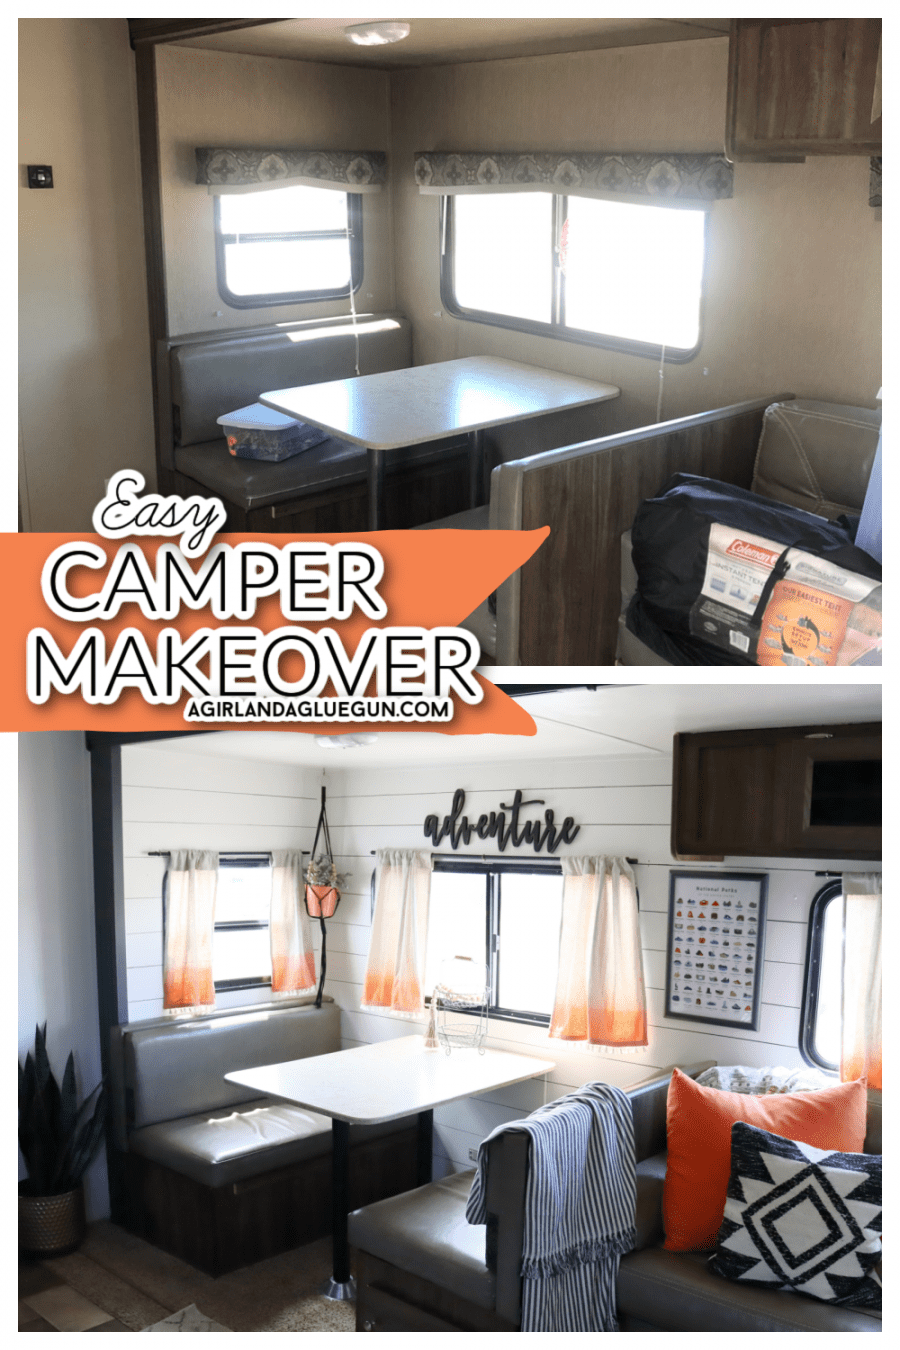
Come sneak a peak into what a little time and paint can do to an RV! This camper makeover is easy and anyone can do it!
There are lot of really awesome camper/rv makeovers out there! Some are totally jaw dropping! And some do complete renovations! This is a very simple makeover- basically to make my camper a little more aesthetically pleasing (goodbye brown!) I didn’t rip down walls. I didn’t take out flooring. Our camper is pretty new (5 years) So everything was in great shape. I just wanted it to look more like MY style versus every other camper out there!
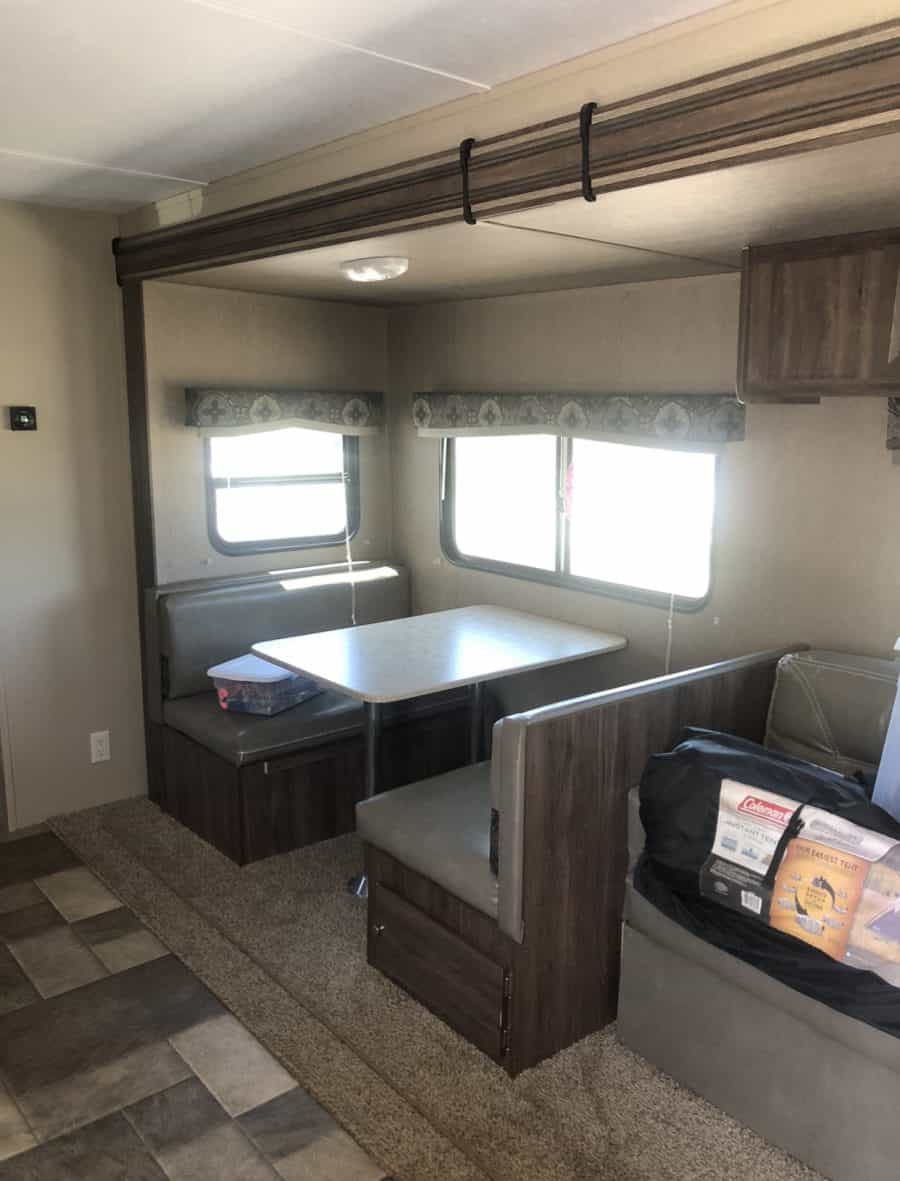
Also. I know that brown is the logical choice. Hi. dirt. BUT…why the ugly fabric…and WHY OH WHY the padded curtain valance box things? Who are deciding these interior design choices?
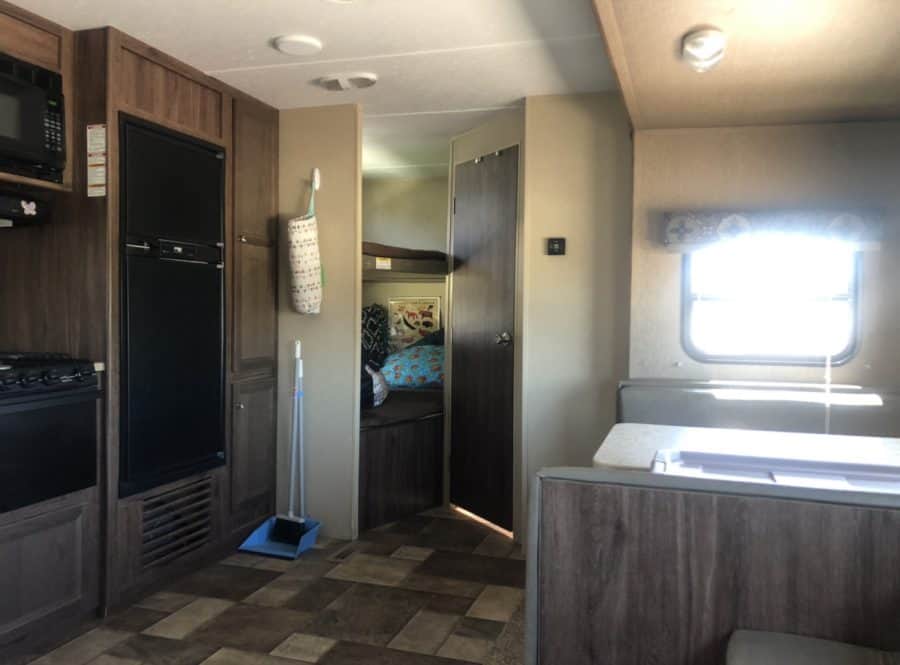
First. My Camper is a Coleman Lantern series. It has a slide out- which makes the living space so much bigger! I really love it. Storage under the kitchen benches. Underneath the bottom bunk. and storage underneath the master bed. The kitchen table drops down to make a bed. The couch lays lay flat to make a bed. and then the bunkbeds are really wide! It was exactly what we were looking for when we were camper shopping!
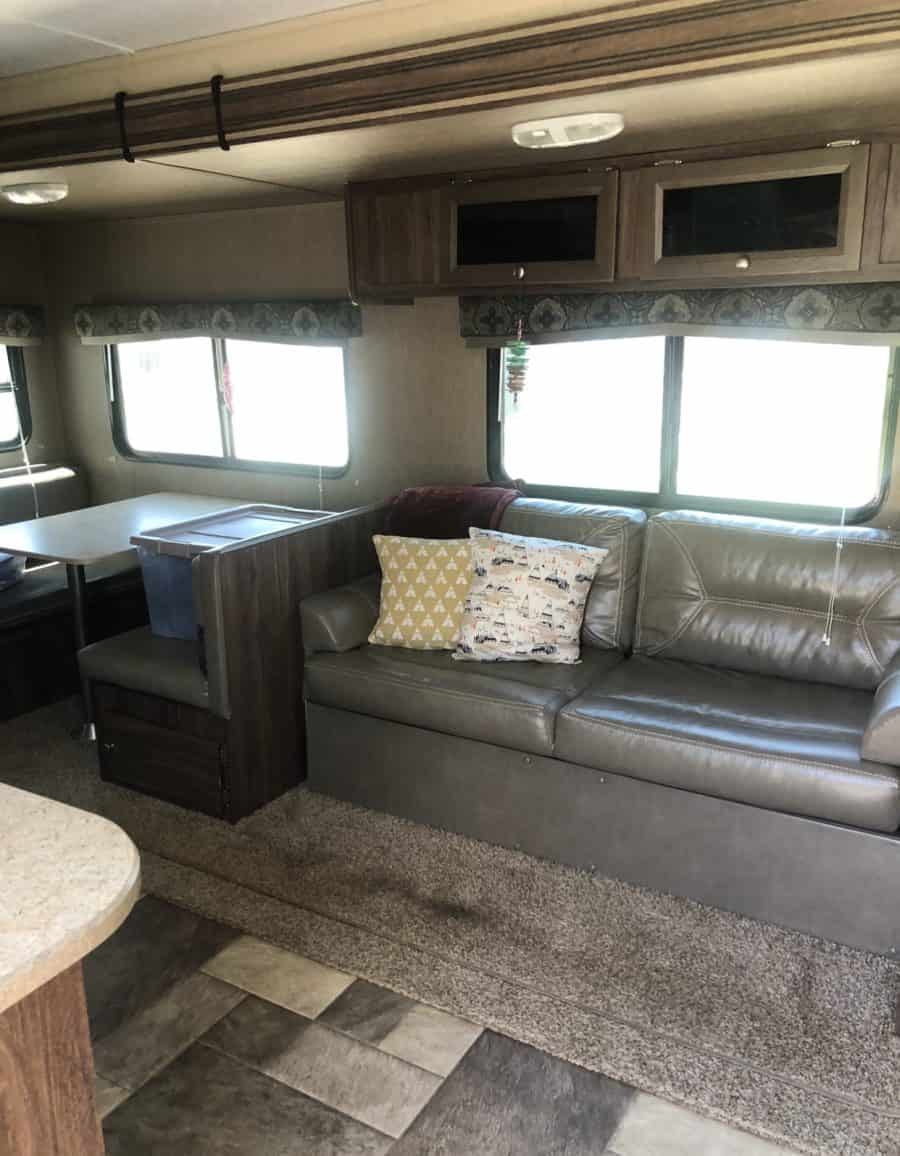
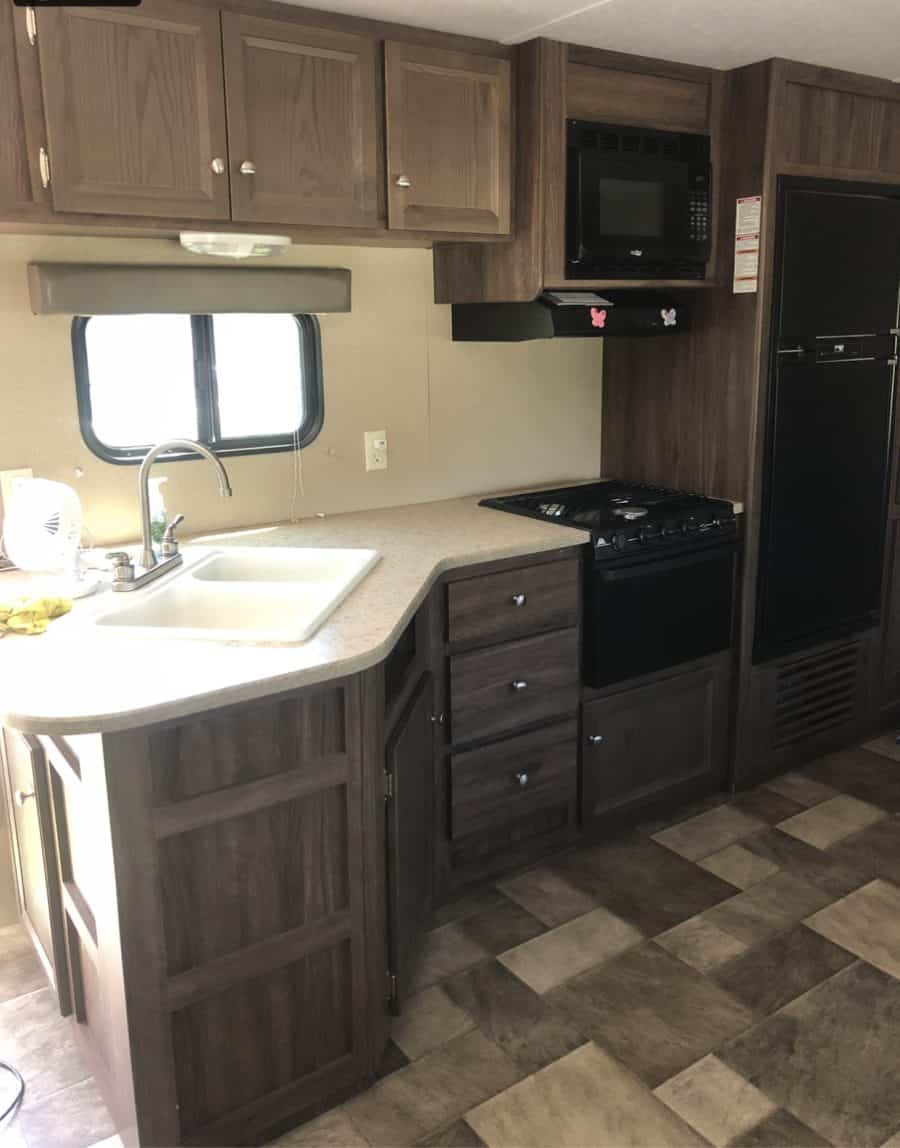
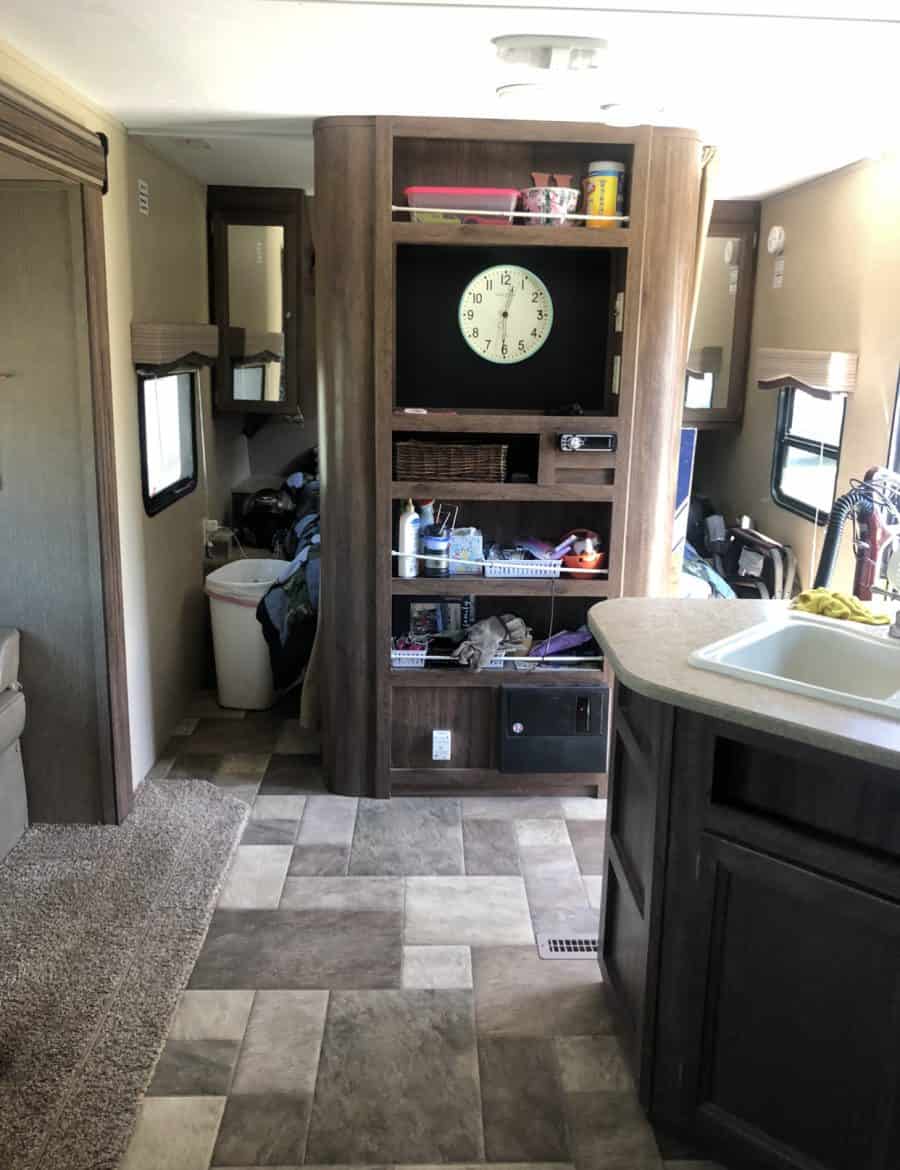
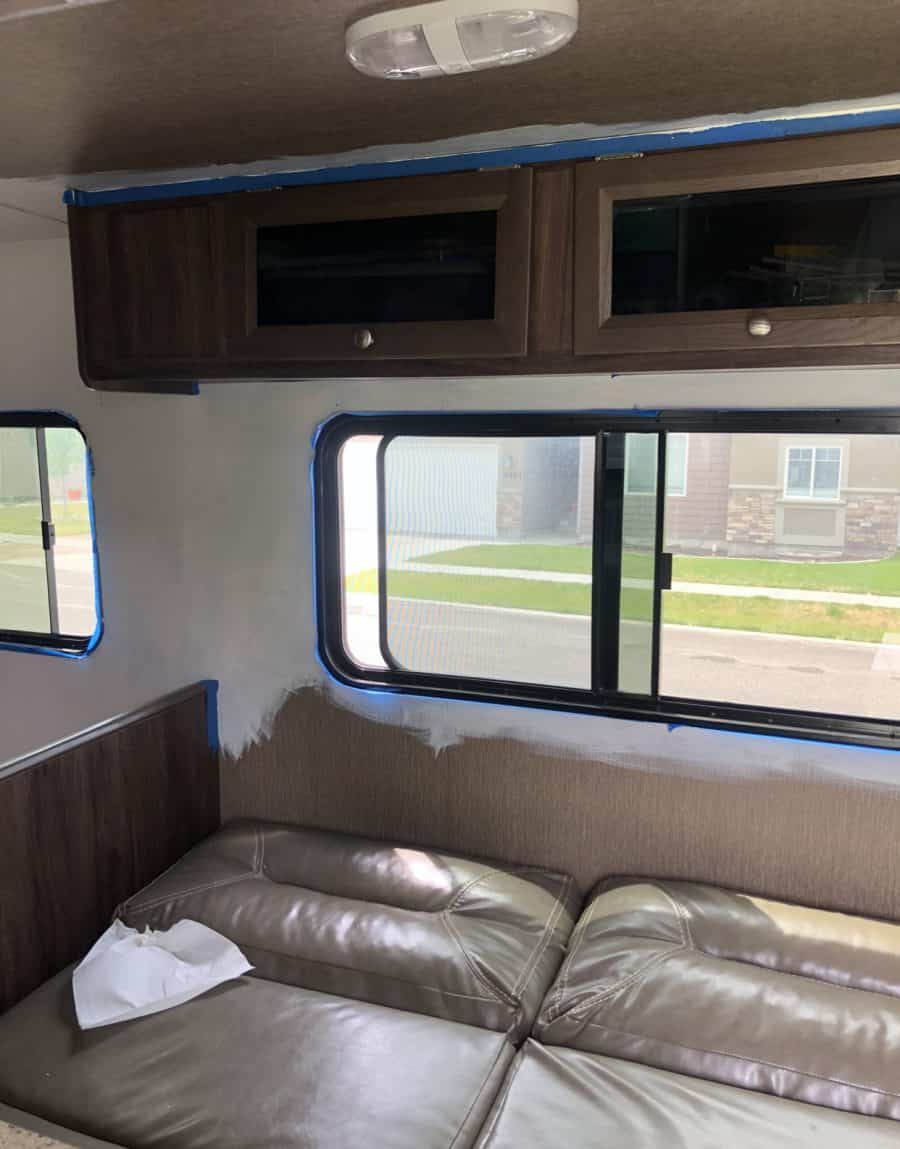
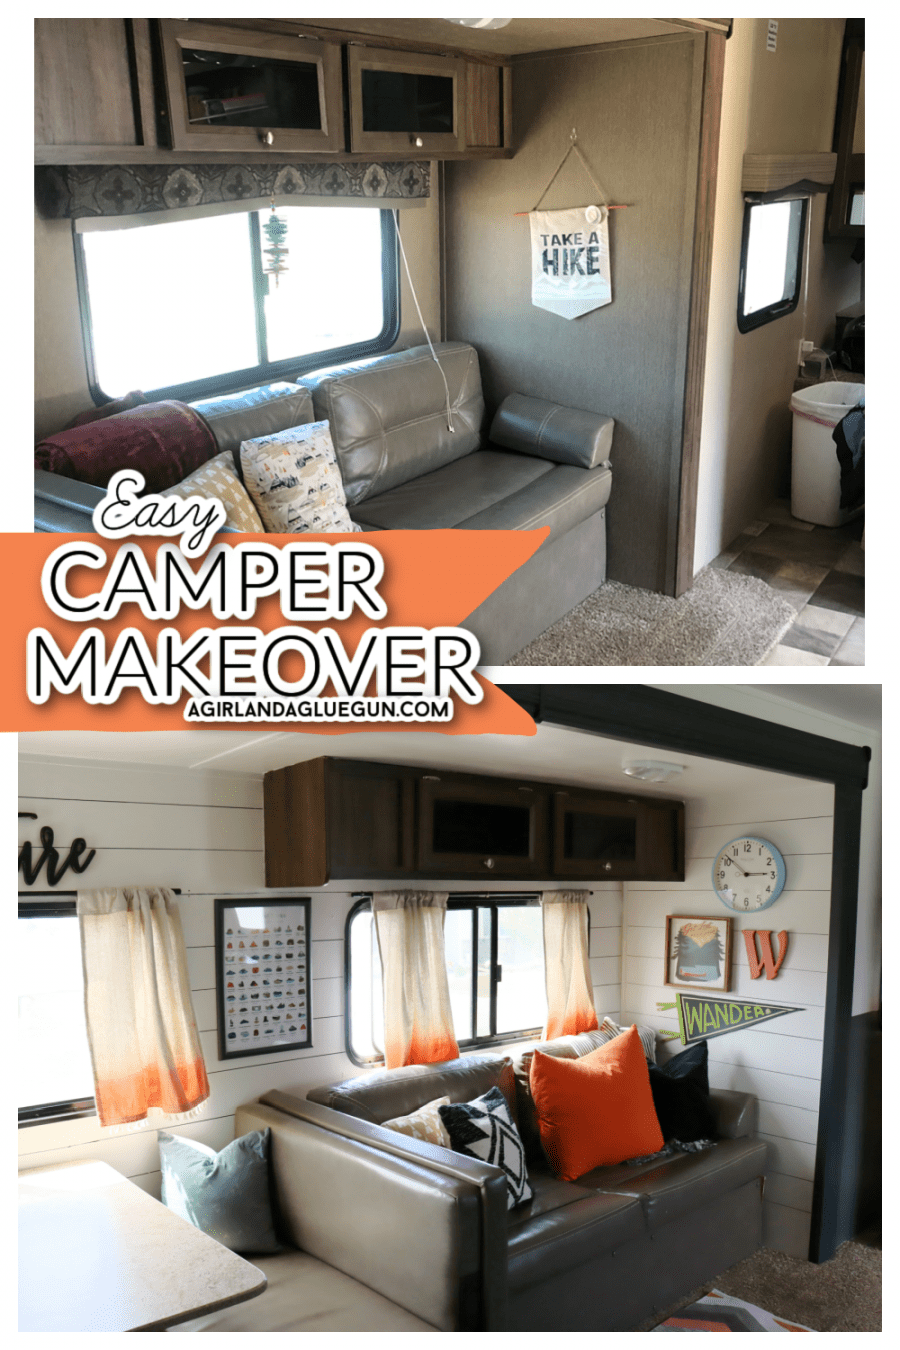
Camper Makeover Before:
In every awesome makeover–there needs to be a before picture! Like I said…heavy on the brown tones. It’s really not THAT bad…but it definitely didn’t scream KIM!
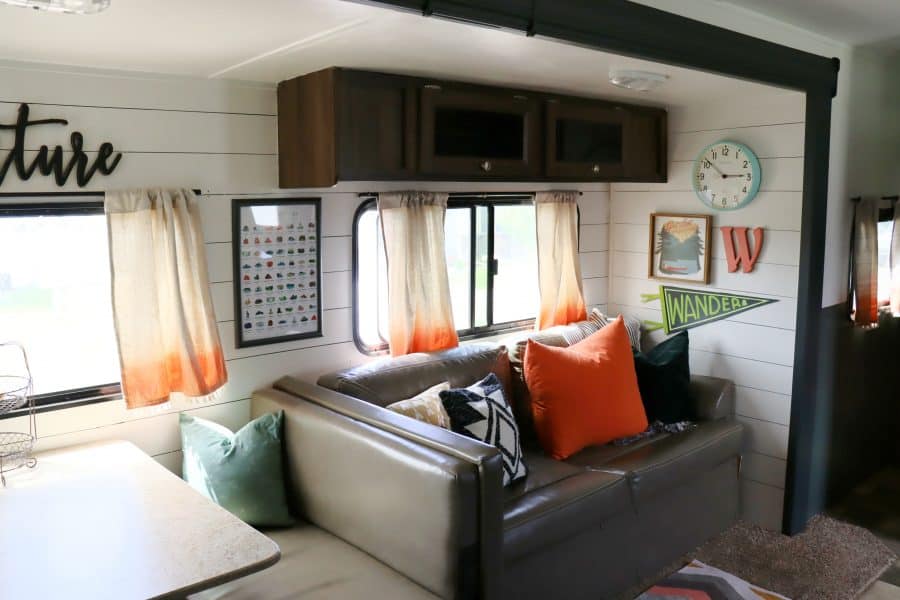
Camper Makeover Reveal
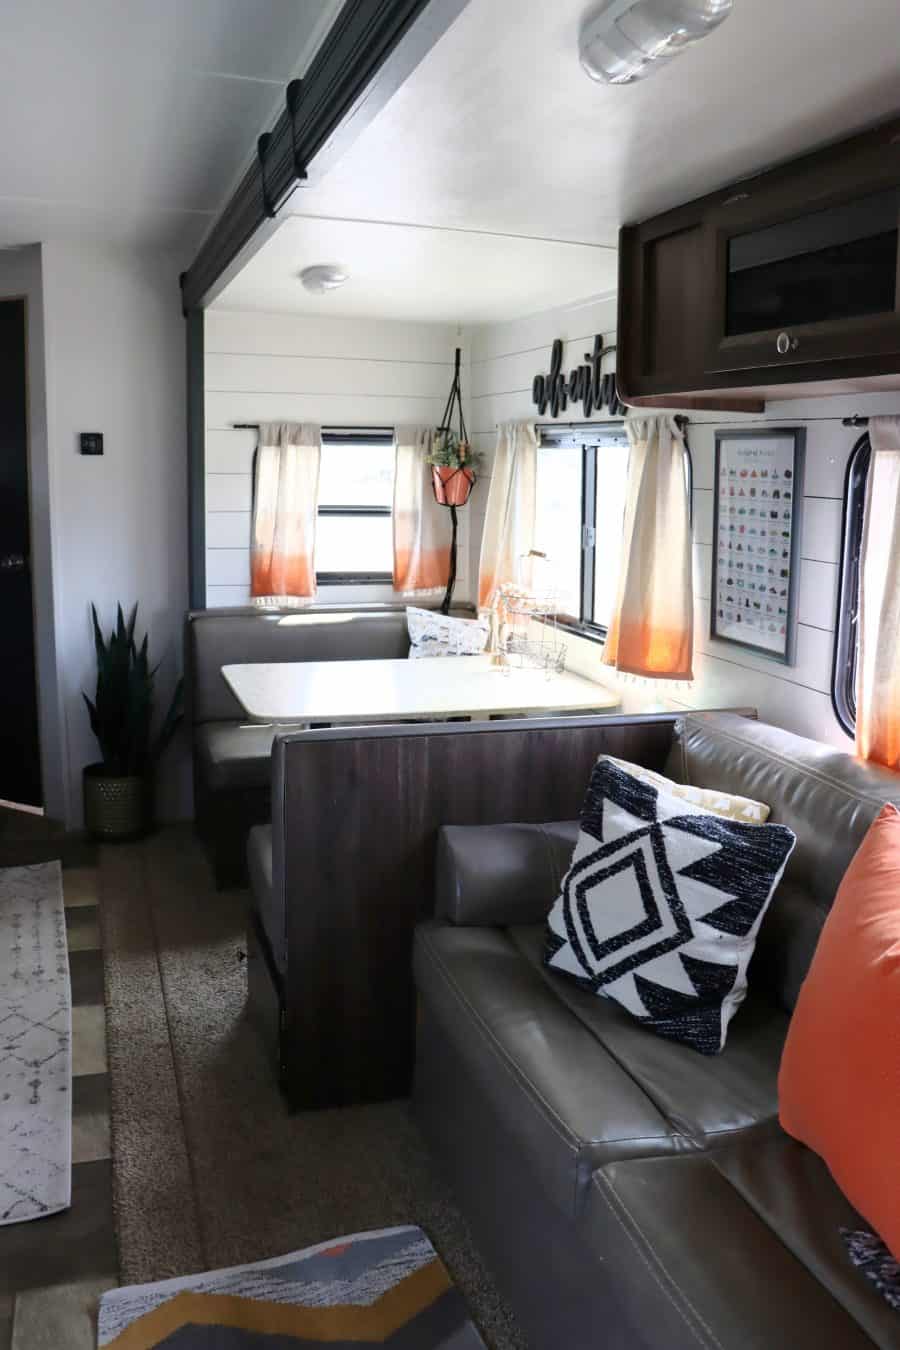
The goal with my camper rv makeover was to make it look awesome without doing anything MAJOR and without spending a bunch of money! And while it was EASY…it was TIME-CONSUMING. I have to hem and haw and make sure everything is perfect…so that might have played a BIG PART! ha
Last summer I added some peel and stick wallpaper to see how it held up. And this picture pretty much tells you.
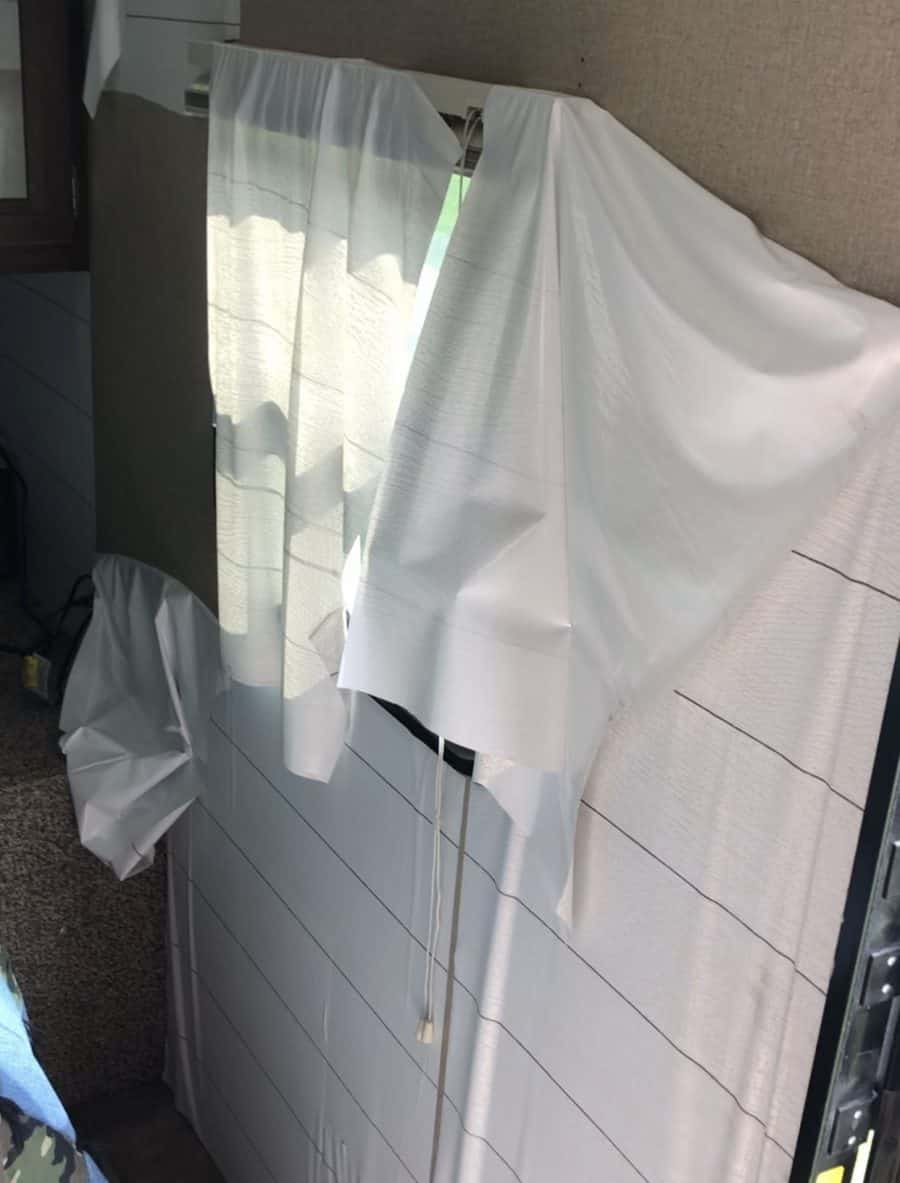
I actually don’t know if it was the high heat (the camper gets really warm inside when storage) or extreme cold. (Idaho!) or if it was the wall texture that prevented it from really sticking. So I knew wallpaper was off the table.
So I ran into Sherwin Williams and talked with the guy and found a paint and primer that would hold up with the wall texture of the camper. It’s a little more pricey than a normal can of paint- but WELL Worth it! The whole gallon was used. (I didn’t paint the most of the bathroom and half the master is painted green so you might need more than a gallon). The color is WHITE HERON. I didn’t want a white white because I thought the clean up would be sucky. It looked more taupe/gray on the sample, but on the walls it definitely looks white. Everything took two coats and there are LOTS of little things to cut around. I even painted the ceiling in the pop out.
Don’t let this face fool you. I was SUPER OVER painting at this point. I did have help from the whole family but it still took awhile!
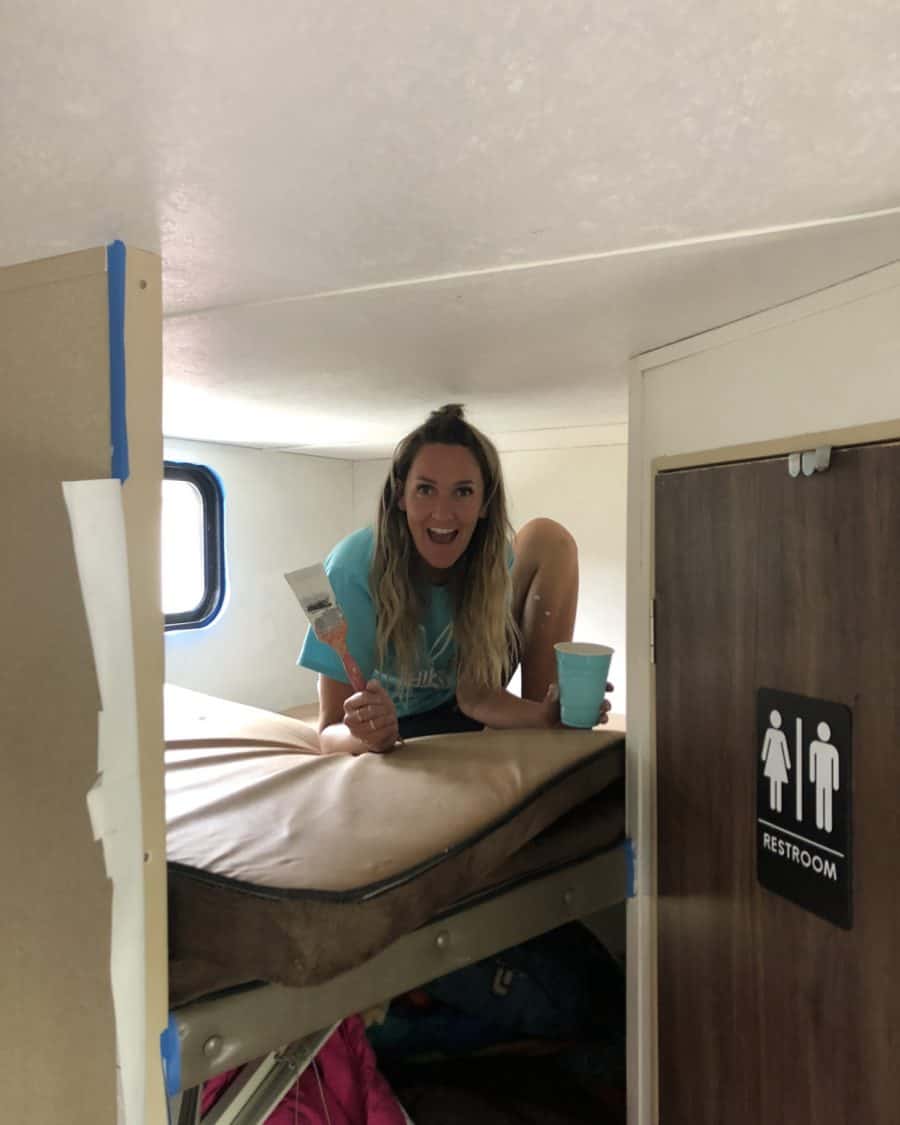
Once the paint was FINALLY done–We moved onto the fun part. MORE PAINTING! ha!
PAINTING THE CAMPER
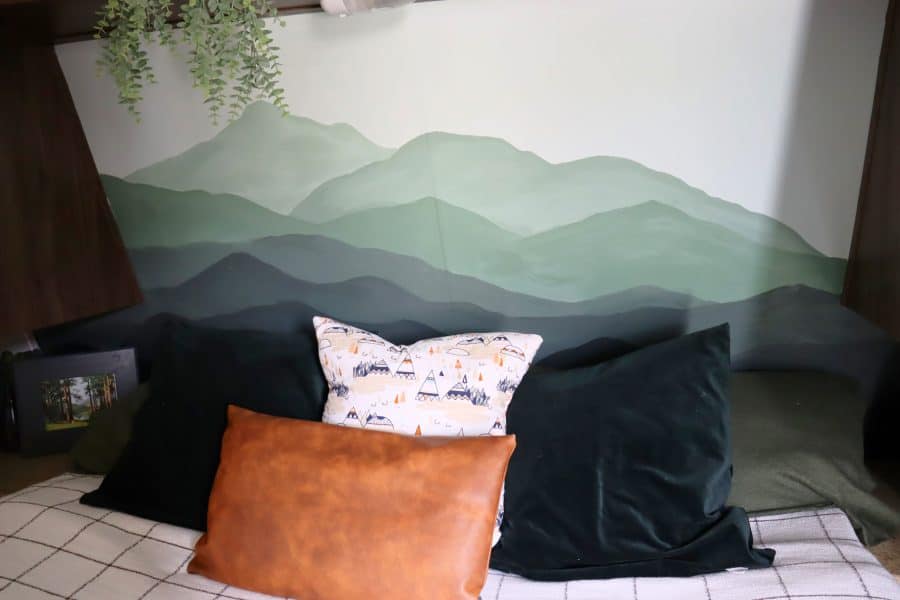
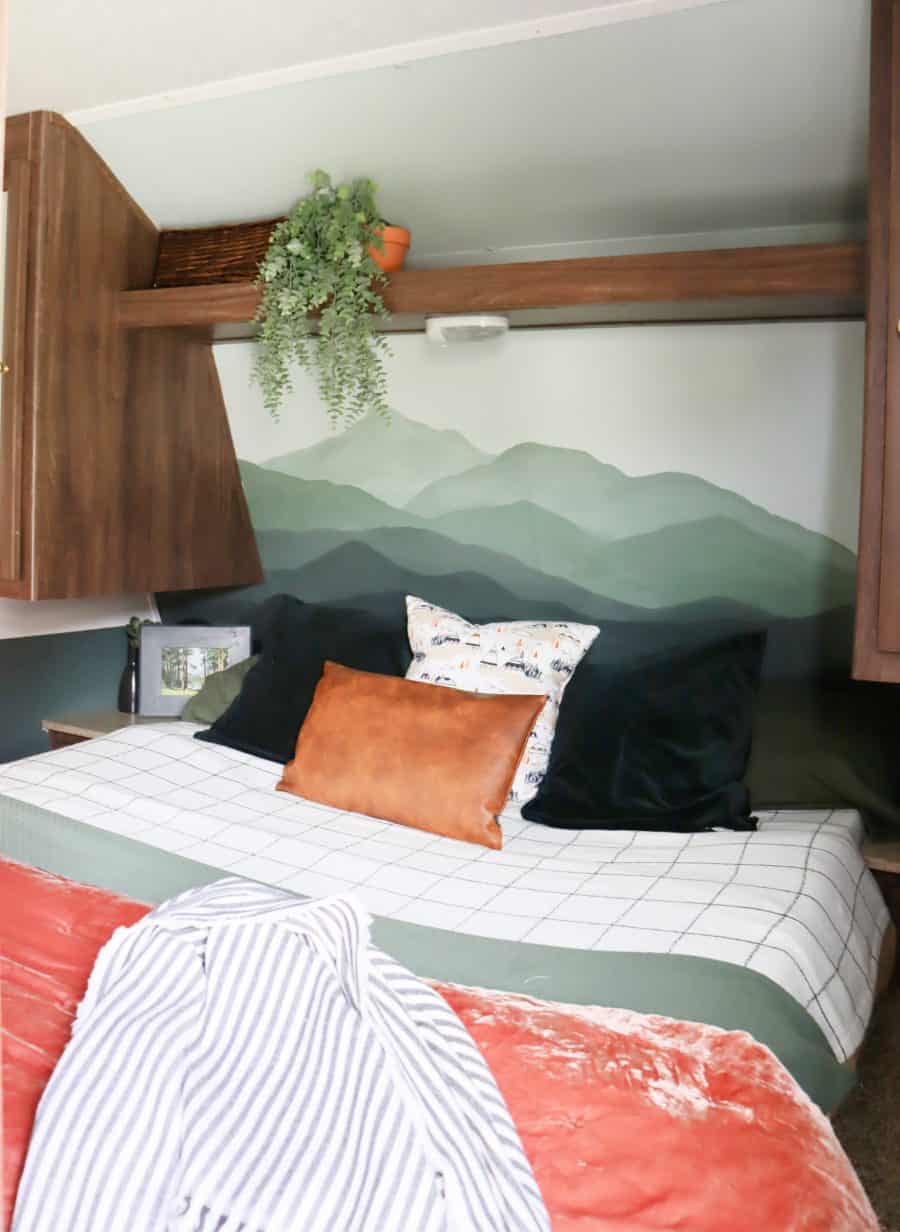
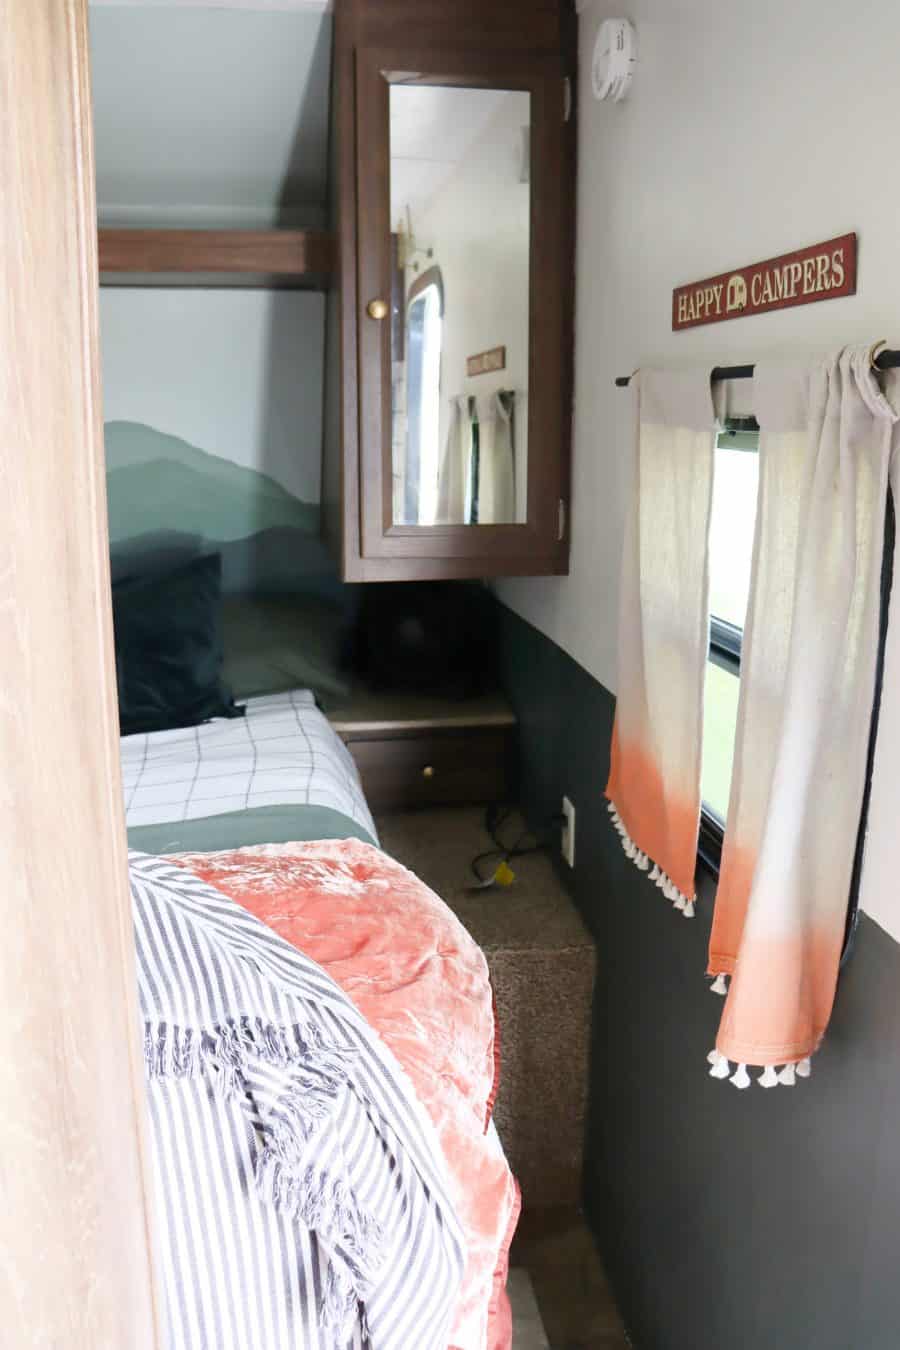
I ended up using leftover green paint from my craft room to paint the bathroom door, some of the trim, and half of the wall in master bedroom. Then I took the green and the white heron and painted a mountain mural above my bed. It’s a sloped wall- so you can’t really hang anything on it without it looking weird. The painted mural was the perfect solution!
View this post on Instagram
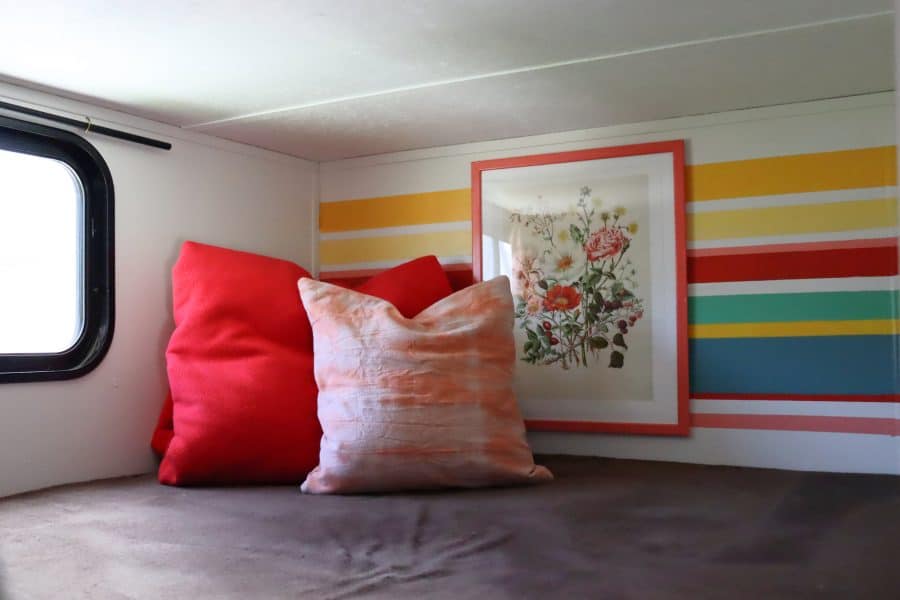
I then got fancy and wanted to added some type of headboard look to the bunkbed. We ended up with some fun stripes (leftover paint!)
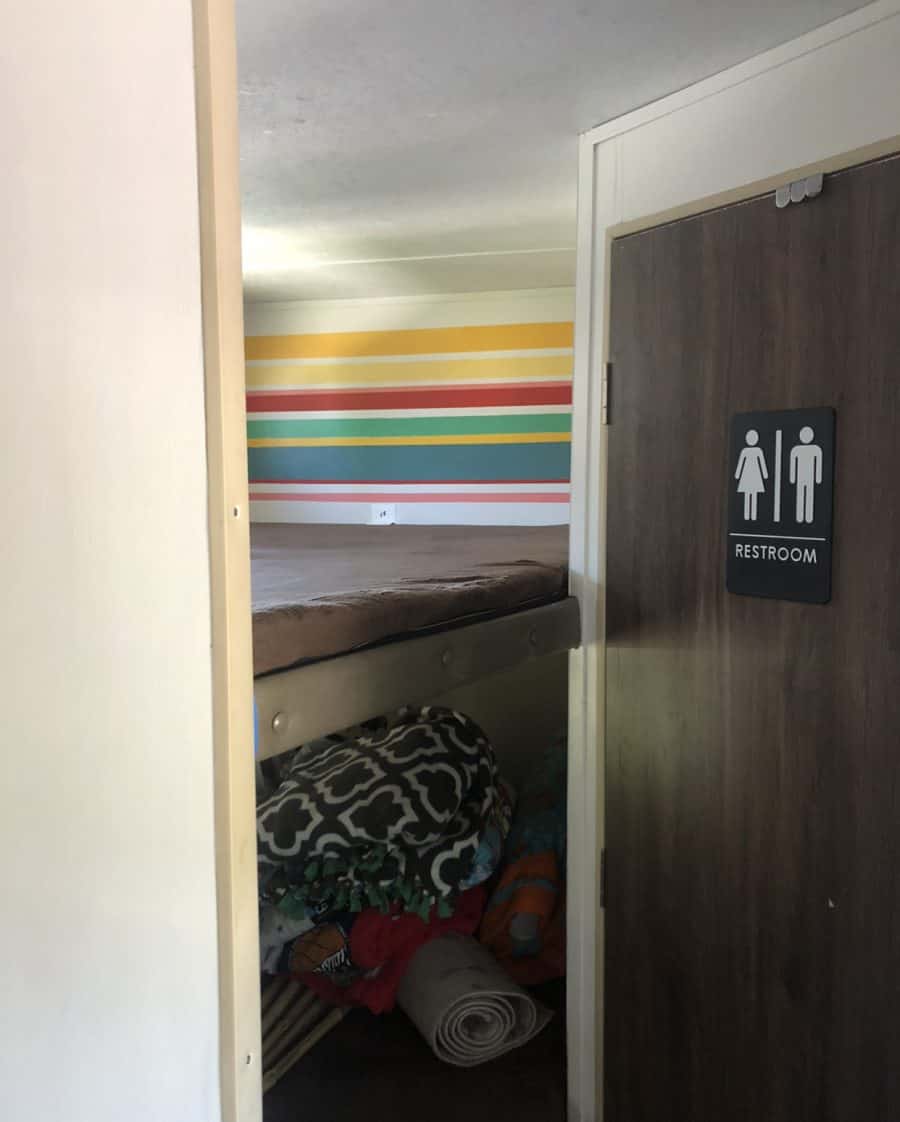
Usually my son sleeps on the bottom- So I wanted to make his stripes as well, but with a different colors scheme
DIY shiplap walls
ONCE I finally washed all the paint brushes, (I was so glad to be done painting.) I was on to round two. MORE decorating. I knew ship lap wallpaper was out- but I still wanted the shiplap look. So I took a sharpie paint pen and a ruler and made my own!
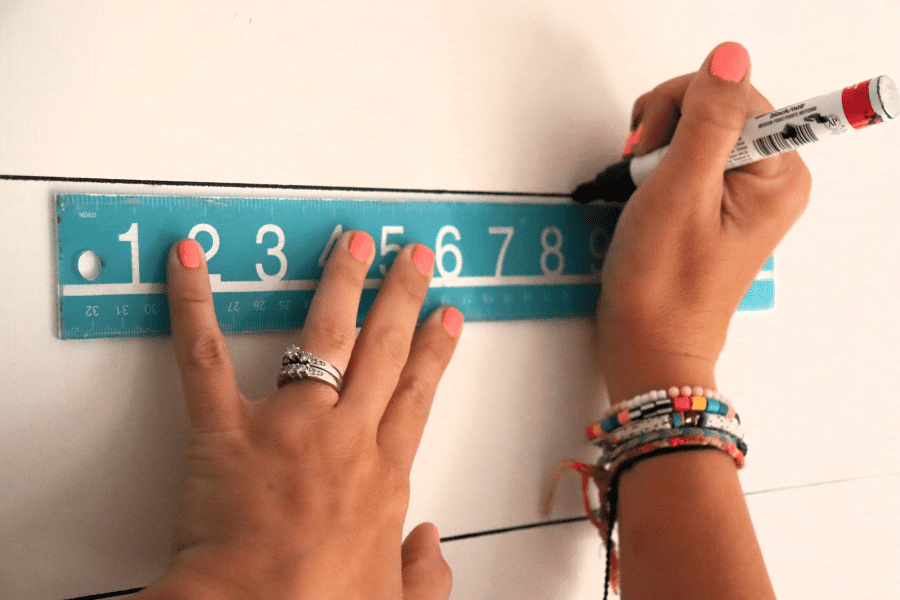
You guys. This is the best hack ever. It looks just like shiplap. and you can grab these pens for $3! SCORE! You have to be careful when drawing the lines though because the camper is probably not 100% level or the walls don’t match up (my slide out was sloped down) So I kept the lines measured evenly with the window and furniture since that’s what would be more noticeable.
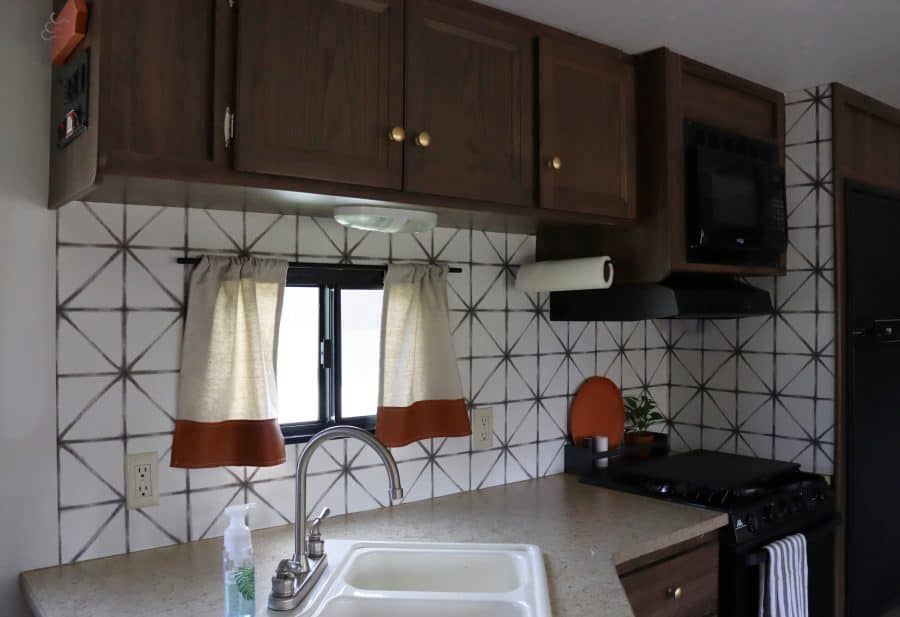
Kitchen
I didn’t want to attempt to paint all the cabinets. (but I might next year after I forget how much painting sucks) There is also some awesome counter top paints that I want to try out. Once I do that-I will probably swap out from amazing knobs from Hobby Lobby! BUT I did add some water based wallpaper. It was leftover from hallway . I’ll keep you updated if it falls down. So far it looks like it’s holding solid!
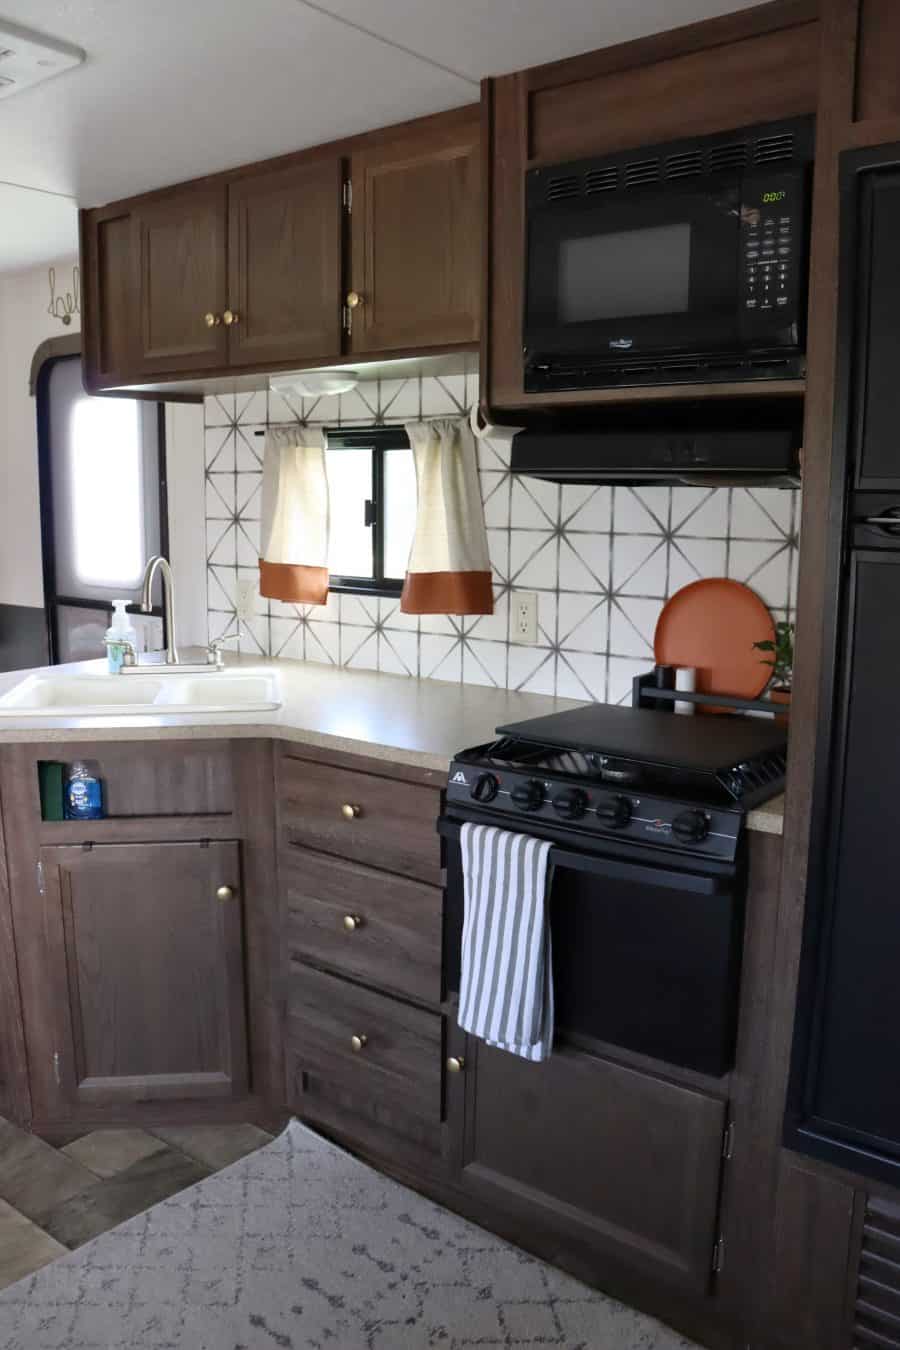
Camper Curtains
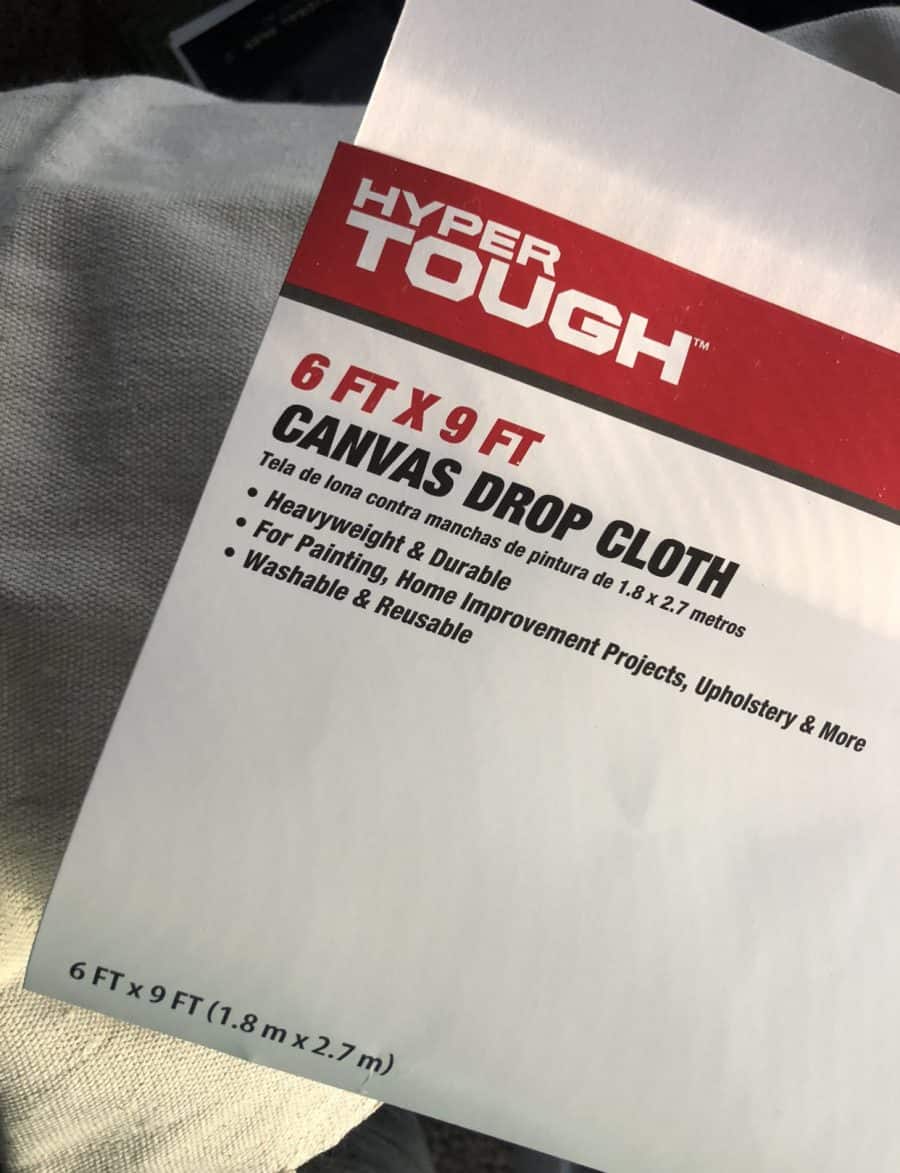
These probably took the longest. I couldn’t decided what to do here. Turned this drop cloth into some inexpensive curtains (there are 8 windows that needed curtains) But they were SO boring. Added some trim from Hobby Lobby. But still…boring. Sewed on a leather panel (you can see it on the kitchen curtain) but I didn’t love how stiff it was!
I ended up dip dying them in some rit dye.
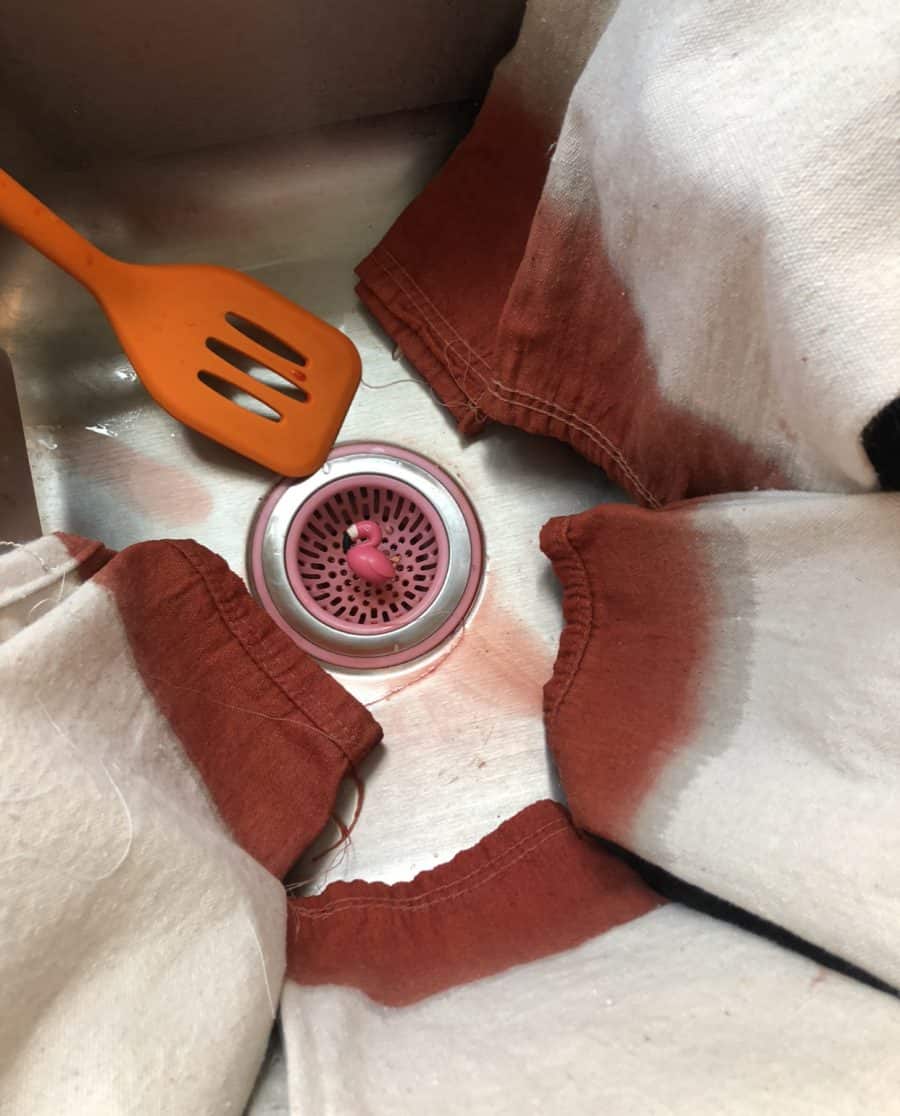
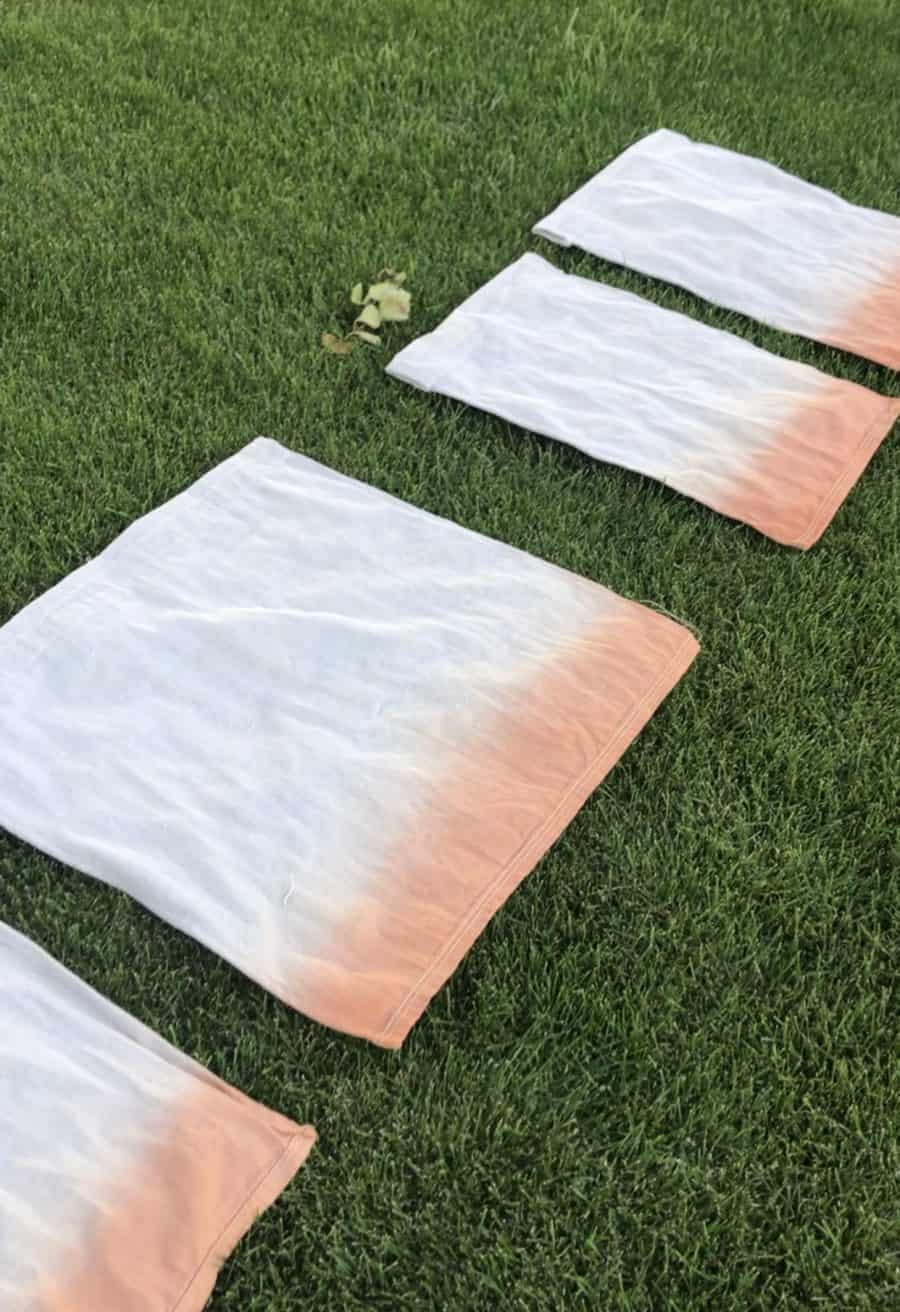
They ended up being perfect. A little pop but not to crazy for the small space

I had to buy two drop cloths to get all my windows done but I had enough to tie dye some pillow covers for the bunkbeds.
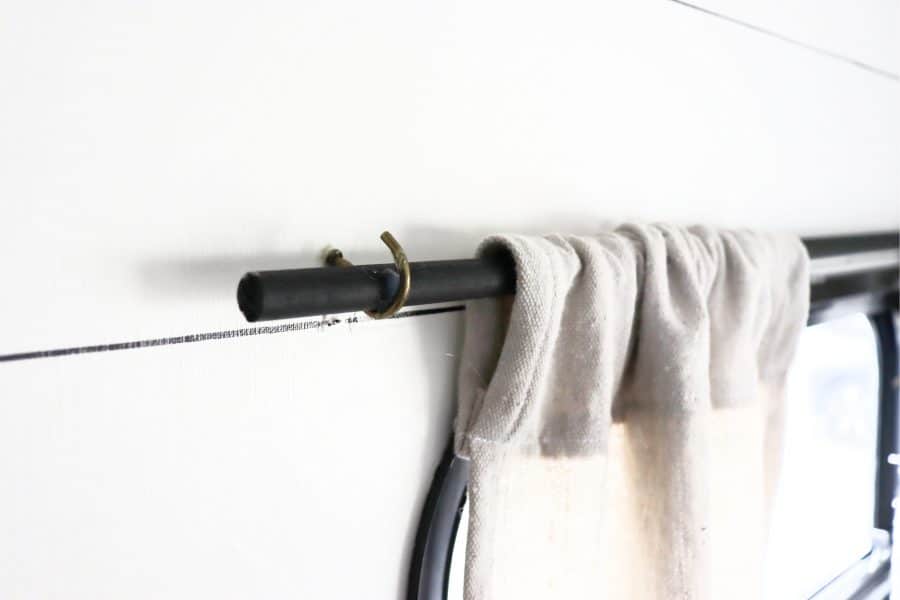
The Curtain rods are also a cheap option- dowels and hooks! I painted the dowels black and screwed in the hooks. I did end up gluing the dowel to the hook to prevent it from sliding. It was just a piece of the adhesive I used to attach things to the wall- so if I need to remove it, it should come down quickly!
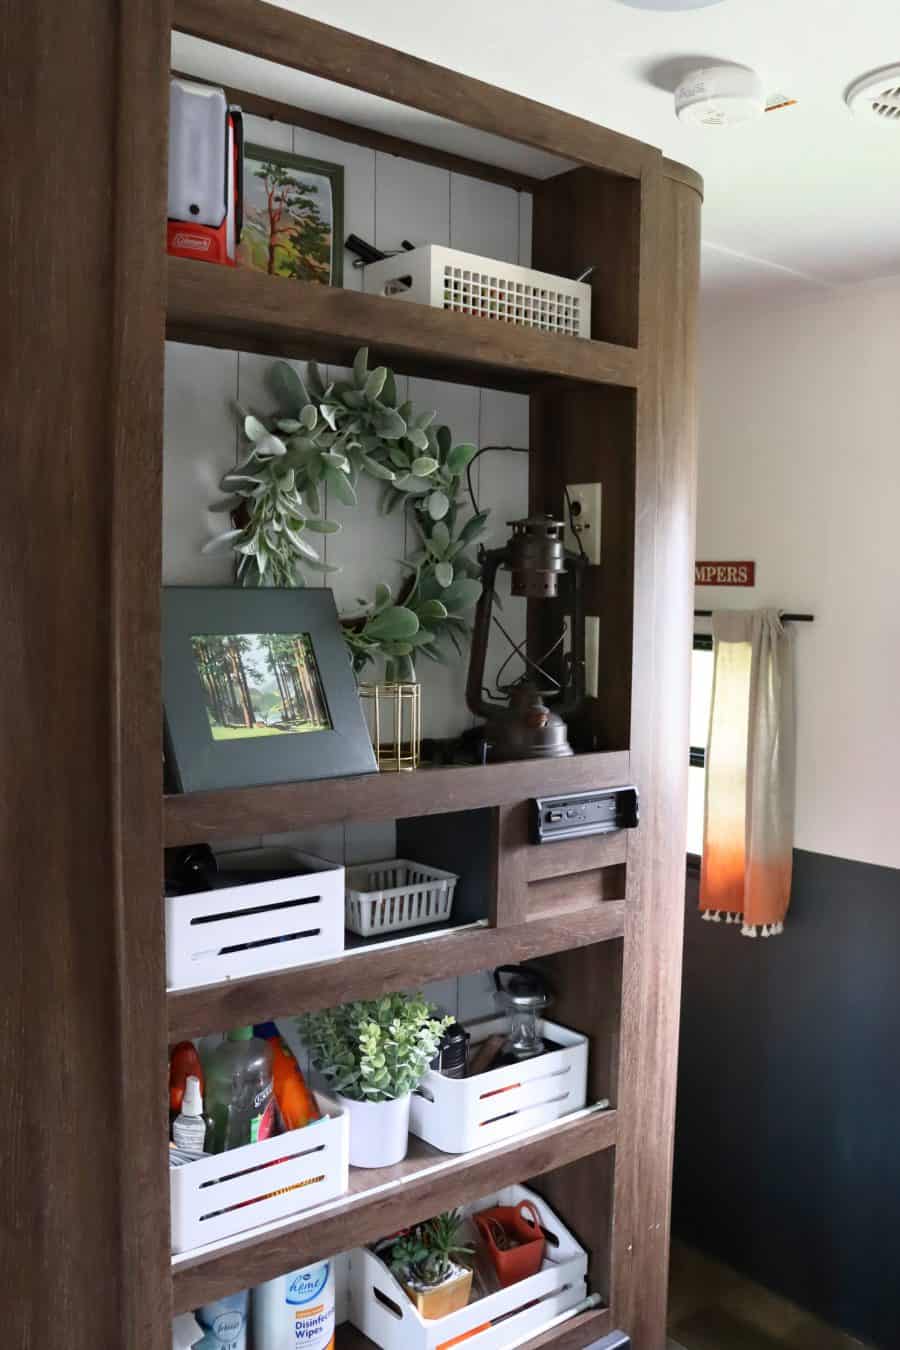
Camper Decorations
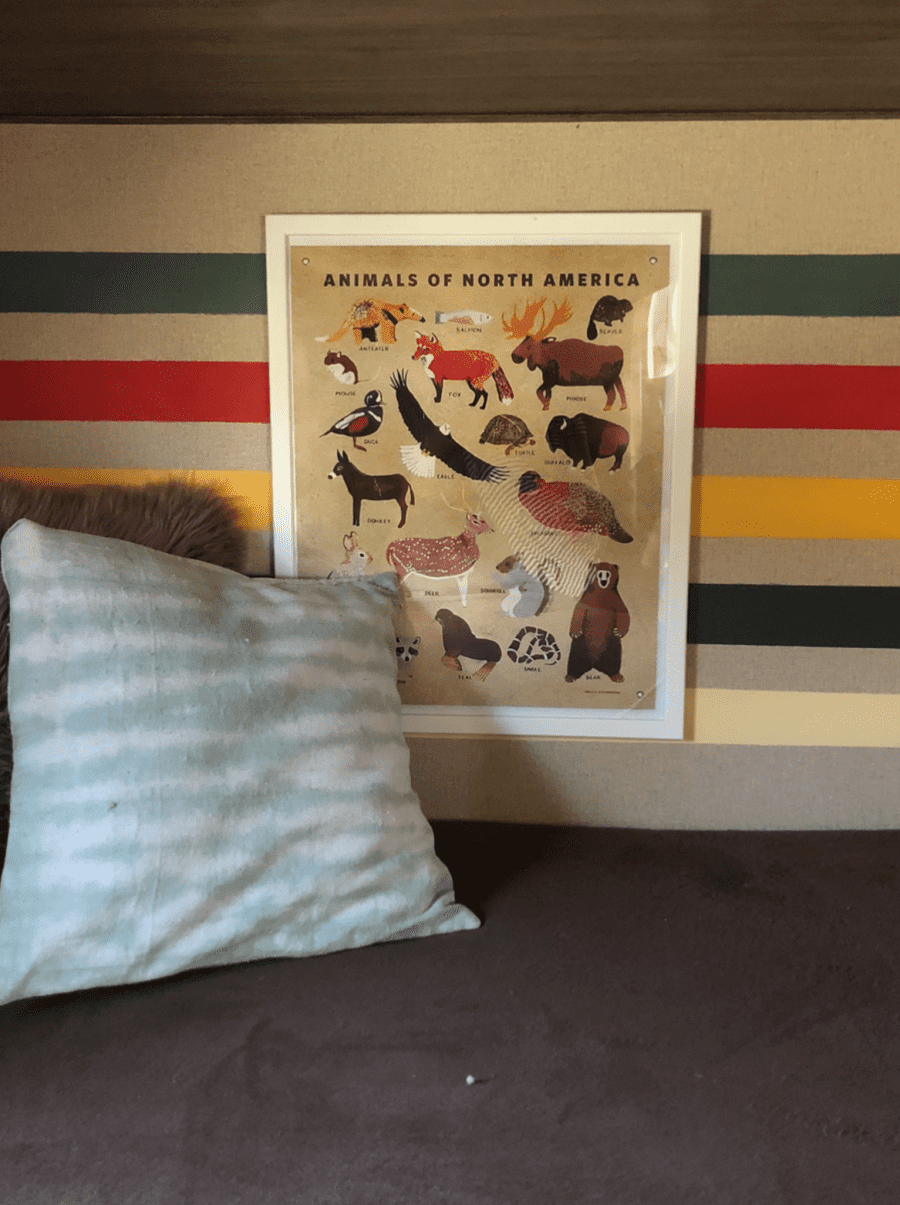
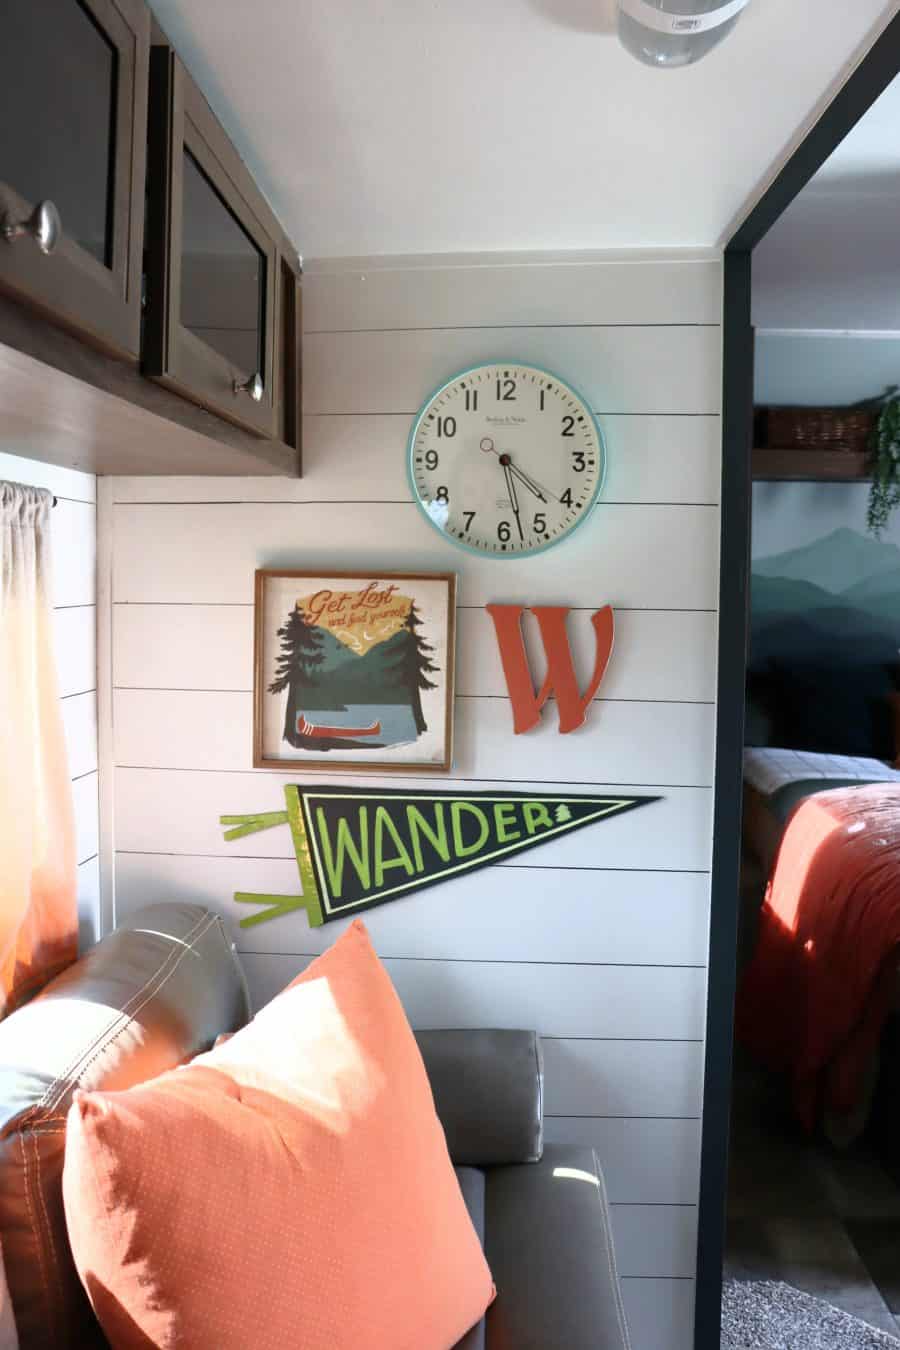
This of course is the best part! Accessorizing! Hobby Lobby has a cute little camping section that I could have bought alll the things. But there are very few free space to hang stuff in a camper. (the get lost sign is from Hobby Lobby) I sewed most of pillow covers. Clock was purchased a few years ago. The wander sign I made out of cardboard!
The adventure is also from Hobby Lobby
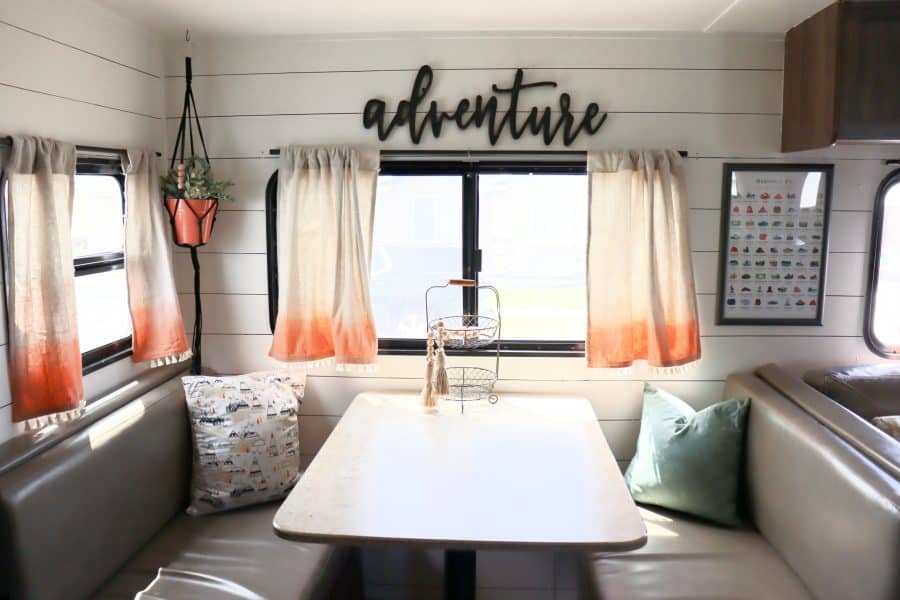
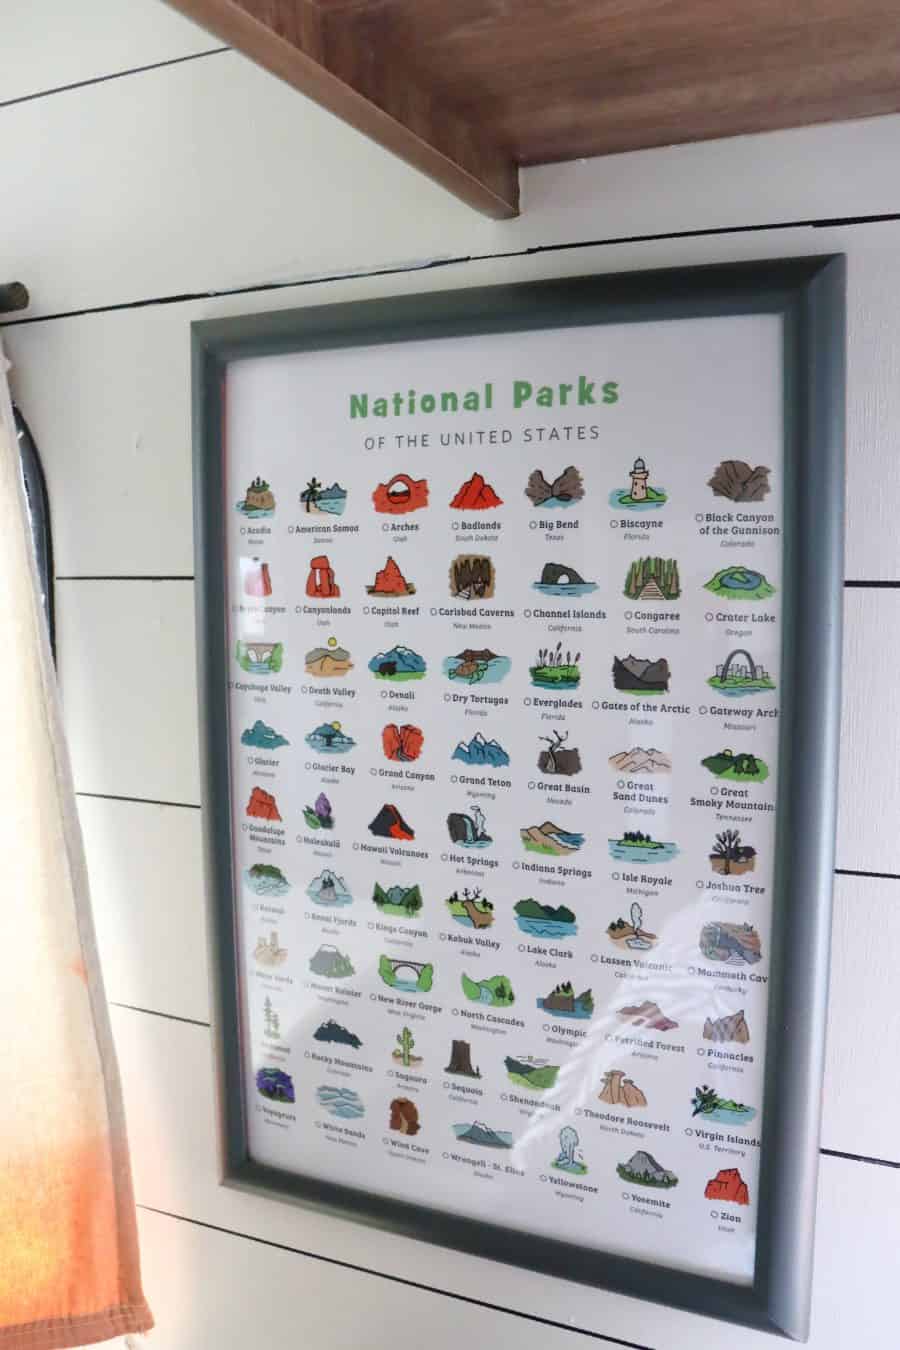
and the national parks print is my favorite- You can see my roundup of all the cool national parks print here!
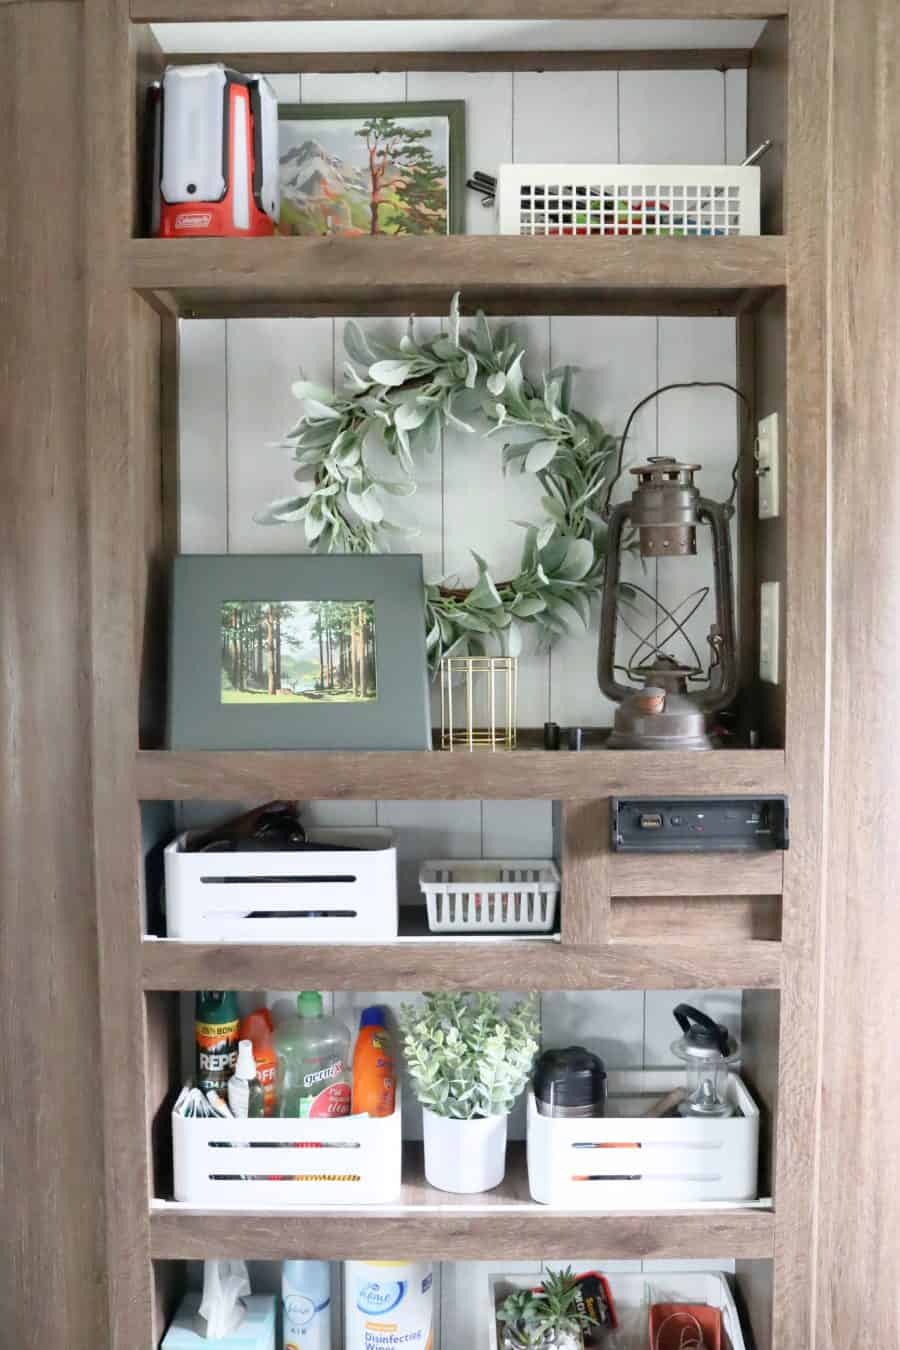
I didn’t want to put too many holes in the camper, So I mostly used adhesive tape to hang up the decor! Lots of adhesive tape to help secure any extra things- the spice rack by my stove is all stuck in place!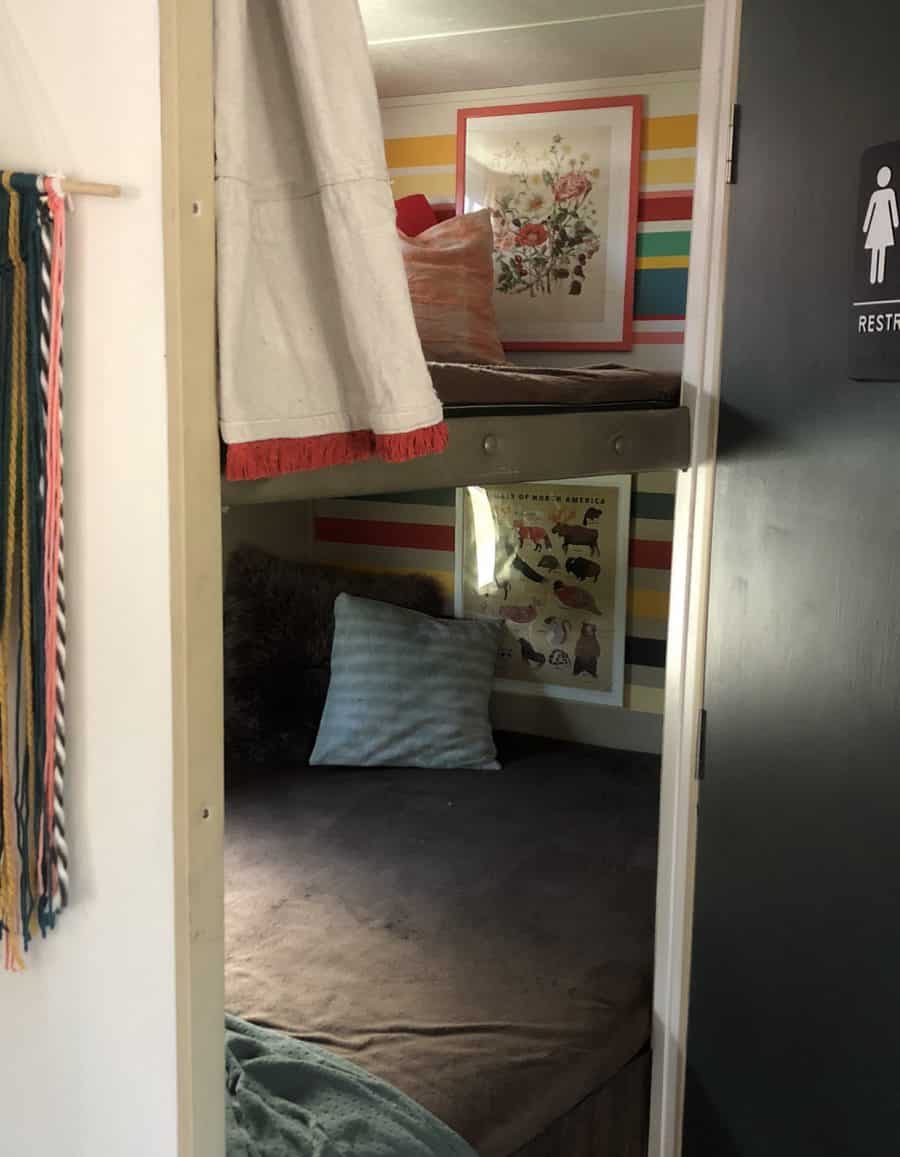
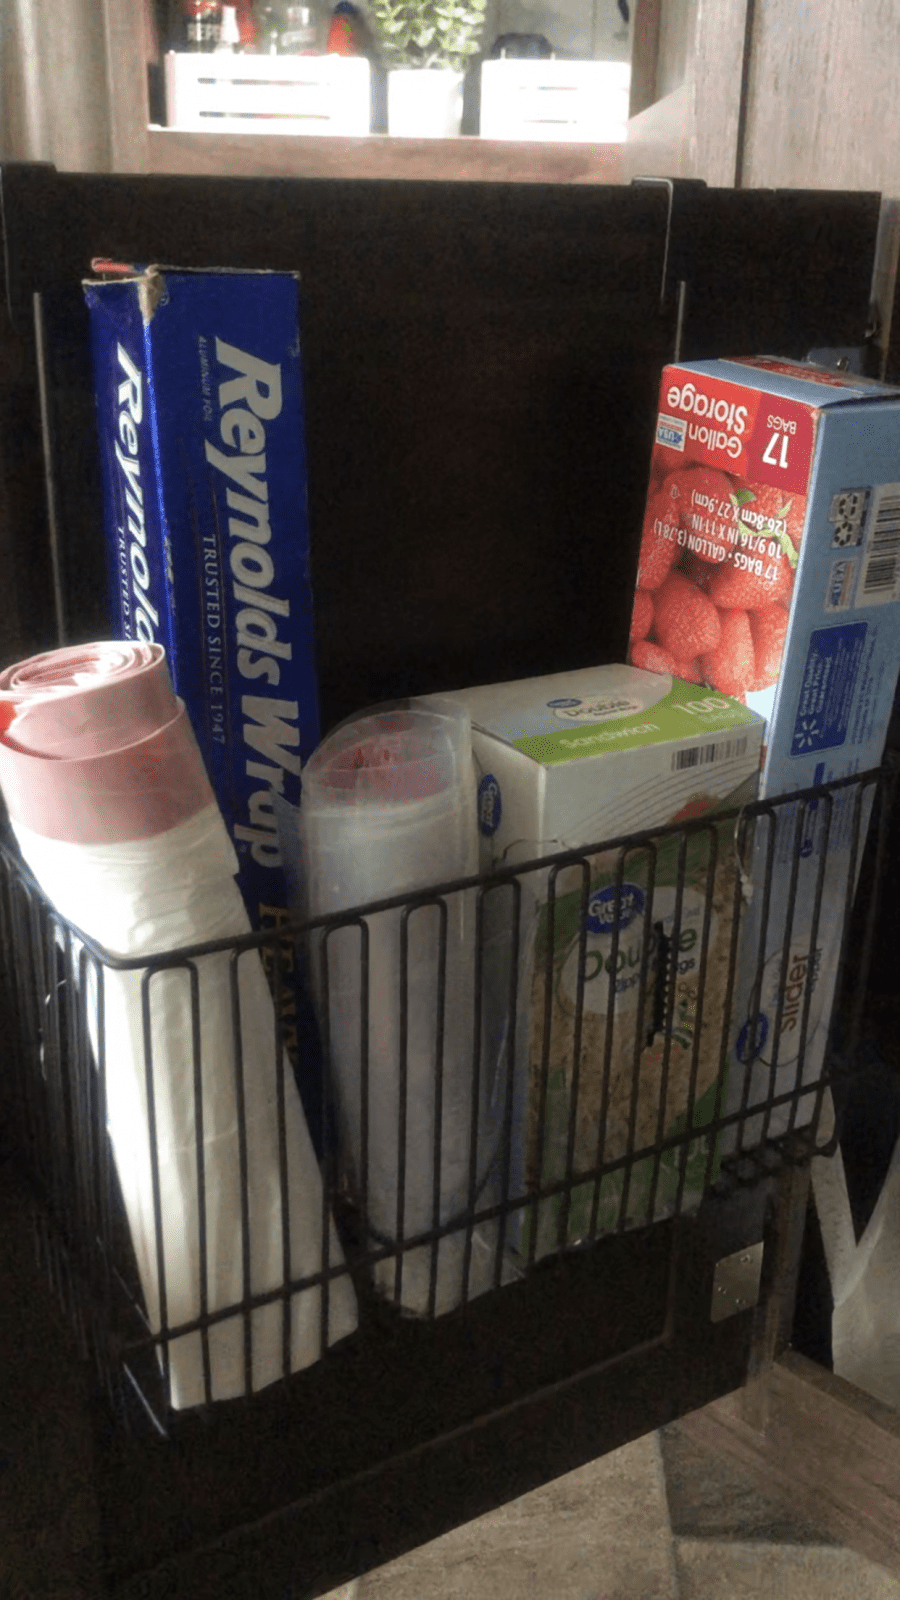
A bunch of tension rods in the curtain section will help secure your stuff when the camper is in transit. When we travel, we pull them up to keep everything from tipping out of the shelves!
Everything else I used in my camper is listed Here on my Amazon list! I also listed some fun things I wanted to get but didn’t have space!

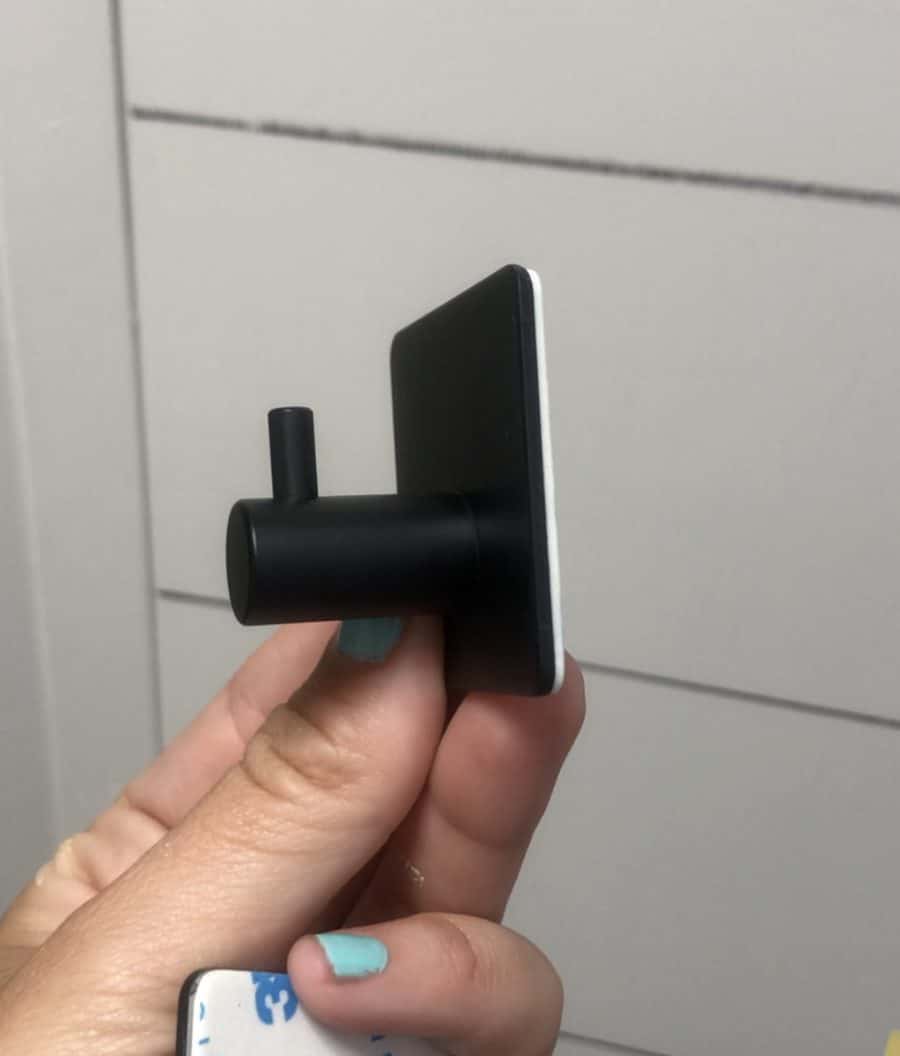
These adhesive hooks are what I used to hold hand towels and bath towels and some decorations!
Also love any extra storage hacks! This over the cupboard organizer is awesome!
Let me be 100% transparent. This camper only looks good because no one is camping in it! ha! Once we start using it, it will be filled with shoes and dirt and laundry and craft supplies!
Although it took a lot longer than anticipated, I love it! I mean look at the before and after! It just looks so much more fresh! I bought a gallon of paint. $20 worth of drop cloths and $40 worth of dowels, adhesive, hooks, and storage stuff and $30 worth of decor from Hobby Lobby. I’m calling this camper redo makeover a big fat success!
If you are looking for fun camp crafts, camp foods or awesome camping hacks! Check out all my camping posts!
Christine J says
Love this! My camper looks very similar to your before pictures.