
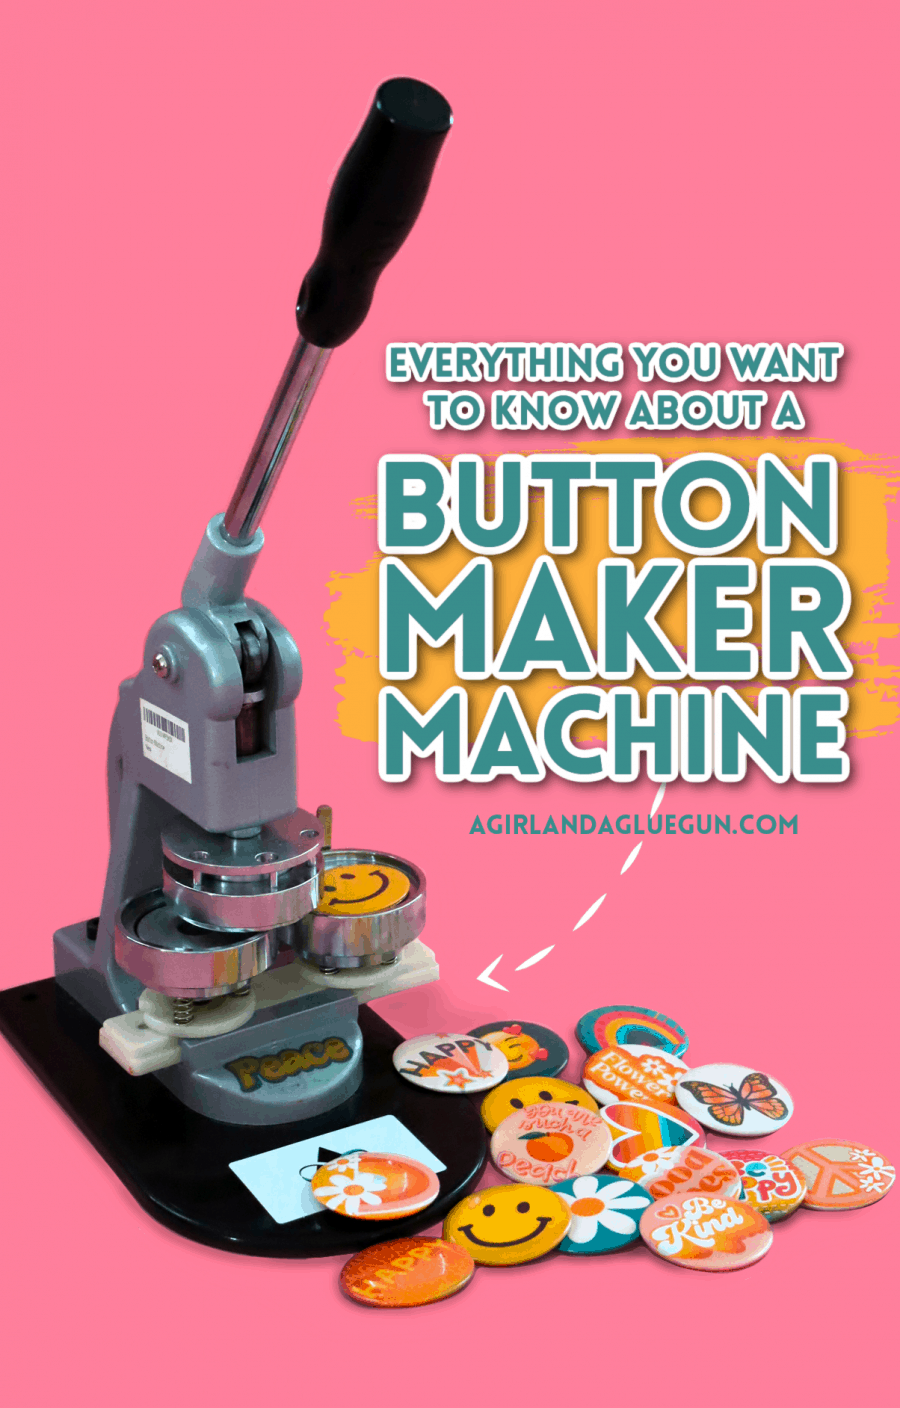
I love making buttons! It’s such a cool easy craft that will have you addicted! and I’m going to show you how to create with the Button Maker Machine.
We had a Blog conference and on one of the nights we had a slumber party themed craft night–and we knew we wanted to create some fun buttons! Mostly as a good excuse to buy a button maker! ha! And guess what–it.is.awesome! We have made so many fun buttons! So basically I’m writing up this post to convince you that YOU NEED a button maker in your life.
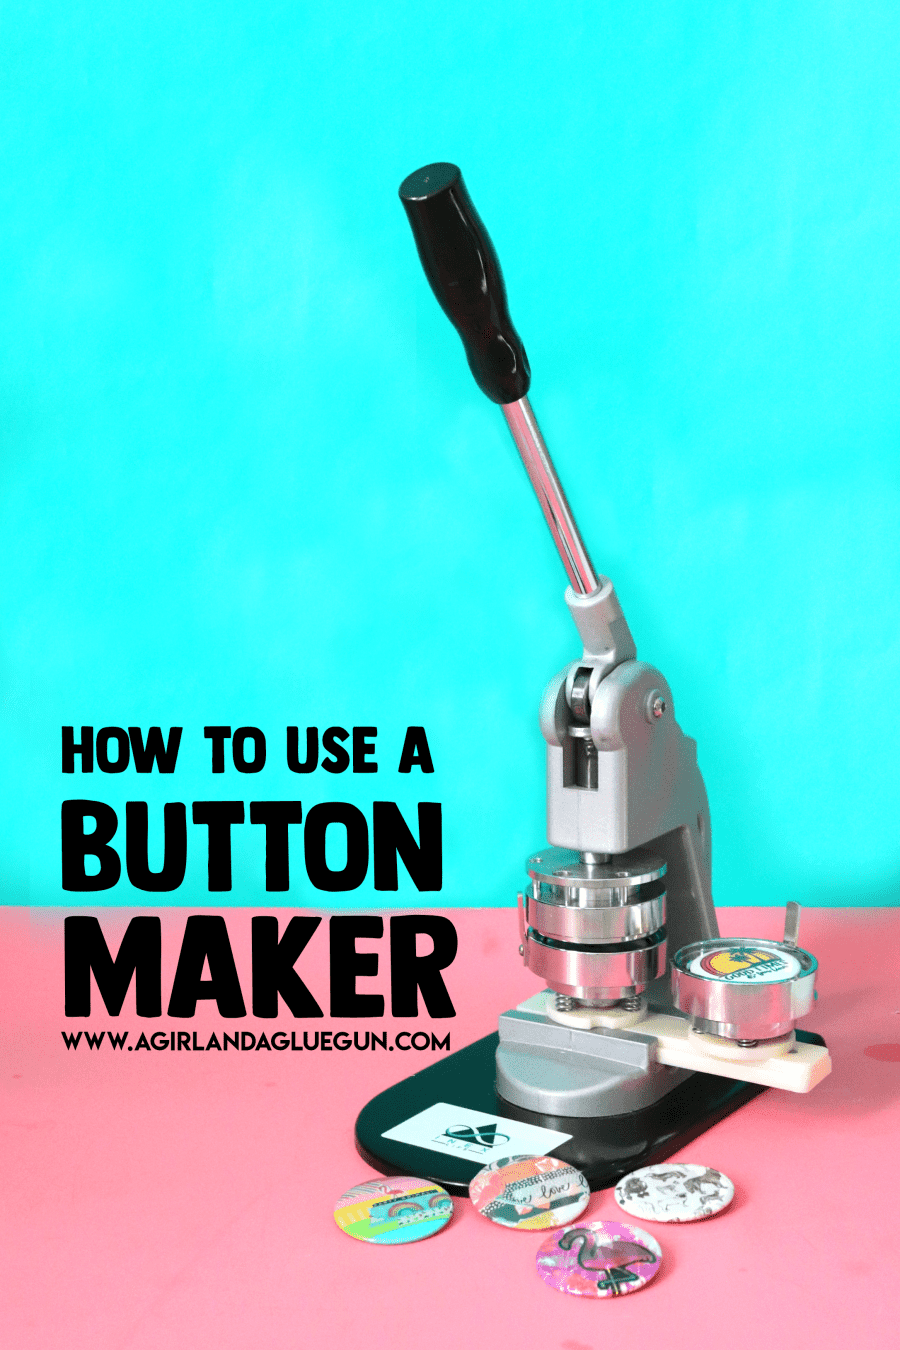
Button Maker Machine
We actually bought two sizes from Amazon-The one pictured makes a 2 1/4 inch button. (A normal size button!) Buy it here!
The second one we had is this button maker--it makes 1 inch button! Cute little ones!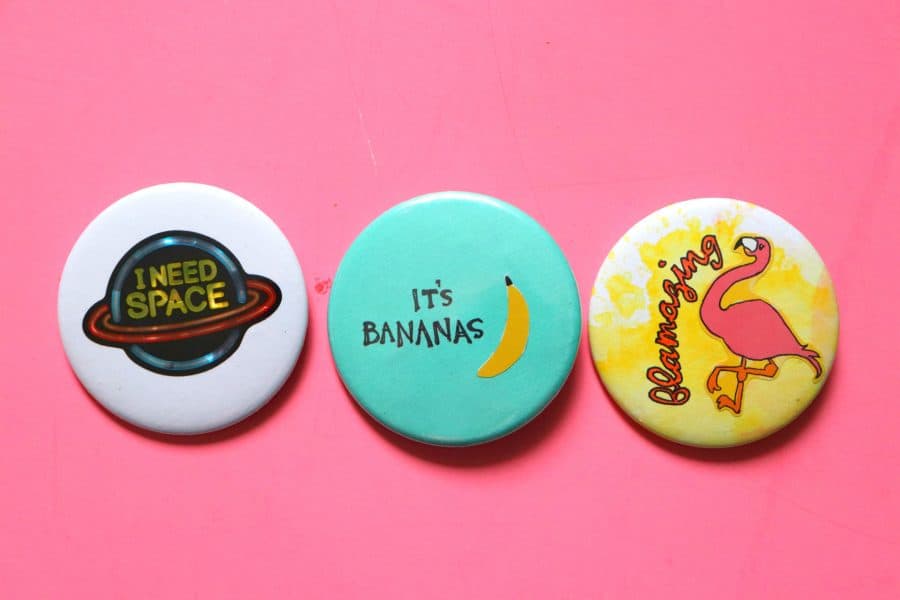
Both button makers come with stuff to make 1000 buttons–and we have used these time and time again and still haven’t even made a dent in my button stash!
You will have to decide what size button maker you want–both are awesome! I love the bigger one because it came with a circle punch that fits your button maker perfectly. But I love the 1 inch one because the buttons don’t take up as much room! The smaller button maker machine is plastic backs to the buttons instead of metal in case that makes a difference to you!
They do have cheaper options but what I love about these makers is that you set it up and wham bam make the buttons. The other versions you had to take off one part and attach another part for each part of the button! So keep that in mind!
How to use a button maker
There is a little learning curve with the button maker–but after you make 2-you should have it down and then you can create thousands!
First. The Bigger button maker came with the whole punch that makes the perfect circles. You have to keep in mind that the button wraps around. So you want to make sure that the image you have doesn’t go right up to the edges because you won’t see it. You can also just punch a whole bunch of white blank circles for people to decorate!
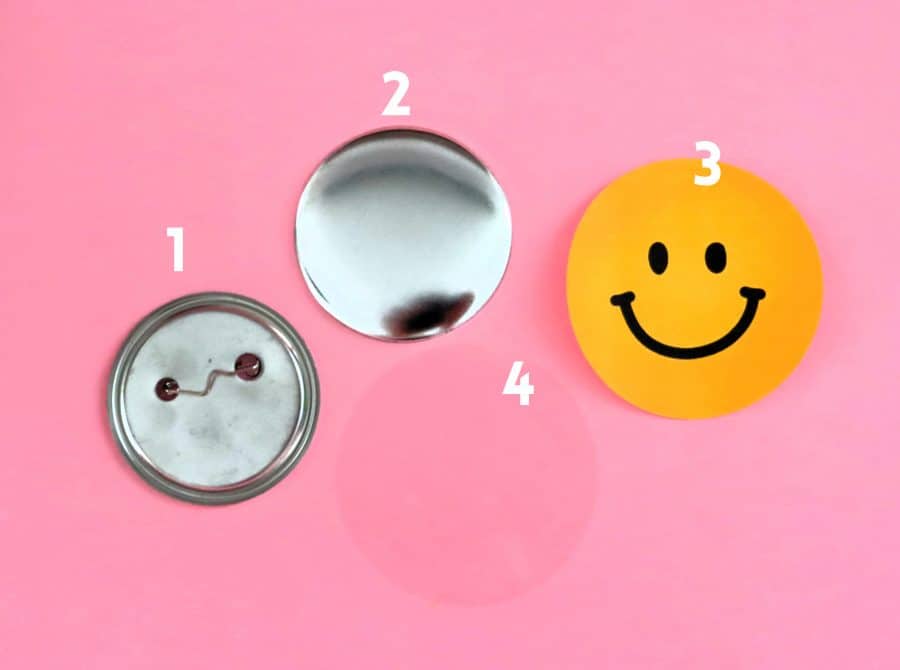
The button maker came with everything you need to make a button- button back, button top, clear plastic piece. You just need to add your art/logo to make into a button!
- Back
- Front of button
- Image
- Clear sheet that goes on top of button
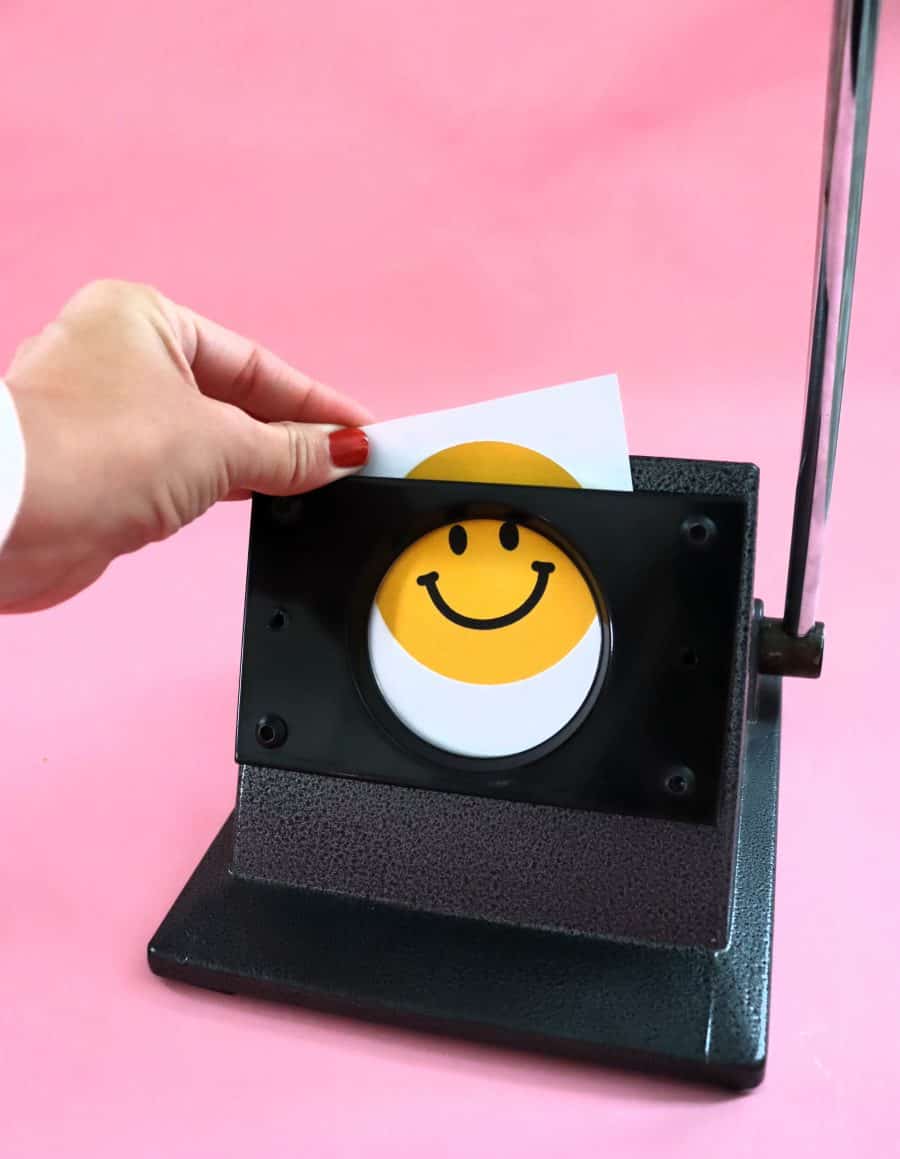
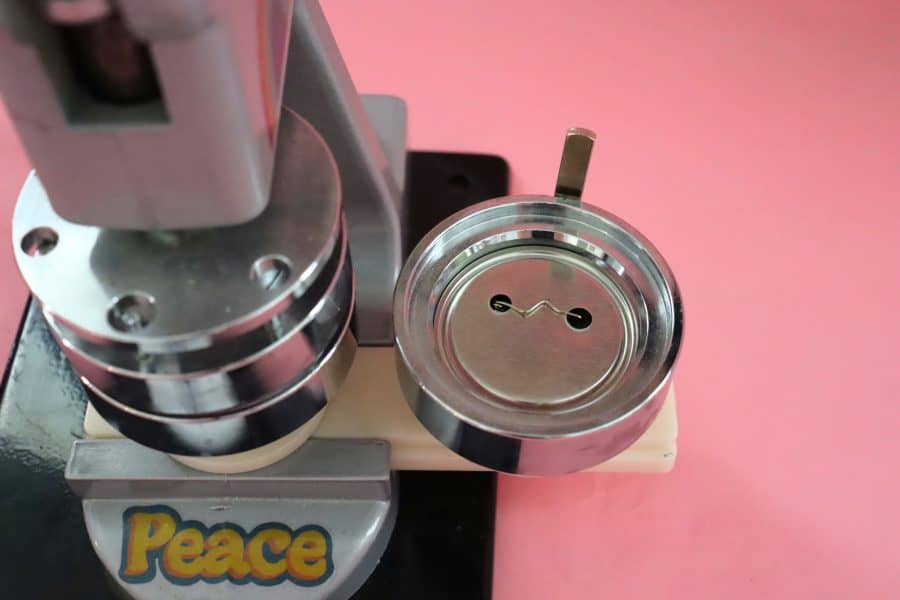
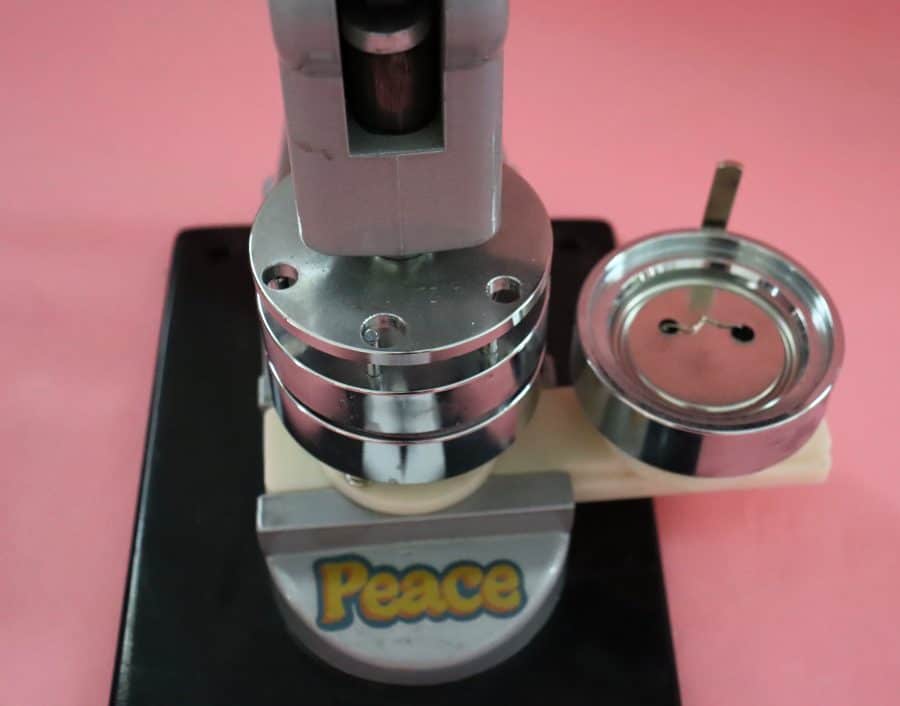
Loading your button maker
First: on the right you add the back of the button into the circle slot–curved part of the pin face up.
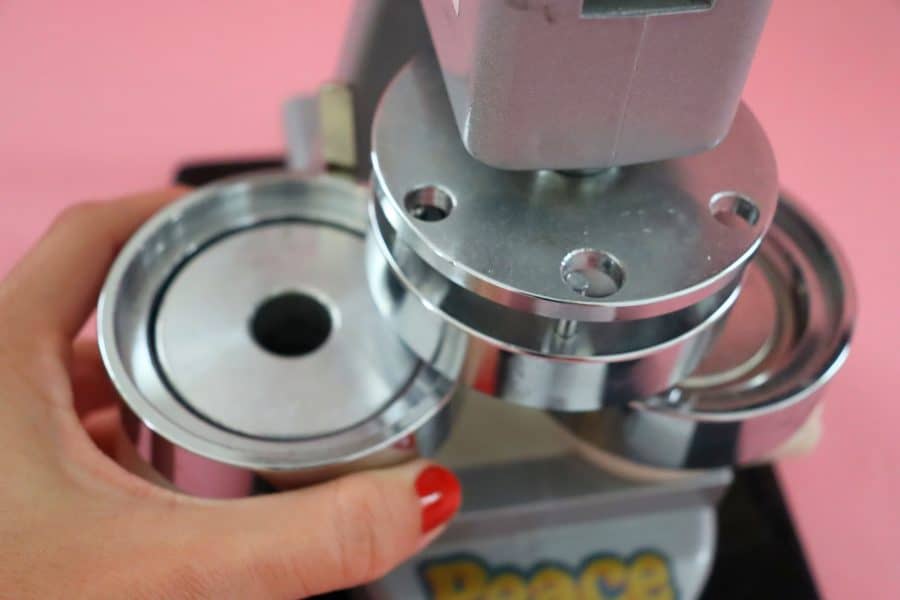
Then you slide over the plate so you can see the circle on the left-Then you add in the smooth circle piece (it will fit in perfectly)
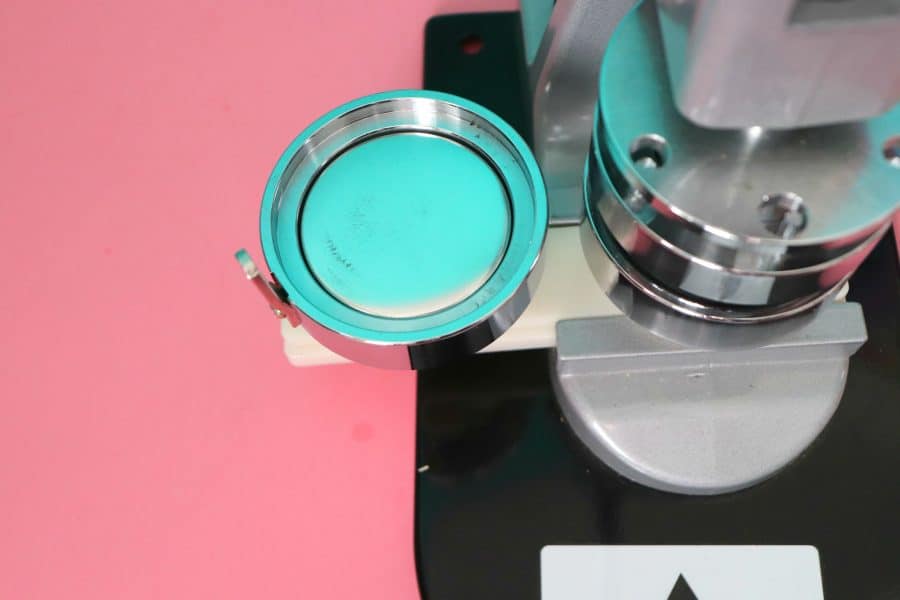
Then you add in your creation (more on that down below) but keep in mind when you are creating–the whole edge gets wrapped around the button and won’t be able to be seen!
![]()
Add the clear transparent sheet over it.
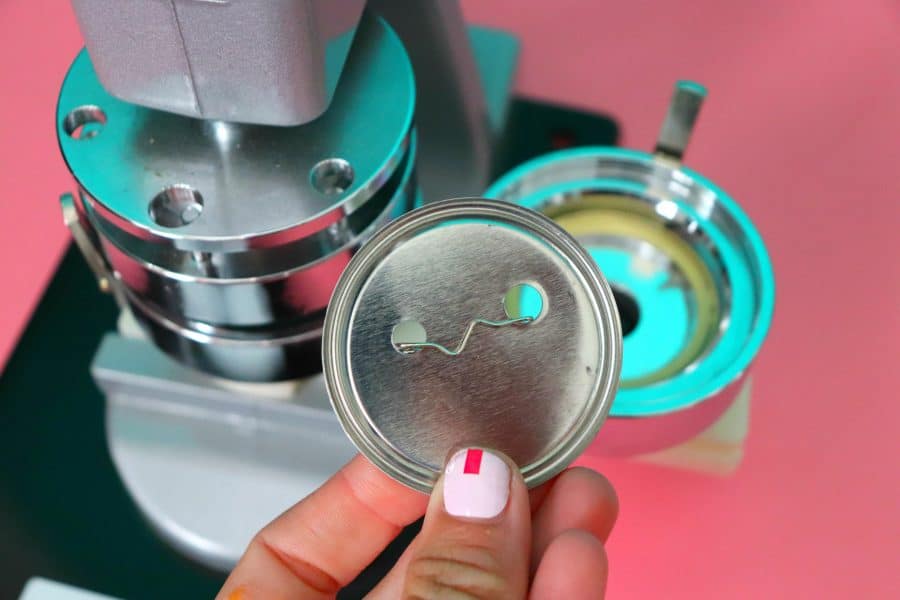
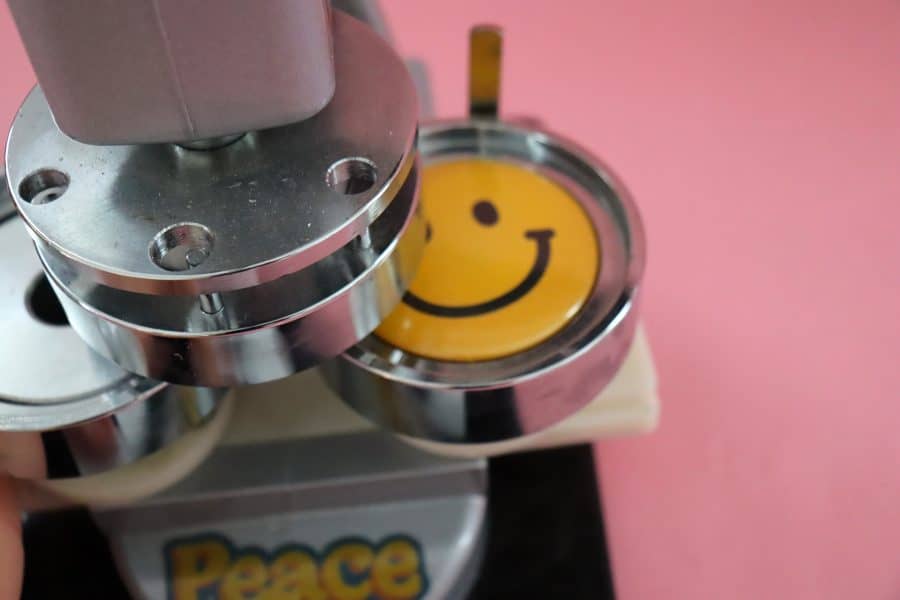
When you have all the pieces in–you press it! You actually press the left side first–(your design) The press will pick it up and when you slide it over to the right (the back side) all three pieces are missing. (caught up in the machine)
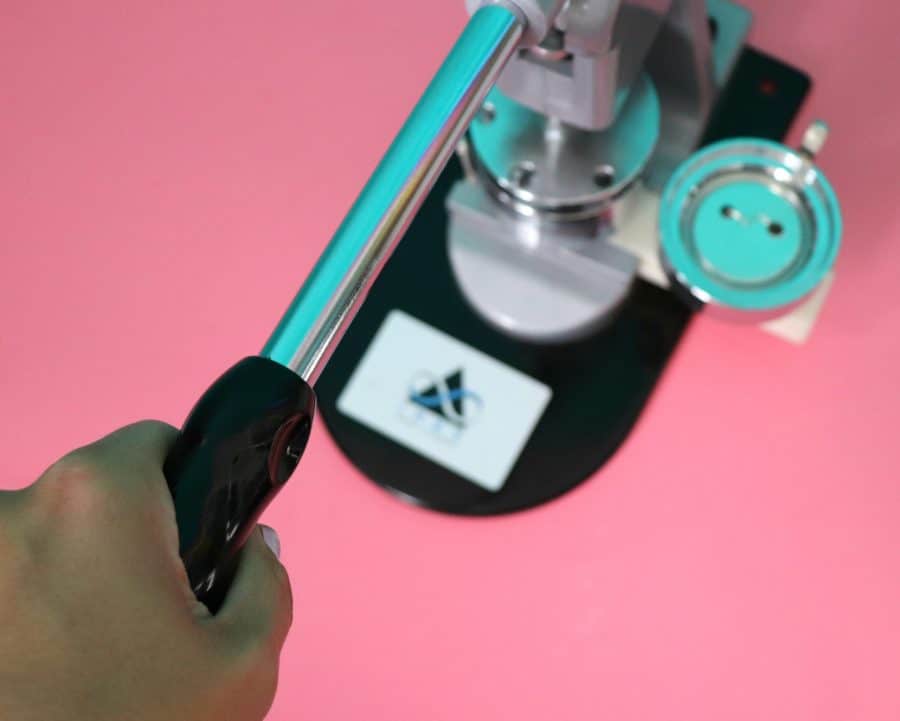
Slide the contraption to the right over the backing of the pin!
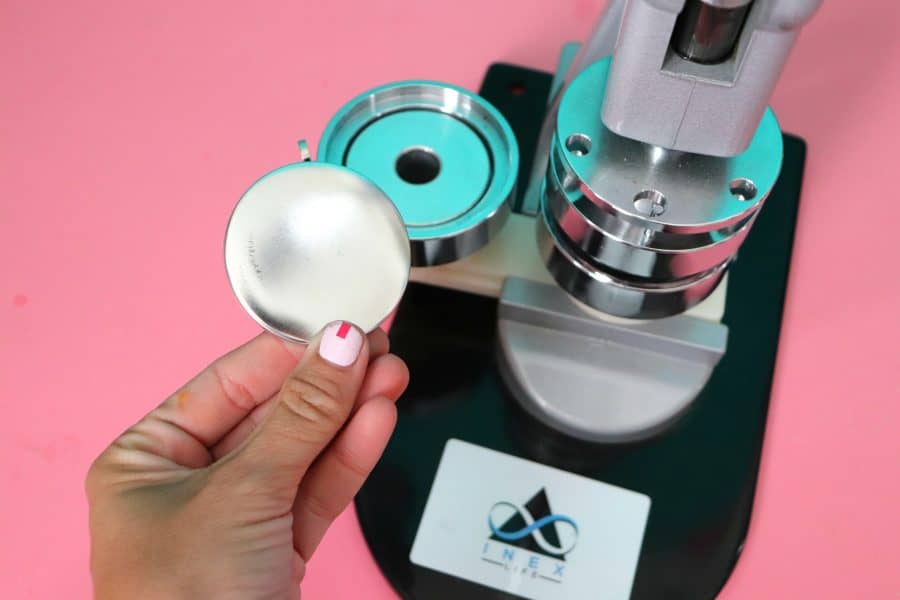
Then you press down on the right side (the back). This takes a good press. If you don’t press down hard the plastic won’t get wrapped around it. This press has a little handle on the back. I hold it down as a press to get really good pressure!
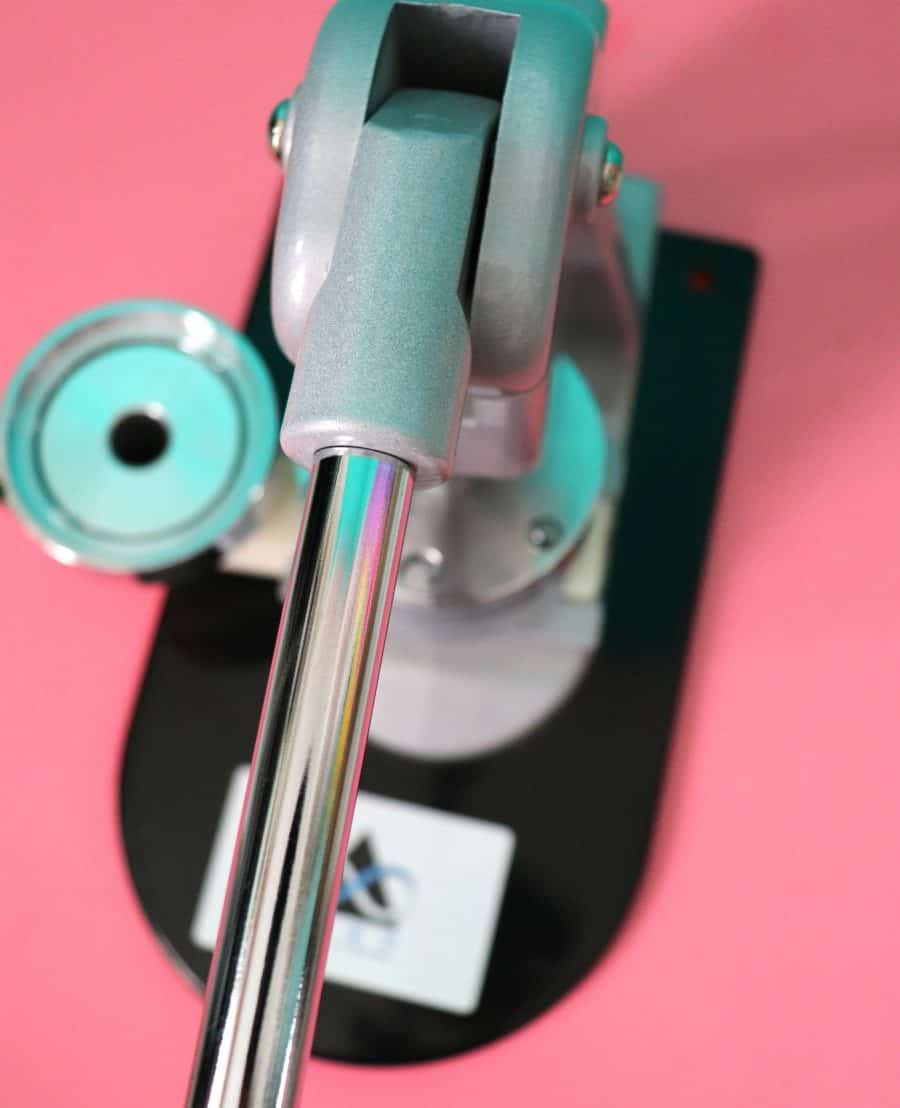
Once you lift the lever–ta da!!! BUTTONS!
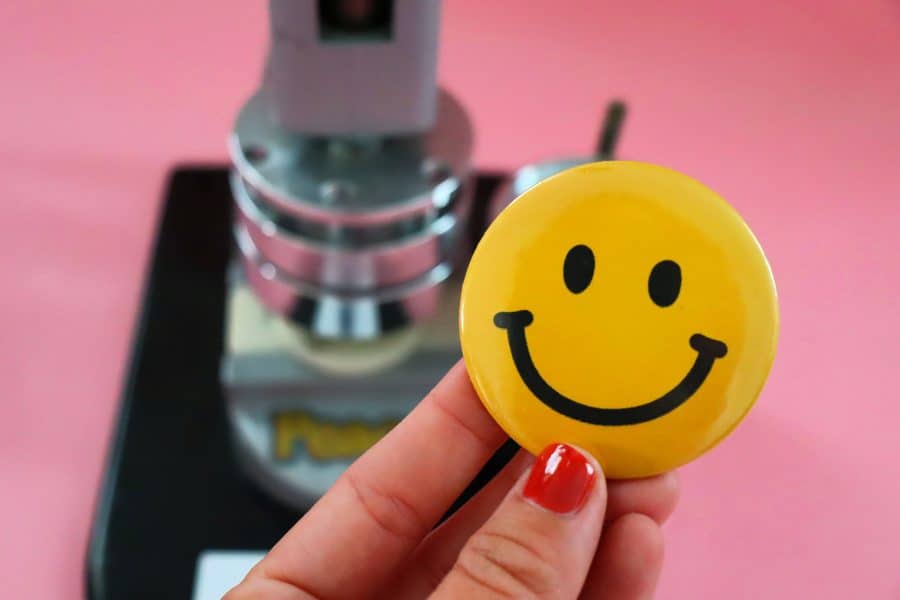
WARNING: it’s so addicting!!! I have more buttons than I know what to do with! We have taken this to a family reunion and a church activity and I thought you could make cute buttons to sale for a fundraiser too!
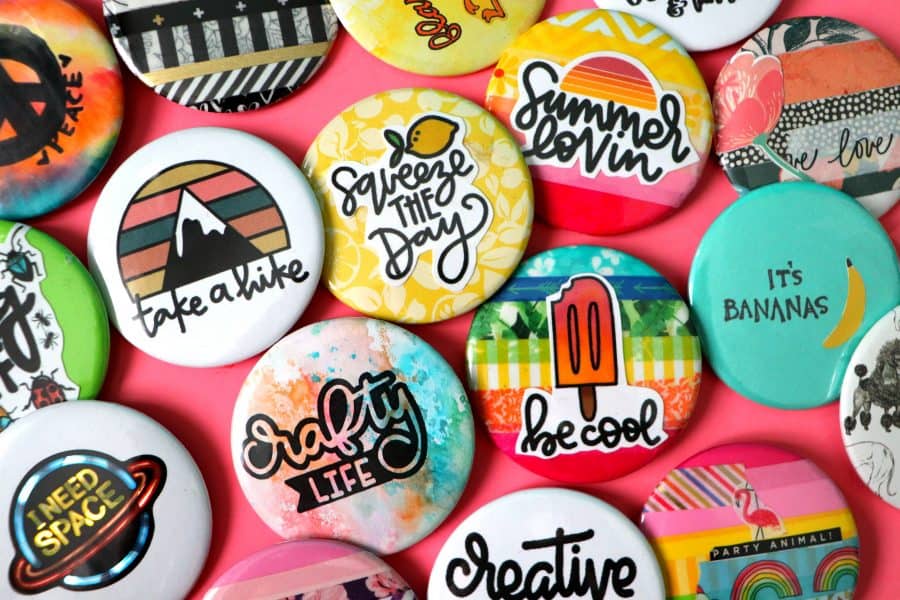
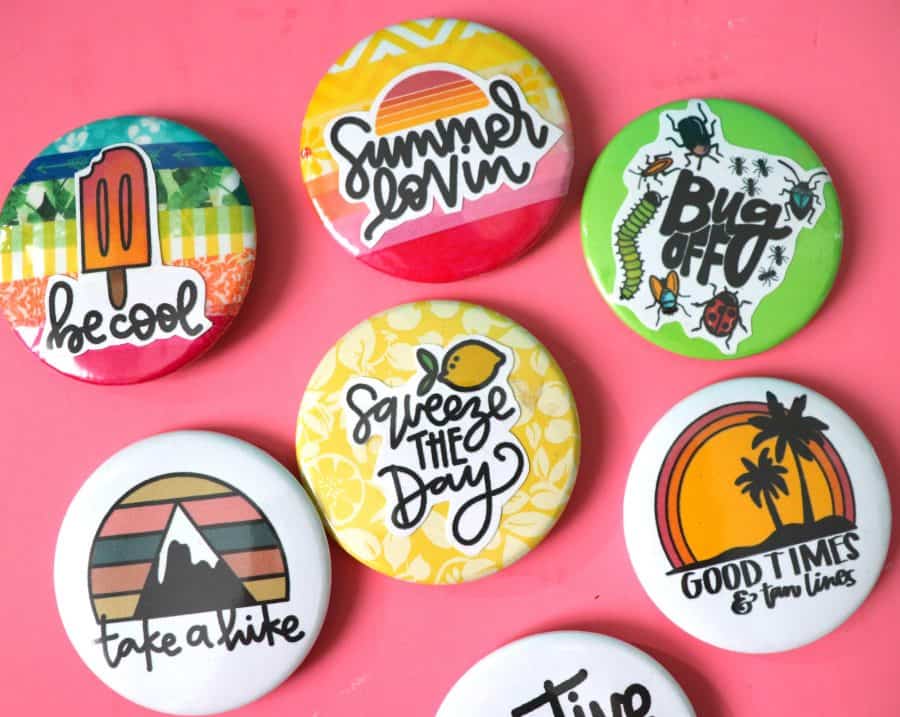
Fun button Designs
There are lots of great ways to create the designs for buttons!
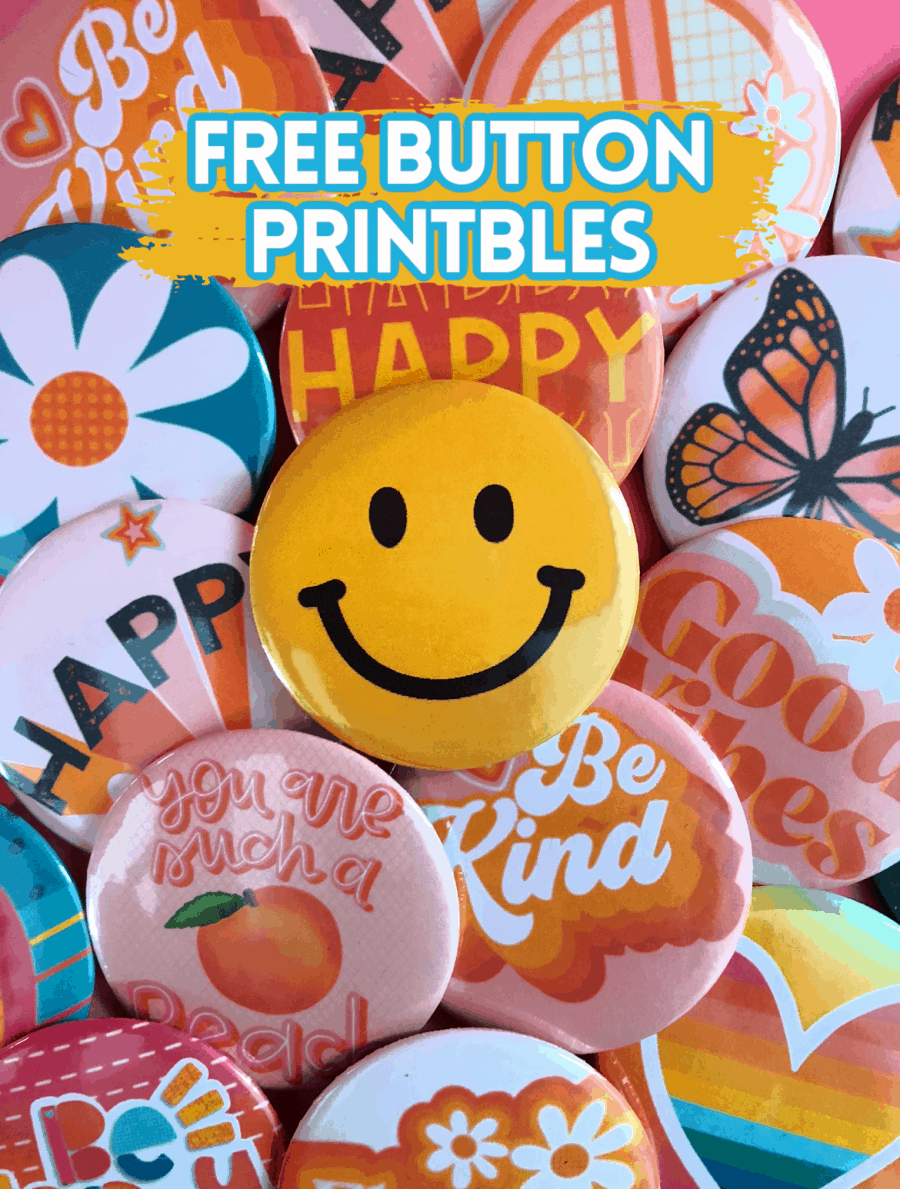
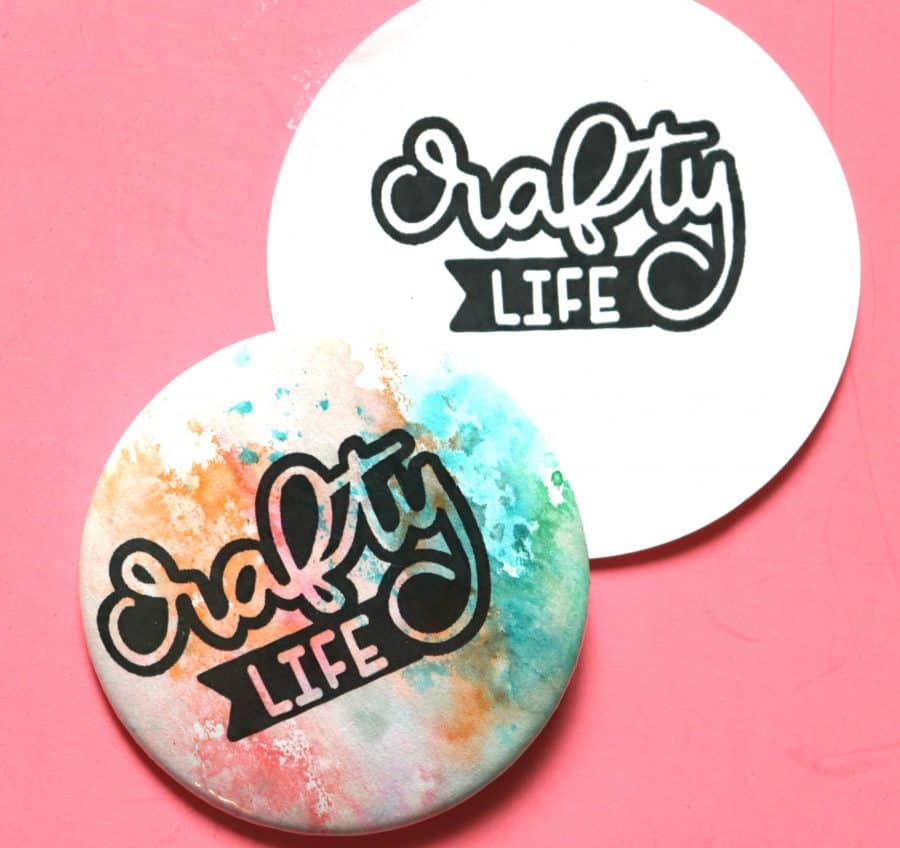
I have a few pages of images I have created for your personal use!
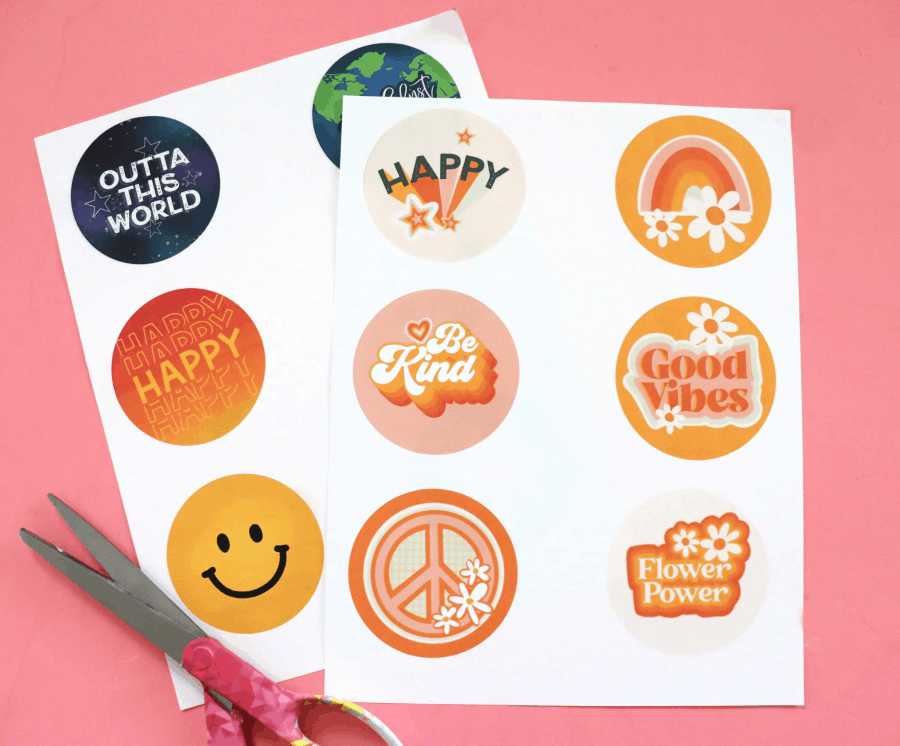

I printed out a ton of my cut files and sized them down! Most of these can be found in my shop!
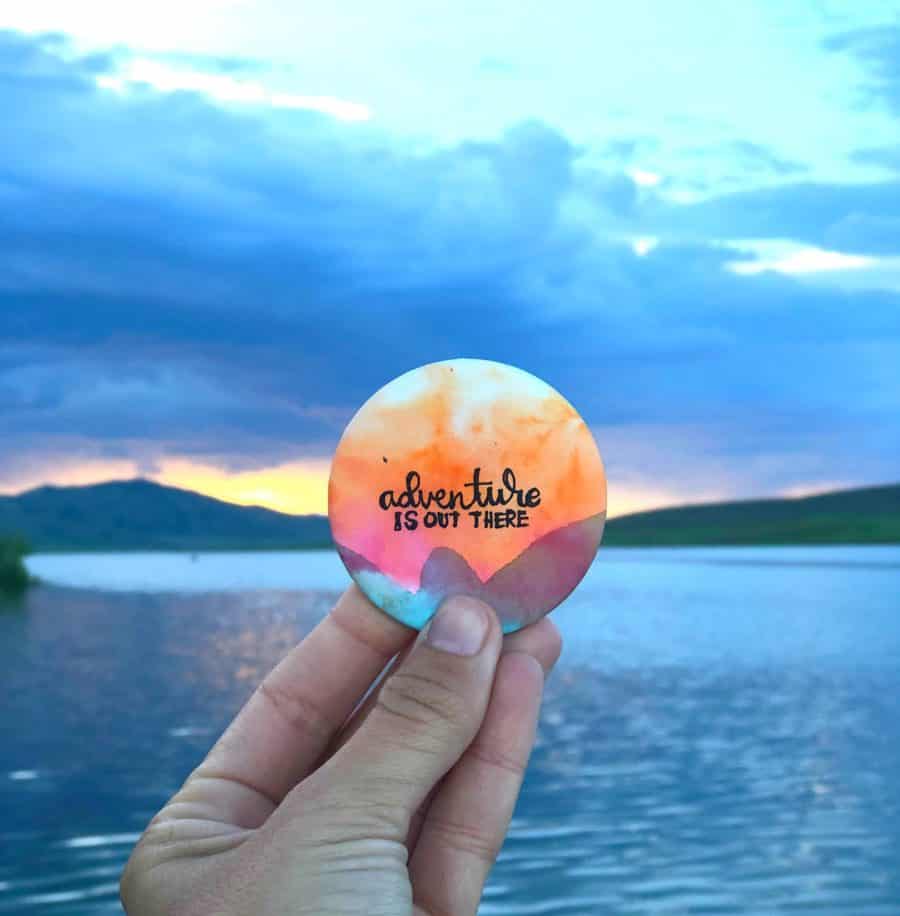
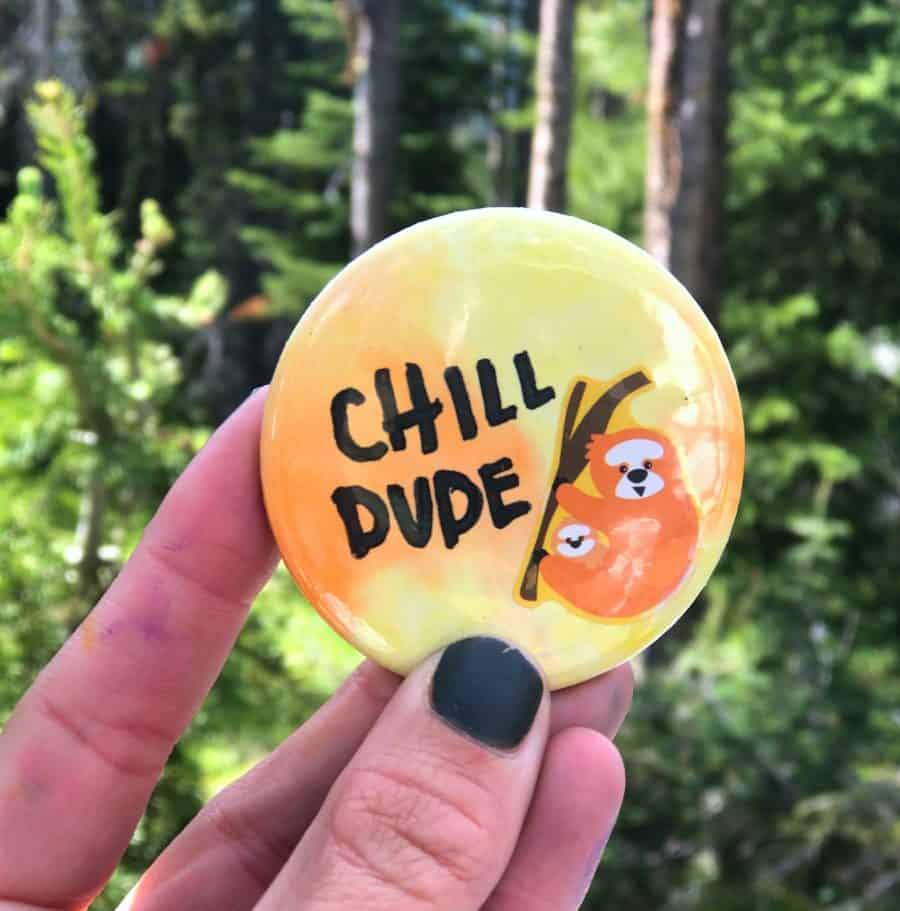
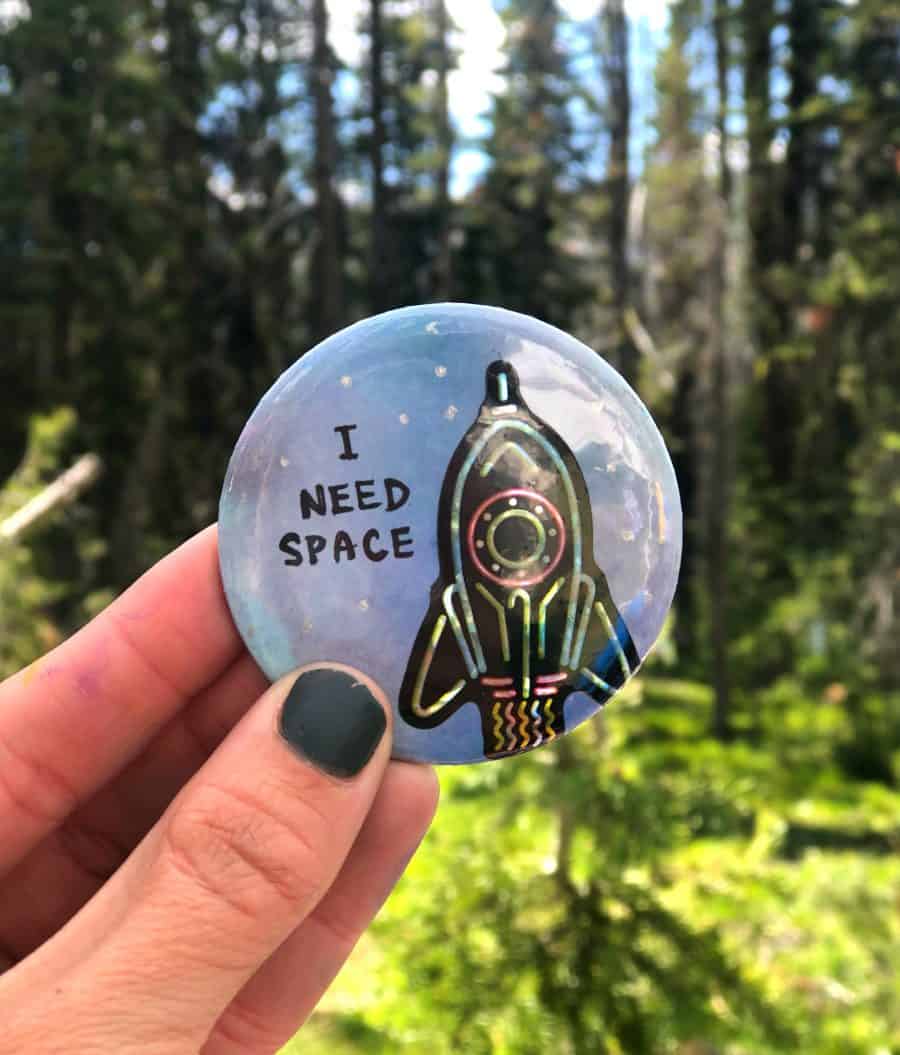
Watercolor
I watercolored LOTS of buttons using THIS watercoloring technique! You will see it a lot! This was the popular option when we made buttons camping!
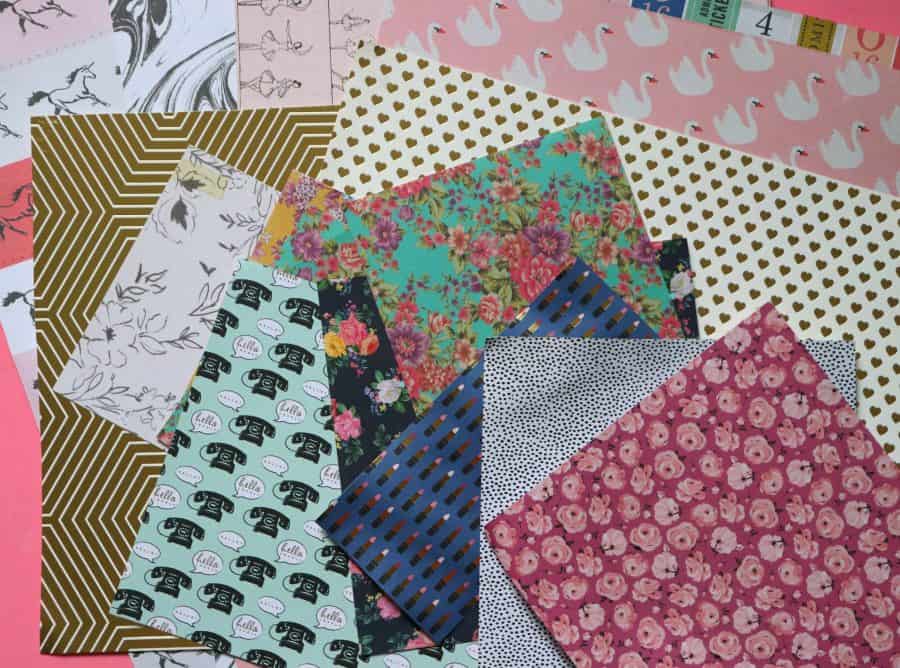
Scrapbook paper
There are so many fun patterns and designs out there to really have some fun!
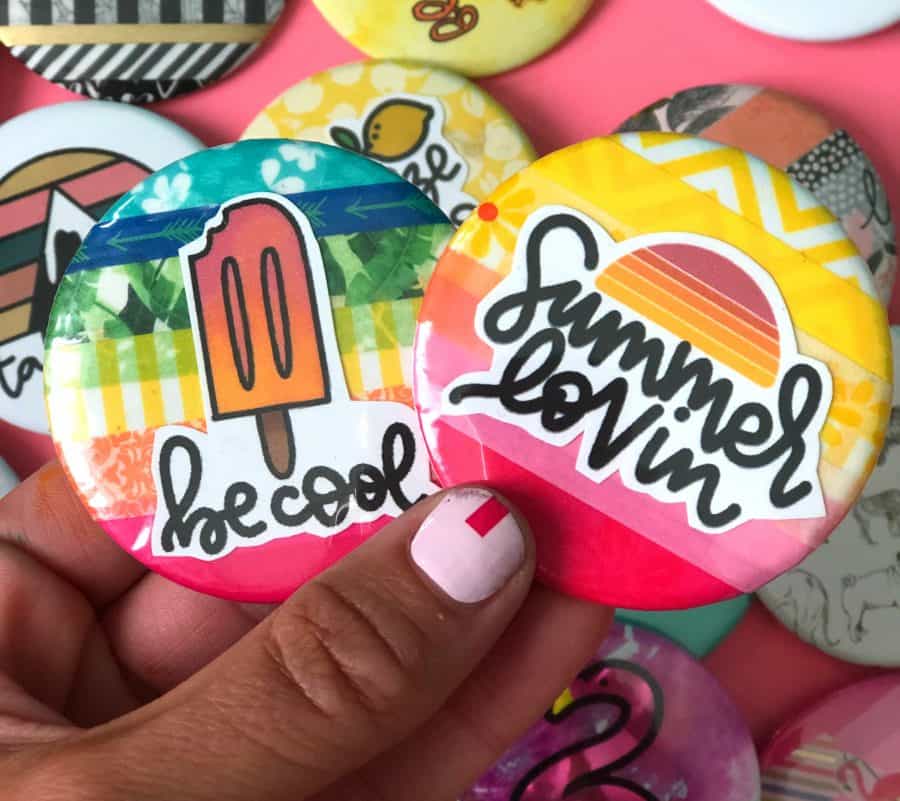
Stickers
I found lots of great ones at the dollar store and the kids got so creative with it!
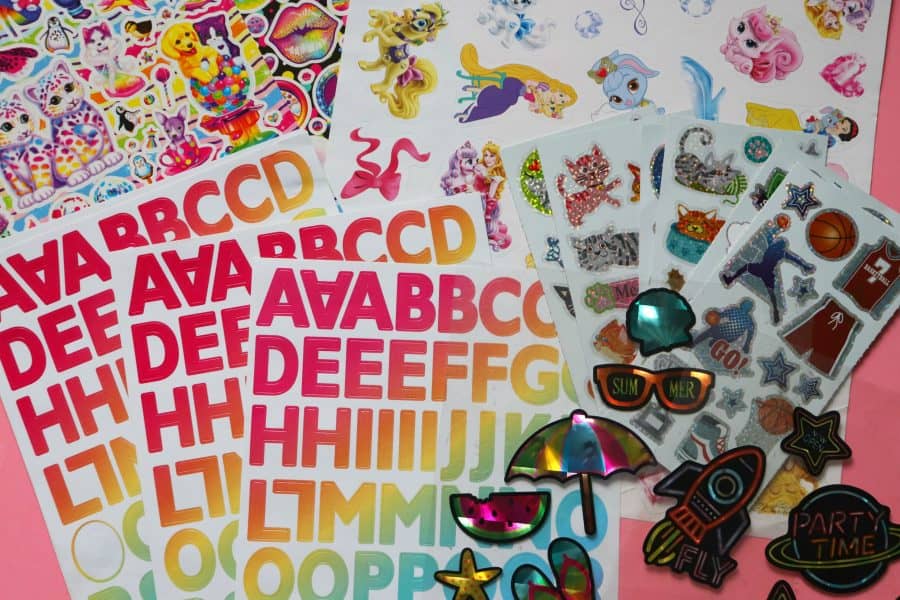
We just added some sharpie words on these!
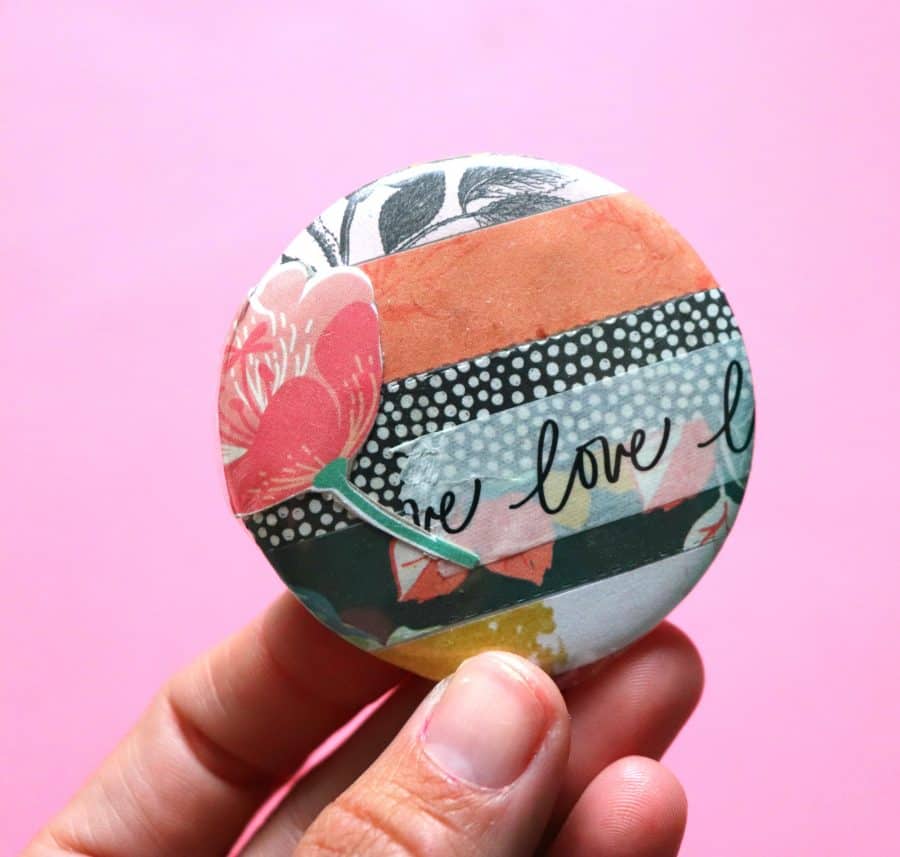
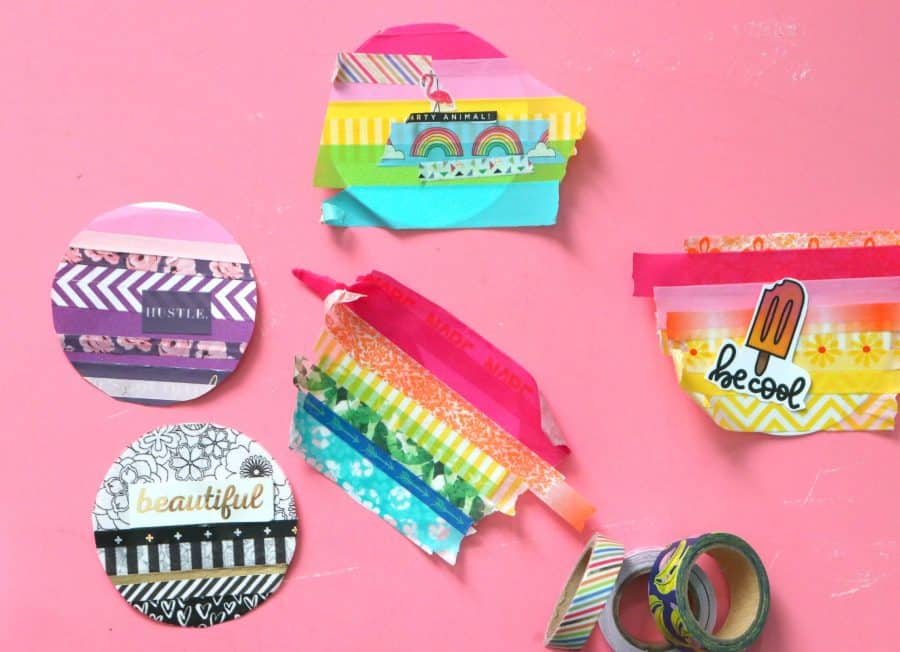
Washi Tape!
I just picked some fun colors and trimmed them around the circle! They turned out so creative!
We also used some fun pictures we had (they fit our new square instax film--but we did have to peel off the back so it wasn’t so thick!
We gave some buttons as teacher gifts last year! (These teacher printables are found here!)
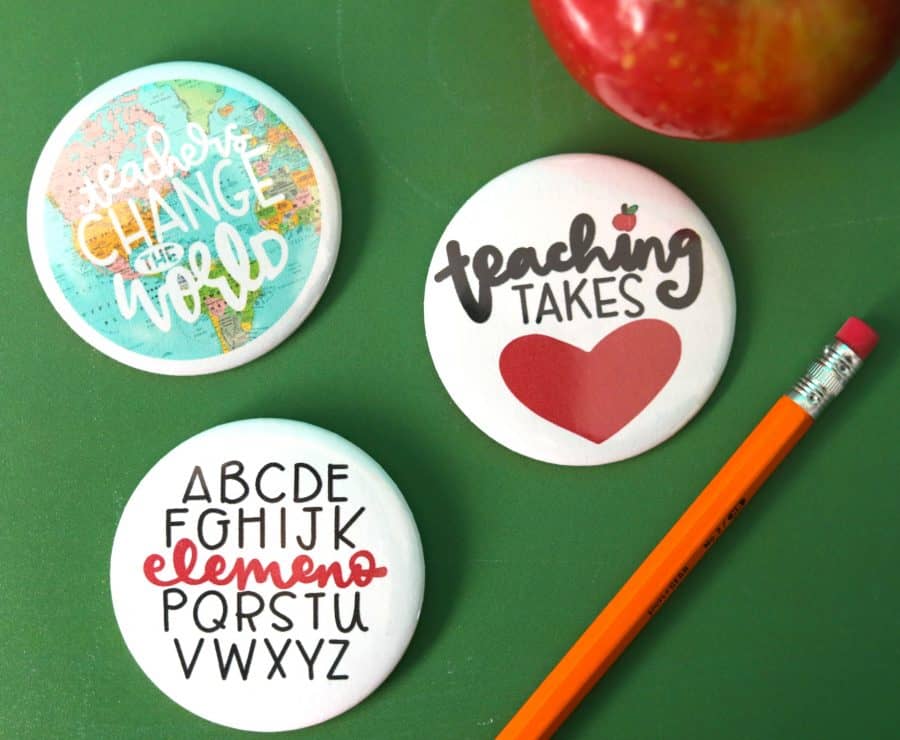
You can also print out school logos or business logos and make some fun buttons to hand out!
Hopefully, I’ve convinced you the awesomeness that is a button maker! It’s seriously so fun and once you have it–you think of all sorts of fun things to turn into buttons!
olga says
Can i please ask, what paper you use to print these off?
Kimbo says
Just regular copy paper! The thinness works the best when pressed around the button!