
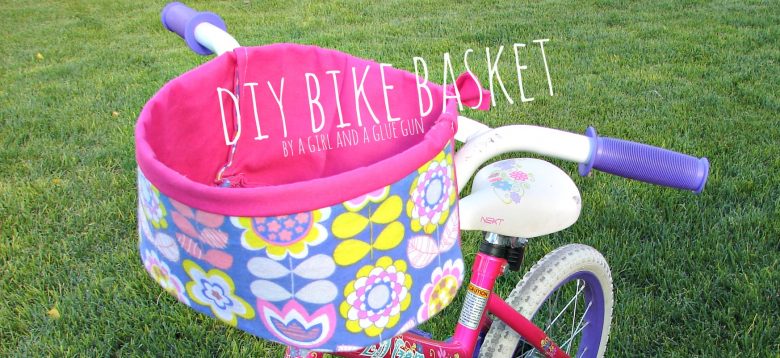
continuing on with scrap week….today i’m revisiting a guest post on ucreate~ a Diy Bike basket!!!!
.
the other day i walked outside and found my daughter and her bike like this…
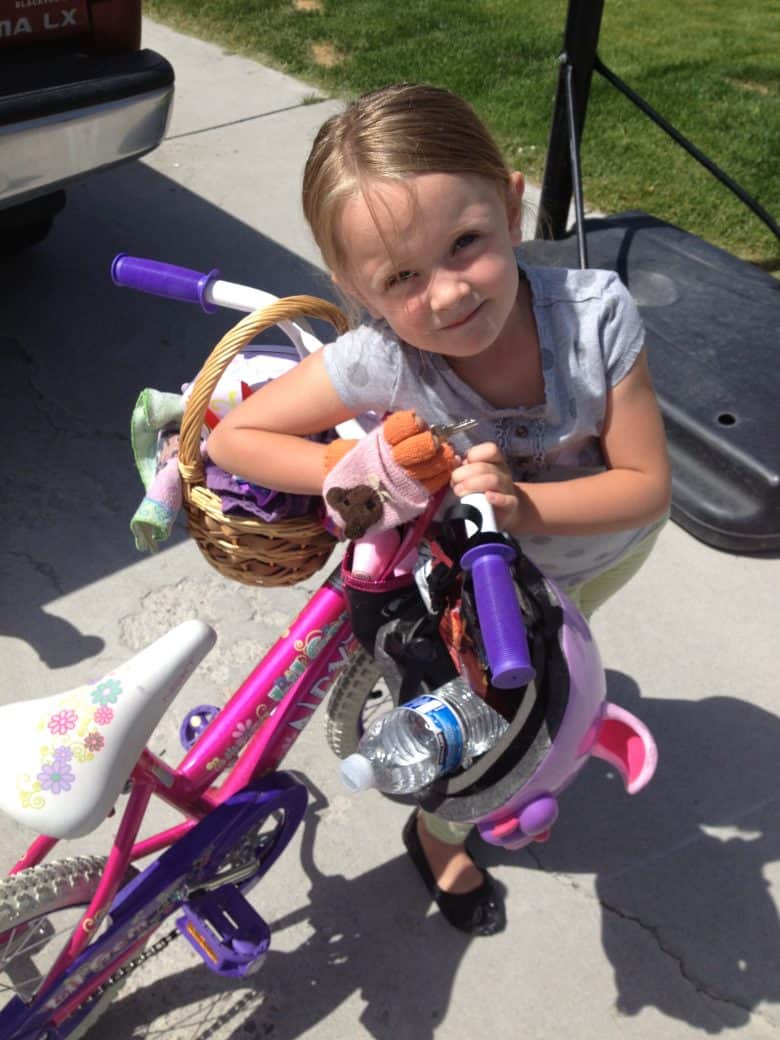
and i thought to myself…
self, it’s time to make her a bike basket!
turns out it’s a perfect project for fat quarters!
HERE’s what you need:
two fat quarters per basket
velcro
mesh
sewing stuff.
you will need to cut two of each of these pieces….(plus the straps) (not pictured)

pretend like this rectangle is a fat quarter…here’s how i cut it out….remember..you need two pieces. so you can use two different patterned fat quarters or two of the same.
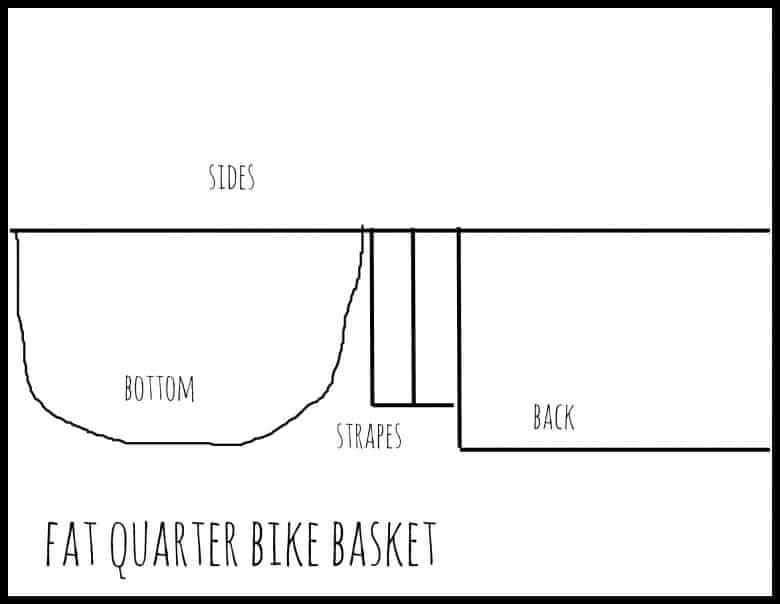
(fyi–it’s hard to draw with a mouse.)
when cutting you will want to make sure they are the same size as the color dashes i’ve got going on…
yellow is going to get sewn onto yellow and pink will be attached to pink. the straps will go on the back piece.
after you got it all cut out. you will need your mesh stuff….(looks like this and is found at joanns and other craft stores) (this is what helps the basket hold it’s shape)

you will cut one piece for each set of pattern pieces…and you will cut it about an inch smaller on each side…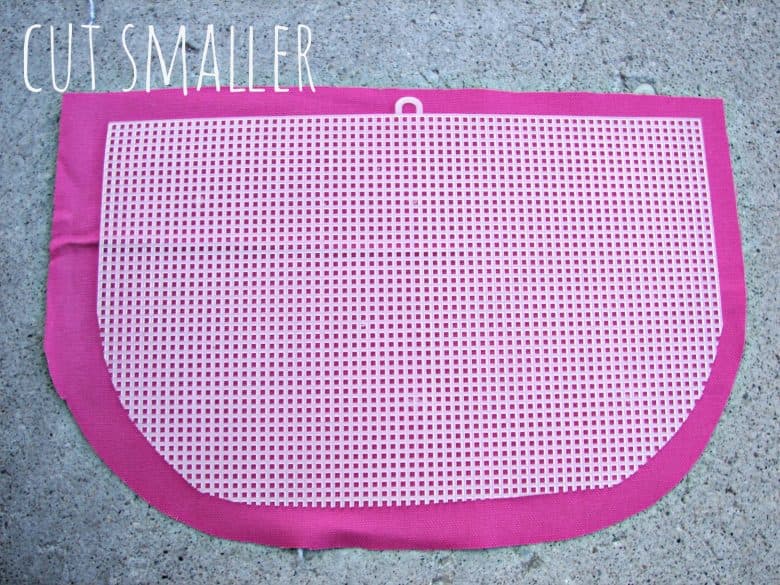
three pieces…(i hot glued the two together to get one long piece for the side panel)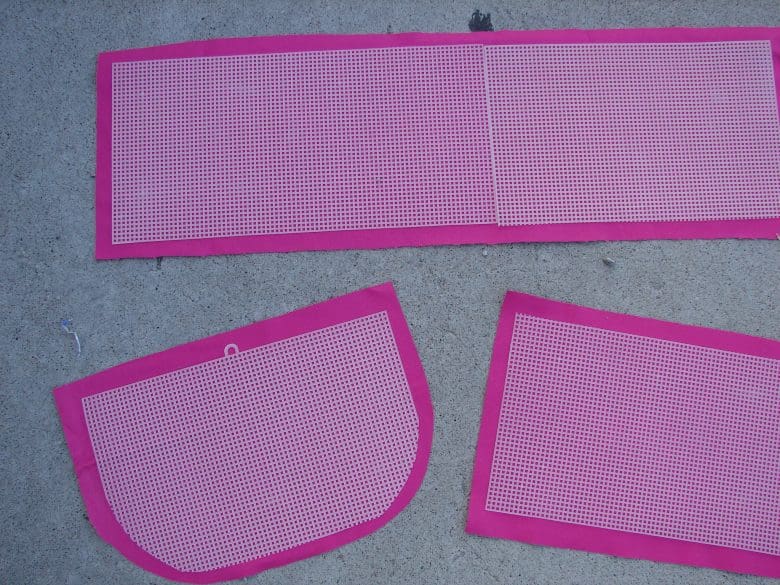
now…after making one basket i got a little smarter and changed my game plan. i was going to finish of the top with binding…but if you cut the outside piece about 1 1/2 inch smaller along the top of the back and side panel you can just fold it down and use that instead…and it’s easier doing that before you sew…so trim now!

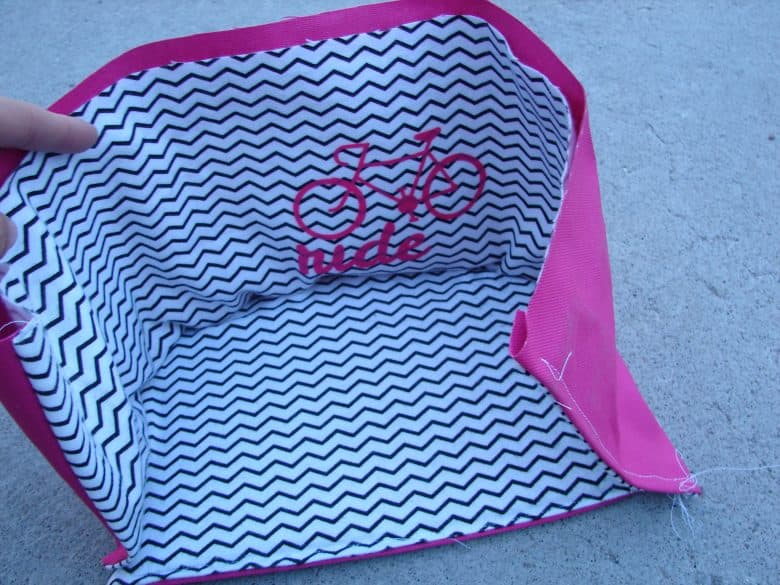
then you sew right sides together–leaving top open (a.) and flip it right sides out (b)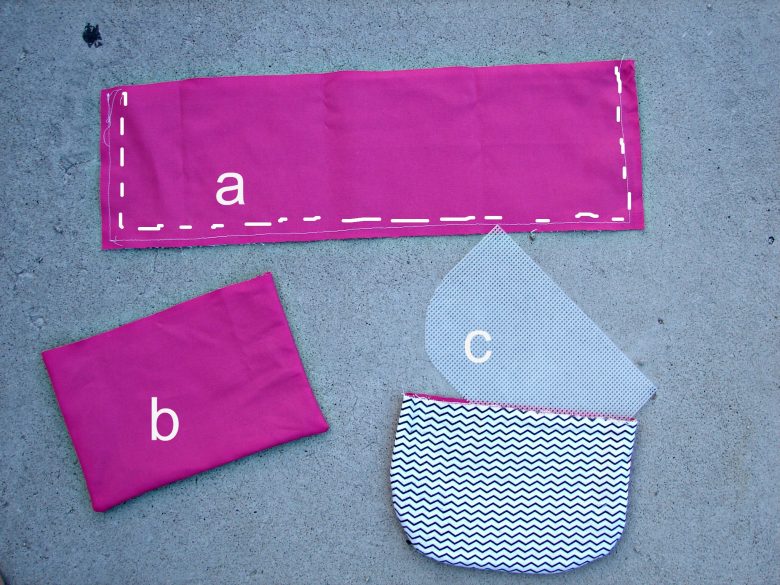
for the the bottom piece only (c) you will put the mesh in and sew up the last edge.
then you attach the sewn part of the long rectangle piece to the curved part of the bottom…(right sides together)
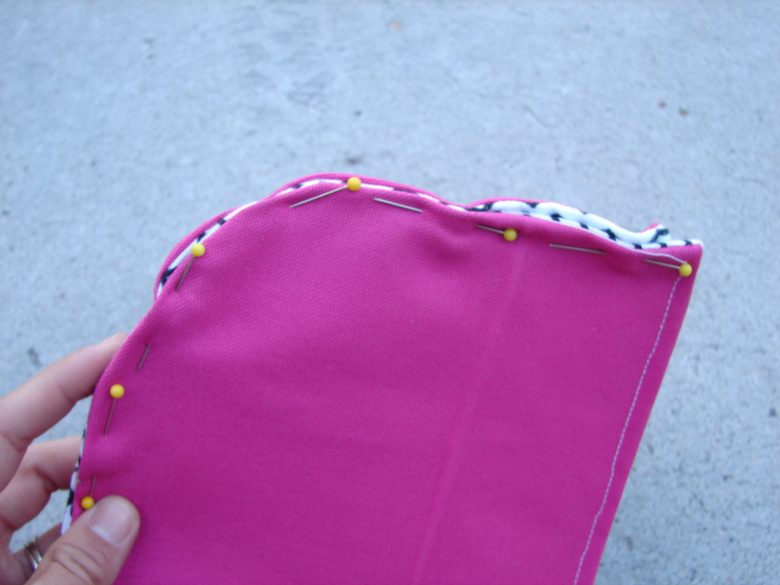
looks like this…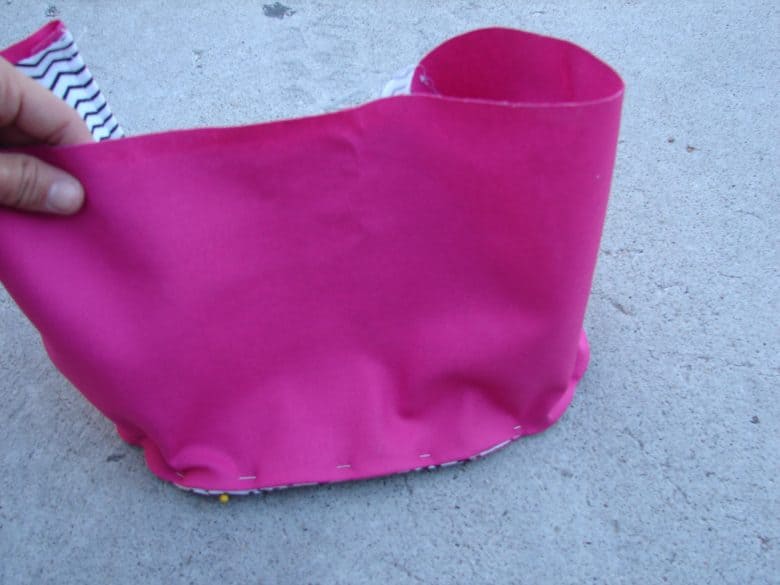
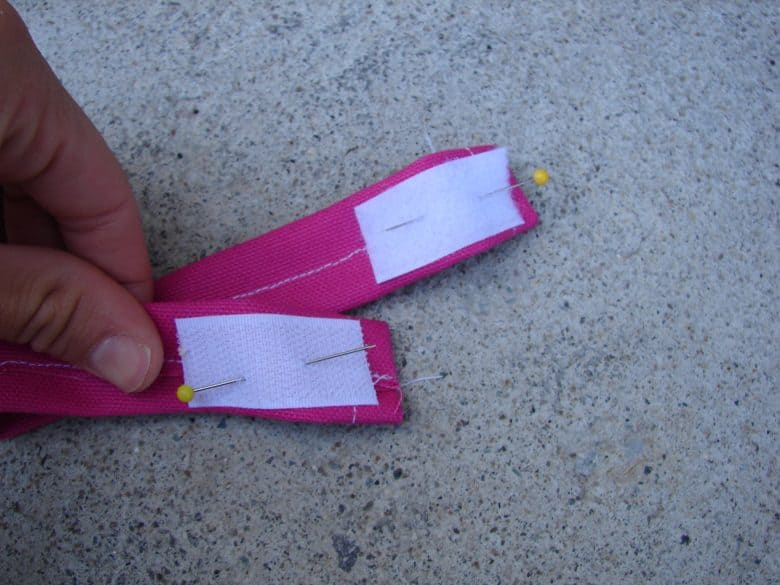
before you attach the back piece you will want to add the velcro straps to the back…(about an inch down from the top)
straps need to be small about 5-6 inches (my mistake number two–i had to go and trim them up) if they are long the basket will droop on the handlebars.
then you sew the back piece onto the bottom piece and up the sides. then you slide in the mesh (you can trim as necessary) and fold down the top extra fabric (i folded it about half an inch then another inch so the edge is a finished one)
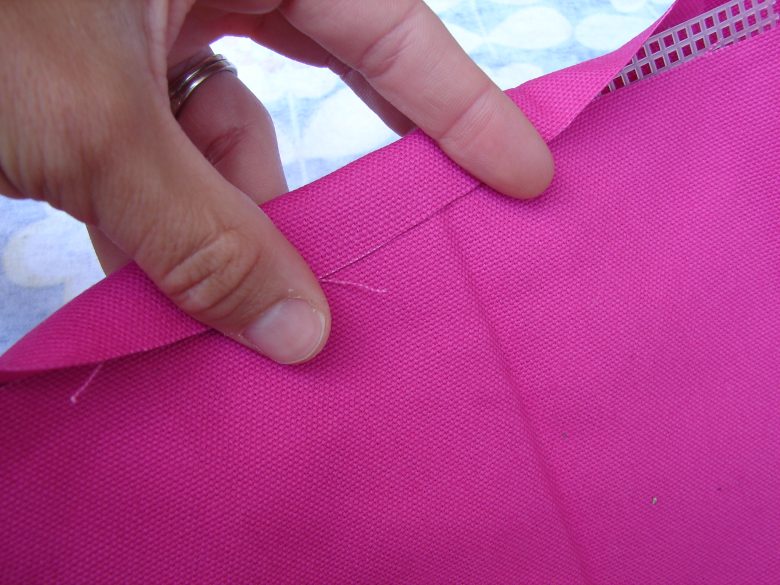
and i just hot glued it into place…cause i love me a shortcut.
 you could sew…but it would be slow going with the mesh in…but still..totally doable.
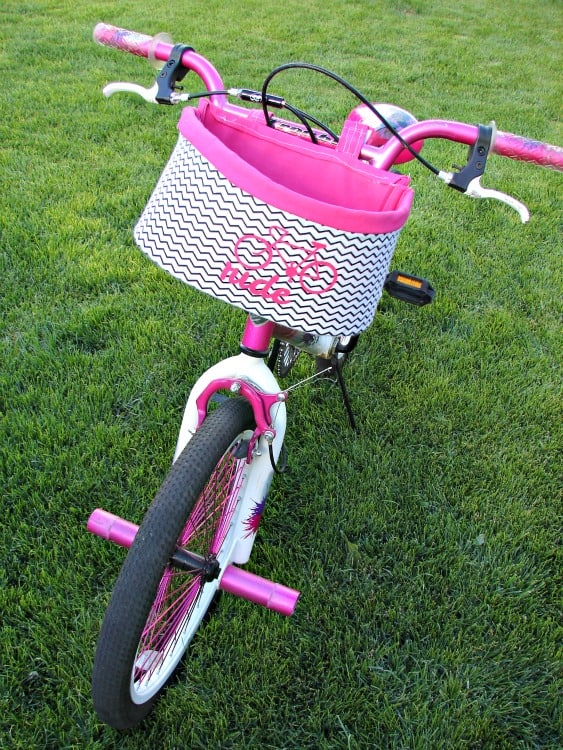
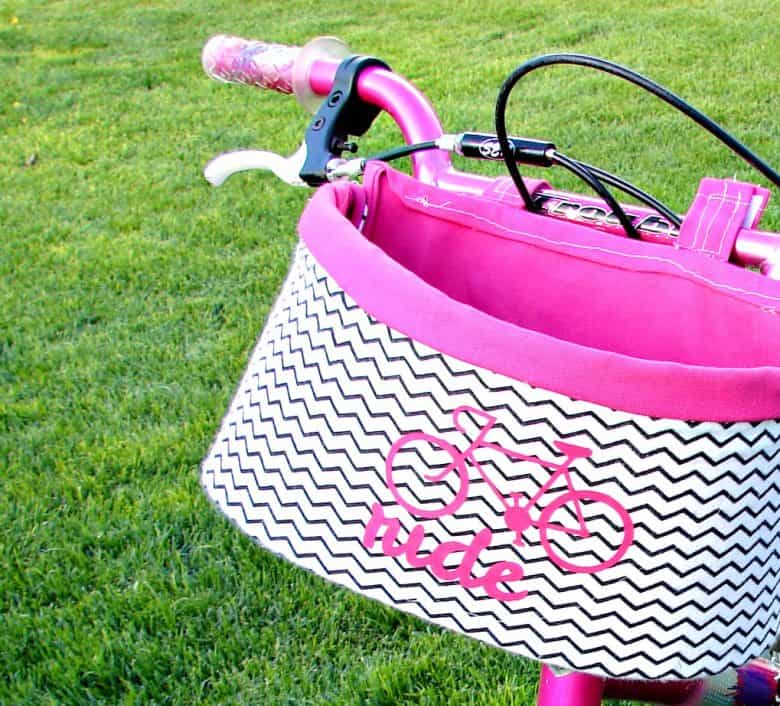
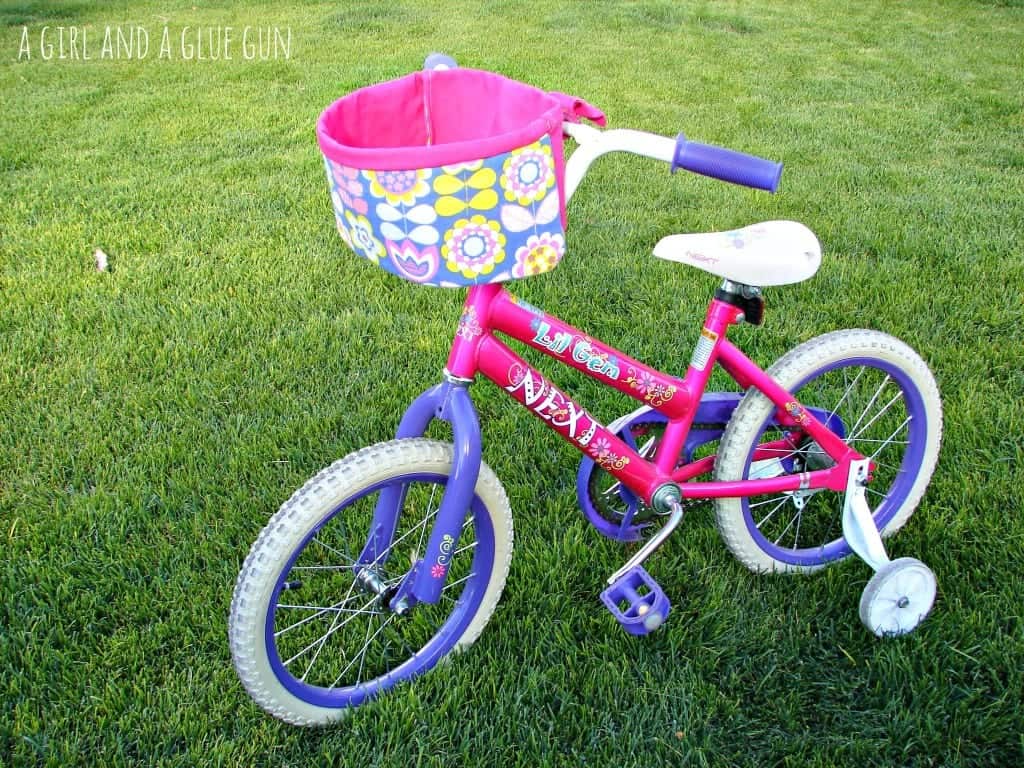
here’s the finished baskets…the black and white one was my first try…lots of trial and error on that one. but by the second one i feel like an old pro!
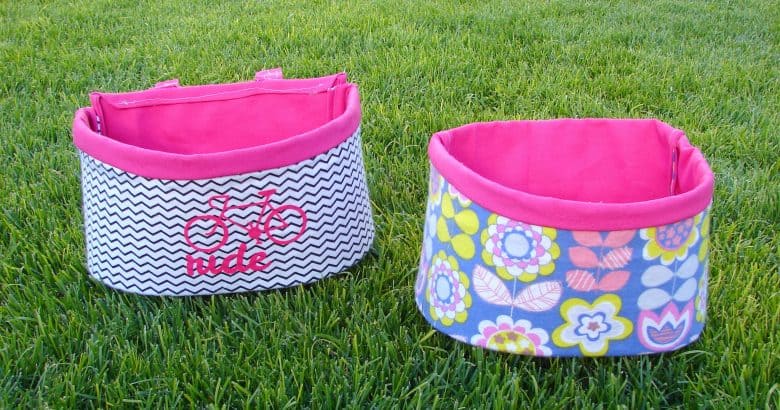

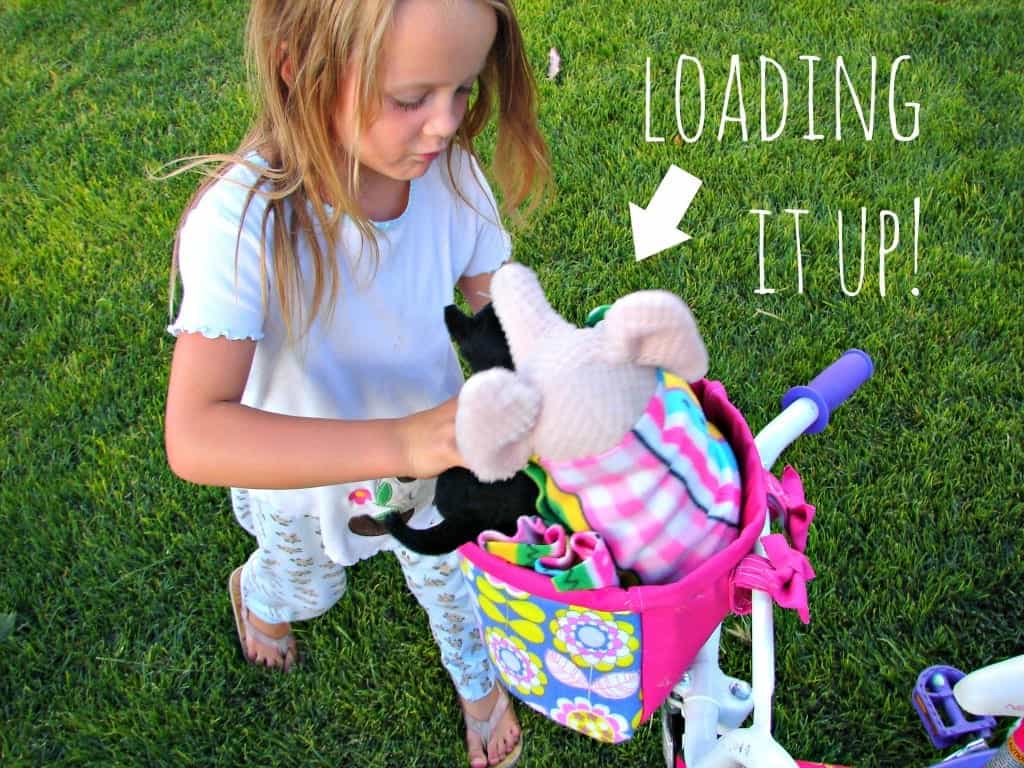
she loves it…and that is just icing on the cake!!!!
thanks so much for reading!!
here’s how to stay in contact with me:
blog – twitter – facebook – instagram – bloglovin
Glitter Coated Lennses says
Look how cute this turned out! Def going to try to recreate this somehow for my neice any girl would die and it would be fun to create a guy version too!
Julie says
I have a bike which is rather sad and basketless, I may have to make one for myself to put all my crap in!